Deeplurker-inspired high-cut pantyhose (Eng - Esp)
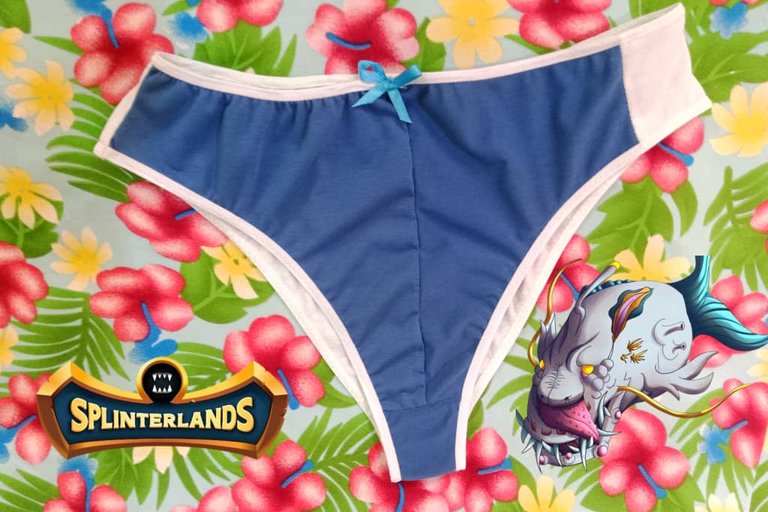

Greetings friends, yarn and needle lovers, I wish you an excellent week together with your family; congratulations to the ❤️❤️🌹🌷 mommies of the community, I hope you have spent a very special day with your loved ones surrounded by lots of love; a new week begins and the month of May is advancing very fast, we are two days away from the middle of the month; during these days I have taken the opportunity to cut several projects that I have pending, specifically intimate apparel for my family; this time I share the elaboration of a high cut panty inspired by the teal and white colors of the character Deeplurker from Splinterlands cards.

Saludos amigos amantes de los hilos y las agujas les deseo una excelente semana en unión de sus familiares; felicidades a las Mamitas ❤️❤️🌹🌷 de la comunidad, espero hayan pasado un día muy especial al lado de sus seres queridos rodeadas de mucho amor; una nueva semana inicia y el mes de mayo avanza muy rápido, estamos a dos días de la mitad del mes; durante estos días he aprovechado para cortar varios proyectos que tengo pendiente, específicamente ropa íntima para mi familia; en esta ocasión comparto la elaboración de una Panty corte alto inspirada en los colores verde azulado y blanco del personaje Deeplurker de las cartas de Splinterlands.


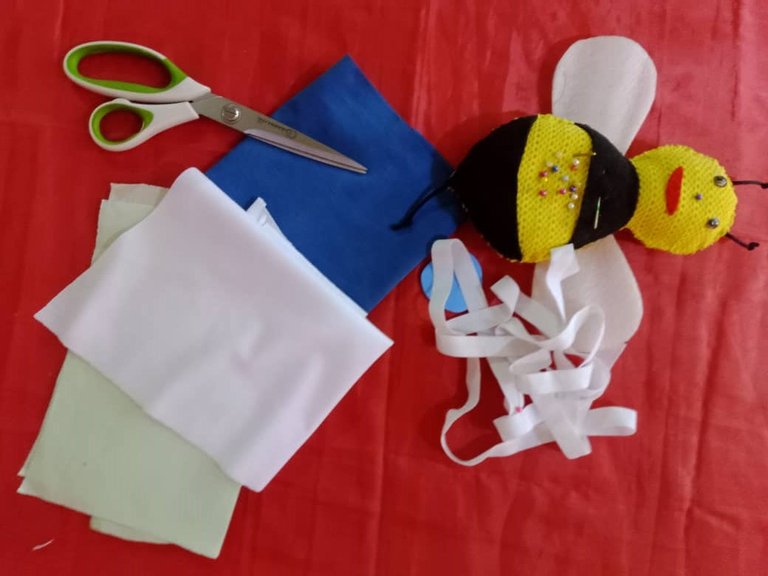
The materials used were:
Jersey fabric (white and teal)
Elastic bias (2 meters)
Molds
Scissors
Sponge
Molds
Sewing machine
Pins
Los materiales usados fueron:
Tela jersey (blanca y verde azulado)
Sesgo elástico ( 2 metros)
Moldes
Tijera
Jaboncillo
Moldes
maquina de coser
Alfileres
Elaboration
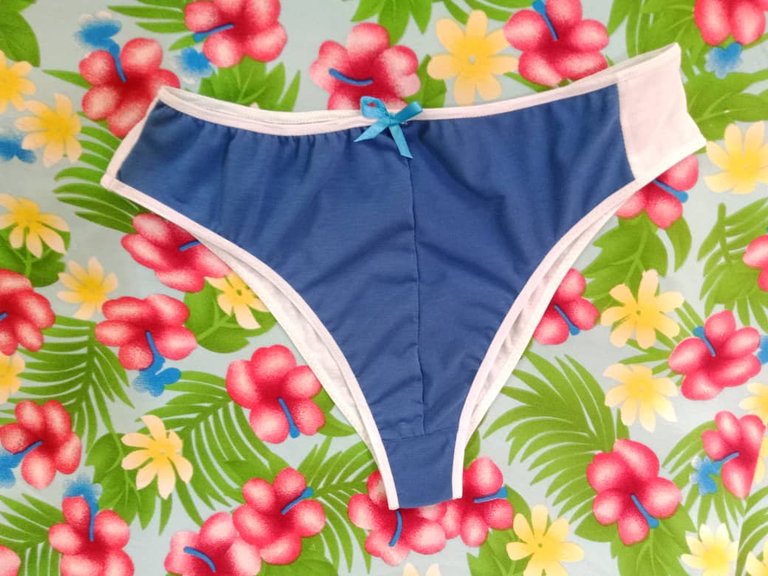
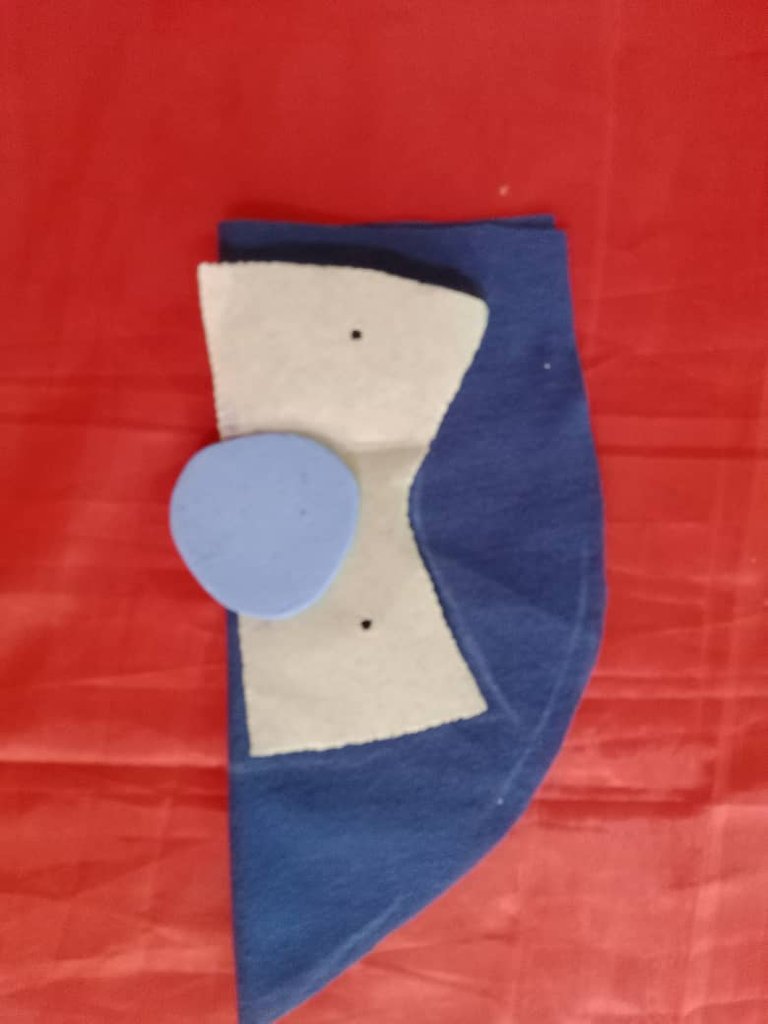
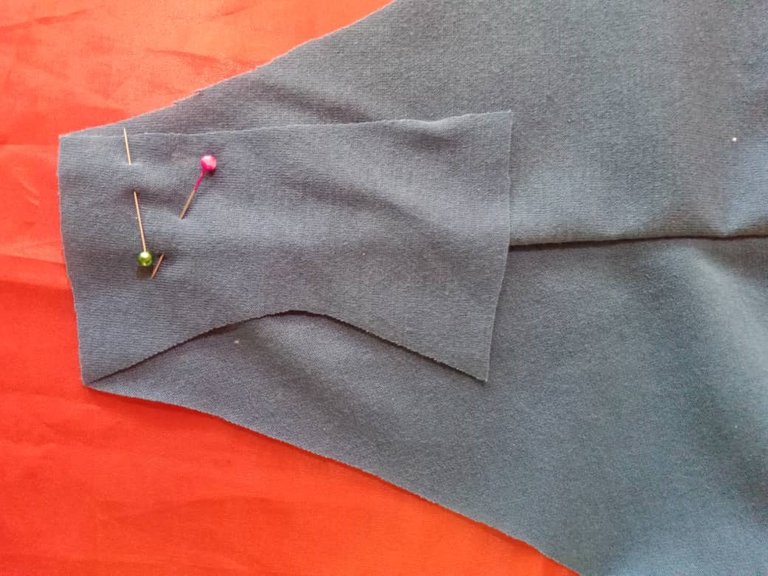
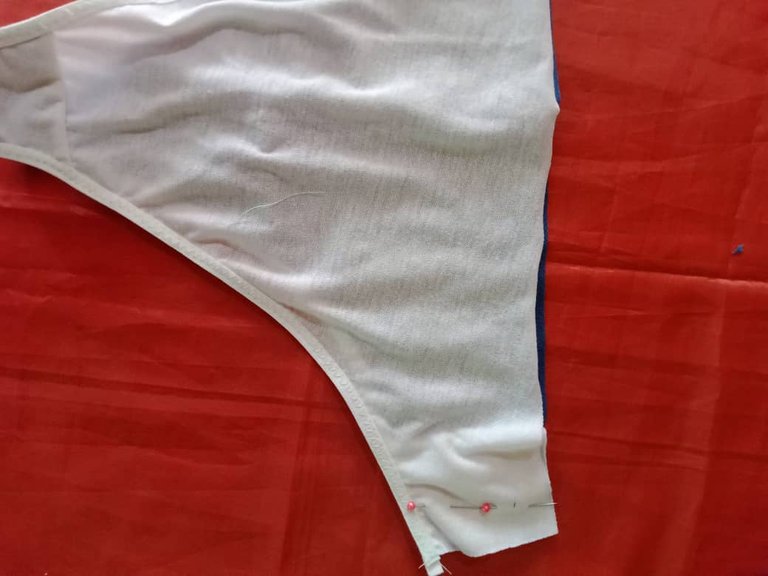
The elaboration process is simple, I started by marking the molds, then I cut each piece; the back is white, the front is blue-green with a white cut at one of the ends, the center combines both colors.
Elaboración
El proceso de elaboración es sencillo, inicié marcando los moldes luego corté cada pieza; la parte trasera es de color blanco la delantera verde azulado con un corte de color blanco en uno de los extremos, el centro combina ambos colores.
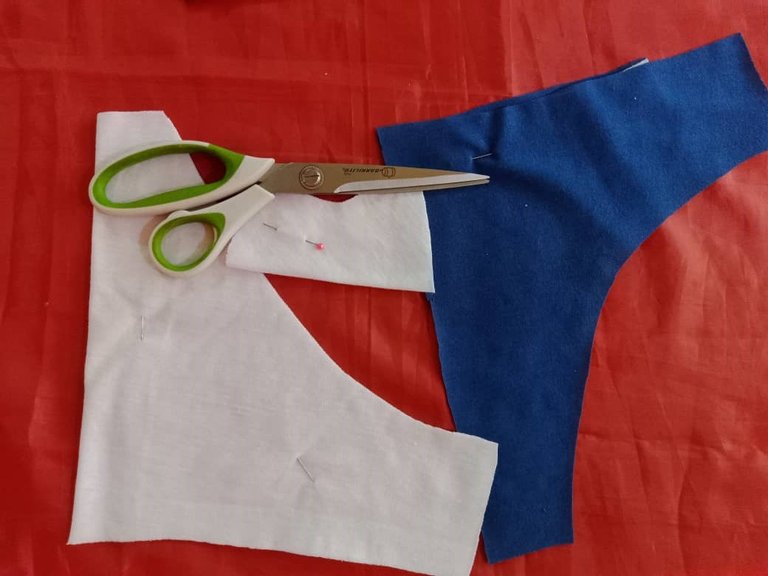
I cut the front part in two parts to make the most of the fabric, I faced both parts on the right side, pinned them together and joined them with a straight stitch, I also glued the rectangle on one of the ends.
La parte delantera la corté en dos partes para aprovechar al máximo la tela, enfrente ambas partes por el derecho sujeté con alfileres y uní con puntada recta, también pegué el rectángulo en uno de los extremos.
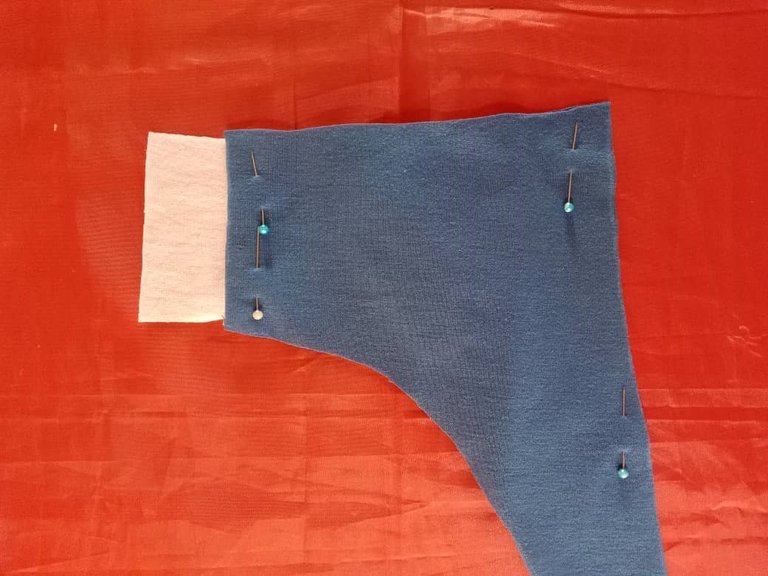
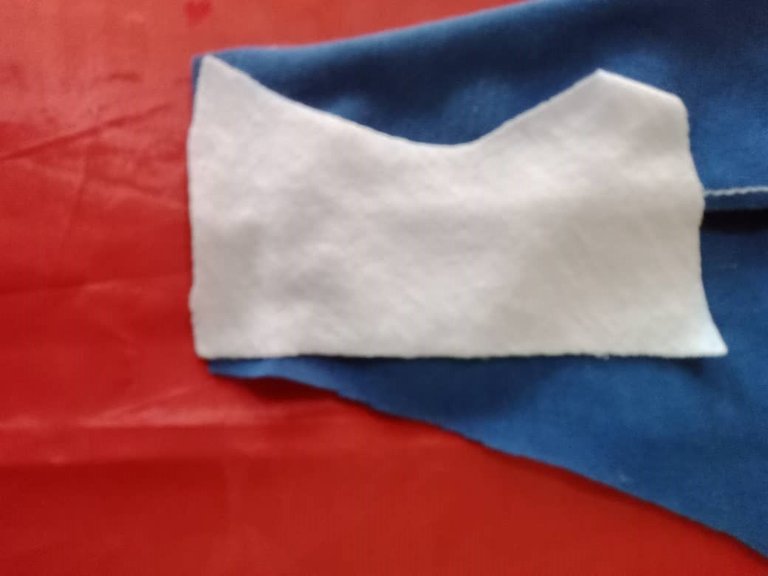
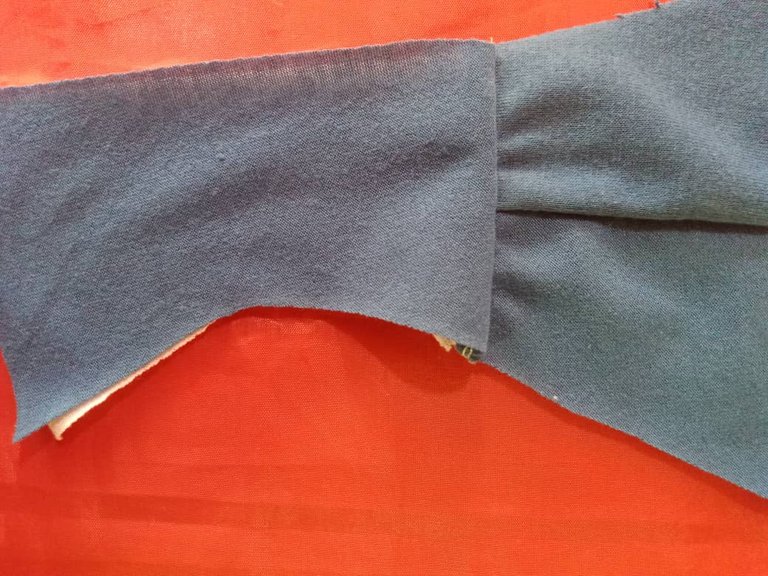
Once the front part was assembled, I glued the center, faced the blue-green piece on the right side of the front and the white piece on the back, it is important that the white piece is on the inside of the garment; I sewed with a straight stitch and then turned over.
Armada la parte delantera, pegué el centro, enfrenté por el derecho del delantero la pieza verde azulado y por el revés la pieza blanca, es importante que esta quede en el interior de la prenda; cosí con puntada recta luego volteé.
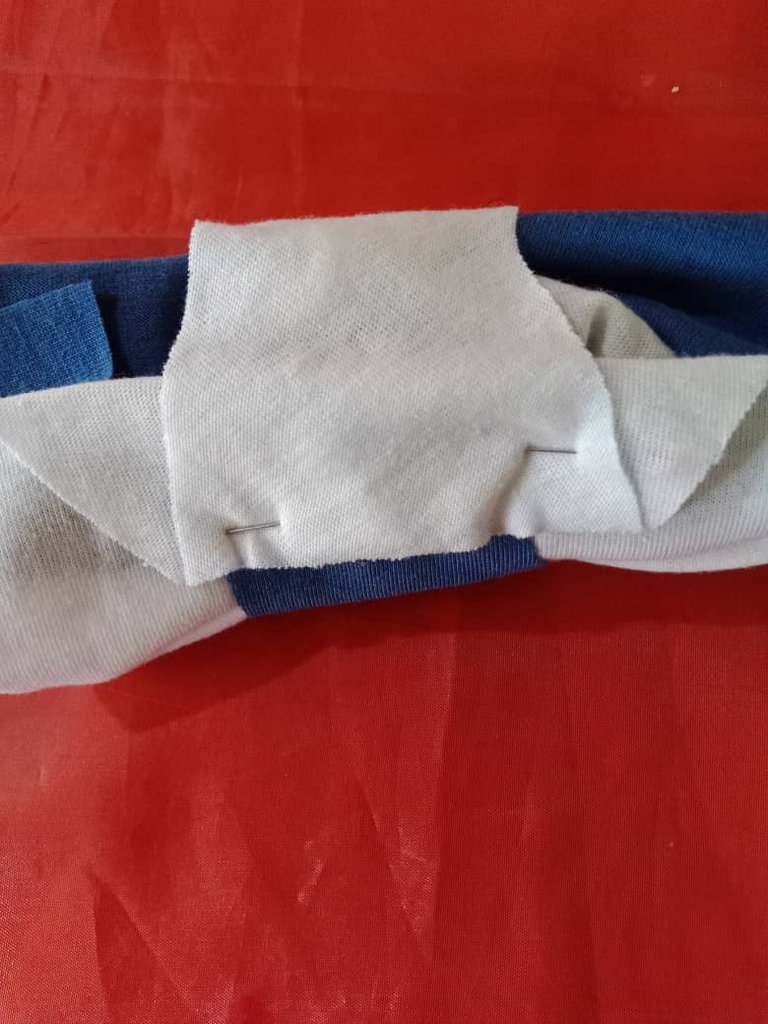
Then I faced the back with the center and passed the white piece through the top forming a kind of "bollito", pinned and sewed, then I took the garment out through one of the holes, so the seams are emboned and the finish is neat.
Seguidamente enfrenté la parte trasera con el centro y pasé la pieza de color blanco por la parte de arriba formando una especie de "bollito", sujeté con alfileres y cosí, luego saqué la prenda por una de los orificios, así las costura quedan embonadas y el acabado prolijo.

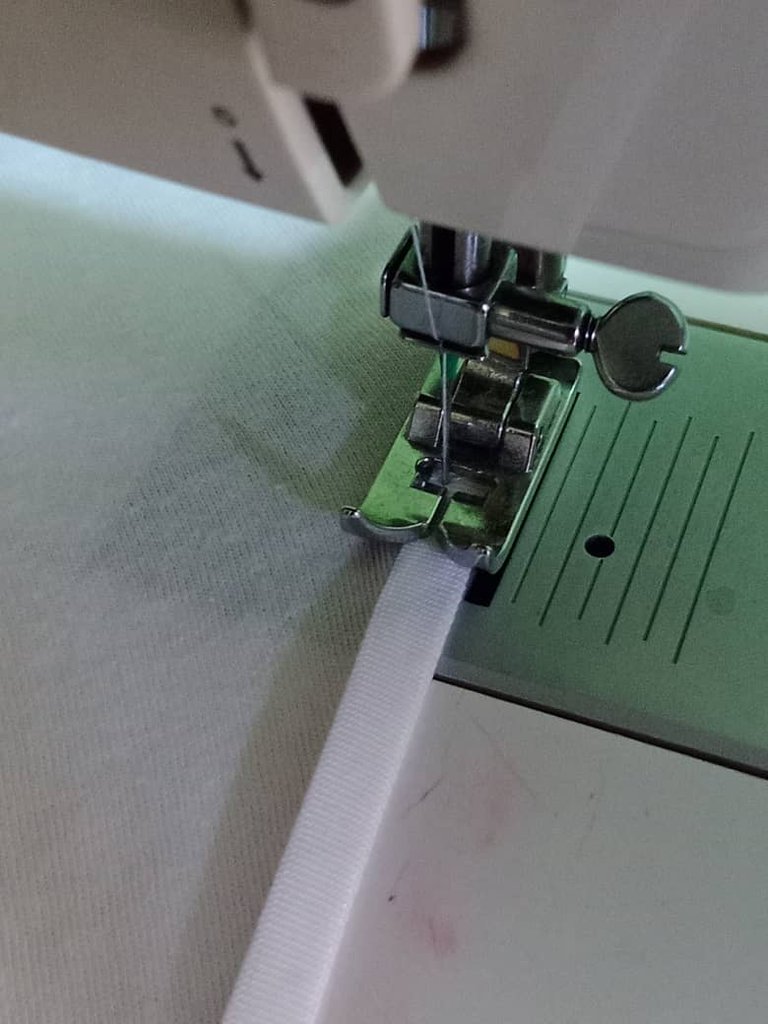
The next step is to glue the bias binding with the garment open starting from one of the ends, stretching one (1) centimeter of elastic every five (5) centimeters, gluing the elastic on both legs and closing the sides.
El siguiente paso es pegar el sesgo con la prenda abierta iniciando desde uno de los extremos, estirando un (1) centímetro de elástico cada cinco (5) centímetros, pegado el elástico en ambas piernas cerré los laterales.
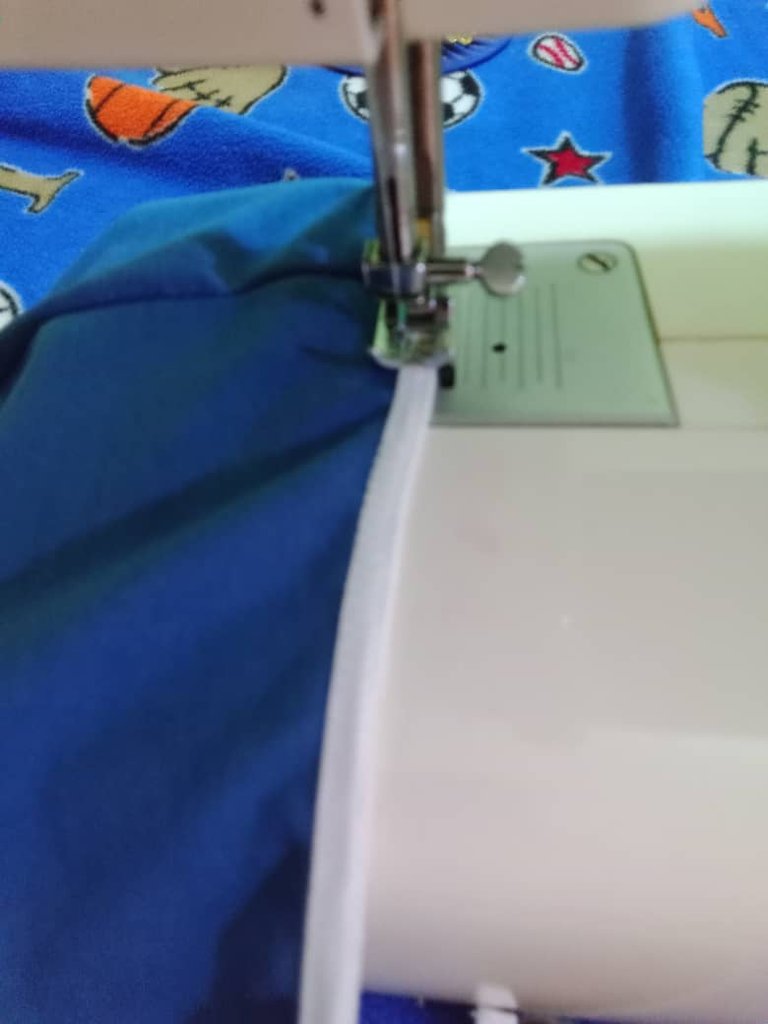
To finish I stuck the bias at the waist, measured the contour (78 cms) fastened with pins divided into four (4) parts and sewed with zigzag stitch stretching the elastic according to each quadrant, glued a blue ribbon in the center front and thus is finished the Deeplurker inspired panty.
To finish I stuck the bias at the waist, measured the contour (78 cms) fastened with pins divided into four (4) parts and sewed with zigzag stitch stretching the elastic according to each quadrant, glued a blue ribbon in the center front and thus is finished the Deeplurker inspired panty.
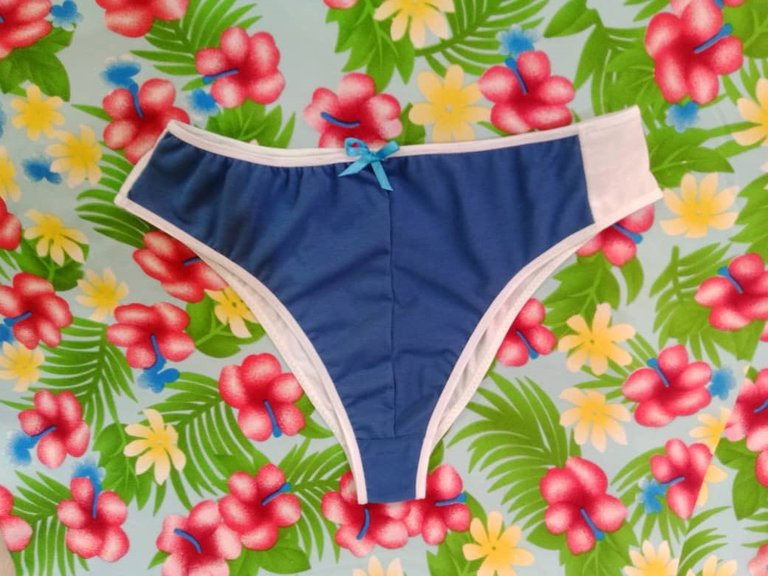
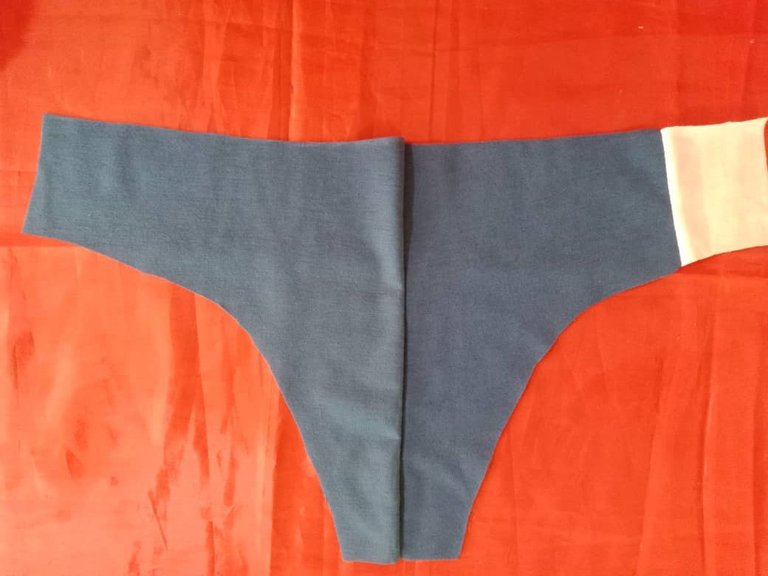
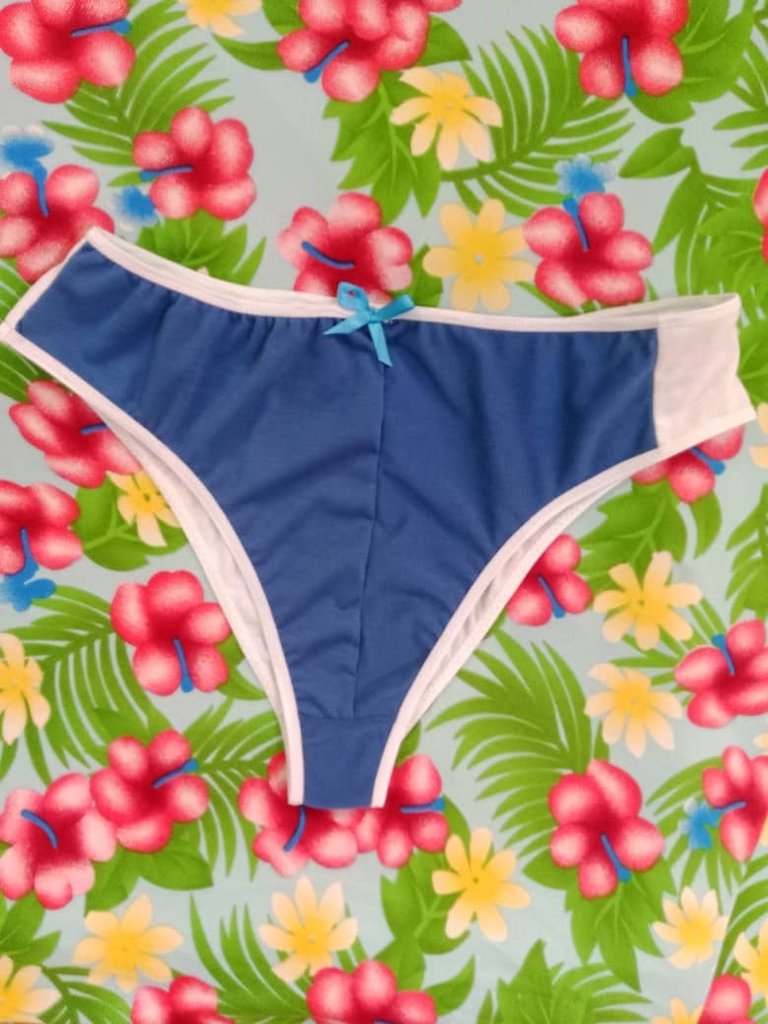
The high-cut panty is comfortable and I like the jersey fabric for this type of project because it is soft and sews very well and the texture and elongation adapt very well to the intimate garments, I have done several jobs with it and the result is excellent.
La panty de corte alto es cómoda y la tela jersey me gusta para este tipo de proyectos porque es suave y se cose muy bien además la textura y elongación se adaptan muy bien a las prendas íntimas, he realizado varios trabajos con ella y el resultado es excelente.
Blessings!
Bendiciones!
Hasta luego!
Translated with https://www.deepl.com/translator
              All images are my own, captured by a Síragon LC-3000 camera. Dividers courtesy of @kattycrochet.


   Todas las imágenes son de mi autoría, capturadas por una cámara Síragon LC-3000. Divisores cortesía de @kattycrochet.
Bonito proyecto @belkyscabrera, que bueno que puedes ver materializado los frutos de tu aprendizaje, es muy bonito ver tus progresos en la costura. Gracias por compartir. Saludos!
Hola Kattty, es gratificante ver como cada día se van logrando ciertas metas, la técnica del embonado me gusta y he estado practicando en estos días; el resultado es genial y todas las costuras quedan ocultas. 🌻🌺🌸
Que tengas un lindo día!
Hola amiga, espero también hayan disfrutado en familia este Día de las Madres.
Quedo bien chévere, es bueno saber lo de la tela y la cantidad de elástico, estoy por aprender hacer estas blumas y me gustan así corte alto.
Saludos bella,es un proyecto sencillo de hacer, pegar el elástico sería lo más difícil pero con un poco de práctica se logra, espero ver pronto tus creaciones. 🌼🌷🌻
Feliz martes!
Ya tengo los patrones en mano, ahora me falta comprar los materiales para empezar,jejeje.
Buenísimo amiga, seguro te quedarán espectaculares, desde ya manos a la obra para luego es tarde je, je ✂️🧷 👙
Saludos!
Great job!
I like the ribbon that you added in front of it
It gave it some sort of “modern style”
I like it
Hi @abenad, glad you liked it, the colors look great and the cut of the panty is perfect to hide the "tummy" heh, heh. 🌷🌼🌻💐
Cheers!
Haha
Cheers
🤗👍🌺🌻