Something Old, Something New, Something Sneak-y - Using Dragons in Battle!
This week's Share Your Battle challenge features the Dragon splinter! There are plenty of interesting cards in the Dragon splinter, so much so that I decided to share a second battle showcasing them this week. While my first battle showed off a high mana monster, this second battle displays another side to the Dragon splinter - one where smaller, more mana efficient monsters can get the chance to shine. As referenced by the title, we'll even be using one of the newer soulbound Dragon cards in this fight, which means that in addition to our dragon summoner, we'll also be using a pair of Dragon monsters - much excitement!
If you wanted to jump right to the action, the Battle Link is right here. Want to hear some more about the lineup? Read on further!


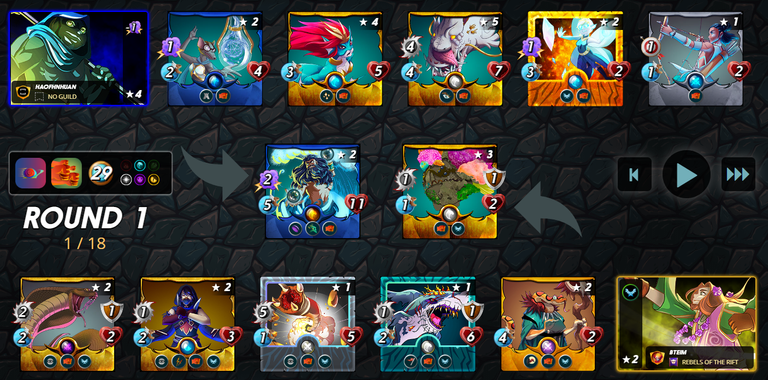
Here are the rules we'll be working with for this fight. We have Reverse Speed and Heavy Hitters, along with a medium-ish mana cap of 29, and 4 splinters to choose from. Heavy Hitters is not particularly impactful with my deck options, but Reverse Speed flips the usual speed equation on its head.

We have 4 splinters to choose from, but why not just pick two of them? The great thing about Dragon is that you can select an additional splinter's worth of monsters to add to your team. That potentially doubles the monsters you can bring into the fight! Brighton Bloom is a solid Dragon summoner, giving the entire team Flying for a bit of extra evasion. Any magic attackers won't be affected, but any melee or ranged monsters on my opponent's team will be more likely to miss.
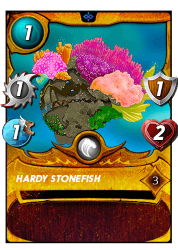
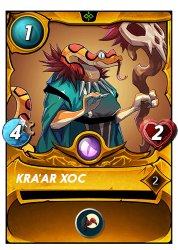
This battle we'll be going with a bit of a Sneaky strategy and loading up on some indirect attackers. Unfortunately, with a medium amount of mana to work with this means that the bulk of our mana is going to be spent on the middle and back line. So the primary and secondary "tanks" are Hardy Stonefish and one of the new soulbounds - Kra'ar Xoc. Both of them are super cheap, costing just 1 mana apiece. Kra'ar is great as a budget cannon fodder here, as 4 speed gives us a decent miss chance, and Scavenger means that Kra'ar can potentially gain quite a bit of additional health over time.
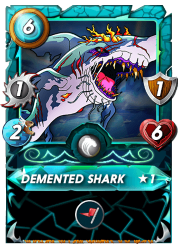
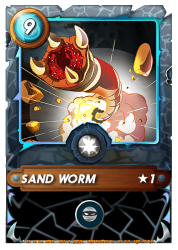
The midline holds our lineups most expensive monsters. Demented Shark is great here, buffing all of the melee monsters on the team. And since we are going with a Sneak strategy, that is nearly all of them! Sand Worm really shines in Reverse Speed, pairing a beastly 5 attack with the best possible speed (1) in the ruleset.
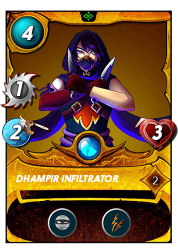
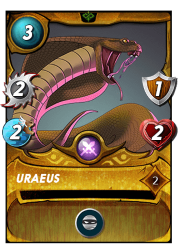
We'll round out our team with as much damage as we can squeeze (or should I say, Sneak?) in. Dhampir Infiltrator is a standout in this particular lineup - 2 speed is pretty darn good in Reverse Speed, and Demented Shark's melee attack buff will get applied to both Double Strike attacks, effectively doubling the bonus. Not bad for 4 mana! Uraeus doesn't have quite so much synergy, but another Sneak attacker with some armor for just 3 mana is a great deal!

With the lineup set, it's off into battle! When I see the selected teams I am hopeful - as you could probably tell from my lineup, the plan was to use heavy Sneak damage to take out the enemy lineup from the back. My opponent has helpfully positioned all of their weaker monsters towards the back of the team, meaning that my attackers appear to be well positioned to carry out my strategy.
The battle starts off with a bang - in the first two rounds all of the weaker monsters on both sides get wiped off the board. Unfortunately, this includes Kra-ar Xoc, who goes down without much of a fight. On the other hand, Dhampir Infiltrator is doing solid work, teaming up with my other Sneak monsters to do some serious damage.
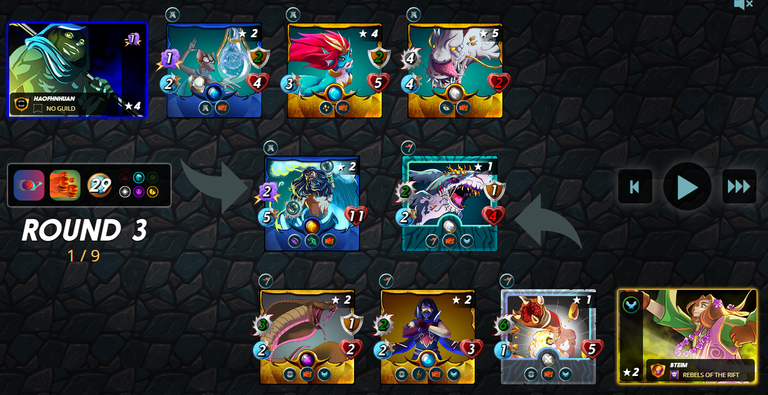
One more round and the battlefield is beginning to clear. Luckily I still have the bulk of my firepower left, while the enemy team is beginning to look a little sparse.

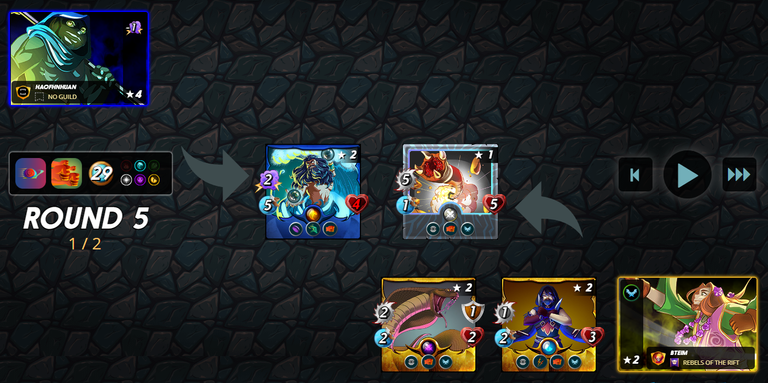
One more round and the outcome becomes clear - thanks to Reverse Speed, my Sand Worm is poised to deliver the finishing blow on Djinn Oshannus to close out the victory. And again, if you wanted to see the whole battle for yourself, you can see it right here.
Our strategy for this battle worked perfectly - my frontline monsters were able to stall for a bit while my army of Sneak attackers were able to tear through the opposing monster lineup in relatively short order. While Kra'ar Xoc played more of a cannon fodder role in this battle, Dhampir Infiltrator came up big in the fight and dealt plenty of damage to the enemy team. And let's not forget that our summoner, Brighton Bloom, made this whole team selection possible in the first place.
While many of the more memorable Dragon splinter cards are the expensive flashy ones, this battle is a reminder that big expensive monsters are not the ONLY thing that the Dragon splinter is good at. There are plenty of small, efficient monsters to choose from too! All of the Dragon cards from this battle are solid ones to have in your toolkit, and will continue to see some play in my battles.

Thank you so much for reading all the way to the end. Interested in seeing some more of my writing in the future? Be sure to give me a follow! In the meantime, if you'd like to see some of my recent posts:
Splinterlands Economics: Causation - A look at causation, and how we can apply it to Splinterlands!
A Bit of Carnage - Using Dragons in Battle! - Part 1 of this week's battle challenge, featuring the Dragon splinter!
Splinterlands Economics: Ceteris Paribus - An introduction to the concept of Ceteris Paribus, and how we can apply it to Splinterlands!
Thinking about giving Splinterlands a try but haven't signed up yet? Feel free to use my referral link: https://splinterlands.com?ref=bteim, and be sure to reach out to me if you have any questions!
All images used in this article are open source and obtained from Pixabay or Unsplash. Thumbnails borrowed with permission from the Splinterlands team or made in Canva.
https://twitter.com/1467643672636190720/status/1629278097869770753
The rewards earned on this comment will go directly to the people( @bteim ) sharing the post on Twitter as long as they are registered with @poshtoken. Sign up at https://hiveposh.com.
Do you know you can win a Chaos Legion pack and many other things just by following some simple steps ?? Check out our Latest Daily Showcase and Participate our latest Giveaway. Thanks
Thanks for sharing! - @alokkumar121
