Weekly Challenge: DRAGONS
This season has been one of the worst in a very long time and not so much because of the rewards, because they have been relatively good, but in terms of games won and moving up leagues it has been a total failure. At this point in the season I was already in the Diamond league or at least almost there, however, I'm hovering between Gold 3 and Gold 2. There is something exactly that I still don't see that makes me lose so much, I think they have also improved a lot the performance of the bots and now they play much better. Also, it doesn't help much that now if you go below 50% of your ECR you lose more % if you lose, this is one of the worst changes that have been made in all Splinterlands, it is only 50% of the ECR and that you lose a lot of % after a defeat is too unfair, I think 40% would be much fairer. But anyway, I wanted to give my opinion about this season and that specific Splinterlands change before focusing on this week's challenge, which is to use Dragons, and actually doing this challenge was not as difficult as I thought (considering how I have done this season), I was able to complete and win battles using the Dragons deck with relative ease and these were those games:
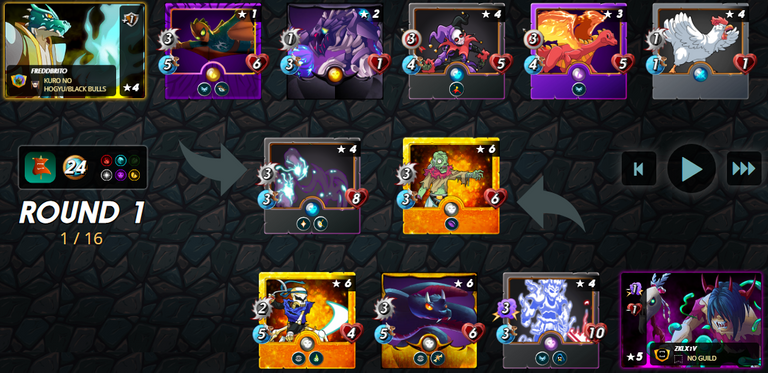
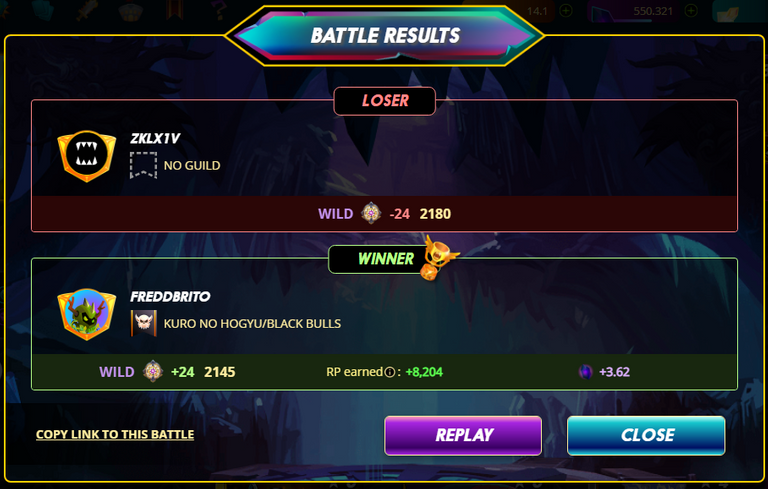
In this first battle I used my favorite Dragon deck combination: Dragon+Death. I think this is perhaps the best combination or at least it is the one I find best to use and the one that gives me the best results. Anyway, for this battle I placed in first position one of the most classic cards of the Death deck: Haunted Spirit, a card that is almost never missing when I use the Death deck and this time was no exception. Continuing with the formation I placed a card from the Dragon deck and a card that 99% of the times I use the Dragon deck I always place in formation: Dragon Jumper. In third position, is one of two cards that have 0 mana cost: Corpse Fiend, a card that always comes in handy to fill empty spaces and that in many opportunities can even give you the victory. In the next two positions I thought of placing ranged attack cards, so I wanted to use both a card from the Death deck and another from the Dragon deck that had those conditions and the chosen ones were: Twisted Jester and Fire Spitter, two of the most classic cards of their respective decks. And at the end of the formation, there is the second card of 0 mana cost, and logically it is: Furious Chicken.
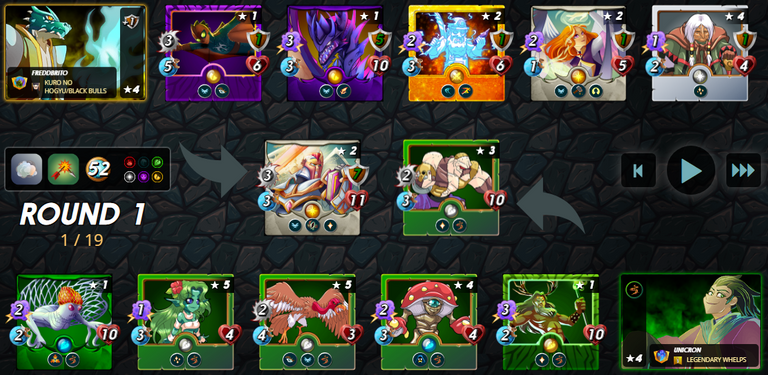
I found this second battle spectacular and unlike the first one, I used the Dragon+Life combination, why? I don't know, I just chose randomly and it worked for me, but essentially it was thanks to 3 cards. Uriel The Purifier, Adelade Brightwing and Divine Healer. These 3 cards with great differences were the MVP of this battle, what Uriel The Purifier does with his ability, which is quite controversial, was incredible, plus everything he resisted thanks to the abilities of Adelade Brightwing and Divine Healer was crazy, so much so that at the end of the battle, Uriel The Purifier remained with all his life and shield points. However, just like in the first battle, Dragon Jumper was also in this battle and impressively, he died twice killing one of my opponent's cards. Thanks to one of Adelade Brightwing's abilities, Dragon Jumper died killing an enemy card, but revived thanks to Adelade Brightwing, however, again Dragon Jumper died killing another card of my opponent, it was quite funny. The other cards that were helpful were Chaos Dragon with its great magic attack and the classic Spirit Miner, which thanks to its ability increased 1 point of speed to all my cards, which was something of great importance for the victory.
https://twitter.com/freddbrito_/status/1557422756651835392
The rewards earned on this comment will go directly to the people( @freddbrito ) sharing the post on Twitter as long as they are registered with @poshtoken. Sign up at https://hiveposh.com.
Thanks for sharing! - @marianaemilia

Good battle, thanks for sharing!