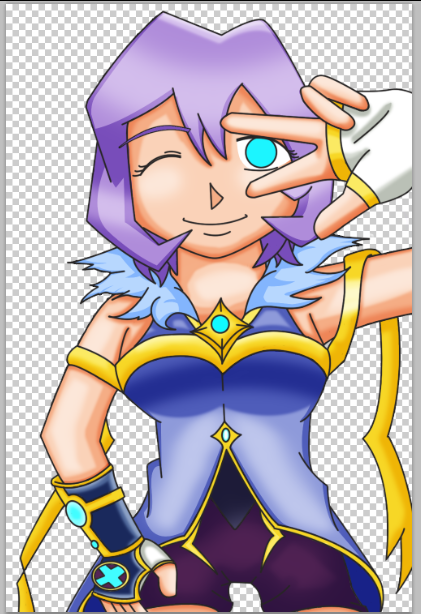
Riftwatcher's Water Caller Fan Art
Edited in Canva Pro.

Sources and Materials
Below are the materials I used in this art.
Edited in Canva Pro.
𝕴𝖓𝖙𝖗𝖔𝖉𝖚𝖈𝖙𝖎𝖔𝖓
It's been a while since the last time I drew an art and this is because while looking at my weekly art entries for Splinterlands, I'm having second thoughts on making one.
I ain't good with digital colors, especially shadows and highlight swatches and it's one of the most basic thing you need to do digital art. I've been doing some research lately, practicing off screen and doing some experiments and this is when I saw @overlood's TARSA Fan Art - Splinterlands Art Contest! Week 175.
It was so amazing that it gave me lots of ideas all at once and gave me confidence that I can do something like this, my own version of the Splinterlands monster instead of trying to duplicate the original one that I've been struggling to do.
Unlike my in depth tutorials, this would be a very shallow one and just including some but not all of my thought process while doing my fan art. This is to cut my time and put more time in the drawing/coloring since the documentation part is the most time consuming when I do my usual stuff.
Step 1 Draft
If you would check my inspiration, Tarsa's eyes are different from his version which makes me want to make my own version of Water Caller than abiding with the original.
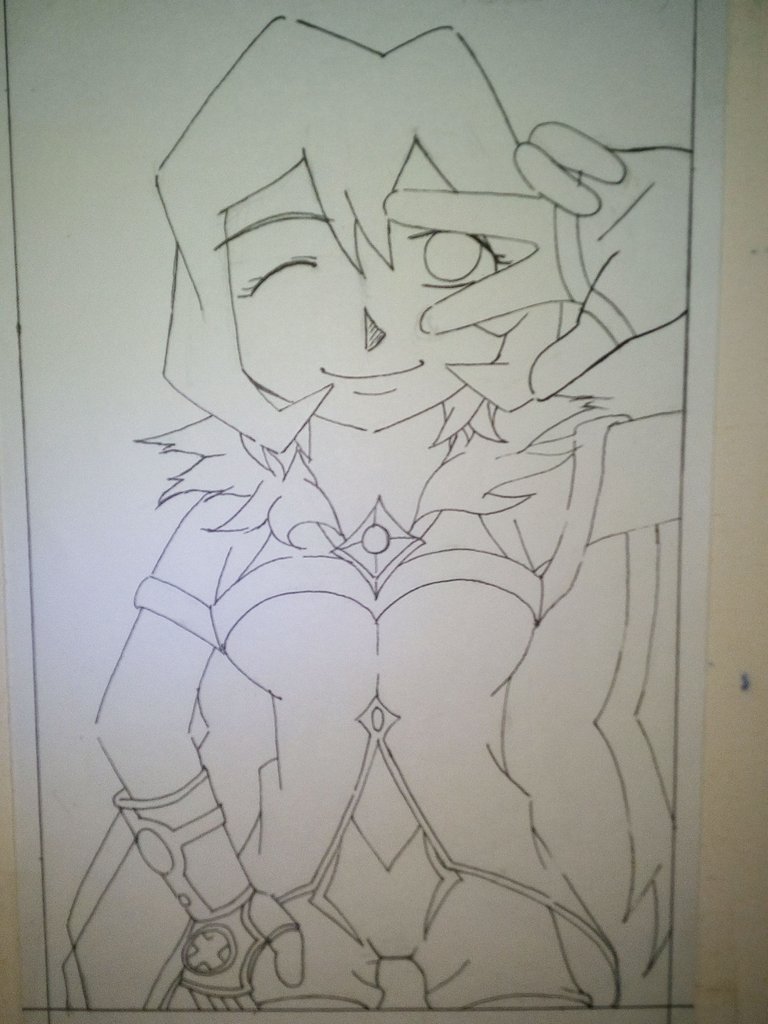
Step 2 Full Draft
Since the fan art canvas is rectangular, I can't use the 2000 x 2000 px that I normally use so instead, I made 1000 px width by 1500 px height.
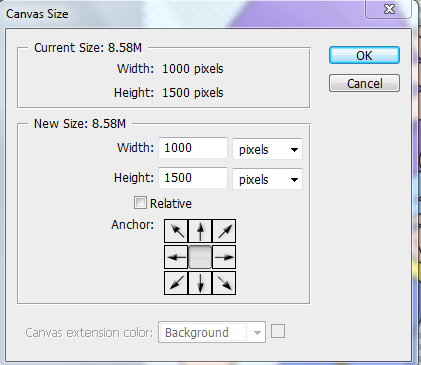
Using a 4px brush, I traced the draft. I have separate layer for the right hand, the one doing the peace sign, and the body.
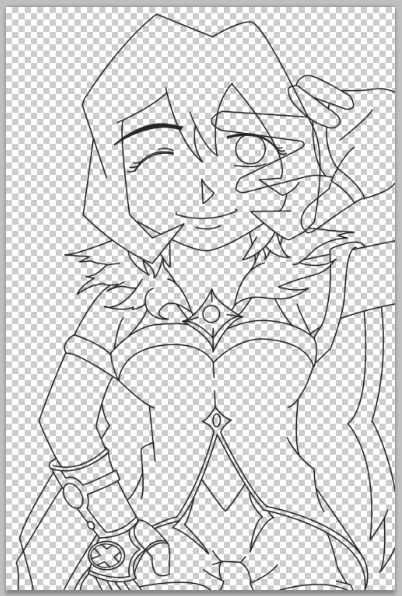
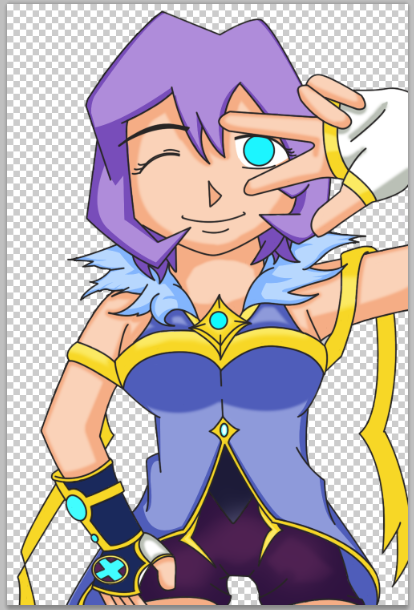
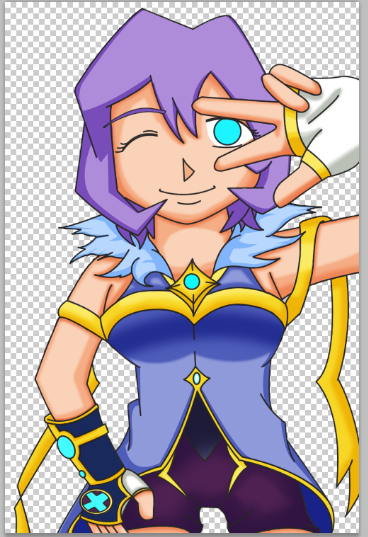
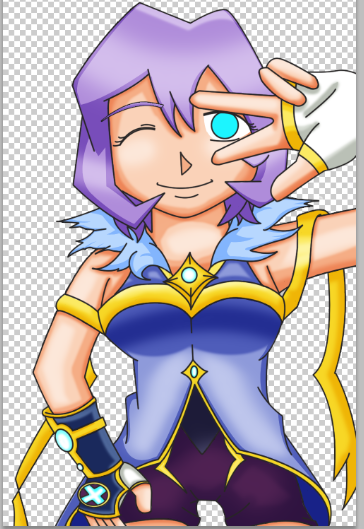
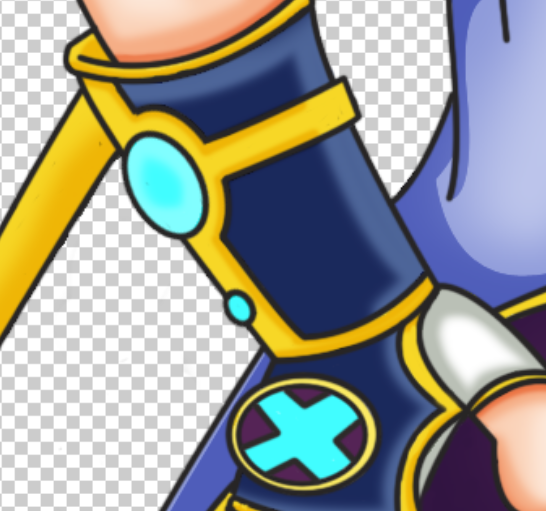
Step 3 Base Color
Here's the full base color that you can use if you want to make use of this as a guide.
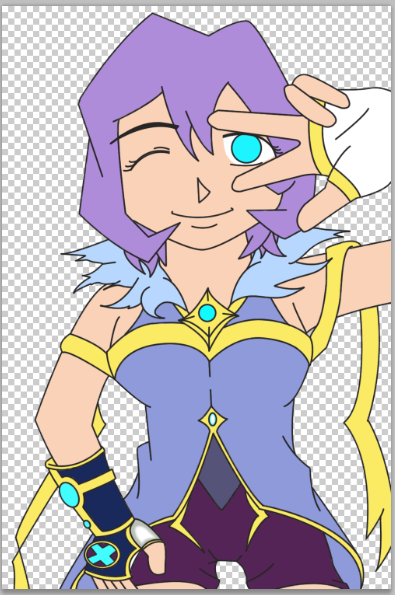
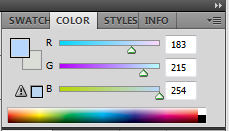
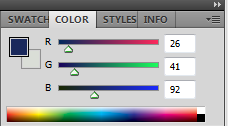
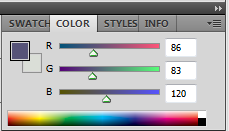
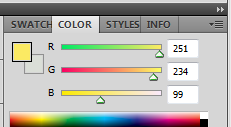
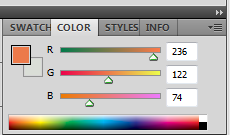
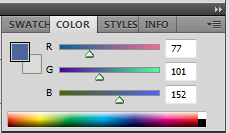
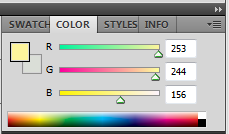
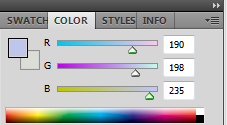
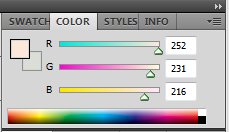
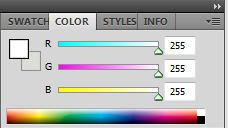
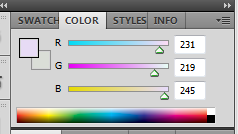
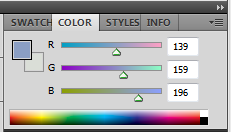
Below are the swatches I used for:
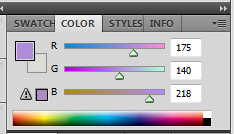
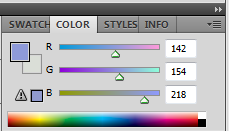
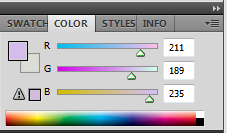
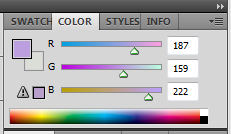
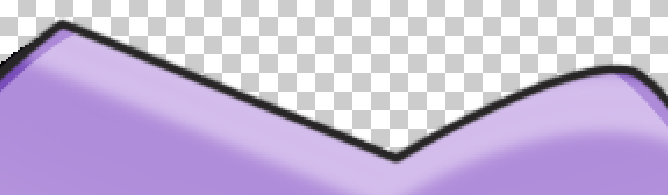
Hair:
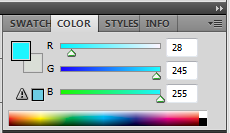
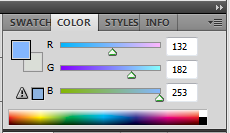
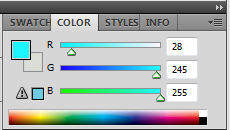
Eyes/Gems:
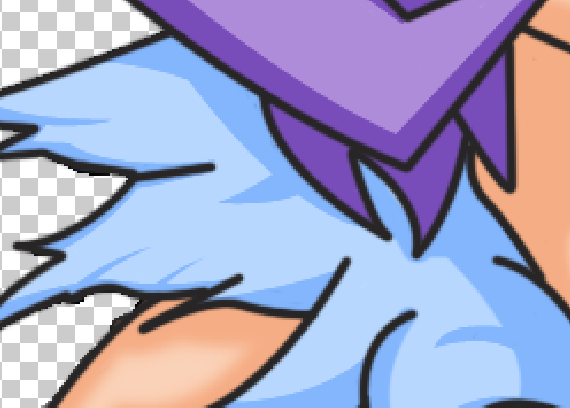
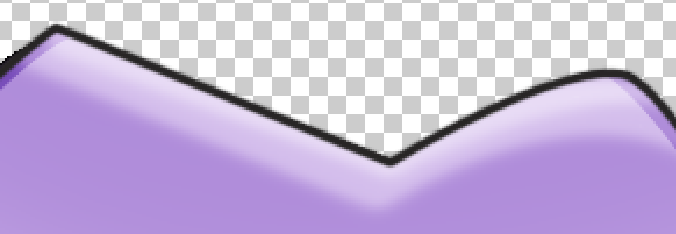
Feather on Clothes:
Blue part of the Glove:
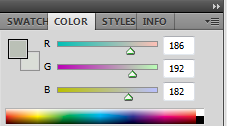
White part of the Gloves:

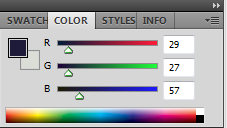
Inner Part of Clothes:
Clothes and Gloves Lining / Lightning Design:
Shirt:
Shorts:
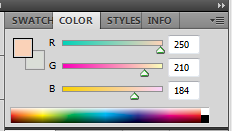
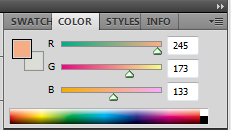
Skin:
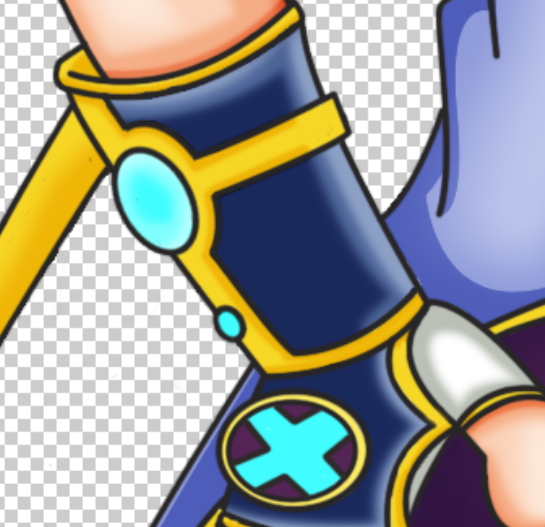
Step 4 Shadows
The new technique/changes I would do in this fanart is I did the shadows twice. I think the 1 shadow is not only make my drawing flat, boring and light colored. So, I did two shadows to add more depth.
Step 4.1 Shadows 1
First, the full picture so you can use as a guide for your own works:
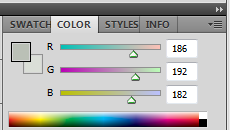
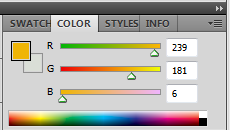
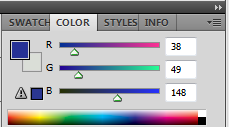
These are the switches I used:
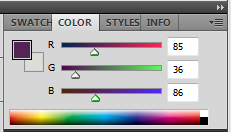
Hair:

Feather on Clothes:
Blue part of the Glove:

White part of the Gloves:
Inner part of Clothes
Clothes and Gloves Lining / Lightning Design:
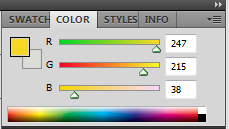
Shirt:
Shorts:

Skin:
I will do the eyes on a separate step to give emphasis on it.
Hard vs Airbrush
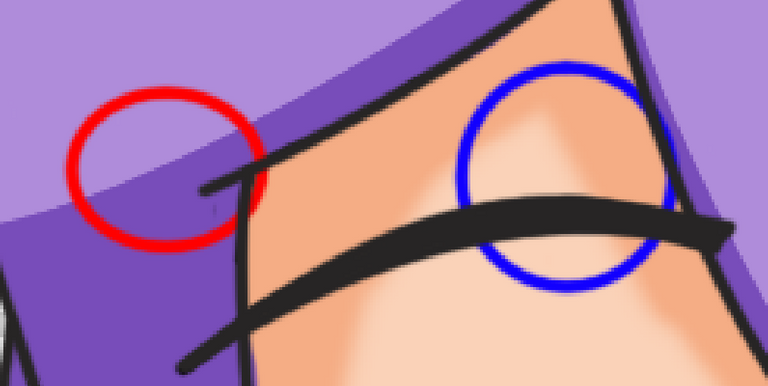
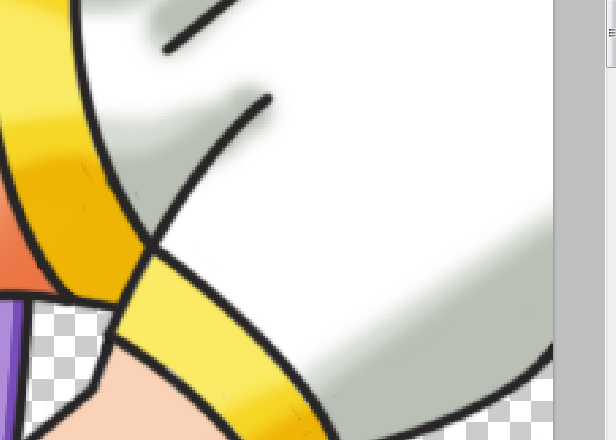
One technique I'm applying to this is the use of airbrush mode in Photoshop.
First, everything is shadows using a 100% hardness brush which will have an effect like the one on red circle. I apply this on the hair, and the feather details on the clothes.
Anything that has strips of hair-like fragment, the max hardness is the one I use.
The airbrush mode can be found on the upper options in the Brush tool.

Combined airbrush mode and 0% hardness gives me a soft ending, which added a bit of gradient like the one in the blue circle. It might not look too different when afar but a bit closer and it does have its effect.
It's more irrecognizable the lighter the color is like in this one.
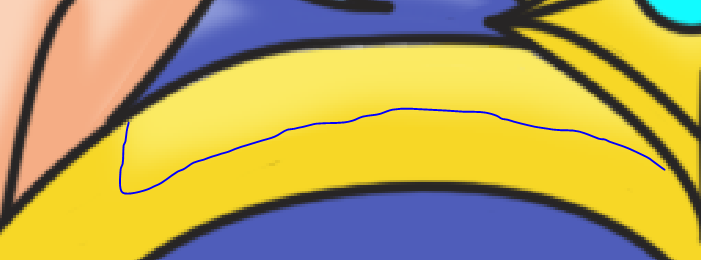
The blue lining is like a guide on how I added the airbrush shade after the first application of the shadow. You add the airbrush on the sides after you add the hard shadow.
Step 4.2 Shadows 2
The application of the shadow is not applied to all but only on few parts:
White part of the Gloves:
Clothes and Gloves Lining / Lightning Design:
Shirt:
Skin:
Here's the full view and you already can kind of see some changes based on this side by side view:

Using 0% hardness, 80% opacity, airbrush mode, I added these shadows on top of the other shadows.
I added some pics of a more close up view so you can see the difference more clearly.
Gloves:
Yellow Lining:
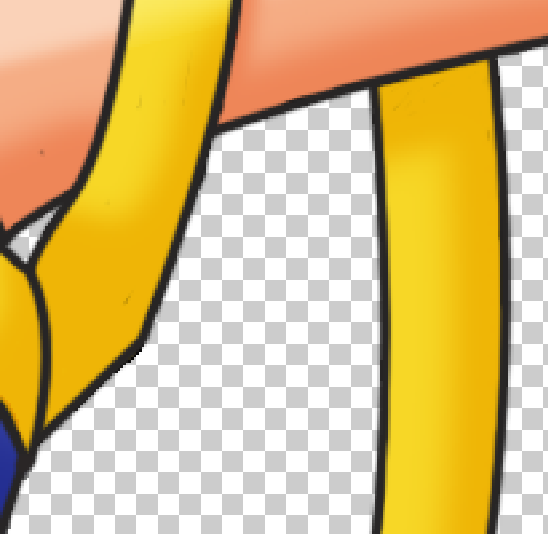
Skin:
Shirt:
Step 5 Highlights
Highlights go on the same way as the shadows. I've used 2 highlights on some to make things looks better.
Step 5.1 Highlights 1
The parts that I added highlights are :
Hair:
Eyebrow:
Blue part of the Glove:
Clothes and Gloves Lining:
Shirt:
Skin:
Gem Shine:
I didn't add highlights to everything, just parts that I think needed that.
I used a brush, enabled airbrush mode, with 0% hardness for this. Here's the full sample of after the highlights were added.
Step 5.2 Highlights 2
For the second highlight, I only added it in 2 places because adding more would destroy everything. Actually, adding the first highlights kind of already giving me a "too much" vibe but I don't want to make it too dark so I left the highlights as is.
The two places is the top of the head and the gloves. The first image is the 1 highlight and the second image has 2 highlights:
Hair Highlight Swatch:
Comparison:
Gloves Highlight Swatch:
Comparison:
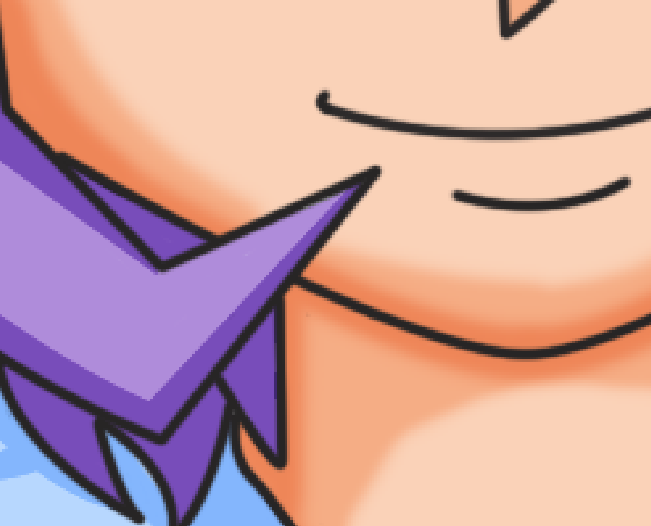
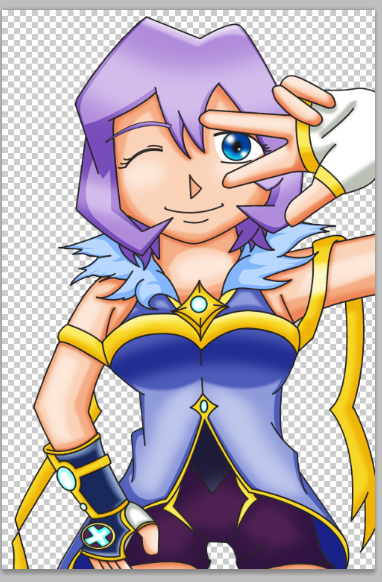
This is the final result after applying 2 shadows and 2 highlights:
Step 6 Eyes
Before we start, one suggestion I would say but you may or may not follow this. It's actually up to you. For each step in the eyes, do it in separate layer so if anything goes bad, you won't have issues fixing it.
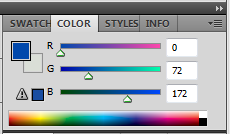
For the eyes, I first lay the white around the eyes then in the middle of the eyeballs, put the base color:
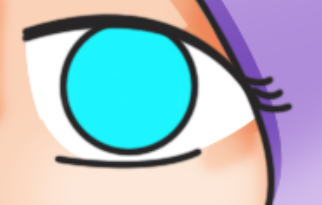
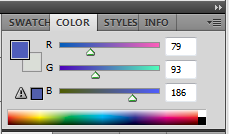
This is the color that I chose:
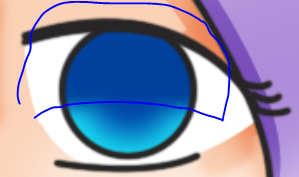
Using a 0% hardness brush with enabled airbrush mode, adjust the size of your brush to cover the 90% of the eyes. I used around 100-150px for this one:
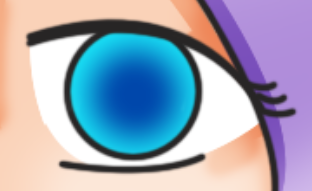
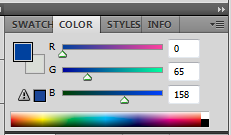
This is the color that I chose for the eye center:
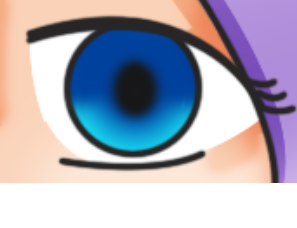
I like the eyes where the upper part is darker then going light as it goes down. We're going to darker the upper part:
This is the color I chose for this sub-step:
Next is applying the pupil. I think the circle one is boring so I made mine kind of oval like cat eyes but not so much:
Of course, use black for it:

Lastly would be the highlights. I added three dots of different size and hardness. It's totally up to you on how big or small the highlight is:
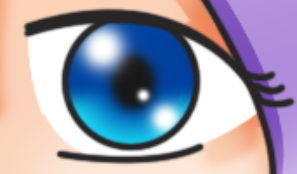
For the highlights, pure white is recommended:

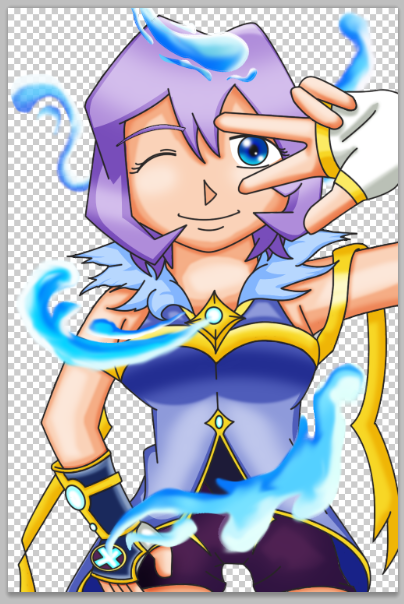
Here's the final result with the highlights and shadows added before adding the water effects and particles:
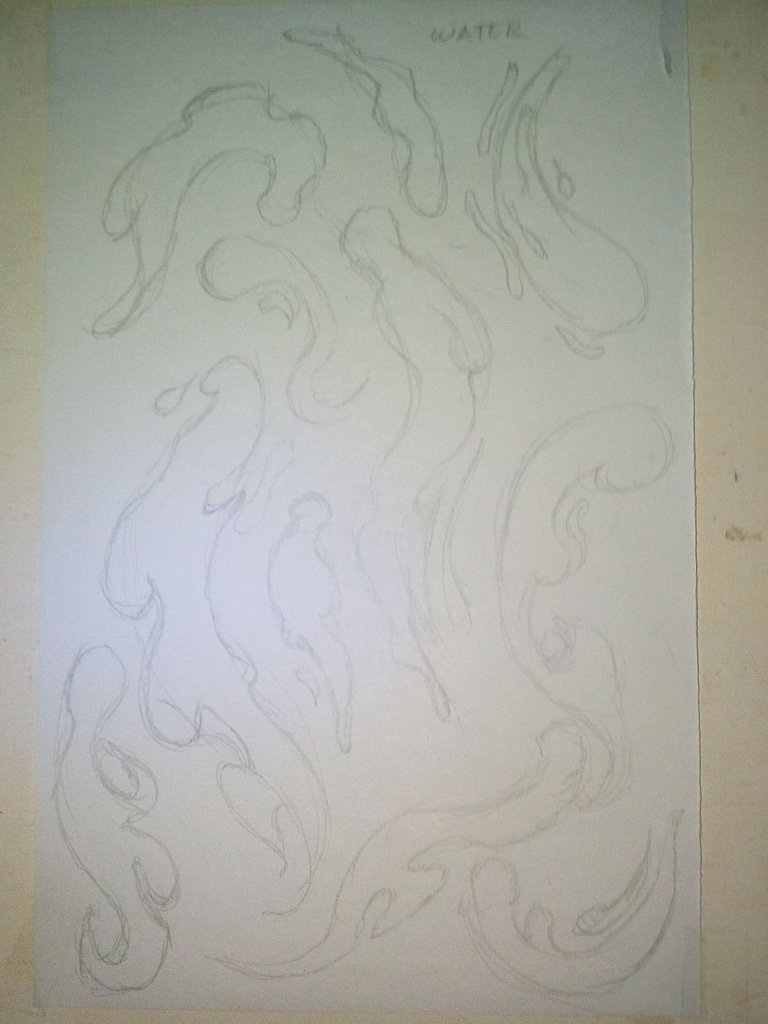
Step 7 Water Effects
Water Caller has these water surrounding her in her original art so I kind of wanted to try making my own. I put it separately but the shadows and highlights I will use is probably the same one above in this post.
Below is a sketch of possible water particles. I drew a bunch and then decided on a few to use that would look better with the fan art.
Then I traced it using a blue swatch:
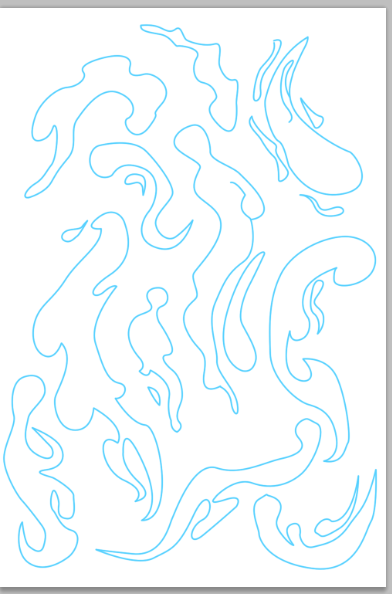
Here's the swatches I used:
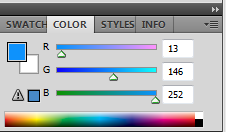
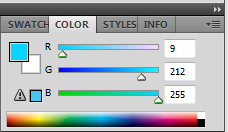
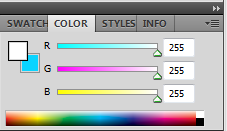
After applying the colors, shadow, highlights and some effects, here's the final result for the water effect that we would apply.
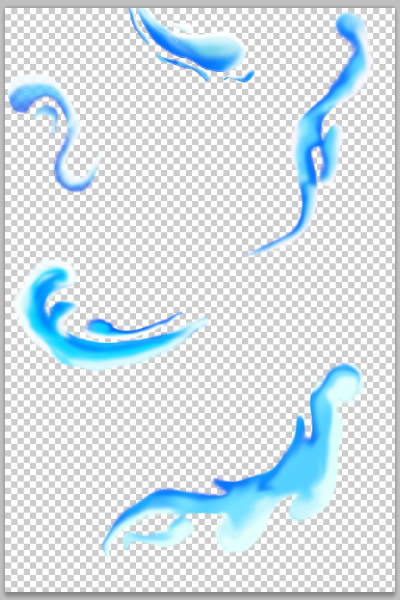
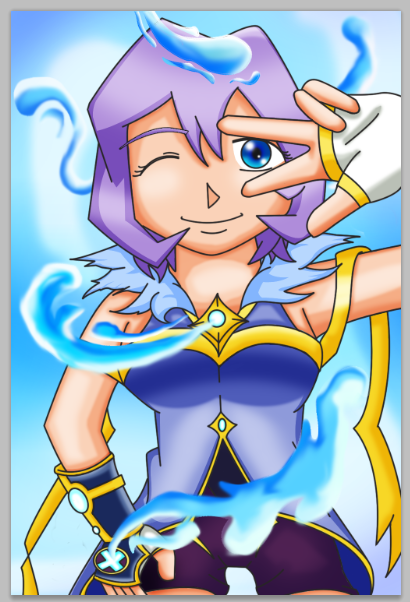
Any case, here's the full view of how it looks after the water particles are applied:
Step 8 Background
I wanted to make a misty background that would fit the concept but don't want a black or dark one so here's what I did:
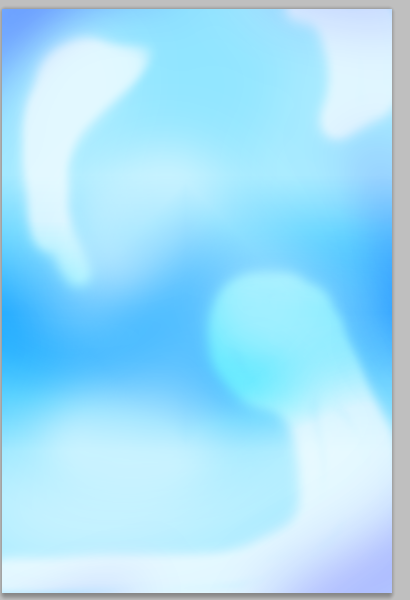
then finally applied it along with the main fanart and water effects:
This is just as an addition. After putting the water effect and background, my drawing seemed too dark so I applied a REALLY soft white filter above to make the different levels complement each other. Here's the final output and my entry for this week's Splinterland's Art Contest.
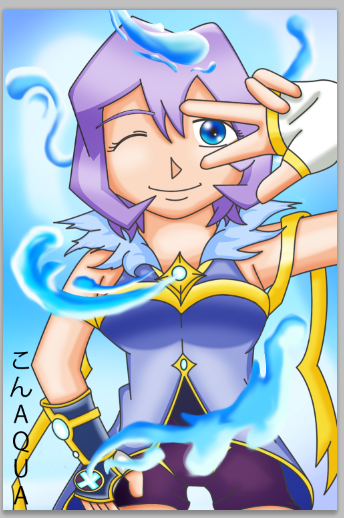

I'm completely happy about this one but I will still keep improving. It's been a while since I last uploaded an art I am satisfied of, probably in 3 weeks or so.
BUT I am happy to get back in the drawing board and will try to upload more once again.
I made a short timelapse for this fan art from beginning to end. I hope you like it.

𝔇𝔦𝔰𝔠𝔩𝔞𝔦𝔪𝔢𝔯
- This post is an entry for Splinterland's Art Contest.
- Other sources that I do not own are cited under their respective photos. Photos and drawings without cited sources are mine and made for this post.
- Animated Banners and Dividers are edited in Canva Pro.
- Some of the fonts used are from instafonts.io
- Thanks to MakeaGIF for the easy to use gif maker.
If you're interested in playing the game, support me by registering using my referral link here
ᕼᗩᐯE ᖴᑌᑎ ᗪᖇᗩᗯIᑎG!
By delegating your HP or some token to the @thranax bot, you are helping to support the community and the bot and earning healing rewards daily! and also you will get token with healing
Beautiful editing of this animated image, I love the way the rabbit and bird move.
I got that from Canva along with the effects. They have a free one but I uses the pro version.
Looks great and a nicely detailed post! Thanks for sharing and have a lovely day!
Thank you for the support. Have a nice day as well
😎👍
This one looks cool. 😊
Keep it up.
!1UP
Thank you very much. I am almost finish for next week and I think it's more exciting than this one.
Can't wait to see it. 😊
You have received a 1UP from @thecuriousfool!
@monster-curator, @oneup-curator, @fun-curator
And they will bring !PIZZA 🍕.
Learn more about our delegation service to earn daily rewards. Join the Cartel on Discord.
I gifted $PIZZA slices here:
@curation-cartel(16/20) tipped @konaqua (x1)
Send $PIZZA tips in Discord via tip.cc!
Thanks for sharing! - castleberry#6859
