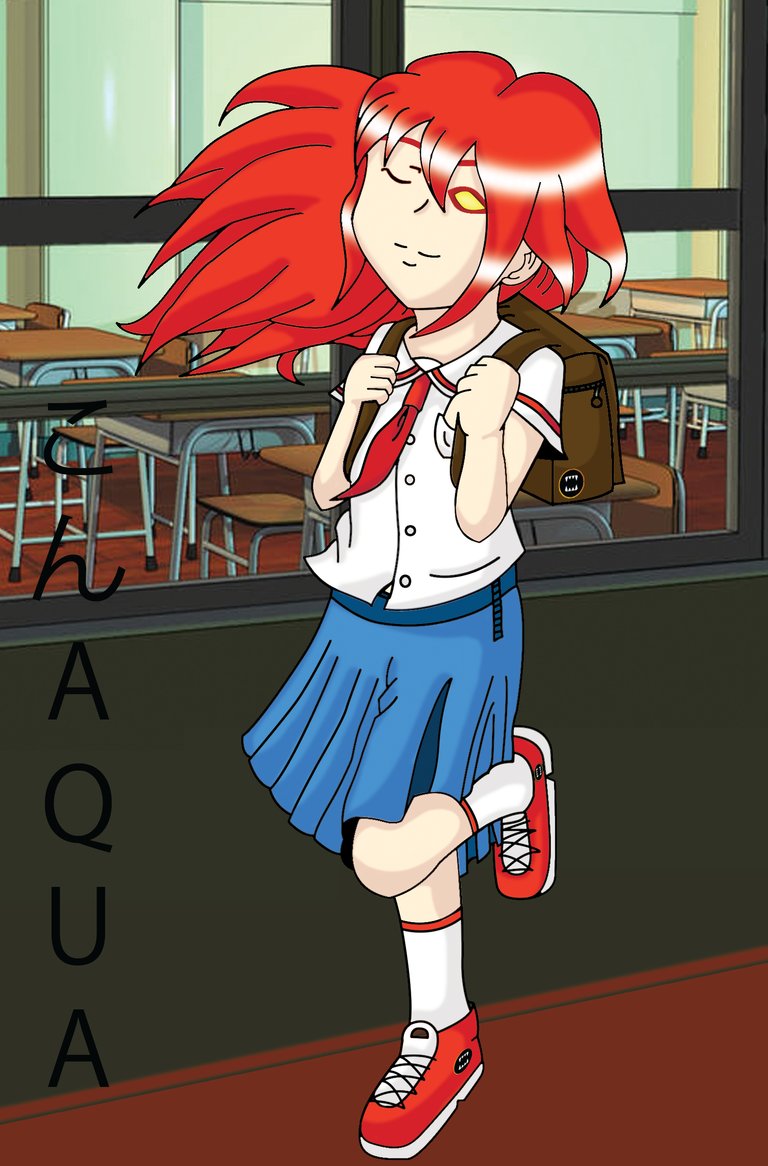
Tarsa Goes to School

Introduction
 I was originally planning to do a mini animation when I downloaded and practiced OpenToonz. The issue I have is that the "animations" that I want cannot be automated in OpenToonz and I still need to manually draw the step by step in order to produce the quality I want.
Instead, I will be focusing on coloring, shadows, and improving my lines for the meantime until I have the money to buy a graphics tablet that I can use for the said animation.
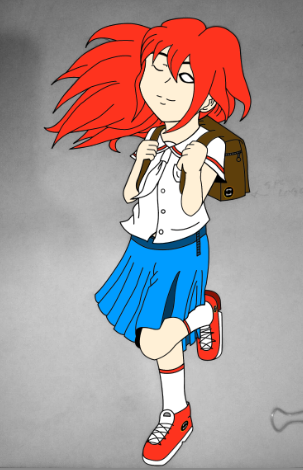
Here's a step by step drawing of Tarsa I made as she was caught in camera going to school.
Materials and Sources
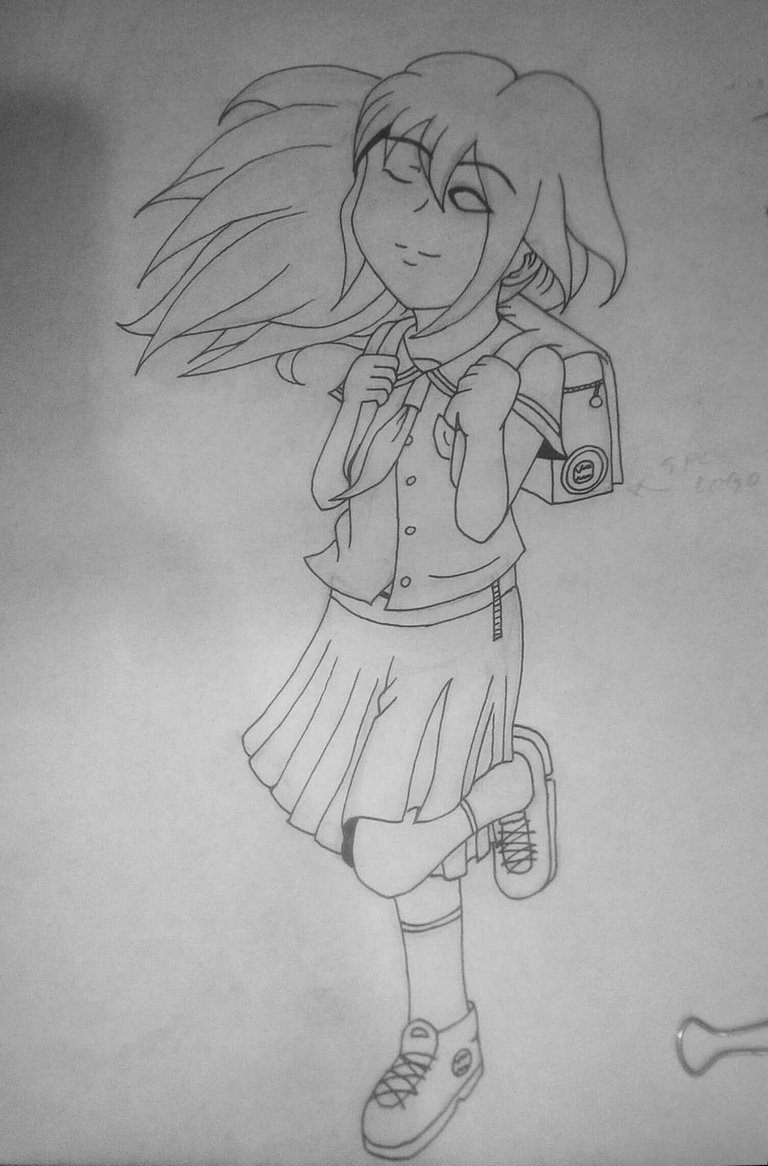
This is my own drawing. Of course, you need to have your own lineart first. Inspired by Tarsa from Splinterlands.

Photo from Splinterlands
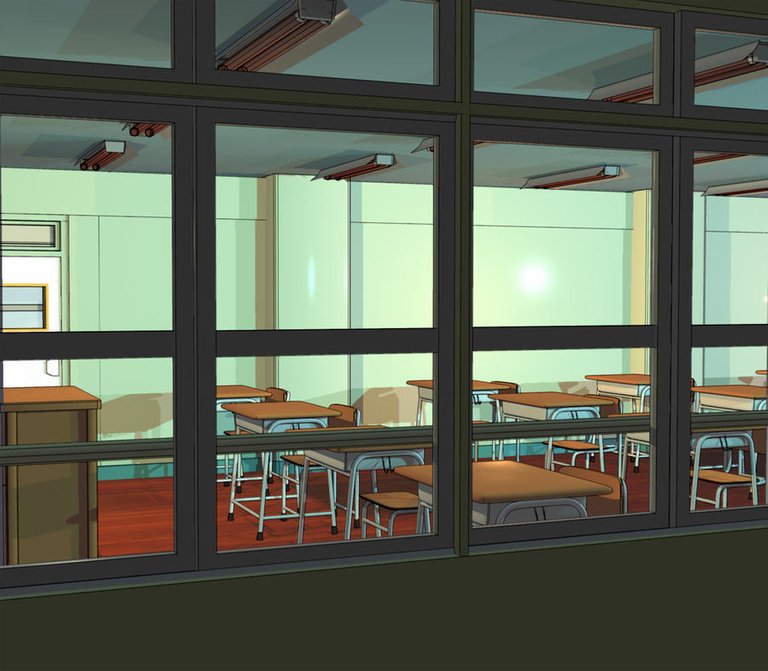
Classroom Background by firesnake666 at deviantart
Step by Step Guide
Step 1: Line Art
I already described before how I do my line arts. If you want a refresher, you can check out this link below:
Line art is the skeleton of your drawing. It's the black lines that your pen and pencils draw determining what is what. I've tried to find ways to make those easier but I've found no solution but to persevere. One thing I found out though is that the more you do your line art digitally, the faster you finish it. The whole line art for this drawing was done in probably an hour or under.
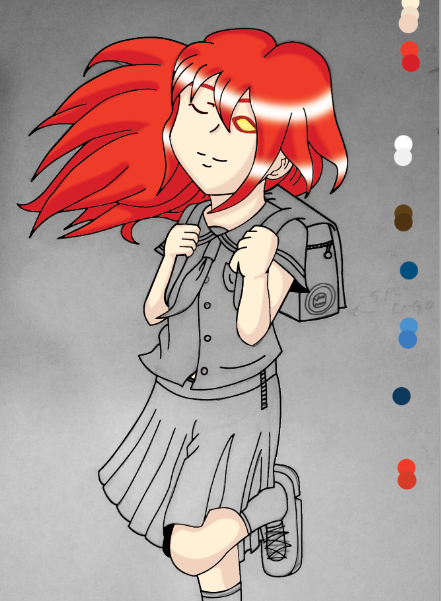
Step 2: Color Scheme

There's a lot of tutorials in the web regarding color schemes and color palettes. The one I am using is something that I read more than 5 years ago when I started drawing. I wanted to give credit to whoever I got this tip from but I really can't remember.
This one is pretty simple to understand. Pick any color you want for your drawing. This would be your base color. Then dial back the color palette by 15.
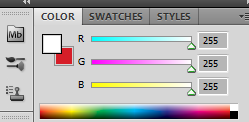
- Lower R (or red) by 15
- Lower G (or green) by 15
- Lower B (or blue) by 15
Then that would be your shadows. If you're still not satisfied, you can dial them down more until you get the result you want. For the highlights, do the opposite and add 15. Once you're done with your color scheme, set that aside for later.
Step 3: Base Color and layering
This is a trick that I learned while playing around. Use the Paint bucket tool and fill in your base color of your drawing. Of course, use different layers for each. Your layering should form something like this:
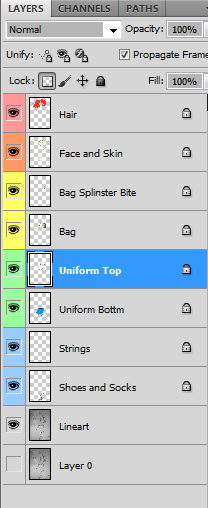
The reason for using your base colors as a guide for each layers is that it allows your to do three things:
- Check if the color is compatible throughout and complements each other.
- See if you did your layering properly.
- Allows you to use lock transparent pixel trick
Once you're done, yours should look something like this:
Step 4: Shadows
If you did follow the previous step and colored your base per layer, you can now lock transparent pixels of your layers.
What this does is it allows you to not color anything else besides the layers that are already colored (That's why we colored the base beforehand). All the transparent pixels are locked and will not be affected even if you intentionally or unintentionally tried to color the empty spaces. Since shadows are normally on the edges of the body, this is especially helpful for your cleaner shadows.
Step 5: Finalizing the Artwork
For this part, I would just give you a gist because if you followed the steps above, you can easily achieve this as well in any drawing you do.
Hair
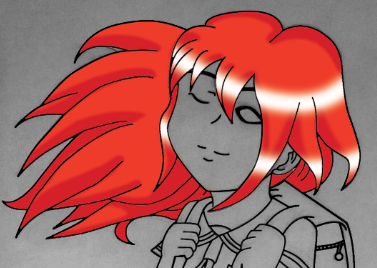
I learned this highlights trick from SomeNormalArtist on youtube in his tutorial that I would link here: # [TUTORIAL] How to Color Anime Hair: THE SEQUEL
I did not follow it religiously because I'm still learning colors but will surely do it once I hammered down the color schemes. I don't want to master a lot of stuff at the same time but rather focus on one at a time. Check out his youtube channel. The tricks he provides are really useful.
Skin
The tricky part is knowing what skin tone you want. I find copying other work's skin tones via eyedropper tool as not as helpful. I believe building up your own color schemes would be helpful for you. Have a jpg of your skin tones in your arsenal so you can pull it whenever you draw.
Bag
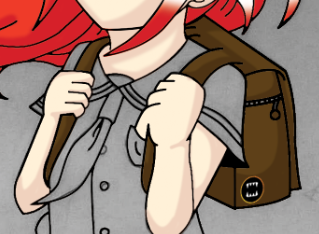
I added the Splinterlands' Logo since it looks really good. Looking at this, the perspective is really off. I need to put that on my LOOOONGG list of things I need to improve.
Uniform - Top
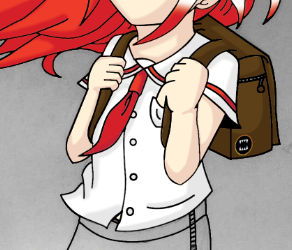
White blouse with red accents. Pretty standard. The shadows need to be a bit more darker.
Uniform - Bottom
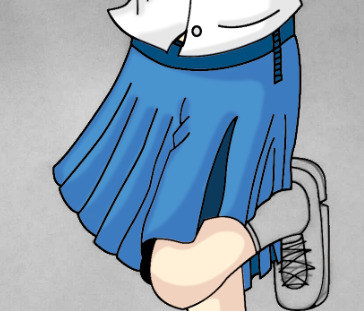
Blue and white and red all complements each other and I think it's a good touch.
Shoes and Socks
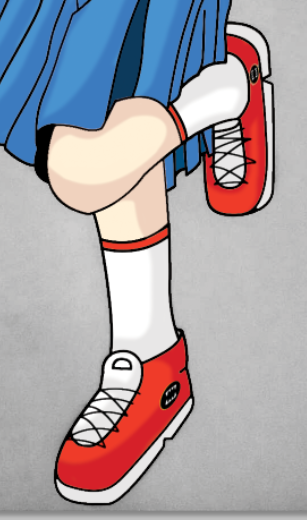
If you want a younger look, white socks is the way. If you're aiming for a bit more adult, black looks better. I also added Splinterlands logo for a touch. I used Photoshop CS5's skew tool to change perspective of the photo. It's the same one as on my sources above for all three logos.
Background
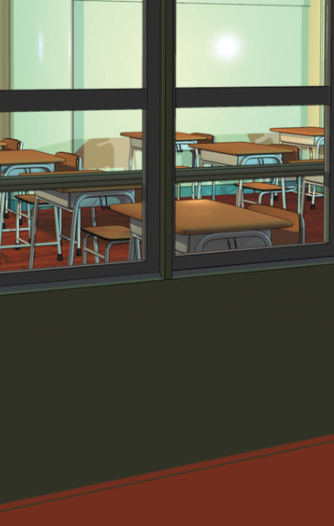
My mind's already at limit so I just tried to find a free background over the internet. This one's from firesnake666 from Deviantart. The perspective seems good enough so this is the one I picked. I added a floor and extended the wall since the one he did is a bit more sideways and my drawing's a bit more vertical.
Final Output
There's still a lot I need to improve but considering this is my second attempt on digital coloring from scratch, I consider myself as a newbie. And as a newbie, I think I did heck well for this one.
Also, I did a bit of animation time skip using the layers I used.
Disclaimer
If you're interested in playing Splinterlands, use my referral that you can find here
Unless otherwise indicated, the images used in this post are either mine or from bitmoji.
Everything is combined, edited, and enhanced using Photoshop CS5.
Thanks for dropping by
I like the anime style in your art ^^
Thank you. It should get better as I have more frequent practice :)
Congratulations @konaqua! You have completed the following achievement on the Hive blockchain and have been rewarded with new badge(s):
Your next target is to reach 200 comments.
You can view your badges on your board and compare yourself to others in the Ranking
If you no longer want to receive notifications, reply to this comment with the word
STOPTo support your work, I also upvoted your post!
Check out the last post from @hivebuzz:
Support the HiveBuzz project. Vote for our proposal!
Never seen Tarsa this lovely! Keep up the good work!
!1UP !PGM !PIZZA
BUY AND STAKE THE PGM TO SEND TOKENS!
Discord
Support the curation account @ pgm-curator with a delegation 10 HP - 50 HP - 100 HP - 500 HP - 1000 HP
Get potential votes from @ pgm-curator by paying in PGM, here is a guide
I'm a bot, if you want a hand ask @ zottone444
Thank you. I want Tarsa to have a partner. Who do you think suits her the best?
You're always welcome how about Kelya Frendul and they're the bullies hahaha
Oooohh~ I like the sound of that. I'll check the lore and see if it fits.
You have received a 1UP from @japex1226!
@monster-curatorAnd they will bring !PIZZA 🍕
Learn more about our delegation service to earn daily rewards. Join the family on Discord.
Thanks for sharing! - castleberry#6859

Yay! 🤗
Your content has been boosted with Ecency Points, by @konaqua.
Use Ecency daily to boost your growth on platform!
Support Ecency
Vote for new Proposal
Delegate HP and earn more
!giphy wow
!PIZZA
Via Tenor
Glad you like it.