CONQUERING THE FEROCITY BY AVOIDING THE TAUNT!
Ruleset Focus
FEROCITY ruleset.

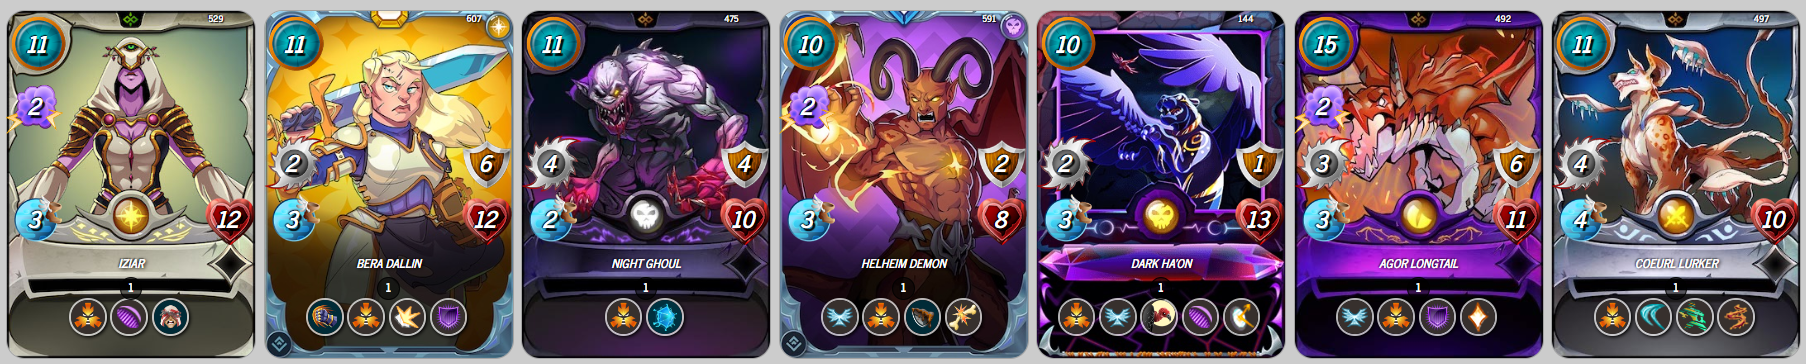
FEROCITY ruleset, it is crucial to highlight the role of the TAUNT ability, as they are intertwined. With FEROCITY, all Monster units gain the FURY ability, enabling them to deal double damage to a Monster with the TAUNT ability 😫TAUNT ability. Personally, I find battling under these rules quite straightforward, especially since I don't own or rent any high-powered TAUNT Monsters like Coeurl Lurker (Neutral Splinter) or Agor Longtail (Dragon Splinter). Because of this, the FEROCITY ruleset works to my advantage whenever it is in play 🤣
TAUNT ability!
FEROCITY ruleset! 😡
The Battle
While fulfilling my responsibilities in the Splinterlands scholarship account I have with Balthazar, bltzr-wizard-729, I was able to engage in a battle that involves the FEROCITY ruleset. To get right into the action, the battle link can be found here. Otherwise, do read on as I go into more detail regarding the lineup and fight.
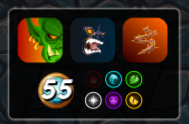
Let us begin by reviewing the ruleset used in this battle. First, we have the Up Close & Personal ruleset, which limits participants to Monsters with Melee attacks. Next is the main highlight of this week's challenge, the FEROCITY ruleset, which we have already explored in detail earlier. Finally, there's the Briar Patch ruleset, granting all units the Thorns ability. The battle has a 55 mana cap and prohibits the use of the Fire Splinter.
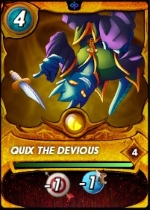
Summoner, Quix The Devious
After evaluating the rulesets for the battle, I devised a strategy for building my team. Based on my guess about how the enemy might arrange their team, I chose Quix The Devious as my Summoner. Quix The Devious has a -1 Range and -1 Speed debuff, which is crucial in this battle, especially given the Briar Patch ruleset, which usually encourages avoiding Melee Monsters, but that is not an option due to the Up Close & Personal ruleset! 😅
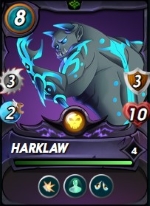
First Position, Harklaw
Harklaw played a pivotal role in my choice to go with the Dragon & Death Splinters combination. Its potent mix of Shield and Demoralize abilities proved highly effective, especially within the Up Close & Personal ruleset. The added Immunity ability made Harklaw my top choice for the frontline position, offering strong defense against enemy attacks while also providing resistance to debuff abilities like Demoralize from the other team! 😎
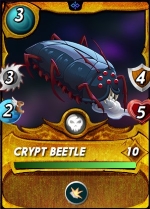
Second Position, Crypt Beetle
Crypt Beetle isnb't a favorite among players, and I'm no exception. However, given the context of this battle with the Briar Patch ruleset, its Shield ability becomes useful in mitigating the Melee damage it takes, whether from enemy attacks or the Thorns backlash after its own attacks. With solid defense, Crypt Beetle can endure several hits before succumbing to the enemy while simultaneously reflecting a good amount of Thorns damage! 😝
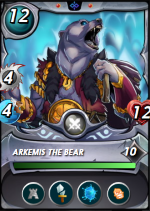
Third Position, Arkemis The Bear
What an absolute powerhouse of a Monster! Arkemis The Bear comes from the Neutral Splinter and features an impressive combination of abilities, making it one of the strongest Common rarity Monsters in the game. Despite its 12 mana cost, the skills it brings to a battle are invaluable. In my current setup, I have placed Arkemis The Bear in the third position to take advantage of its Protect ability, which gives a +2 Armor boost to the entire lineup! 🤓
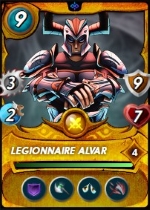
Fourth Position, Legionnaire Alvar
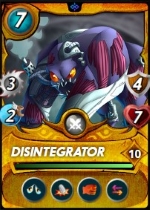
Last Position, Disintegrator
I selected both Monsters for their Demoralize ability. To make the most of this effect, I placed them towards the back of my lineup, ensuring that the Demoralize debuff would persist longer during the battle. This debuff was a key factor, working in harmony with Harklaw's Shield abilities, who is stationed at the front of the lineup! 😁
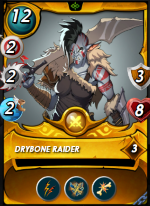
Fifth Position, Drybone Raider
The MVP of this battle is the Drybone Raider, which I placed in the second to last position in my lineup. I was fortunate to receive a Gold Foil version from one of my End Of Season Reward Chests! This adaptable Monster can deliver both Melee and Ranged attacks, making it perfect for battles with the Up Close & Personal ruleset. By positioning it second to last, I protect it from Sneak Melee attacks while allowing it to use its Ranged attacks to deal damage, amplified by its Double Strike ability! 💪
The Analysis

My opponent and I both followed the FEROCITY ruleset by not including any Monsters with the TAUNT ability, which wasn't surprising given the penalty associated with using these Monsters in this battle. However, I was quite surprised to see my opponent use the Mylor Crowling Summoner, which gives the entire lineup the Thorns ability, even though the Briar Patch ruleset already does that! 😅
With the Up Close & Personal ruleset in play, I knew I needed to add lots of Melee debuffs through the Demoralize ability, which I achieved using Harklaw, Legionnaire Alvar, and Disintegrator. These debuffs were in place right at the start of the battle, providing a solid defense against the enemy's Melee and Ranged attackers.
The debuffs, combined with Quix The Devious's -1 Range debuff, reduced the damage from the enemy's Melee and Ranged attackers to 1, essentially nullifying their offense against my Harklaw, who also had the Shield ability!
Meanwhile, my Drybone Raider was able to deal significant damage to the enemy from the backline with its Ranged attacks, efficiently taking out their Monsters.
Do you guys have any better recommendations for setting up the team in this particular ruleset? Do share them with me in the below comments 😜

If you made it this far, I sincerely appreciate your time and value your encouragement. Please feel free to leave any comments or suggestions so that we can discuss about other strategies. Thinking about giving Splinterlands a try but haven't signed up yet? Feel free to use my referral link: https://splinterlands.com?ref=ak08, and be sure to reach out to me if you have any questions!
Are you interested in reading some of my future writings? Don't forget to follow me! In the meantime, here are some of my most recent blogs if you'd like to view them:
 |  |
 | |
All banners, dividers card and battle images used in this article are open source and obtained from the Splinterlands team or made by flauwy. Do check out his link for other amazing designs.
I entered Champion III as soon as I saw the possibility to fight my way to the higher level.
My adventure in Champion did not last 24 hours
It is a powerful lineup.
Thank you for sharing
Happy season
!CTP
Yeah Champion League is a tough one right now!
Used to reach it before the Ranked battle revamp but not anymore now.
Been stuck at Diamond 1 😅
Happy End Of Season to you too 😊
Support as always!
Appreciate that bro! 😉
Are you looking for Tier 5 brawl guild? THE GUILD OF NEOXIAN looking for wild silver fray player. If you are good in that fray and interested to join then contact with our Guild Officer
xawi& Also Don't Forgot to Checkout our BDVoter Daily Hive Showcase & Participate into our Daily giveaway to win various prize.Thank you @bdvoter.cur for curating my post!
Appreciate it 😁
Thanks for sharing! - @underlock

Thank you for taking time to curate my post @underlock!
Appreciate it 😁