Holy Protection, Mage Secrets Challenge!
I'm back with another Splinterlands post. Following Splinterlands Mage Secrets Battle Challenge Holy Protection, this is my second post. I'm not sure why, but getting a battle with this ruleset is really difficult. But, after much effort, I was ultimately able to win this battle. I hope you enjoy what I'm about to share.
I'm neither a pro or a tournament hero, after all. I simply enjoy sharing strategies and battles that interest me. I fought in the modern fights Gold leagues using my scholarship account with IGN nightmareinbone, and the combat strategies I'd recommend may not be relevant in other leagues owing to the differences in ability that open up at each level.
Without further ado, let's get to the point.

BATTLE PREPARATION
Challenge Rules

RULESET: Holy Protection
Description:
All units gain the Divine Shield ability which reduces the damage of the first attack received to 0.
Divine Shield will be re-applied when a unit is Resurrected.
Blast damage will remove Divine Shield.

Battle Rulesets

The rulesets in this battle are:
- Holy Protection (All Monsters have the Devine Shield Ability)
- Ferocity (All Monsters have the Fury ability)
- Mana Capacity 25
- Active Element Fire, Life and Death.
Line Up and Strategy
This is a mana combat with a mana capacity of medium. Among the tactics I want to employ are:
- Focus your attack on a single tirik, avoiding Opportunity, Sneak, and Snipe enemies.
- Fill all slots, even if you just use low mana monsters, as long as the front monster is the target.
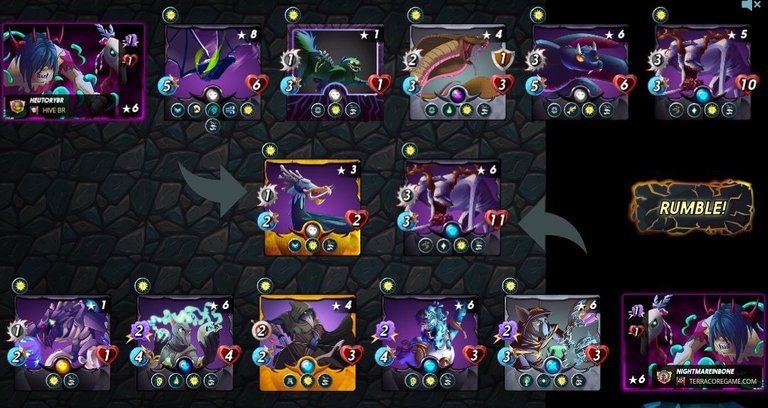
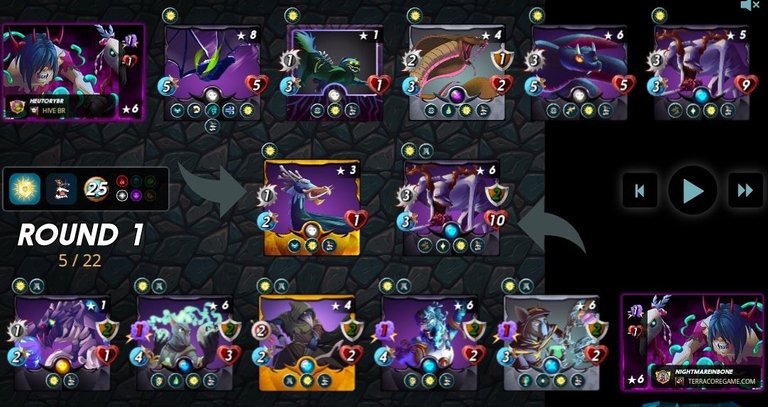
You can see the line-up of both teams from the image below, and the detailed strategy of each monster will be explained in the table below.
| Monster | Position | Abilities | Strategy |
|---|---|---|---|
 Thaddius Brood Thaddius Brood | Summoner | -1 Magic, -1 Health | Only 3 elements are active in this battle, and because this is a low mana battle so Death is the best choice for the strategy I described above. Thaddius Brood is a Summoner that I have to compete at the Gold level, so this is the best Summoner choice. |
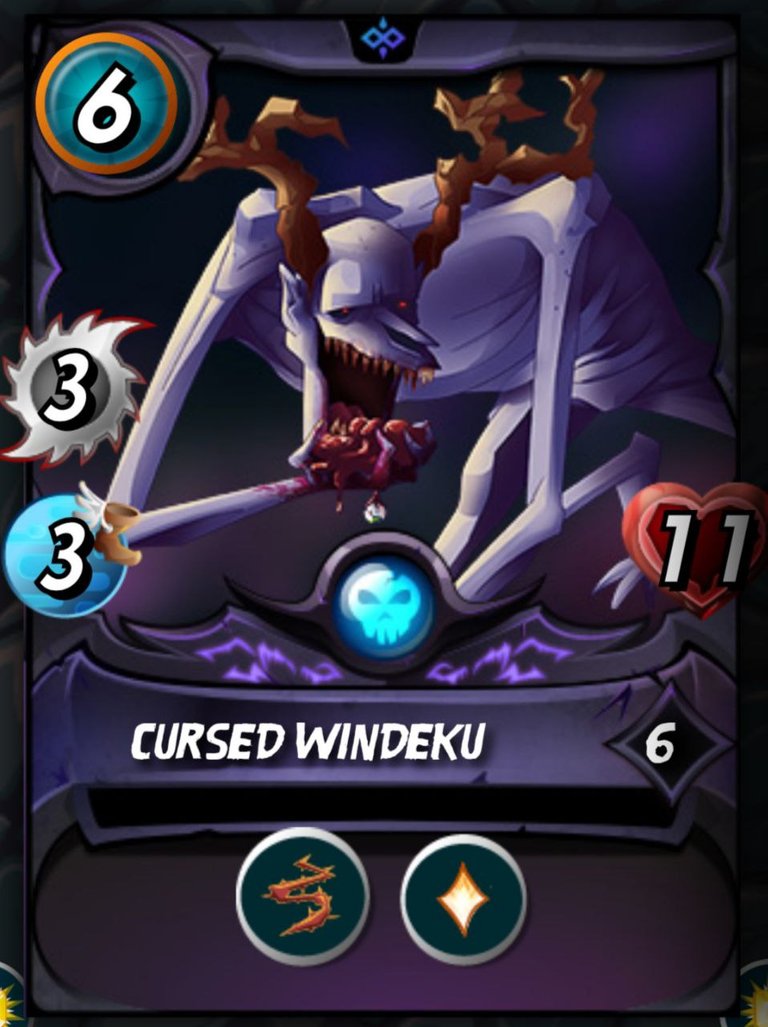 Cursed Windeku Cursed Windeku | First | Thorn, Heal | Cursed Windeku is my favorite tank in low mana battle in both Bronze, Silver, Gold, and Diamond leagues. This is because this monster only has 6 mana but has a large Heal and has the ability Thorn since level 1 and at level up is also equipped with a Heal ability. |
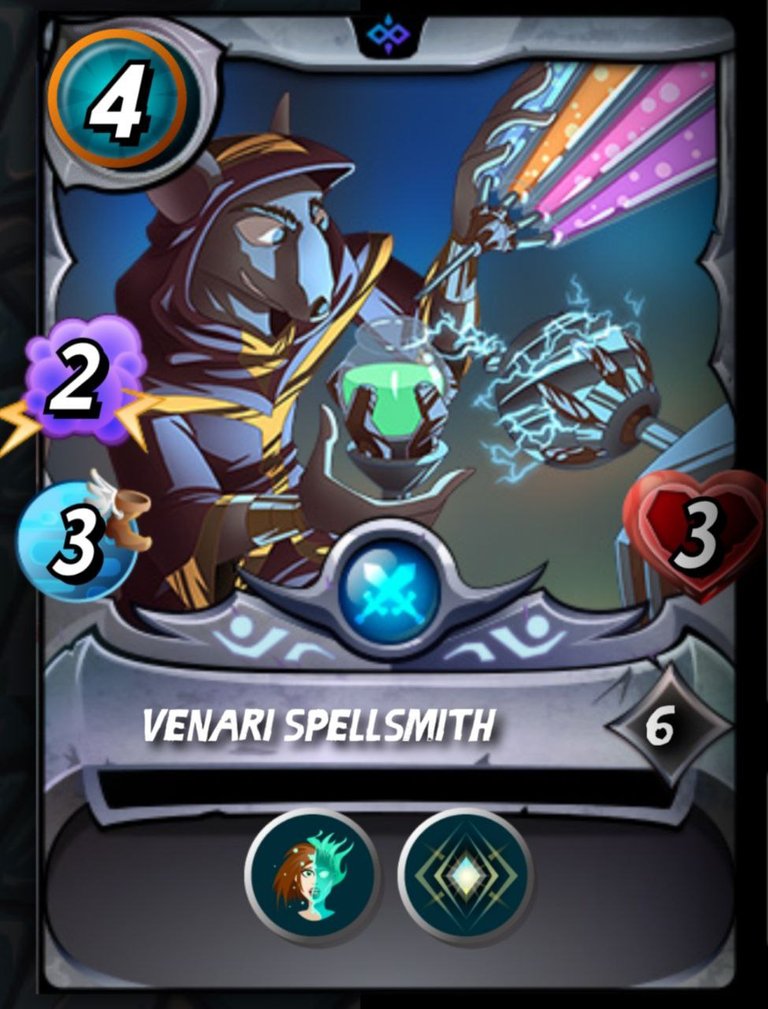 Venari Spellsmith Venari Spellsmith | Second | Dispel, Amplify | Neutral monster that has 2 magic damage, and has Amplify which if combined with Cursed Windeku who has Thorn, the back damage received will increase. The attack target of this monster is the monster in the first position, so this is in accordance with the strategy I planned. Well, this monster also only has 4 mana, so it's suitable for low mana battles. |
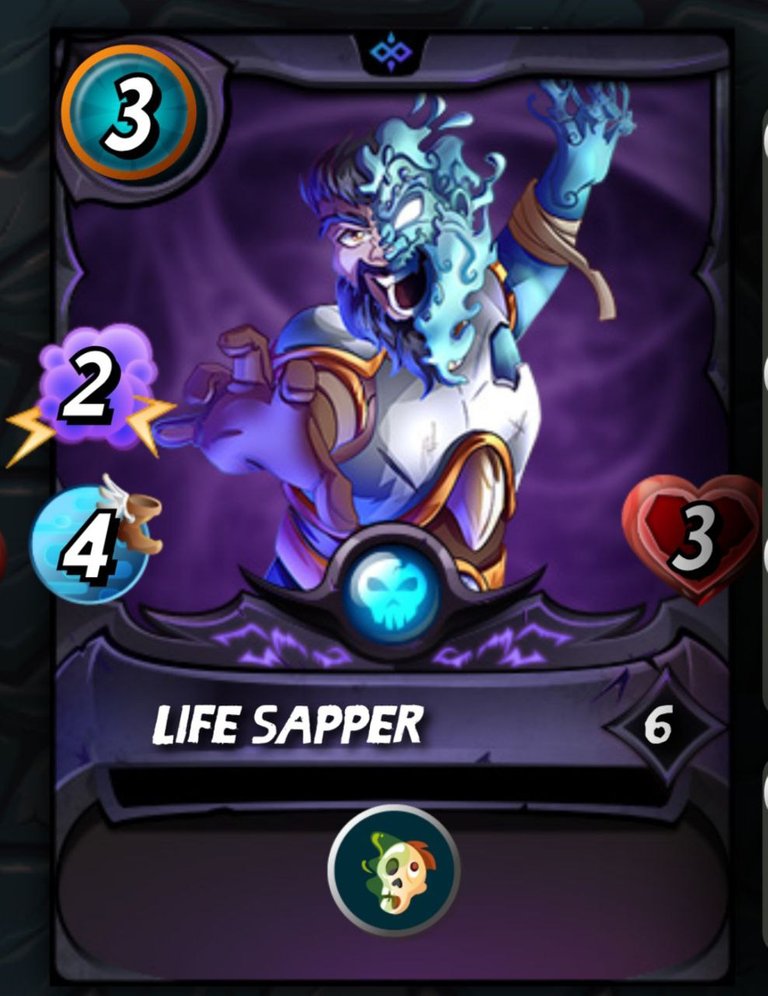 Life Sapper Life Sapper | Third | Life Leech | You know, this is one of my favorite death monsters, especially in low mana battle. This is because of the Life Leech ability possessed where if the attack from this monster hits Health from the target, the Health of this monster will increase. Moreover, this monster only requires 3 mana but has 2 magic damage. |
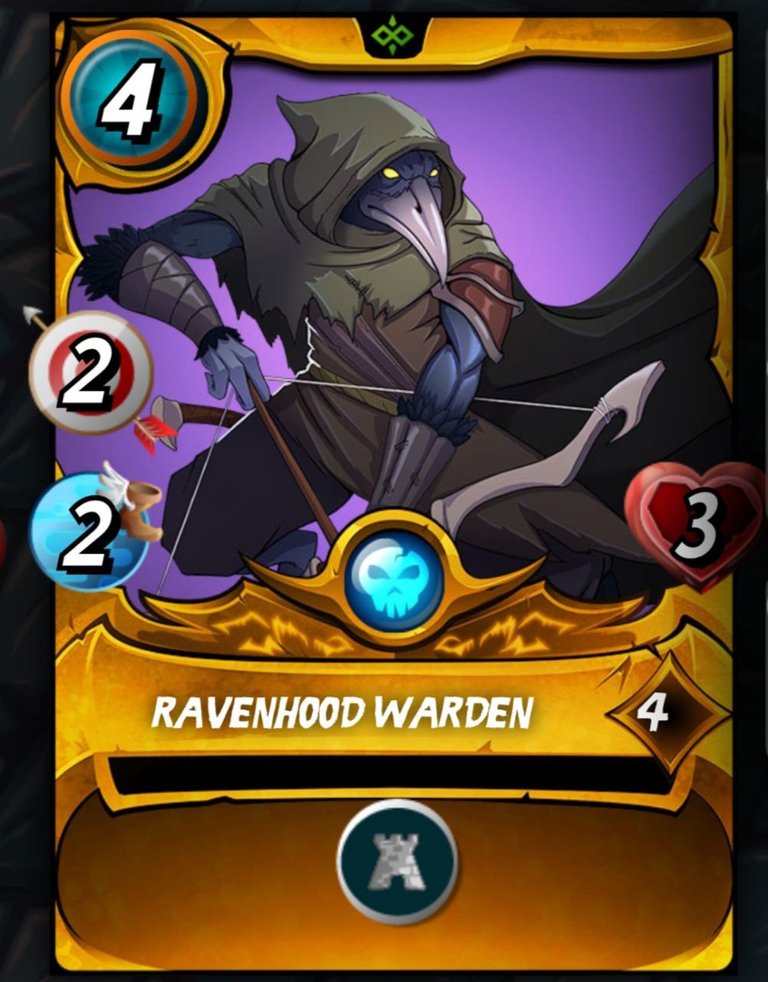 Ravenhood Warden Ravenhood Warden | Fourth | Protect | The soulbound monsters that demand me are very useful, considering that many monsters of the Death element rarely have Armor and only have relatively little Health. So since level 1 Ravenhood Warden will be a very useful support monster because it has a Protect ability that will add 2 Armor to all friend monsters. |
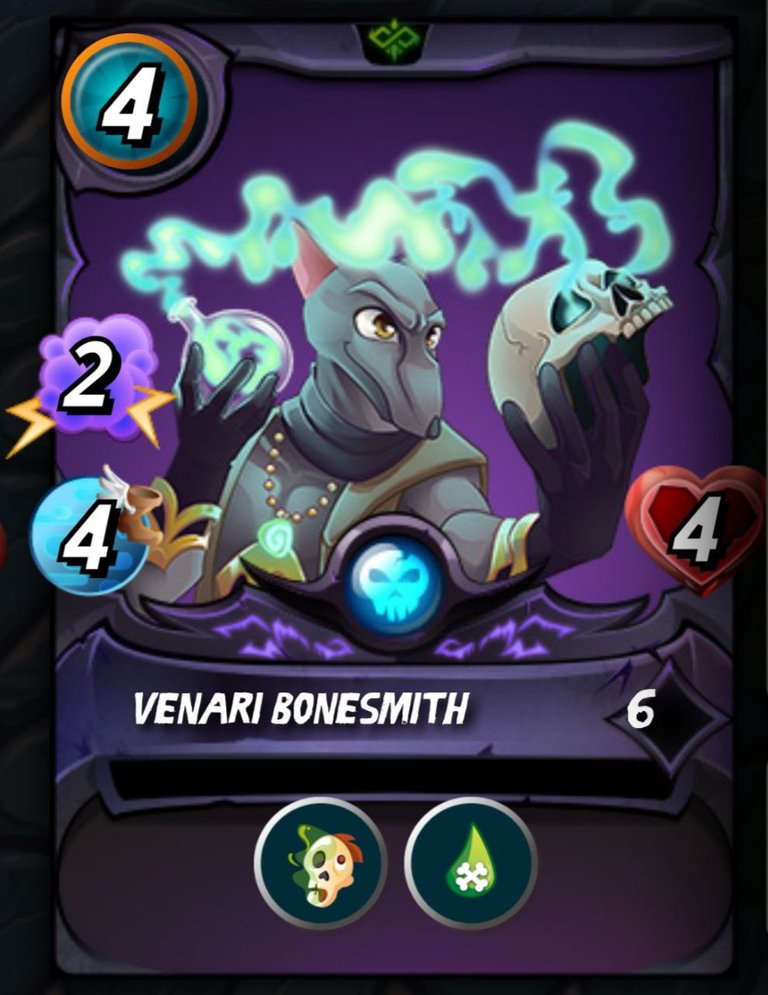 Venari Bonesmith Venari Bonesmith | Fifth | Life Leech, Poison | The ability possessed by Venari Bonesmith is the same as Life Sapper, even at this level there is an additional Posion ability. Just like the 3 monsters in front of him, the target of attack from this monster is also the opponent's tank, rising in the first position or Taunt the opponent's monster. |
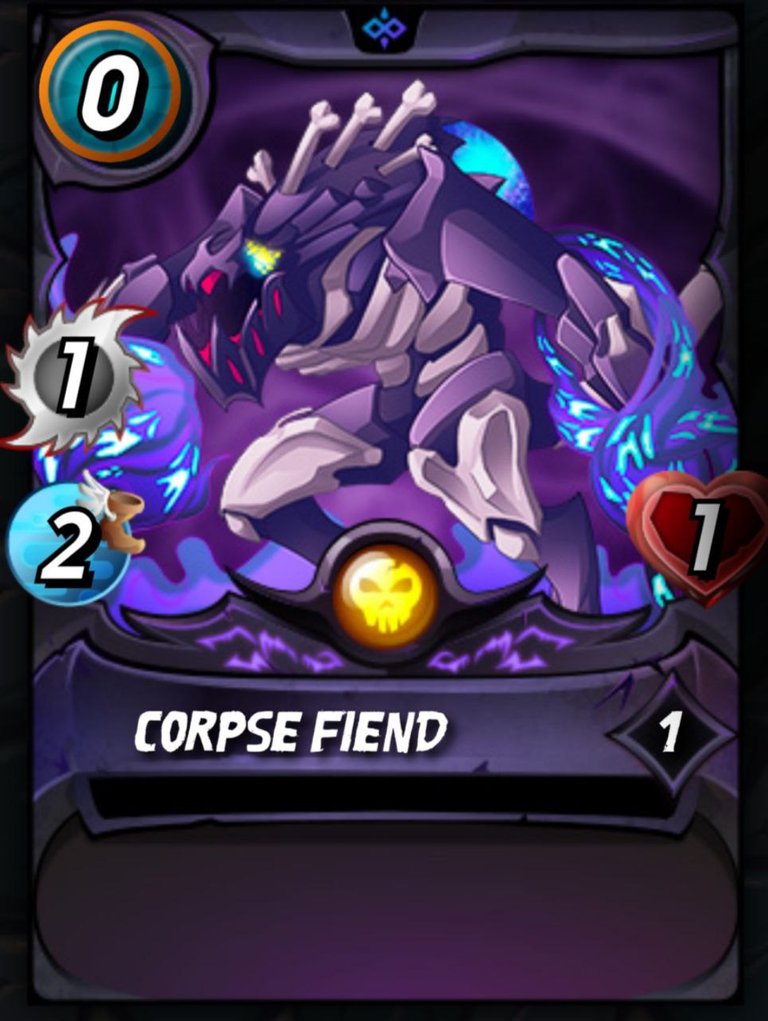 Corpse Fiend Corpse Fiend | Last | None | This is a 0 mana monster, which serves as a rear tank, as an attack target from the opponent's Sneak monster. 25 mana capacity is already full by the Summoner and 5 monsters in front of this monster, so this is a complement to the empty slot, just like I explained about my strategy that will try to fill all the existing slots. |
BATTLEFIELD ARENA

I've also included a youtube video of this battle that you can play right away.
In this battle, the opponent also uses Summoner Thaddius Brood, this means that all magic monsters that I have damage will be reduced. In the first position there is Carrion Shade, the second position is Riftwing, the third position is Sneak Monster Undead Badger, the fourth position is also Sneak monster Uraeus, the fifth position is also Senak monster Silence Sha-Vi and in the last position there is Cursed Windeku. I feel a little stuck with the opponent's monster array, maybe this is a bot? Who knows. Let's take a look at the rounds of this battle.
As usual, this battle begins with buffs and debuffs from all Summoners and Monsters. Silence Sha-Vi became the first monster to get the first chance to attack. Next, it was the turn of Venari Bonesmith and Life Sapper whose attack caused Carrion Shade to die. If the Silent Sha-Vi attack that hit Corps Fiend was only ignored because of Devine Shield, Uraeus' attack destroyed Armor, and the Undead Badger's attack killed Corpse Fiend. Until the end of the first round, both teams only lost 1 monster.

In the second round, Riftwing died after receiving consecutive attacks from my monsters. Unfortunately, my Venari Bonesmith got poison from Uraeus. The Undead Bedger died because of Thorn from Cursed Windeku. The opponent's monsters only have 3 left until the second round ends.

The third round begins with my Venari Bonesmith dying from poison and then getting an attack from Silent Sha-Vi. Followed by Uraeus who also died after receiving attacks from the Life Sapper and Venari Spellsmith. At the end of the third round, Cursed Windeku and Ravenhood Warden missed Silent Sha-Vi.

In the fourth round, there were only 2 monsters left, namely Silent Sha-Vi and Cursed Windeku, but Silent Sha-Vi also died after being attacked by my monsters.

Only Cursed Windeku is left alone in this fifth round. And I finally won this battle after my Cursed Winde died from the constant moans of the monsters. I won this battle with 4 monsters left. You can see the final result of this battle in the picture below.

STRATEGY DISCUSSION
My strategy was really effective in this combat, and the next time I receive this ruleset, I will employ the same strategy of focusing on one target, or if that is not possible, focusing on at least two monsters with the same target. This will increase the effectiveness of the strike. As you can see from this combat, opponents with separate targets for their creatures are incredibly ineffectual. If you also read my previous post you will also be aware that this strategy is not much different from the battle, and it is proven that strategies like this are very applicable in holy protection rulesets.
Ok guys, I think my post is enough here, thank you for visiting my blog, don't forget to upvote and leave a comment. If you want to start playing Splinterlands and don't have an account yet, don't hesitate to use my referral:
https://splinterlands.com?ref=anif1908
Credits:
The wonderful divider by kyo-gaming
Thumbnail created using canva
All images taken from Splinterlands website

Yay! 🤗
Your content has been boosted with Ecency Points, by @anif1908.
Use Ecency daily to boost your growth on platform!
Support Ecency
Vote for new Proposal
Delegate HP and earn more
Thanks for sharing! - @alokkumar121
