Strong Defense in Equalizer Rulesets

Hello guys!
Yeeeeey I'm back again with my Splinterlands post. This is my second post to follow Splinterlands Mage Secrets Battle Challenge with theme Equalizer.
These rulesets are a good opportunity to use some monsters with small Health Points (HP) but have large damage, or monsters with small HP but large armor. Even with monsters that have small mana costs and less good stats can also be unexpected monster in these rulesets.
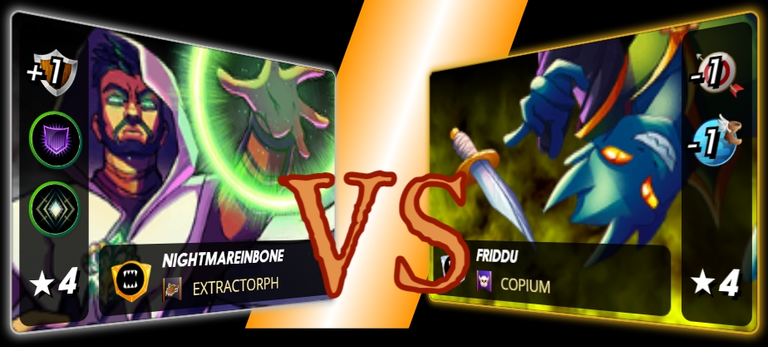
Well, I'm neither a proplayer nor a tournament hero. I just enjoys sharing strategy and battles that I find interesting in my own view. as we know starting this season there is no longer a limit to unlock the level of each league, so even though you are in the bronze league but you use max level monsters and summoners then all abilities will be unlocked. So the strategy that I will share may be one of the strategy references that you can use, whether you are in any league. And in this battle I used my another scholarship account with IGN Nightmareinbone who plays in the Gold League league. I played in the modern rank using only the full Chaos Legion core monster with the addition of several reward cards.
Ok guys, without further ado, let's get straight to the main topic from this post!

BATTLE PREPARATION
Challenge Rules

RULESET: EQUALIZER
Description:
All unit start with the same health, based on the highest health on either team.
Buffs and debuffs are done afterward - this impacts base health.

Battle Rulesets

The rulesets in this battle are:
- Aimtrue, Attacks always hit their target.
- Armored Up, All Monsters have 2 Armor in Additiona on their normal Armor stats.
- Equalizer, In this rulesets The initial Health of all Monsters is equal to that of the monster on either team with highest base Health.
- Mana Capacity 55
- Active Element Fire, Earth, Life, Death and Dragon.
Line Up and Strategy
Although this time I play in the Gold league, the strategy that I will apply is still the same as the previous strategy. In general, I will:
- Main tank is strong tank, with large armor as the main defense.
- Focusing on one target, it will be more effective to kill one monster by one than to spread the attack to several points.
- Use a Support monster that has the Thank Heal ability, to restore the main tank.
- Other monster support such as Repair and Triage also need to be considered for use
- Using Resurrect Monsters.
I put together the line-up with strategic details as I'll explain in the table below:
| Monster | Position | Abilities | Strategy |
|---|---|---|---|
| Grandmaster Rathe | Summoner | 1 Armor, Void Armor, Amplify | I chose to use Grandmaster Rathe because I think this is the best Summoner for defensive strategies. In addition to the Equalizer rulesets, another ruleset of this battle is Armored Up, so by using Grandmaster Rathe, the addition of Armor from rulesets will further strengthen the defense for all monsters because it is a Void Armor. |
| Urile The Purifier | First | Flying, Recharge, Heal, Redemption | Uriel the purifier had all the criteria for the tank I wanted. Has the Heal ability to extend life span because it can restore HP in every round, has a Flying ability that has a chance to avoid melee and range attacks, and has a large Armor. This recharge ability is a bit tricky, where it takes the right momentum to take advantage of this ability. I think this can be said to be a shortcoming, because it makes this monster unable to attack in every round, even though at the time after recharge she has 3x damage from the initial stats. An improper momentum will make it all worth it. Even so, with large armor and several other abilities, this monster has made this monster a very strong tank. |
| Djinn Renova | Second | Strengthen, Triage | Djinn Renova's position here is as an attacker, because it has 4 magic damage. But this monster also doubles as a support monster because of its abilities. Strengthening ability will increase the HP of all friendly monsters, as well as Triage ability which will restre the HP of other monsters that are not in first place. This is in anticipation if the opponent uses monsters that have non-target targets in the first position such as monsters with ability Sneak, Snipe, Opportunity or Scattershot monsters that have attack targets anywhere. |
| War Pegasus | Third | Flying, Shatter | Even though my War Pegasus is still low level, the stats made me interested in including this monster in the line-up. This is because this monster has high speed combined with Flying ability. This monster has 3 Range attacks, which is pretty good at acting as an attacker. In addition, this monster has a Shatter ability where the target hit by this monster's attack will lose all the Armor it has. |
| Adelade Brightwing | Fourth | Flying, Repair, Resurrect, Immunity, Swiftness | Adelade Brightwing is the most important support in the line-up I put together. I combined the resurrect ability of this monster with Uriel the Purifier which has a large armor, so the defense will be very difficult to penetrate. The repair ability will also restore 2 damaged Armor from other monsters that receive the most attacks. In addition, this monster also has a Swiftness buff that will increase the speed of all friend monsters. For personal defense, this monster has Immunity that is immune to all negative influences and also Flying ability which is useful for increasing the chance of dodging melee and range attacks. |
| Venari Crystalsmith | Fifth | Thank Heal, Dispel | This monster is an attacker and support. Has a high speed with 3 damage range attacks. Ability Tank Heal will restore the monster's HP in first place in each round. This is very important in the defense system. Dispel ability is also very useful, because if the target is hit by a monster attack with a dispel, then all positive influences will be lost. |
| Prismologist | Last | Blast, Forcefield, Silence | This monster is very important in this line-up because it has the Silence ability to reduce magic attack damage from all enemy monsters. In addition, this is also the main attacker because it has 4 damage ranges combined with Blast. |

BATTLEFIELD ARENA


STRATEGY DISCUSSION
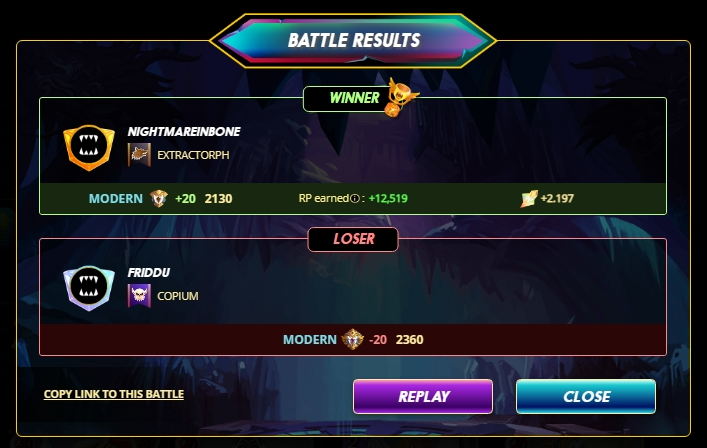
The strategy I implemented went very well. I can win easily in this battle. Compared to the battle I posted earlier where the battle was very fierce, in this battle I only needed 7 rounds to win and only lost mustard in first place. The combination of defensive and attacking strategies at only 1 point determined my victory. So in another battle with the same rulesets I will use again the strategy that I apply now.
Ok guys, I think my post is enough here, thank you for visiting my blog, don't forget to upvote and leave a comment. If you want to start playing Splinterlands and don't have an account yet, don't hesitate to use my referral:
https://splinterlands.com?ref=anif1908
Credits:
The wonderful divider by kyo-gaming
Thumbnail created using canva
All images taken from Splinterlands website

Checkout our BDVoter Daily Hive Showcase & Participate into our Daily giveaway to win various prize.
Congratulations @anif1908! You have completed the following achievement on the Hive blockchain And have been rewarded with New badge(s)
Your next target is to reach 7000 upvotes.
You can view your badges on your board and compare yourself to others in the Ranking
If you no longer want to receive notifications, reply to this comment with the word
STOP