Melon's Guide to Getting Out of Bronze
Table of Contents
- Introduction
- Overview of the Bronze League 2.1. Overpowered Cards 2.2. The Bronze Meta 2.3. Commonly Used Utility Cards
- Obliterating the Bronze League 3.1. Countering the Meta 3.2. Use the Meta? 3.3. Abusing the Rulesets
- Conclusions

Introduction
Are you a new player struggling to climb out of bronze? Or a seasoned rent-to-play player who got dropped a few leagues because you couldn't afford to rent a bunch of collection power at the end of season (aka me, MelonApple)? Or maybe you're looking to clinch some of those juicy prizes in the bronze league tournaments. This guide is for you guys and gals.
I've been playing Splinterlands for a little over a month now through a 100% rental strategy, and I get dropped to bronze each and every season because of the insanely high rental prices at the end of season. This has given me plenty of opportunities to learn how frustrating it can be at the lower leagues, but it has also enlightened me as to how important it is to get out of bronze asap.
There are multiple reasons for this.
Firstly, if you can climb out of bronze and play in silver at the beginning of the season, you can earn a lot compared to at later times in the season. It also helps that rentals are cheapest at the beginning of the season.
Secondly, climbing out faster will help you to preserve your DEC capture rate so that you can capitalize on the higher DEC earnings in the early season. If you get a good winstreak going, you could make it from 500 to 1000 rating points in less than 30 games, which would leave you a lot of ECR left to play in silver. My personal record is going from 500 to 1900 rating on the first day, and I was still earning 40 dec/win at silver 1.
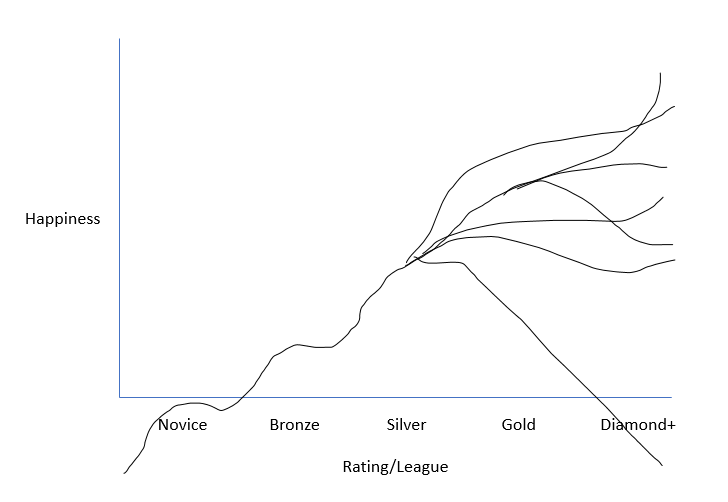
Lastly, let's be honest. Playing at bronze is boring. It's much better to play with monsters that have a lot more abilities. Earning is great, but I'm also here to have some fun here, you know? This is how I imagine the happiness-to-rating/league chart to look like, depending on how you like to play the game:
My hope for this guide is that I can help you get the f*ck out of bronze asap.
Overview of the Bronze League
First things first, the level restrictions at bronze are:
- Legendaries: 1
- Epics/Rares: 2
- Commons: 3
That said, most people tend to play at bronze with level 1 units. This is because they have access to level 1 ghost cards, which they can supplement by renting or buying a few additional cards. It's perfectly fine to rent a higher level summoner and cards, especially if you will be using them at silver anyway. The only risk is that you get stuck in bronze and lose out on the ability to use those cards to their full potential.
However, my personal philosophy for bronze is that you can win by countering the meta and abusing the rulesets (once you get to bronze 1). To understand the meta, we have to look at the key cards that are commonly used in bronze.
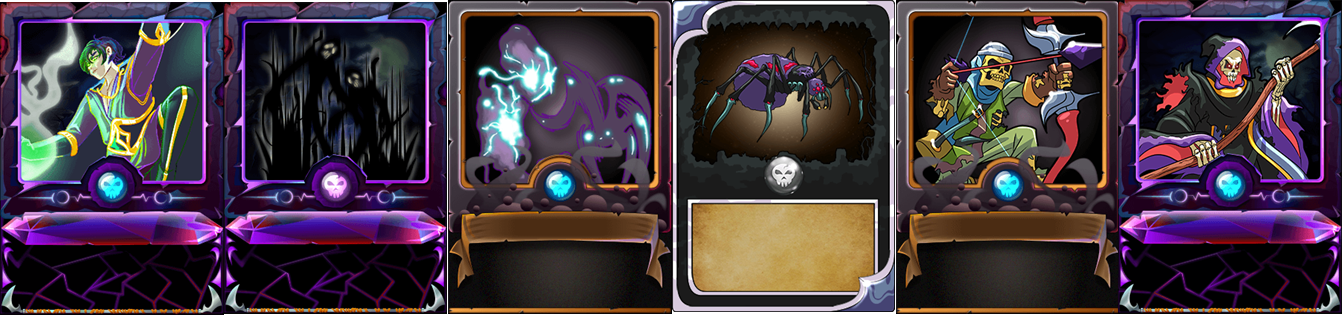
Overpowered Cards
Note: If you're an experienced player, you can probably just skip this section, as it will be stuff you already know.
These are cards that are very strong and are enablers for powerful deck archetypes.
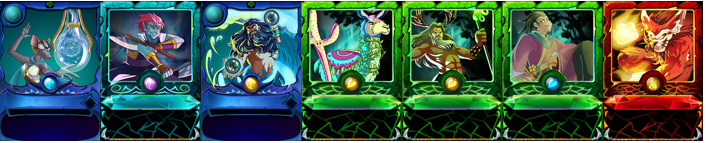
Venari Wavesmith: Dealbreaker against ranged/melee units, as they will have to go through an additional 2 points of armor per unit, thereby providing otherwise squishy units with longevity. Magic damage can be buffed by Alric to smash face for 2 per turn.
Axemaster: Double-strike with 2 points of ranged damage is quite powerful. High speed so usually attacks first. Shreds through tanks with magic reflect/void but no shield/armor.
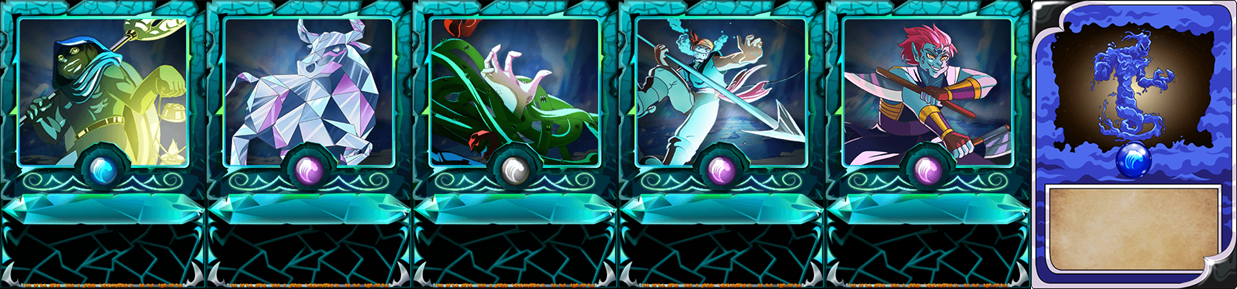
Djinn Oshannus (Djinn Ocean): Frontline tank that can win the mirror match-up by tanking magic damage (due to it having void). Has high health, high magic damage, and high speed.
Llama Kron: I'm putting these cards together because it's the degenerate combo that everyone hates and loves. Last stand gives Kron a ton of health, speed, and magic damage, which, when combined with Kron's self-healing and Llama's clensing abilities, makes it a super tank that deals 5 magic damage a turn and has high speed to boot. It's also important to note that it is possible to run llama flesh golem because flesh golem gets self-healing at level 3.
Mylor (Thorn boi): Most of us have experienced the pain of feeding a bunch of sneak and opportunity monsters to Mylor's thorns. It deals 2 points of damage whenever your melee monster makes contact with an enemy unit.
Yodin: I'm including this one here because I do see it from time to time at the bronze level. It gives ranged units +1 and also gives all their units the blast ability. With a plethora of ranged units to select from (fire beetle, ferexia general, lava launcher, etc...), yodin is a formidable enemy indeed.
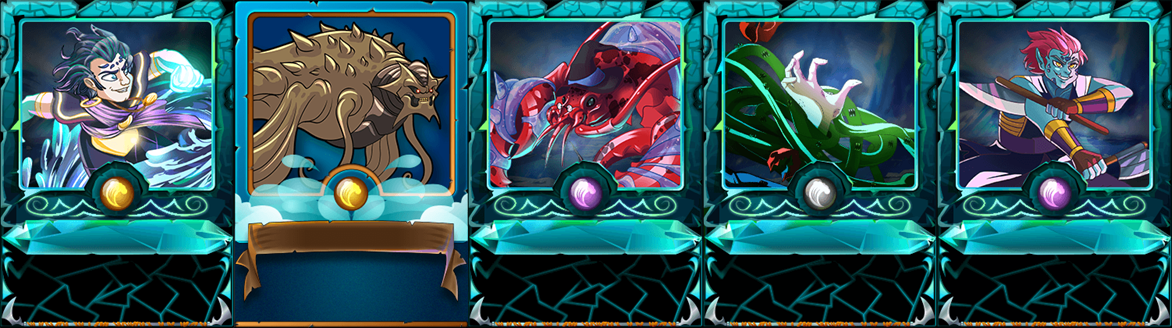
The Bronze Meta
With these cards, it's clear to see that the water and earth splinters are very strong in Bronze (and fire, if they can afford Yodin). I have compiled some basic teams to show you what you might be able to expect to see:
Alric Magic Spam

Djinn Ocean near the front followed by a bunch of cheap magic units and Venari Wavesmith near the back to give them that protect and extra tankiness against melee/ranked units is very overpowered.
Llama Kron/Flesh Golem/Both
The undying combo. Tough as stones and frustrating to face against if you get caught unawares. Hard to deal with even if you are expecting it.
Yodin and Frends
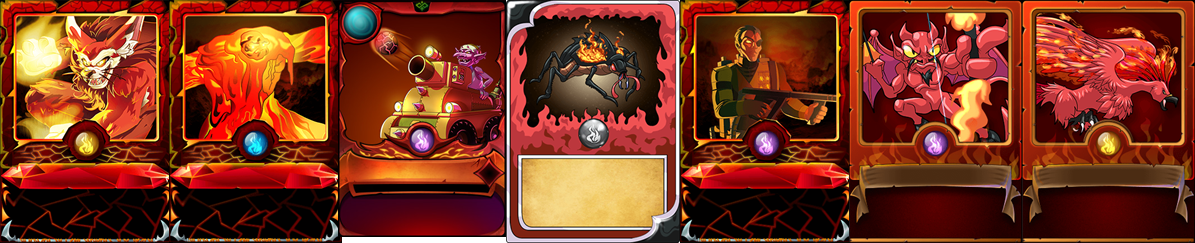
Getting blasted for a ton of damage with snipe units is always fun, isn't it?
Commonly Used Utility Cards
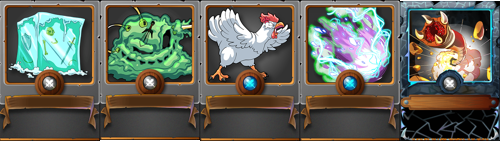
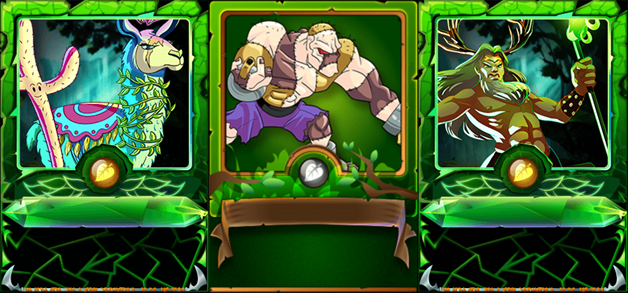
Sand worm: A powerful backline damage dealer. Even more powerful when paired with a faster snipe unit that can take out whatever armor is on the enemy backline unit. Is very powerful in reverse speed battles as it has 1 speed at level 1.
Gelatinous Cube: The scavenge and high HP allows it to survive for a long time in noxious gas battles. Not many units have cleanse or immunity at this level, so it can usually outlive the other units to win you the battle.
Furious Chicken: An ultra-flexible chump blocker that can tank the frontline for a single hit or take a snipe/opportunity/sneak shot, depending on where you position your chicken.
Creeping Ooze: Also very useful as a chump blocker, but it costs 1 mana. In exchange, it slows the opponent down, which can allow your monsters to hit first (and take them down before they can get a shot off) or increase your units accuracy/dodgeability (because every 1 point difference in speed = 10% chance to miss).
Prismatic Energy: Magic reflect at level 1 can help you to take out those pesky 1 health magic damage-dealing units (looking at you, ice pixie and enchanted pixie). Also has enough health to tank quite a few shots, which is hopefully enough to let you take their units out.
Obliterating the Bronze League
Now that we've gained a little bit of an understanding of what is being played in the bronze league, let's harness that information to pull off some victories, and --ideally-- get the f*ck out of bronze.
Reading Your Opponent
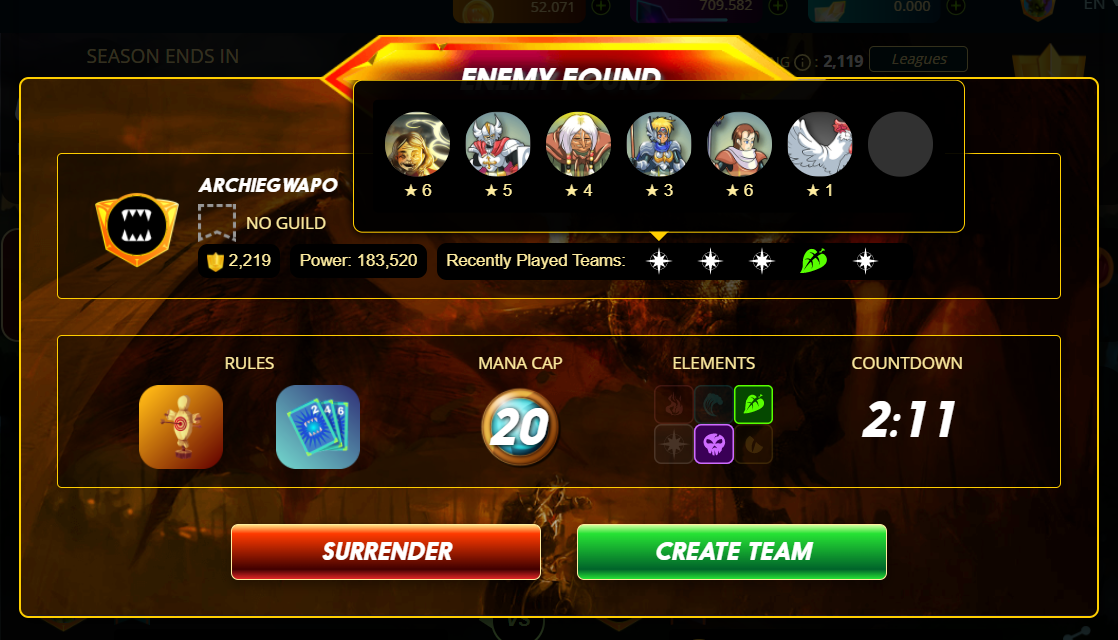
The most important thing to do is to take a look at your opponents' battle history, which can be seen by hovering over the splinter icons in the initial battle screen. This will give you an idea of what decks and cards they have access to, which will more-often-than-not influence the decks they choose (especially if they have a powerful card like Djinn Oshannus).
Countering the Meta
The decklists I share here as potential "counters" of the meta decks are just examples to illustrate the strategy to counter them.
Anti-Magic
Bortus and Torhilo are your friends here. Reducing the damage of Alric-buffed magic units back to 1 magic damage and then letting them smash their magic against Torhilo with its void ability (reduces magic damage taken by 1) results in Torhilo taking a fat 0 damage per hit. Your backline units can then take down the enemy team at leisure.
Anti-Llama Kron

Sneak life is a good choice in high mana battles because Kron is usually at the backline. If you can take him out before his last stand pops off, then it's easy pickings.
Death can also be a good choice, because they multiple sources of affliction at level 1, and having multiple sources of affliction increases the probability that one will stick and prevent a round of healing. Death also has a bunch of cheap ranged units that can dish out more damage than what Kron can heal per turn (6 HP). Owster is also great, because it reflects magic damage back at Kron, which can help you get to that 6 damage threshold per turn. Of course, you could use Mimosa for her void/affliction, but she is quite expensive to buy/rent.
Anti-Yodin
To be honest, this one is quite difficult to do without using Lil Deep Swimmer. Having a taunt at the front with a secondary tank can also help to draw the snipe fire towards the front, allowing your backline to dish out the damage needed to take your enemy down.
Use the Meta?
Of course, the other option is to just spam the meta decks, but there are likely many people like me who have made it their mission to ruin your day. You'll manage to climb out of bronze, but it's unlikely that you will be able to do so very quickly.
Abusing the Rulesets
Once you get to bronze 1, what's even more important than understanding the meta and countering it is to understand the rulesets and use them to your advantage. I will discuss the important ones here:

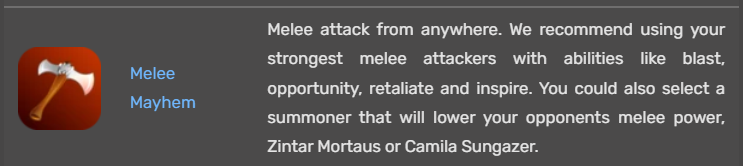
- This is primarily about your summoner. Using Alric, for example, is super OP here, because you can't counter it with your monsters' void and magic reflect abilties. Mylor can be good if you expect your enemy to use a lot of melee units, Owster is very good if you expect them to use magic, and Contessa is good if you expect a lot of ranged.
- Positioning should be melee --> magic --> ranged units. Higher damage ranged/magic units behind lower damage ones.
- Furious Chicken is a great unit to put at the front here, since enemies will be attacking that first every time.

- Brighton Bloom is an easy way to get flying on every unit.
- Have flying units or units with shield to be able to tank the earthquake shots.

- High damage, low HP units are prime here. Exploding Dwarf at the frontline is so good.

- Blast is great because most low health monsters are towards the middle of the lineup. That said, don't put your squishy units at the middle, because your enemy will be looking to blast 3 monsters at once.
- Taunt somewhat shuts down shennannigans to abuse this strat.

- Speed/Double-strike is king here. You want to get more shots off before your opponent, because it's likely that you will be able to take out a couple units before they can even attack.

- You can use squishy units at the back here, unless your opponent has opportunity units. That said, use opportunity units lmao.

- No melee means ranged or magic damage is coming your way. As such, magic reflect, void, and return fire are at a premium here.
- Thorns on a tanky frontliner can counter all that extra melee damage coming your way. Djinn Chwala <3.
- Exploding dwarf and explosive rats could be very effective here, if the opponent doesn't use thorns.

- Immunity/Scavenge/Clense are very good abilities here, because they will negate the poison or allow you to scale health while the poison kills the lower health monsters around you. This is where gelatinous cube shines.
- Sand worm is so good here with the 1 speed.
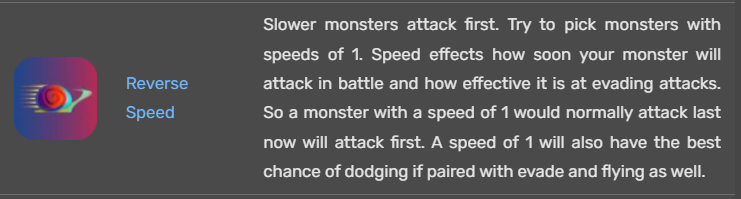
- Prioritize low speed units for melee and ranged units.
- Speed isn't as much of a factor for magic units, since they will not miss unless the enemy has phase, which they won't at this level.

- Melee units at the frontline with high health are very important here. Moreso if they have trample and piercing, because they will deal a ton of damage. Also important to note is that they gain speed once enraged, so slower frontliners are okay, as they will gain speed once damaged.

- Sort of like melee mayhem, except the thorns unit should be at the back of the line instead of the front. Can also be a retaliate/backfire unit, a tanky unit, or a speedy fly/dodge tank to mitigate the damage incoming to the backline.
- Exploding dwarf is still amazing here, unless they do use thorns at the back.

- Avoid having squishy non-melee units at the first non-melee position after the first position. Something like prismatic energy or lava launcher here would be good.

- Shields loses their purpose, so choosing units without shield to begin with maximizes their value.
- Magic loses a bit of its function, as all attacks will go through shields (cause they're gone), so I would value magic damage less here.
Conclusions
I hope this guide has been helpful, and if you have any comments or suggestions for the next article, please leave them down below.
Here's the link to my previous article on How to Rent-to-Play
(A Repost of a guide made by one of the Dinero Juegos guild co-leaders, Melonapple. Posted with permission.)
Tons of info, thank you for sharing.
Congratulations @bananofarmer! You have completed the following achievement on the Hive blockchain and have been rewarded with new badge(s):
Your next target is to reach 50 upvotes.
Your next target is to reach 50 comments.
You can view your badges on your board and compare yourself to others in the Ranking
If you no longer want to receive notifications, reply to this comment with the word
STOPTo support your work, I also upvoted your post!
Check out the last post from @hivebuzz: