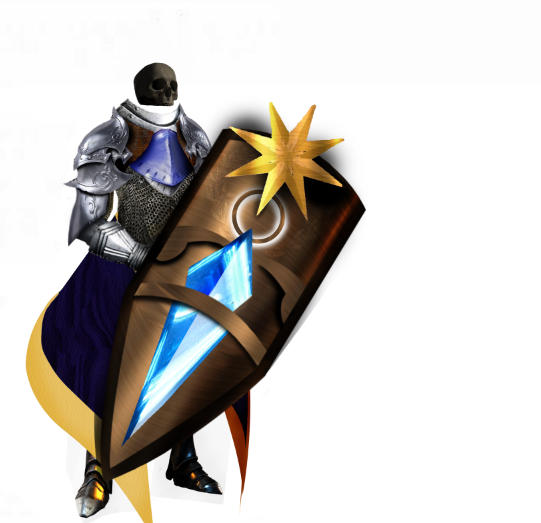
Shieldbearer protects the Silver Shield with his life - Splinterlands Art
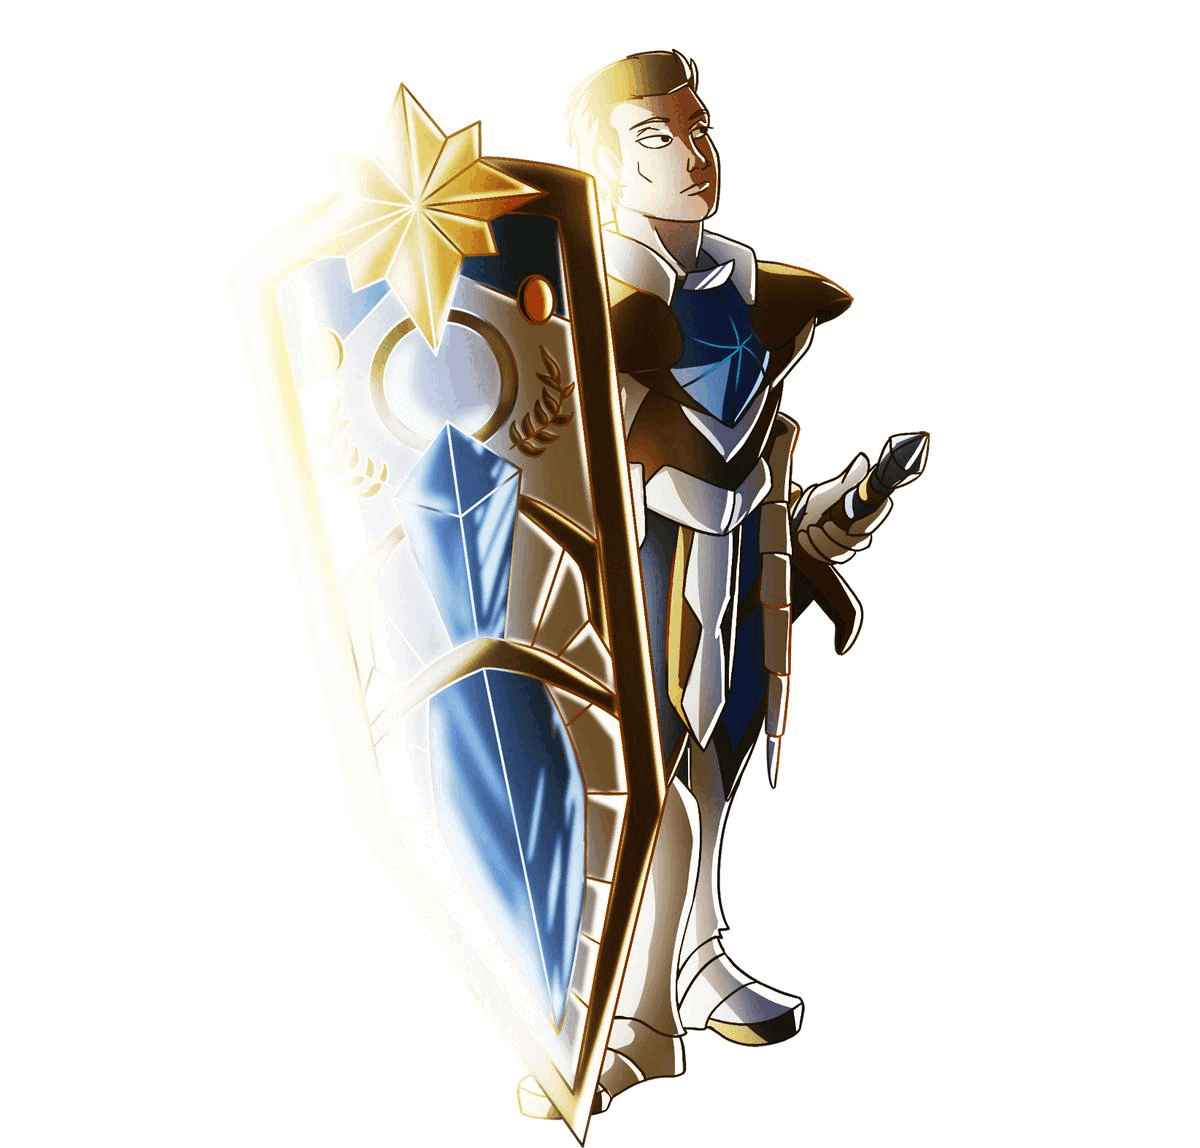
"Ironically, the Shieldbearers are trained to sacrifice their own bodies before their shields."
-Lore
It was the sad lore that drove me into creating something that would represent a real Shieldbearer from the game. Something that portrays how insignificant is life in front of the Silver Shield.
The Shield comes first! Everything else doesn't matter. But it turns out that I drove myself into a series of days trying to create a realistic manifestation of the lore and the Shieldbearer.
Since I am learning to use photoshop, this was a very powerful lesson exercise. I used the Xp-pen Deco 01v2 and photoshop cs6.

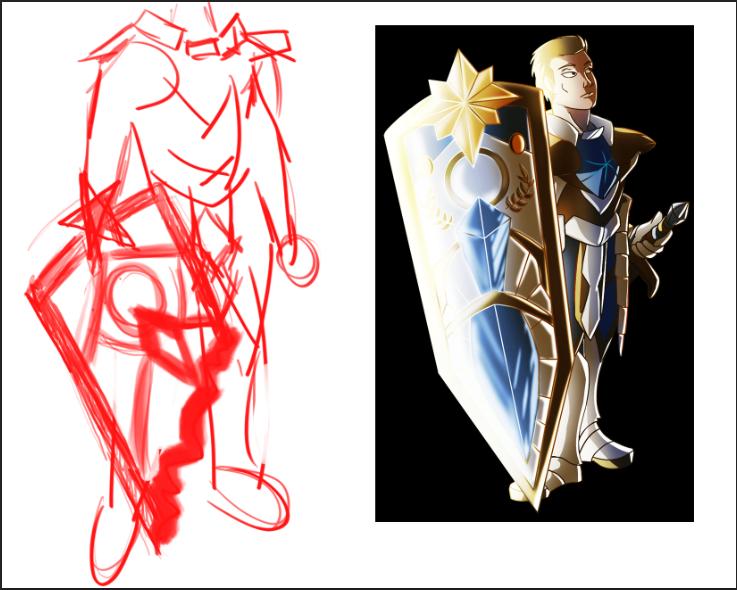
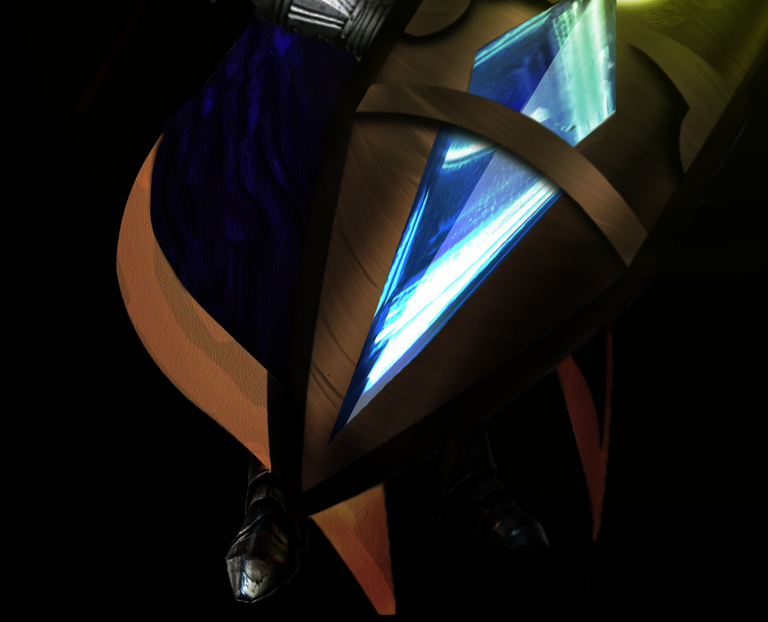
First, I started with a rough sketch of the Shieldbearer and thought to add a broken shield. The shield is the most recognizable part of the monster, so I had to make it the most highlighted. Later, as you will see, I ditch the broken design since it doesn't fit with the lore or my final idea.
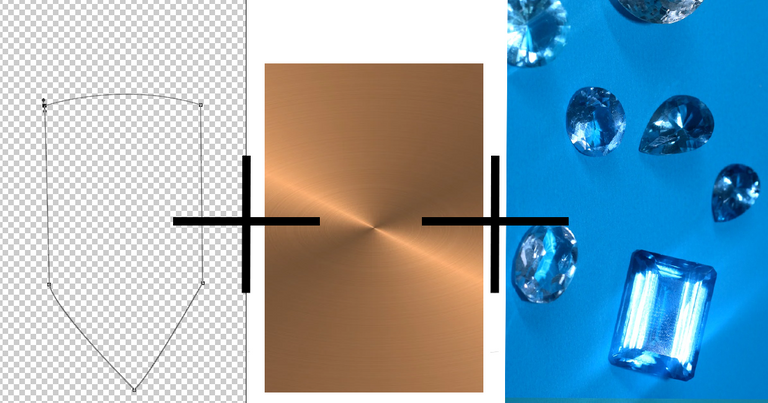
For the texture, I used this since it matches the material and the color is similar too. For the shiny crystal, I found this image and then morphed the big rectangle crystal to match the original shape of the Shieldbearers shield.
⬇
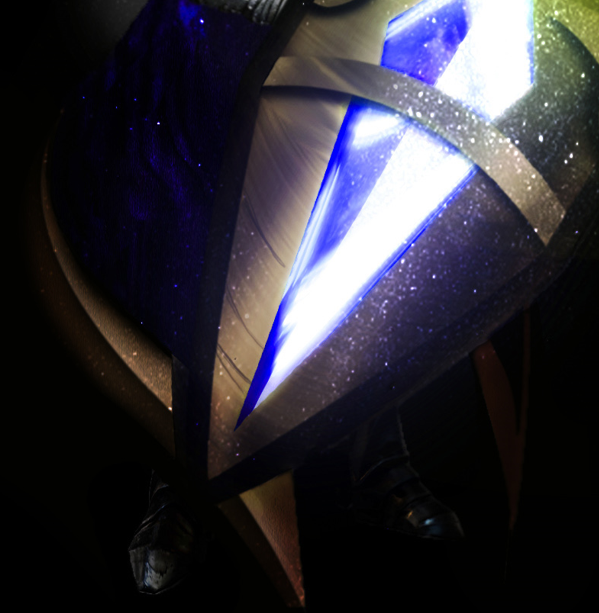
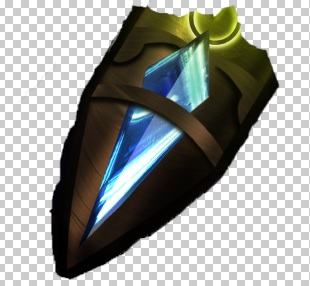
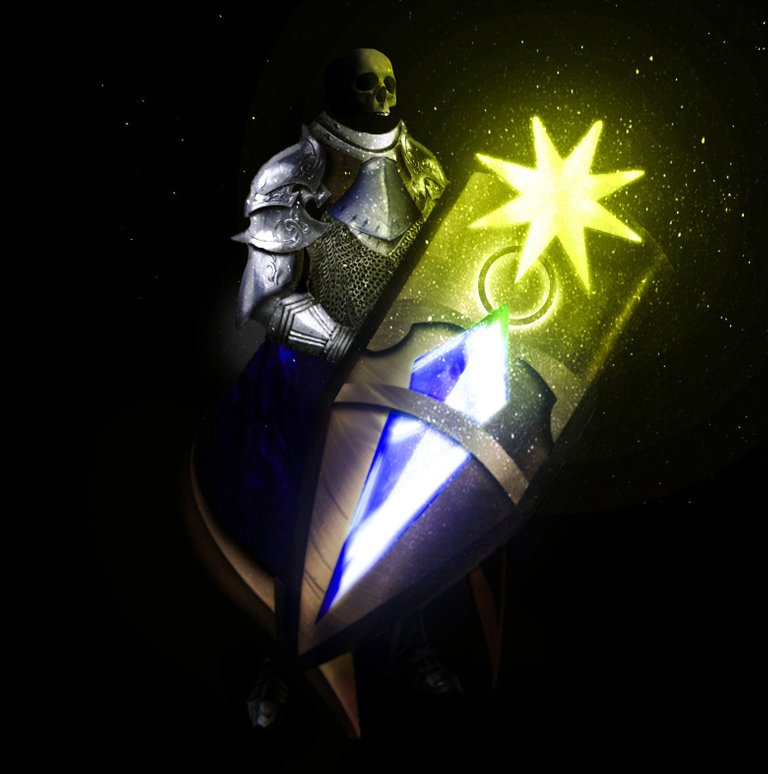
From there I went on to add some glow to the places that would shine up from the gem and the star. Added some strong shadows and darkness to the places where there would be little to no light going.
The Shieldbearer monster has a very shy robe in the original illustration. I thought it would be cool to make his robe bigger and more grandiose. Also, it saves me from meticulously doing the legs.
Drew the robe with the pen tool, added color to it. The blue part got its divets and folds with black paint and dodge/burn. The golden part got a sharp fold to make it look heavy and not unidimensional.
 |  |
|---|
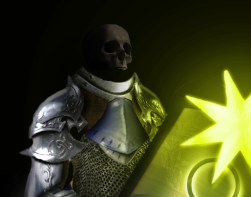
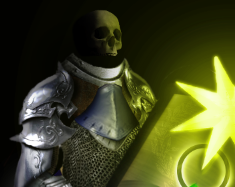
The head is a skull because Shielbearers are expected to protect the shields with their lives. I thought it would be perfect for the Shieldbearer dead for a long time with a perfect-looking shield to fit the lore.
I used this skull image, rotated it, transformed it very lightly, and then added shadows to match the source of light. From there it was just bout adding enough yellow to make it look like it was a reflection of the star's shine.
The order of doing things is a bit shaken in here, but eventually, when I had the entire thing, I began retouching the entirety of it to add highlights and shadows and glows, and haze.
For particles, I used the screen filter to turn stars into ambient dust around the light. I sampled this chainmail and took parts from plenty of knights like this, this, and this.


Affiliate links
Rising Star
Exode
Huobi
Appics
Splinterlands
Actifit
Binance
Ionomy
Cryptex
https://twitter.com/Blind_spot7/status/1480620897262350343
The rewards earned on this comment will go directly to the person sharing the post on Twitter as long as they are registered with @poshtoken. Sign up at https://hiveposh.com.
Thanks for sharing! - castleberry#6859

Creative piece and you really shouldn't stop.
Thank you Azua!
Yay! 🤗
Your content has been boosted with Ecency Points, by @blind-spot.
Use Ecency daily to boost your growth on platform!
Support Ecency
Vote for new Proposal
Delegate HP and earn more