[Eng / Esp] Creation for Splinterlands Weekly Contest # 231 / Creación para el Concurso Semanal # 231 de Splinterlands (FURIOUS CHICKEN)
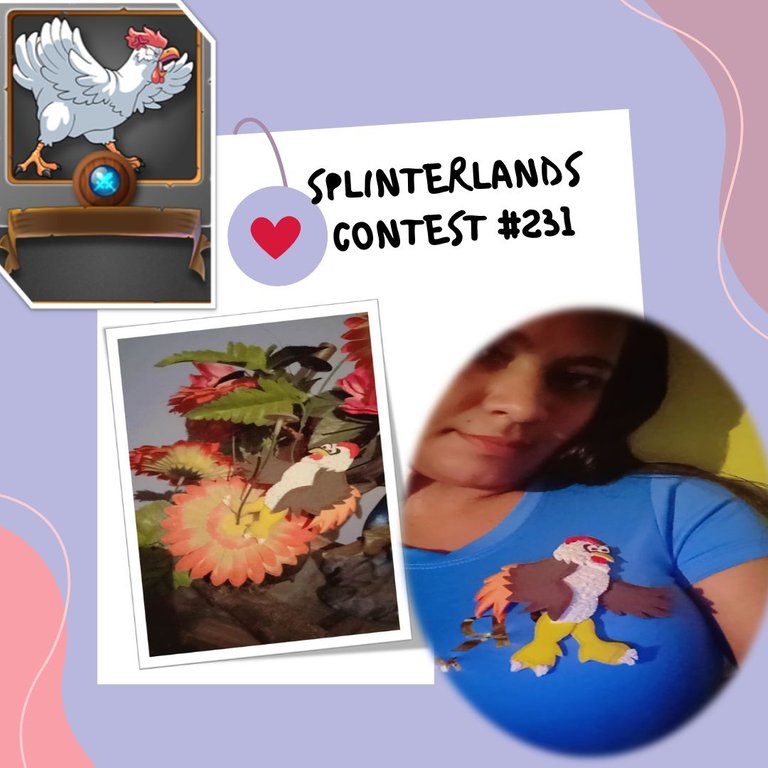
Les saludos y les mando un abrazo para todos, nuevamente aquí con ustedes para participar en el concurso semanal de Splinterlands donde muchos amigos participan con sus artes espectaculares, yo en particular me atreví a realizar esta manualidad de esta carta llamada FURIOUS CHICKEN, es un arte y dedicación hacerla con mis manos, espero que les guste. Les mostrare el proceso de cómo lo hice.
Un reto para este concurso, y con mucha alegría se los quiero compartir, en medio de situación que se pasan en esta vida, quise tomarme un tiempo que estaba sola en hacer este posh, su creación y dedicación para compartirlo con esta hermosa comunidad.
WE BEGIN - COMENZAMOS
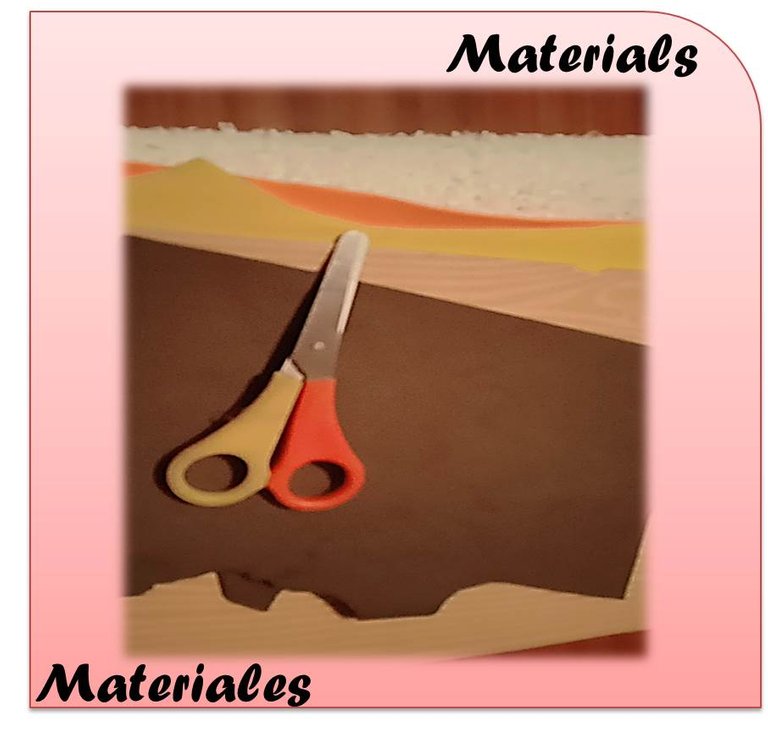
Materials:
White foami with fluffy texture.
Brown foami.
Orange foami.
Yellow foami.
Silicon and scissors.
Red foami.
Foami blanco con textura pelusa.
Foami marrón.
Foami anaranjado.
Foami amarillo.
Silicon y tijera.
Foami rojo.
Foami negro.
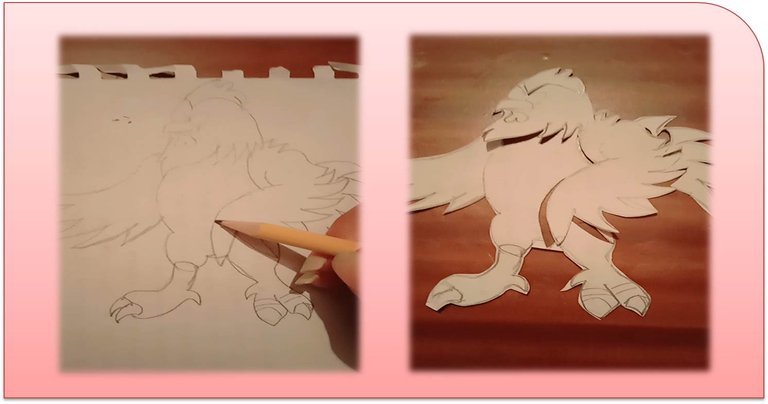
Paso 1:
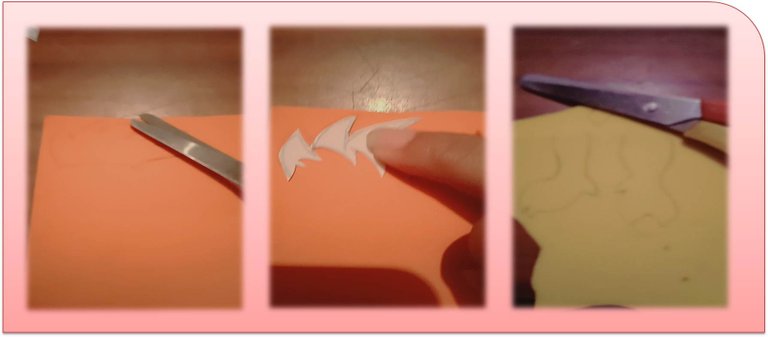
First, I made the drawing using a recycled sheet and my graphite pencil, then I cut it out to have my pattern ready, progressively I began to mark on the white foami with fluff texture the head and its lower part, watch out! I marked it on the back side so that once I cut it out the texture would be on the right side.
On the other hand, mark and cut out the wings of our figure, using brown foami.
En primer lugar, realice el dibujo utilizando una hoja de reciclaje y mi lápiz grafito, luego lo recorte para tener listo mi patrón, progresivamente comencé a marcar en el foami blanco con textura de pelusa la cabeza y su parte inferior, ojo!! Lo marque por la parte de atrás para que una vez recortar me quedara la textura por el lado correcto.
Por otro lado, marque y recorte las alas de nuestra figura, utilizando el foami de color marrón.
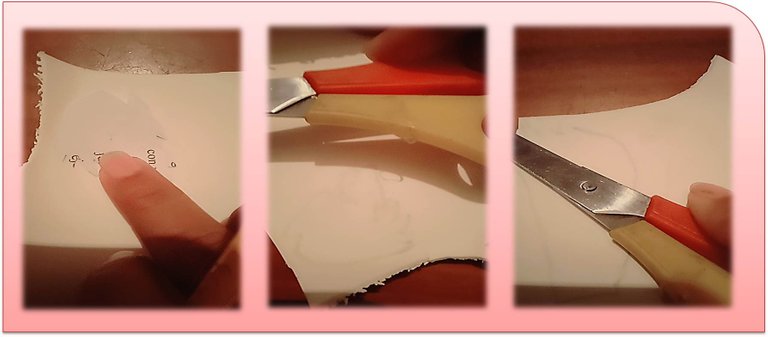

Paso 2:
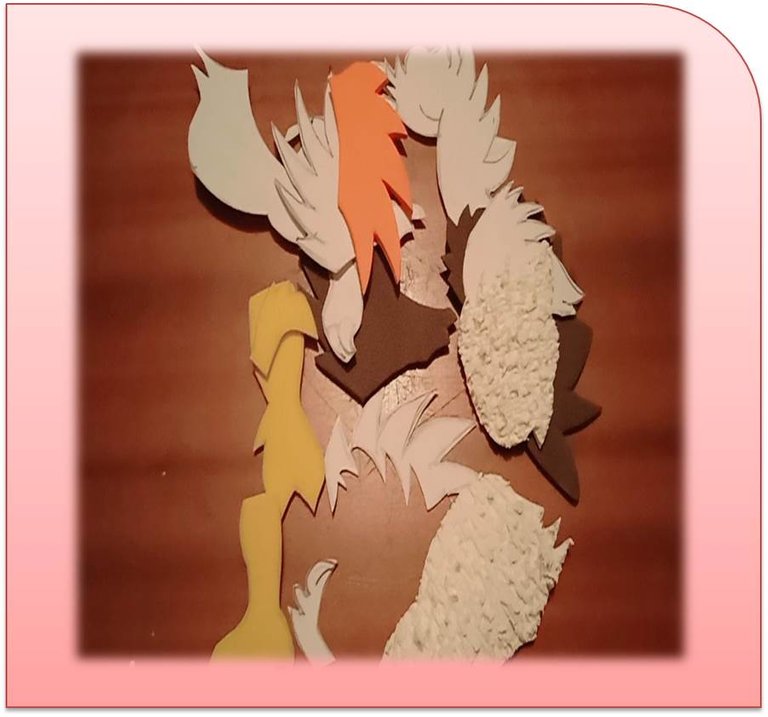
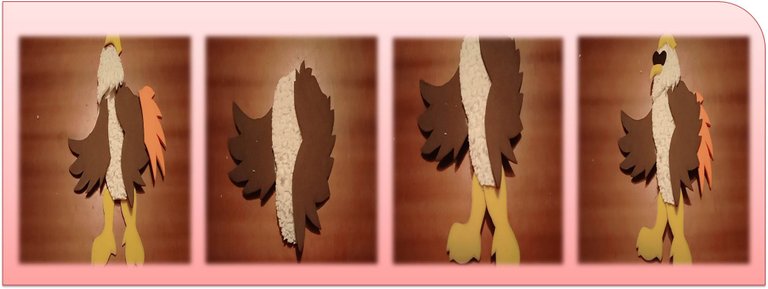
As a second step I marked the tail with orange foami, and the legs and beak with yellow foami, I tell you that something happened to me, I put the yellow crest but I did not like it, then I made it red, I liked it better, I also made the eyes with black foami, when I had all the pieces cut out I proceeded to glue with silicone and form my figure definitively.
Below you can see the images.
Como segundo paso marque la cola con el foami anaranjado, y las patas, pico con el foami amarrillo, les cuento que me ocurrió algo, coloque la cresta de color amarrillo pero no me pareció, luego la hice de color rojo me gusto más, asimismo le hice los ojos con foami negro, al tener todas las piezas recortadas procedí a pegar con silicón y formar en definitivo mi figura.
A continuación pueden observar las imágenes.
Paso 3:
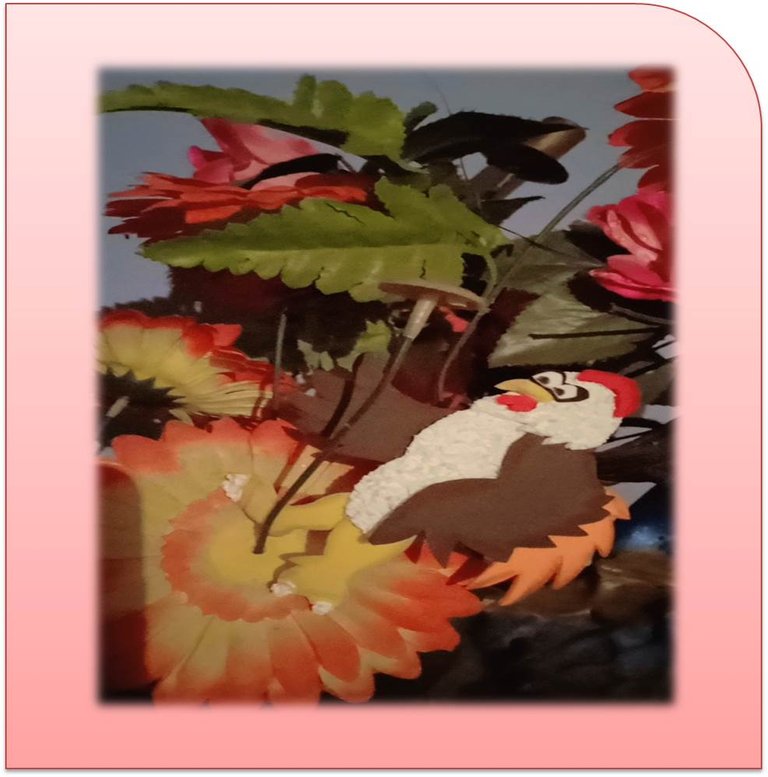
We reached the end, here is the result.
Llegamos al final, aquí el resultado.

All photos are my property taken with my Redmi 9c Smartphone.📷
🌺 My number is @Brindyschi 🌺
Until a future opportunity
Success for all 👊
Gracias
Do you know you can win a Chaos Legion pack and many other things just by following some simple steps ?? Check out our Latest Daily Showcase and Participate our latest Giveaway. Thanks