Gearing Up - Battling With Armored Up!
In the spirit of the new Battle Mage Secrets challenges, I would like to highlight the Armored Up ruleset in this battle. Armored Up is an interesting ruleset because it doesn't explicitly rule out any monster or summoner choices, but it does encourage the use of particular types of strategies. This type of "soft" ruleset is nice because it doesn't set any hard restrictions on your team, while making certain monsters more dynamic and/or interesting than they would be otherwise.
Monsters with Repair are obvious winners in this ruleset, while magic attackers are slightly more impactful, at the expense of melee and ranged hitters. Of course, the other rulesets in the battle matter as well, and in our fight for today they just so happen to throw a bit of a wrench into the usual order of things.
If you wanted to jump right to the action, the Battle Link is right here. Want to hear some more about the lineup? Read on further!

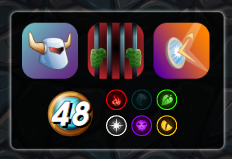
Here is the ruleset for this battle. This is a little bit of a funny ruleset because it is fairly limiting as far as which monsters are usable in the fight. Keep Your Distance completely eliminates all of the melee monsters, and Counterspell means that any magic attackers will be damaging themselves every time they attack. That leaves ranged attackers, but to top it off Armored Up means that every monster will have some extra armor, which will conveniently block ranged attacks. Well, it looks like it might be a long one!
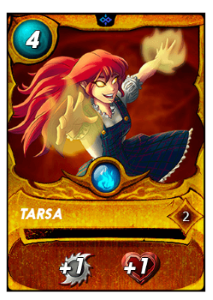
With the rules strongly favoring ranged attackers, my initial thoughts were to go with Life and Ilthain for Return Fire or Earth and Fernheart for Close Range, both of which are very strong in a battle with plenty of ranged attackers. But then I remembered...that this was a battle for a Gold Foil tournament and I didn't have access to either of those since my copies are regular foil. Oops. So we'll instead go with Fire and Tarsa. Luckily, Fire has plenty of solid ranged attackers as well!
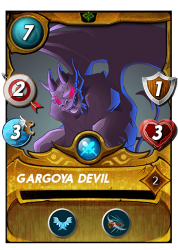
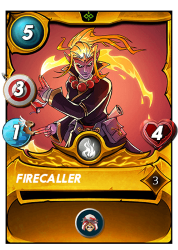
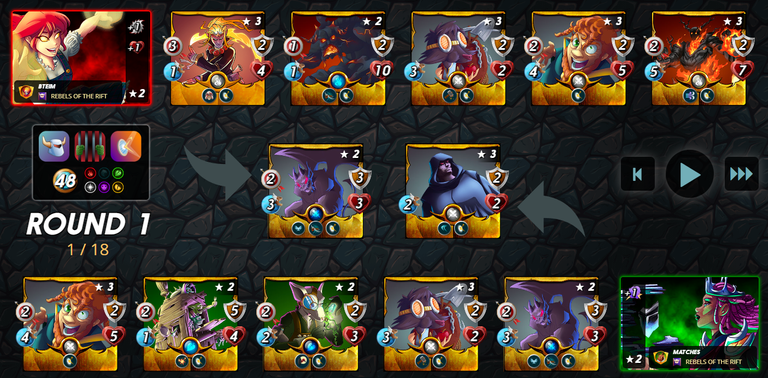
I started my team with a bit of positional play. Gargoya Devil has Close Range as well as Flying and quite a bit of speed, which gives it a fair chance at making some of the enemy attacks miss. This gives it some survivability, as well as a chance to get off an attack or two. Firecaller was there in the second spot mainly due to its Martyr ability. I was thinking that the most likely scenario would be for it to die second and end up buffing my third position monster, but the dream would be for some of the enemy monsters to have Snipe and end up picking it off first, allowing me to get a rare double Martyr buff.
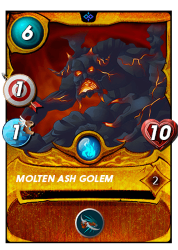
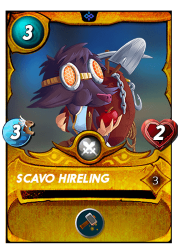
With Firecaller in the second spot, the third position of my lineup held the beefiest monster on my team - Molten Ash Golem. When or if Firecaller goes down it will make the chonkiest monster in my lineup even chonkier, hopefully allowing it to serve as a solid buffer for the rest of my team. And with Close Range, Molten Ash Golem can even attack from the front. Scavo Hireling was there as my kind of sort of healer. I didn't have an actual healer on my team, but if Gargoya Devil didn't die immediately, then Scavo Hireling might be able to repair its armor and allow it to take an extra hit or two. Even if my Gargoya Devil did die quickly, Scavo Hireling could help every monster on the team out thanks to the Armored Up ruleset.
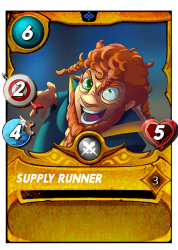
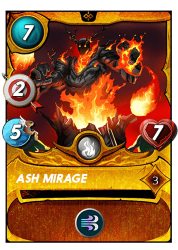
I closed out my team with the heavy hitters. Well, relatively heavy. Both Supply Runner and Ash Mirage hit for two, with a relatively high speed stat which should let them hit early and often. Ash Mirage also has the Headwinds ability, which is outstanding in any battle with plenty of ranged monsters. My hope was that my frontline monsters would be able to buy enough time for these two to pick apart the opposing team.

With the lineup set, it's off into battle! When I see the selected teams I feel pretty good about my chances. My opponent has indeed selected a team with plenty of ranged attackers, meaning Ash Mirage and its Headwinds should be extra useful in this fight. Unfortunately there is a lack of Snipe on the enemy monsters meaning that my dream scenario of a double Martyr is unlikely, but overall my team seems like it is well set up for success.
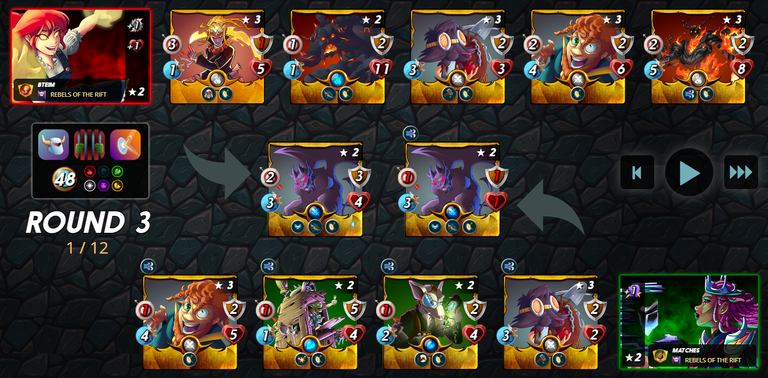
The battle starts off slowly thanks to the combination of Armored Up and Scavo Hirelings on both sides of the battlefield. But my Gargoya Devil is able to make the enemy monsters miss a couple of times and by the start of round 3 the opposing front line has taken quite a bit of damage.
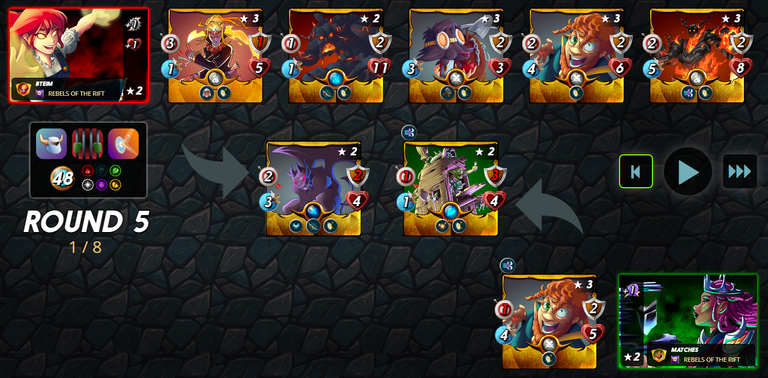
Thanks to Headwinds, the opposing monsters are not able to make much progress against my Gargoya Devil backed up by Scavo Hireling's Repair. By round 5 my team has taken a commanding lead - several enemy monsters have gone down, and only a single monster is still able to attack my team, while my entire lineup is still on the field.
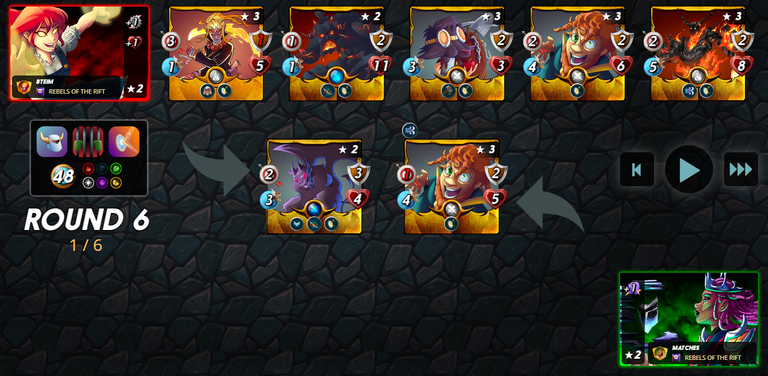
One more round and it was just about over - Goblin Tower goes down and the last remaining opposing monster is unable to attack, and it was a nearly flawless victory - my monsters have only taken a bit of shield damage! And again, if you wanted to see the whole battle for yourself, you can see it right here.
My strategy for this battle worked out perfectly - my team's defensive plan of Headwinds plus Repair was just what the doctor ordered for a battle with a ruleset which was very friendly to ranged monsters. This fight underscored an important part of Splinterlands counterplay strategy - recognizing not only the best monsters for a ruleset, but also what team will play well against those monsters, can often lead you to victory.

Thank you so much for reading all the way to the end. Interested in seeing some more of my writing in the future? Be sure to give me a follow! In the meantime, if you'd like to see some of my recent posts:
A Bit Off the Mark - Battling with Aim True! - A Battlemage Challenge battle writeup, featuring Aim True!
Splinterlands Economics: Causation - A look at causation, and how we can apply it to Splinterlands!
Splinterlands Economics: Ceteris Paribus - An introduction to the concept of Ceteris Paribus, and how we can apply it to Splinterlands!
Thinking about giving Splinterlands a try but haven't signed up yet? Feel free to use my referral link: https://splinterlands.com?ref=bteim, and be sure to reach out to me if you have any questions!
All images used in this article are open source and obtained from Pixabay or Unsplash. Thumbnails borrowed with permission from the Splinterlands team or made in Canva.
https://twitter.com/1467643672636190720/status/1636106428053331968
The rewards earned on this comment will go directly to the people( @bteim ) sharing the post on Twitter as long as they are registered with @poshtoken. Sign up at https://hiveposh.com.
Do you know you can win a Chaos Legion pack and many other things just by following some simple steps ?? Check out our Latest Daily Showcase and Participate our latest Giveaway. Thanks
Thanks for sharing! - @alokkumar121
