Hitting the Range - Battling with Target Practice!
In the spirit of the new weekly Battle Mage Secrets challenges, I would like to take a look at a Splinterlands battle with a particular focus on a ruleset. Our ruleset today is one that is one that you may enjoy if you are a fan of indirect damage. In most battles, the bulk of the damage is focused on the frontline monsters. But when this ruleset is in effect, things are a little different. Today, we will be looking at a battle with the Target Practice ruleset!
In Target Practice battles, all ranged and magic attackers have the Snipe ability. This means that instead of attacking the front enemy monster, they will instead attack the front-most monster that is NOT in the first position and has either ranged, magic, or no attacks. This results in a significant change to targeting priorities, and shakes up the battlefield quite a bit. As you may expect, ranged and magic attackers are the most impacted - melee monsters are unaffected by this ruleset. Target Practice means that ranged and magic attackers get to bypass the tank and the front and most right on to attacking the enemy ranged cards. This gives ranged and magic monsters some extra value. Particularly important in Target Practice battles are bulky non-melee monsters, since those become your new tanks in these fights.
If you wanted to jump right to the action, the Battle Link is right here. Want to hear some more about the lineup? Read on further!

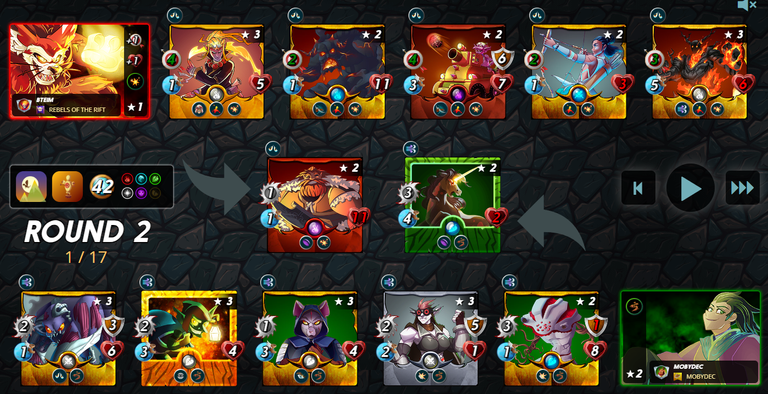
First up: the ruleset. Of course, we have Target Practice, which gives ranged and magic monsters the Snipe ability. To go along with it we also have Lost Legendaries, which means that any legendary monsters are ineligible to be used. Finally, we have a ralatively high mana cap of 42, and 5 splinters to choose from.
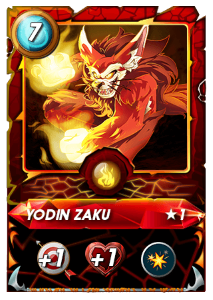
One of the best summoners in Target Practice battles is Yodin Zaku. Target Practice means that your ranged and magic attackers have a better chance of hitting the middle of the enemy team, which results in twice as much damage from Blast. Couple that with Yodin's top notch combination of ranged damage and health buffs, and he can give your team an incredibly high amount of damage output.
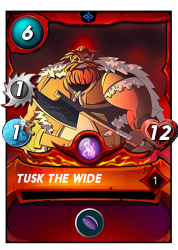
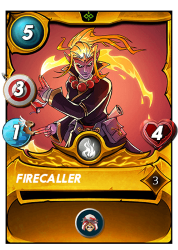
I led off my lineup with Tusk the Wide and Firecaller. Tusk's Void ability shouldn't be particularly relevant in this battle since any magic attackers should be attacking the back line monsters, but Tusk has a great amount of bulk, which is what I am looking for in the frontline tank. Firecaller is up next. My small scale strategy here is for Firecaller to get picked off early due to my opponent's Snipe damage, and Martyr will then give my surrounding monsters some welcome buffs to their stats.
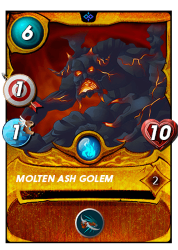
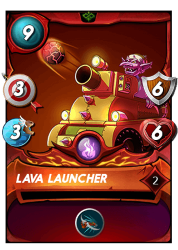
Up next were Molten Ash Golem and Lava Launcher. Recall that since all monsters have Snipe, we want some bulky ranged or magic monsters to soak up those hits. Molten Ash Golem and Lava Launcher both can take plenty of hits, and will also benefit from Yodin's attack and health buffs.

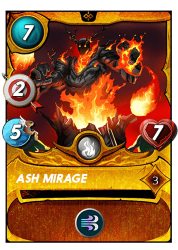
I rounded out my team with some more ranged damage. Xenith Archer isn't anything special, but can contribute a bit of damage as well as potentially soaking up a hit or two. Ash Mirage is a super speedy ranged attacker, who can also help you to win ranged monster mirror matches thanks to the Headwinds ability.

With the lineup set, it's off into battle! When I see the selected teams I am hopeful - my opponent has chosen to go with a lineup which is heavy on melee attackers, and has also selected a team which is heavily anti-melee. Since the vast majority of my monsters are ranged they won't have to worry about Mylor Crowling's Thorns, and should hopefully have enough of a firepower advantage to outrace the enemy monsters.
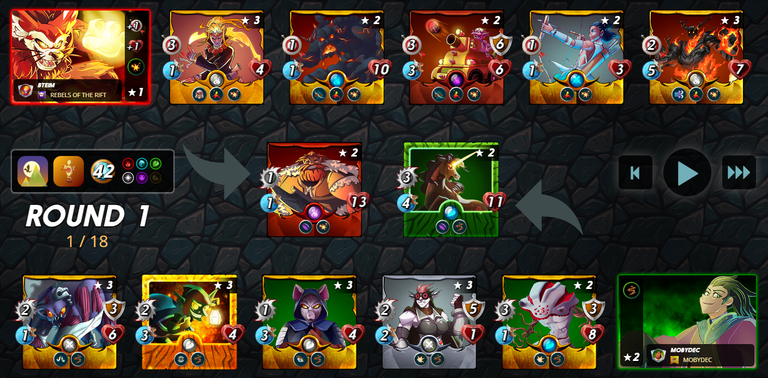
In the first round of battle things go fairly well for me. My ranged attackers are able to deal heavy damage to my opponent's frontline tank. And while there are some indirect attackers on the other side of the battlefield they are split between Sneak and Opportunity monsters, which is dividing their attacks.
One more round and the damage continues to mount. By this point the enemy team has chipped away a bit at my backline ranged attackers, but in the meantime my team has been making relatively quick work of the enemy tanks.

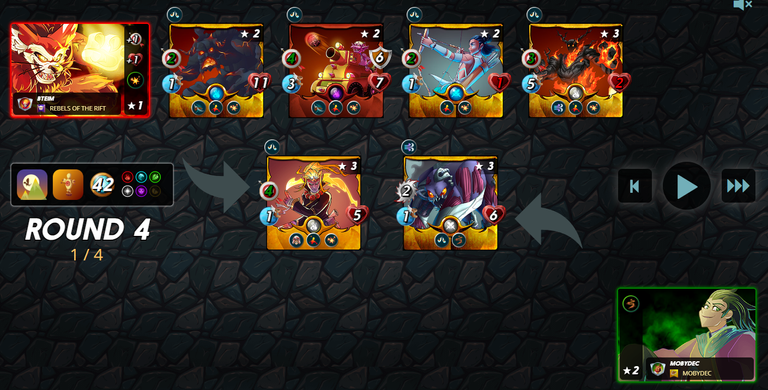
By the start of round 4 the battle was just about over. All that remained on the other side of the battlefield was a lone Disintegrator, while the bulk of my monsters (and firepower!) were still intact. A few more attacks and the battle was won. And again, if you wanted to see the whole battle for yourself, you can see it right here.
My strategy for this battle was more than enough to pull off the victory. While my opponent's lack on non-melee attackers actually minimized the impact of the Target Practice ruleset, my use of a powerful summoner who excels in Target Practice battles worked equally well against an all-melee team, as the enemy lineup's lower damage from their melee monsters was unable to keep up.

Thank you so much for reading all the way to the end. Interested in seeing some more of my writing in the future? Be sure to give me a follow! In the meantime, if you'd like to see some of my recent posts:
One Way Out - Battling with Lost Magic! - A Splinterlands battle analysis, featuring Lost Magic!
Splinterlands Economics: Causation - A look at causation, and how we can apply it to Splinterlands!
Splinterlands Economics: Ceteris Paribus - An introduction to the concept of Ceteris Paribus, and how we can apply it to Splinterlands!
Thinking about giving Splinterlands a try but haven't signed up yet? Feel free to use my referral link: https://splinterlands.com?ref=bteim, and be sure to reach out to me if you have any questions!
All images used in this article are open source and obtained from Pixabay or Unsplash. Thumbnails borrowed with permission from the Splinterlands team or made in Canva.
Thanks for sharing! - @alokkumar121
