Just the Monster for the Job - Battling with Broken Arrows!
This week's Battle Mage Secrets challenge features the Broken Arrows ruleset! In our battle this week, we will be taking a look at one of those rulesets that go ahead and ban an entire class of monster outright. While it can occasionally make a battle more boring by eliminating the possibility of particular strategies, it also shakes up the typical meta and gives you a slightly different battlefield to work with. Today, we will be focusing in on the Broken Arrows ruleset!
In Broken Arrows battles, all monsters with a ranged attack are unable to be selected. This includes any dual attack monsters with a ranged attack. Some clear losers in this ruleset are any ranged monsters. On the other hand, melee and magic attackers will see more play by default simply because they are the only attacking options. I should also note here that while it won't come into play in this particular battle, monsters with magic and/or with the Sneak or Opportunity abilities become particularly valuable in this ruleset, because without them your lineup will be limited to one or two attacks per round, severely diminishing your damage potential.
If you wanted to jump right to the action, the Battle Link is right here. Want to hear some more about the lineup? Read on further!

Here are the rules for our battle. There are quite a few impactful rules to take into account. Of course, we have Broken Arrows, which means that any ranged monsters are ineligible for selection. We also have Noxious Fumes and Holy Protection, which will inflict the Poison condition on all monsters and also give them the Divine Shield ability. Finally, we are battling under a very restrictive mana budget, with a cap of just 14, along with 4 splinters to choose from.
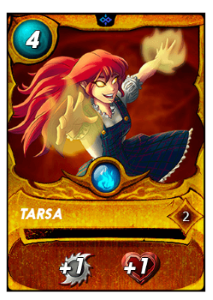
With the combination of Broken Arrows, Noxious Fumes, and a low mana cap, we have a Poison battle with most of our healing options off the table. The means we want to use a monster with Immunity. The Fire splinter happens to have a good one, and Tarsa is the perfect summoner to use it with. Tarsa is a great all-around Fire summoner - Fire has some excellent melee attackers, and Tarsa gives all of them an attack buff, along with the always useful health boost.

Normally the first position is where you put your primary tank. This battle is a little different thanks to the combination of Noxious Fumes and Holy Protection. With Poison in play, I want to play the stalling game. And Scorch Fiend is perfect for this. Costing no mana at all and buffed by the Divine Shield ability, Scorch Fiend can not only take a hit - it'll also have a chance at knocking off an opposing monster's own Divine Shield.

In the second position is a monster that is the main portion of my strategy, as well as the majority of my mana for this battle. Forgotten One is an incredibly bulky melee attacker who can take advantage of Tarsa's summoner buffs, and most importantly comes with the Immunity ability. Thanks to Immunity, I have the luxury of setting the rest of my team up to stall and make the battle as long as possible in order to give Poison some more time to go to work on the enemy monsters.
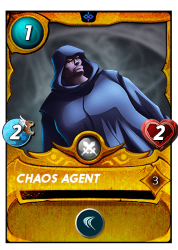
We'll round out our team with Chaos Agent. As I just mentioned, my plan for this battle is to stall for as long as possible and then ride Forgotten One to victory. Forgotten One is so expensive that I only have a single point of mana left, and Chaos Agent gives me an additional meat shield to potentially soak up some enemy Sneak or Opportunity attacks.

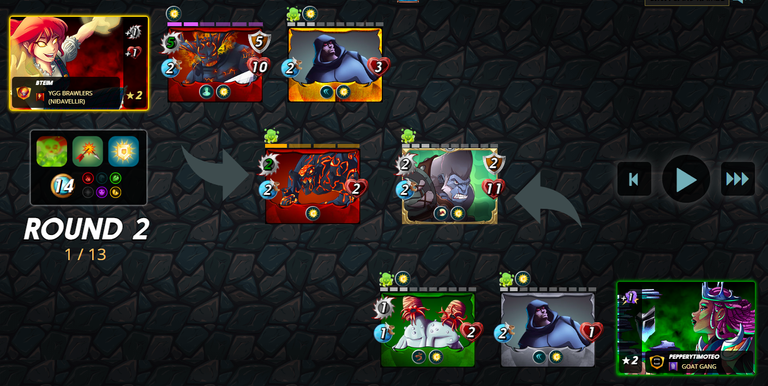
With the lineup set, it's off into battle! When I see the selected teams I feel pretty good about my chanced. The enemy monsters don't have any sort of Cleanse or Immunity, which means that they will all be taking Poison damage. To top that off, there is a distinct lack of indirect damage on the other side of the battlefield, so my Scorch Fiend stalling tactic should pay some dividends.
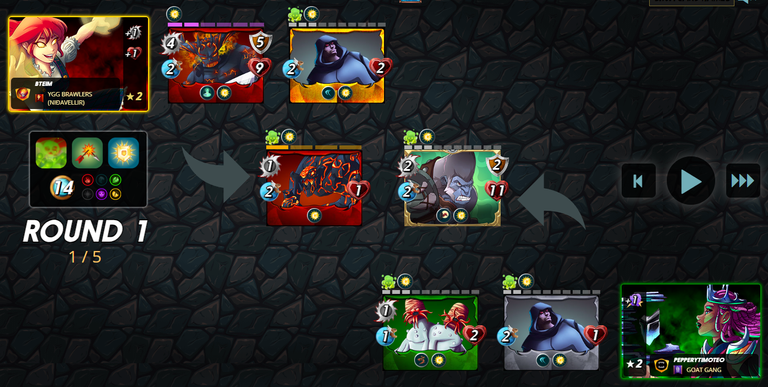
In the first round of battle things go as expected- my Scorch Fiend trades Divine Shields, and not a whole lot else happens. This is where the fun starts though - as soon as the second rounds starts, the first wave of Poison damage will start to take effect.
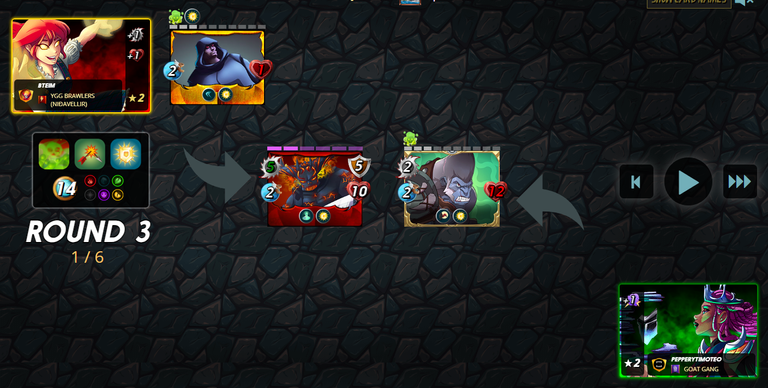
A single proc of Poison is enough to clear out all of the enemy supporting monsters. We are (more or less) down to a duel at the front. And with both a bulk AND attack advantage, I like my chances!
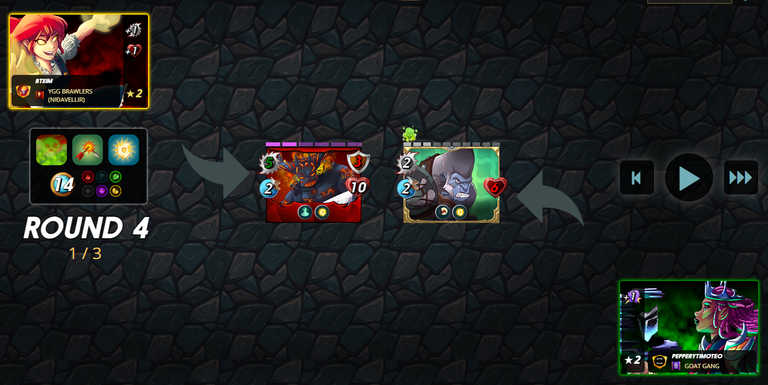
In the end it wasn't close at all. My Forgotten One was able to finish off the enemy's (not so!) Endless Ape ins short order, and didn't even lost all of its armor. And again, if you wanted to see the whole battle for yourself, you can see it right here.
My strategy for this battle worked out perfectly. Forgotten One was just the card for this battle, as the combination of Immunity and incredible melee stats were more than enough to finish off the enemy team. This fight showed off just how helpful having a broad deck can be in Splinterlands - without having the perfect monster for the battle, it would have been a much more difficult situation!

Thank you so much for reading all the way to the end. Interested in seeing some more of my writing in the future? Be sure to give me a follow! In the meantime, if you'd like to see some of my recent posts:
Magic Moments - Making a Splinterlands Comeback! - A Splinterlands battle analysis, featuring a come-from-behind victory!
Splinterlands Economics: Causation - A look at causation, and how we can apply it to Splinterlands!
Splinterlands Economics: Ceteris Paribus - An introduction to the concept of Ceteris Paribus, and how we can apply it to Splinterlands!
Thinking about giving Splinterlands a try but haven't signed up yet? Feel free to use my referral link: https://splinterlands.com?ref=bteim, and be sure to reach out to me if you have any questions!
All images used in this article are open source and obtained from Pixabay or Unsplash. Thumbnails borrowed with permission from the Splinterlands team or made in Canva.
Checkout our BDVoter Daily Hive Showcase & Participate into our Daily giveaway to win various prize.
Thanks for sharing! - @underlock
