Magic Moments - Making a Splinterlands Comeback!
This week's Social Media challenge features a tall task - share your most remarkable Splinterlands moment! And while pinpointing my MOST remarkable moment is rather difficult, it is safe to say that the most fun I have had in Splinterlands is while battling. So today, I will be sharing an epic Splinterlands battle that had me on the edge of my seat while watching it unfold. Our battle today is heavily impacted by a ruleset that you may enjoy if you are a fan of indirect damage. In most battles, the bulk of the damage is focused on the frontline monsters. But when this ruleset is in effect, things are a little different. This battle is featuring the Target Practice ruleset!
In Target Practice battles, all ranged and magic attackers have the Snipe ability. This means that instead of attacking the front enemy monster, they will instead attack the front-most monster that is NOT in the first position and has either ranged, magic, or no attacks. This results in a significant change to targeting priorities, and shakes up the battlefield quite a bit. As you may expect, ranged and magic attackers are the most impacted - melee monsters are unaffected by this ruleset. Target Practice means that ranged and magic attackers get to bypass the tank and the front and most right on to attacking the enemy ranged cards. This gives ranged and magic monsters some extra value. Particularly important in Target Practice battles are bulky non-melee monsters, since those become your new tanks in these fights.
If you wanted to jump right to the action, the Battle Link is right here. Want to hear some more about the lineup? Read on further!

First up: the ruleset. As I mentioned above, we have Target Practice, which gives ranged and magic attackers the Snipe ability. We also have Briar Patch and Lost Legendaries, which grants monsters the Thorns ability and makes all legendary rarity monsters ineligible for this battle. Finally, we have a decently high amount of mana available with a cap of 35, and 4 different splinters to choose from.

The Briar Patch ruleset strongly encourages the use of magic or ranged attackers. In this particular battle, Target Practice makes our decision for us - with Snipe in play, my backline monsters want to be fairly bulky. In my deck this means playing magic, since most of my ranged monsters are relatively fragile. Obsidian is a standout summoner for a magic strategy - what more do you want than a boost to every single magic attacker on your team?


I picked both of my tanks at the front with the Target Practice ruleset in mind. Mycelic Slipspawn is great in Target Practice, since the Taunt ability will force enemy monsters to attack it regardless of where it is positioned in the lineup. In this case, I stuck it at the front to take advantage of some healing from my back line. Regal Peryton was my secondary tank, who would hopefully have a useful combination with some of the following monsters in the middle of my lineup.
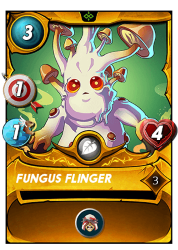
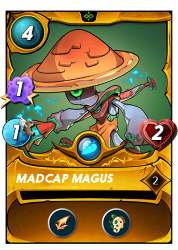
My midline began with Fungus Flinger. Fungus Flinger was in my third position, and my hope was that once my Mycelic Slipspawn died then Fungus Flinger would drop into the second spot, which is right in the line of any Snipe attacks and awfully convenient for getting a double Martyr buff off when it dies. And with Target Practice in play, Snipe attackers should be plentiful! Madcap Magus was in there as well as a bit of a wildcard. Its Scattershot ability could provide damage to unexpected portions of the enemy lineup, and with Obsidian plus an anticipated Martyr buff, Madcap Magus could potentially be hitting for 3 damage per turn.
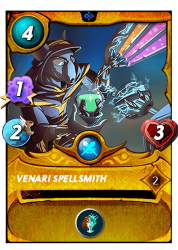
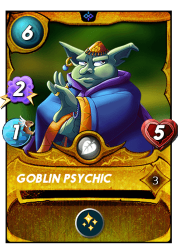
I rounded out my team with some more magic damage. Venari Spellsmith packs a bit of magic as well as the Dispel ability for a very reasonable 4 mana. Goblin Psychic is a (relatively) heavy hitter, and will also provide support to my frontline monster with the Tank Heal ability.

With the lineup set, it's off into battle! When I see the selected teams I am not sure what to think - my opponent has brought a much less focused team into the battle. While I went heavy on magic attackers, they choose a mix of ranged and magic damage. While this means that they gain less from Obsidian's summoner ability, this also allowed them the luxury of having not just one, but TWO healers on their team.
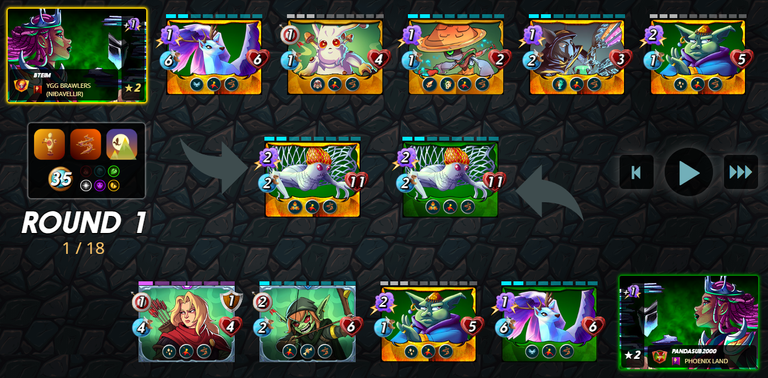
In the first round of battle things do not go my way. My Mycelic Slipspawn is quickly knocked out of the fight, while my opponent's copy is able to stick around thanks to some timely healing. With my Taunt tank gone, my team is quickly facing an early disadvantage.
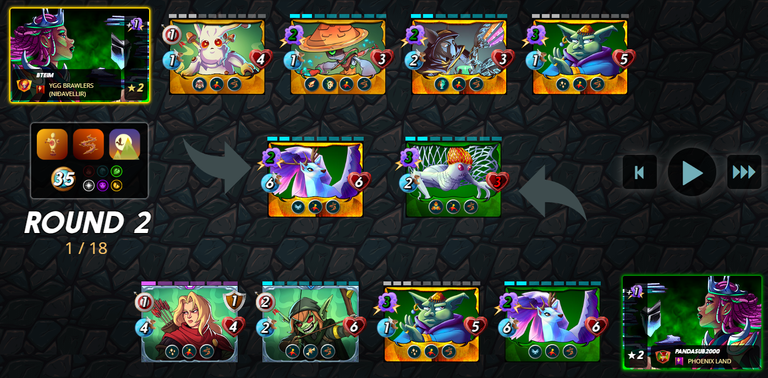
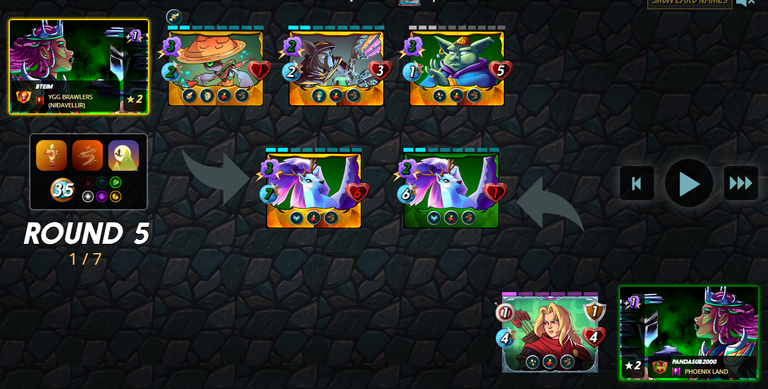
One more round and my Martyr strategy pays off - my Fungus Flinger does down to Snipe attacks, granting its double buff to my Regal Peryton and Madcap Magus. I am still at a numbers deficit with 4 monsters to my opponent's 5, but thanks to those buffs my monsters now have an impressive amount of firepower!
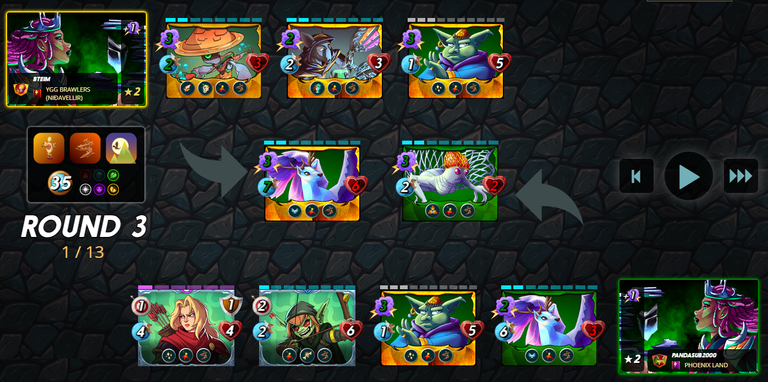
With my team powered up, they are on a much better footing. After a couple of rounds of back and forth attacks the dust begins to settle - and my monsters' superior firepower turned out to be enough to take down the opposing team! And again, if you wanted to see the whole battle for yourself, you can see it right here.
This battle turned into a bit of a back and forth affair, as my team got off to a slow start and things did not look good for me early on. But thanks to playing around the the Target Practice ruleset, my Martyr strategy was enough to turn around the battle and pull off the victory. Battles like these are some of the most fun in Splinterlands - seeing the rulesets, forming a strategy, and having that strategy pay off with a win is one of the best feelings in the world.

Thank you so much for reading all the way to the end. Interested in seeing some more of my writing in the future? Be sure to give me a follow! In the meantime, if you'd like to see some of my recent posts:
One Woman Army Returns - Battling with Born Again! - A Splinterlands battle analysis, featuring Born Again!
Splinterlands Economics: Causation - A look at causation, and how we can apply it to Splinterlands!
Splinterlands Economics: Ceteris Paribus - An introduction to the concept of Ceteris Paribus, and how we can apply it to Splinterlands!
Thinking about giving Splinterlands a try but haven't signed up yet? Feel free to use my referral link: https://splinterlands.com?ref=bteim, and be sure to reach out to me if you have any questions!
All images used in this article are open source and obtained from Pixabay or Unsplash. Thumbnails borrowed with permission from the Splinterlands team or made in Canva.
Checkout our BDVoter Daily Hive Showcase & Participate into our Daily giveaway to win various prize.
Thanks for sharing! - @mango-juice
