Opportunity on the High Seas
Luck is when preparation crosses paths with opportunity. I prepared a full team of recruits to use Deeplurker's opportunity ability and came away with some luck. Read on to find out how I prepared and went into battle with this bottom feeder

UNDER THE SEA
I went all in on this challenge and rented a full team. I am slowly trying to build a more diverse deck. A level two Kelya, with some level two and three assistants, has been at the top of my wish list. Eventually I'd love to get a fully maxed out Silver deck of a couple splinters, but to protect my budget I'm aiming for some level two summoners and assistants first. I took this week's challenge as a great opportunity to hit the rental market and test the Water team I've been eyeing. Here's what I found on the rental market as well as current prices to purchase. The Keyla Gold was cheaper to rent when I went shopping so 🤷♂
It's always a good idea to look at regular and gold foil prices when renting or purchasing. Sometimes you will be surprised and find the gold version cheaper.
 | ||
 | ||
 | ||
 | ||
 | ||
 | ||
 | ||
 | ||
 | ||
 | ||
 | ||
This could come under the $50 mark by opting for a non-gold foil Kelya

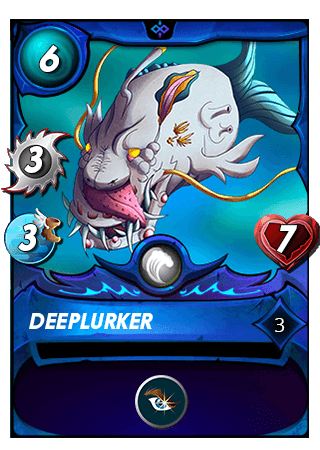
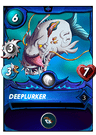
DEEPLURKER
🌊 Level 3
⚔️ 3 Melee Attack
🏃 3 Speed
❤️ 7 Health
⭐ Opportunity
🅛🅞🅡🅔
Terrifying to behold, Deeplurkers are a poisonous fish that dwell at the bottom of the ocean and prey on the weak. However, they are known to travel to the surface in times of dire need. Many believe that they are sensitive to the balance of elemental water magic and, when that balance is in danger, the Deeplurkers rise to attack or defend it.
BATTLE EXAMPLE
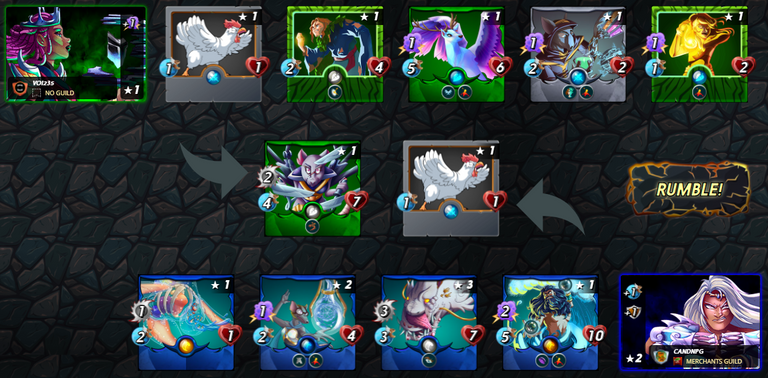
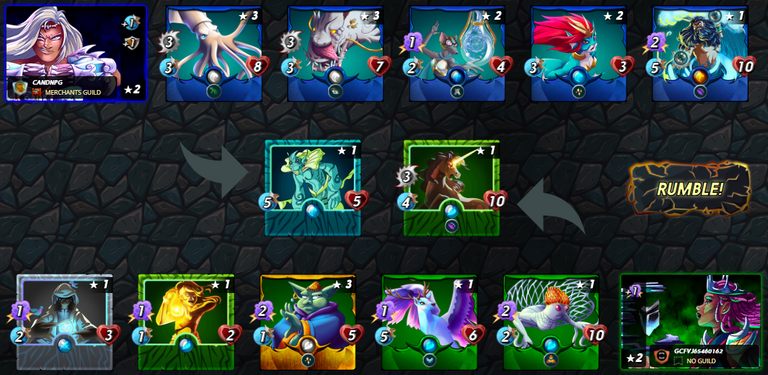
MY LINEUP
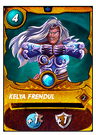
ⓈⓊⓂⓂⓄⓃⒺⓇ - 🅚🅔🅨🅛🅐 🅕🅡🅔🅝🅓🅤🅛
- Level Two - Gold
🏃 +1 Speed
🛡️ +1 Armor
🤔 Strategy: I forced this one a bit as I was caught up using the new team. With Target Practice ruleset, and the Light splinter not an option, it may not have been the best strategy to break out more armor and speed. There was a high probability that magic was going to be a large part of this battle.
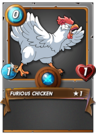
①ⓈⓉ - 🅕🅤🅡🅘🅞🅤🅢 🅒🅗🅘🅒🅚🅔🅝
- Zero Mana Cost
❤️ One Health
🤔 Strategy - Some fodder up front to take and extra hit or two.

②ⓃⒹ - 🅓🅙🅘🅝🅝 🅞🅢🅗🅐🅝🅝🅤🅢
- Void
❤️ Ten Health
🔮 Two Magic Damage
🤔 Strategy - As I started to test this new lineup I was getting blown off the battle field by magic. My hope was that Djinn's Void ability would help soften the blows. After the chicken gets beat up, Djinn's high health, and speed, should make him a good secondary tank.

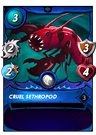
③ⓇⒹ - 🅓🅔🅔🅟🅛🅤🅡🅚🅔🅡
- Level 3 - Opportunity
⚔️ Three Melee Attack
❤️ Seven Health
🤔 Strategy - Tucked nicely in the middle of the lineup, Lurker should have plenty of rounds to inflict its three damage.
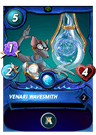
④ⓉⒽ - 🅥🅔🅝🅐🅡🅘 🅦🅐🅥🅔🅢🅜🅘🅣🅗
- Level 2 - Protect
🔮 One Magic Damage
❤️ Four Health
🤔 Strategy - With Kelya's +1 armor buff, the addition of Venari's protect is all about beefing up my team's armor another +2. The magic attack is an added bonus to slip under the opponent's armor, especially with the Target Practice ruleset.

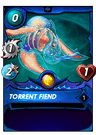
⑤ⓉⒽ - 🅣🅞🅡🅡🅔🅝🅣 🅕🅘🅔🅝🅓
- Zero Mana Cost
⚔️ One Melee Attack
❤️ One Health
🤔 Strategy - An extra insurance policy in the back in case my opponent uses any Sneak monsters.
PRE-BATTLE STATS
 | ||
 | ||
 | ||
 |
🔮 My opponent went all in on Magic attacks to take advantage of Obsidian's +1 one magic buff and the Target Practice ruleset. They also had Thorns up front to slow down melee attacks on their tank.
🛡️ My armor buffs aren't looking so great with the heavy magic attacks, but my choice of Oshannus with his Void ability is looking like a smart play. My lack of melee attacks on my opponents tank is looking like a smart move.
RESULTS
Wow! Deeplurker packed a punch, notching five of the six kill shots. While I thought my armor buffs would be fairly useless, Chicken was able to take three hits thanks to the extra armor, and allowed the rest of the team to taste victory. The Snipe ability from the Target Practice ruleset actually diverted some of the damage away from Chicken and left her to fight a couple extra rounds.
Watching this battle I felt as if Lurker were coming out of the depths of the ocean to take out my opponents team. Returning to hide in the depths after each kill shot. Each one of his attacks resulted in a kill and the only damage taken was the final thorns damage. It was fun to watch.
Torent Fiend ended up being an after thought in this battle, but for zero mana, like Chicken, it is play that doesn't cost anything. I am liking all the Fiend's and especially love them in low mana matches when they can pair with Chicken. Kelya's +1 armor buff means that each have the possibility to take an extra shot.
WRAP-UP
I was impressed with Deeplurker in this battle. With a full team of protection around him he was able to pick off the opponents one by one. My opponent didn't select any high health monsters so the three melee damage was more than enough.
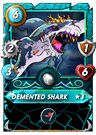
I'd like to pair Lurker with Demented Shark to pair with the Inspire ability for a full four damage. When I have it in my budget for a level three Kelya I will take it a step further and upgrade Lurker to level four for another point of melee damage.
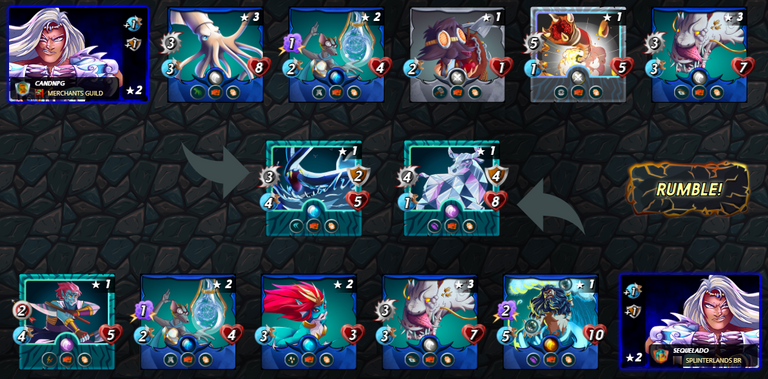
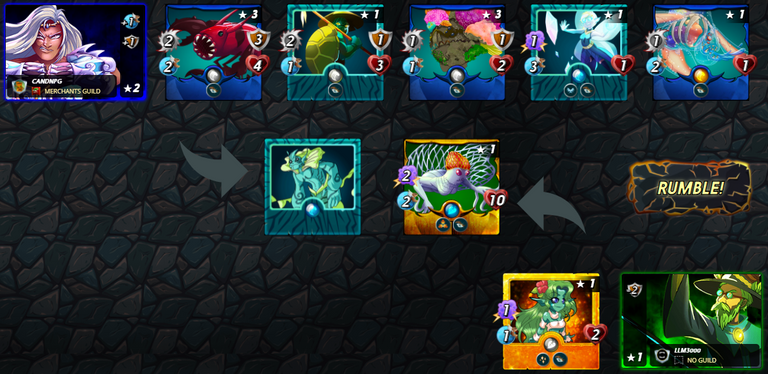
I realized I tend to share battles that paint a picture that I have a clue what I am doing in this game 😀 Here are a few more battles, two of them where I was crushed and used zero strategy, and one victory in which I stacked up all the little guys.
 |  |  |
|---|---|---|
Credits:
Card images from Splinterlands
Banner created by me using Canva
Thanks for reading!
Electronic-terrorism, voice to skull and neuro monitoring on Hive and Steem. You can ignore this, but your going to wish you didnt soon. This is happening whether you believe it or not. https://ecency.com/fyrstikken/@fairandbalanced/i-am-the-only-motherfucker-on-the-internet-pointing-to-a-direct-source-for-voice-to-skull-electronic-terrorism
Congratulations @candnpg! You have completed the following achievement on the Hive blockchain and have been rewarded with new badge(s):
Your next target is to reach 600 upvotes.
Your next payout target is 100 HP.
The unit is Hive Power equivalent because post and comment rewards can be split into HP and HBD
You can view your badges on your board and compare yourself to others in the Ranking
If you no longer want to receive notifications, reply to this comment with the word
STOPTo support your work, I also upvoted your post!
Check out the last post from @hivebuzz:
Support the HiveBuzz project. Vote for our proposal!
My battle feat Deeplurker: How it started...
Vs how its going...
I'd say you wiped the floor with the opponent 😂. Against Yodin too, that's awesome!
@tipu curate
Upvoted 👌 (Mana: 0/75) Liquid rewards.
Thanks for sharing! - @alokkumar121
