Splinterlands Battle Mage Secrets — Earthquake


Earthquake


All non-flying units take 2 physical damage at the end of every turn
Earthquake screams to use Flying monsters to negate any end of round damage, but there are other strategies to consider.
- Use Snare to counter your opponent's use of Flying
- Select high armored cards as Earthquake damage deducts from armor before health.
- Use the Protect ability to gain more armor.
- Monsters with Heal can maintain themselves in the back while the fighting stays up front.
- Don't throw all of your flying monsters up front. Save some for he back to keep in the fight as long as possible.
- Use Repair to keep the armor advantage going strong
- If you end up with Noxious Fumes and Earthquake, prepare for a quick battle 😀 Get as much health on the board as you can.
Battle Example
This is a great example where I only used one Flying monster but had a lot of armor to make up for it. Having some monsters that can do a high amount of damage also allowed me to utilize this strategy.
| Battle Link | |
|---|---|
| Kelya v. Ilthain | 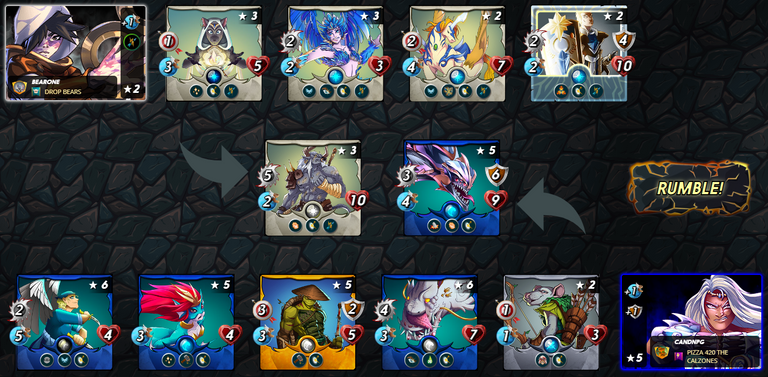 |
 | |
 | |
 | |
 | |
 | |
 |
Round 1 — My opponent has packed the middle of their lineup with Flying cards and is drawing all my fire to the back with Taunt. War Pegasus Shatters my tanks armor and takes a large advantage away from me early. Diemonshark falls quickly without its armor. Things look bleak for me at the end of the round, but at least I have inflicted Shieldbearer with Poison.
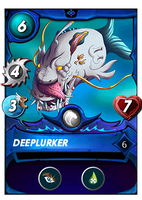
Round 2 — I'm able to take out Shieldbearer with the rounds first attack and can start working on my opponent's tank. Martyr kicks in and Deeplurker gets some needed buffs. Both my opponent and I have Tank Heal and it will take some time to break through. Merdalli falls to Earthquake damage, but the good news is my tank is in better shape than my opponent's.
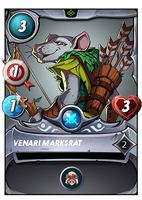
Round 3 — Deeplurker takes out Drybone in the front. By the end of the round my opponent is down to two monsters, but both have flying. The good news is my Pelacor Bandit is still going strong and if I can take out my opponent's tank, War Pegasus cannot attack from the front row.
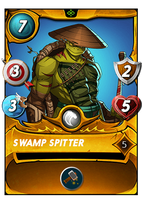
Round 4 — Deeplurker falls and Swamp Spitter moves into my tank position. He cannot attack from the front, but his Repair ability allows him to repair his own armor. Unfortunately he still falls at the end of the round and I'm left with Bandit versus Pegasus and Harpy.
Round 5 — Bandit moving into the fornt works to my advantage as I can now attack Harpy and it is a battle of Harpy versus Bandit.
Round 6 — Harpy loses the battle thanks to an ill-timed miss and Pegasus is now a sitting duck! I guess another strategy to consider is Speed as the miss on Pelacor was the decider!
It doesn't have to be all about Flying during an Earthquake battle. It doesn't hurt, but I was able to sneak a victory in with just the one Flying card this battle. Mind the other tips and you can make a flying opponent pay for ignoring the other cards.
🐲 START PLAYING SPLINTERLANDS 🐲

Thanks for reading!
Do you know you can win a Chaos Legion pack and many other things just by following some simple steps ?? Check out our Latest Daily Showcase and Participate our latest Giveaway. Thanks
Thanks for sharing! - Underlock#8573
