Tarsa hourglass lineup on Fire & Regret
This week, I'm sharing my battle on Fire & Regret ruleset using Tarsa with hourglass team. I'm not sure if this is called hourglass, I just picked up the word from @infidel1258 on his youtube stream of playing Splinterlands before. I remember him saying it's a very fragile monster, but can really destroy the enemy monsters when played right.
I'm talking about Exploding Dwarf. That is when I started to see its potential in Diamond gameplays. I usually play it with Plado Emberstorm, but this time I'm playing it with Tarsa. I'll explain why in the later part of this post. :)
You can check out this BATTLE MAGE SECRETS Weekly Challenge link if you also want to participate.
Ruleset:
Born Again
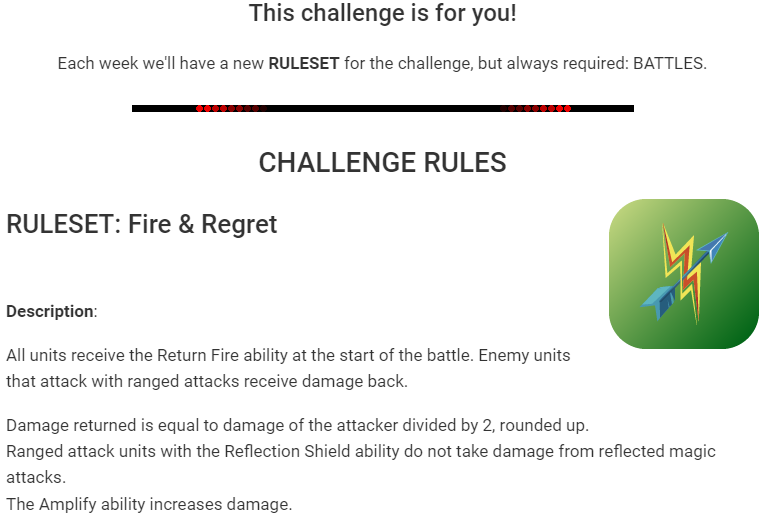
Fire & Regret
Melee Mayhem
Mana Cap: 35
Elements: Fire, Water, Earth, Death

This is a Born Again ruleset game so all Monsters have the Rebirth ability.

This is a Fire & Regret ruleset game so all Monsters have the Return Fire ability.

This is a Melee Mayhem ruleset game so Melee attack Monsters can attack from any position.


You may also watch battle here.
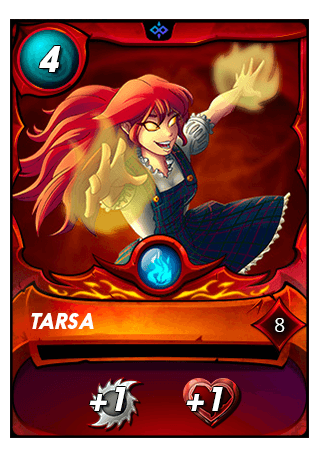
Summoner: Tarsa
Abilities:
All friendly monsters gain +1 melee damage
All friendly monsters gain +1 health
I chose Tarsa for the +1 melee damage and +1 health. This is for my Exploding Dwarf and Exploding Rats to last longer in the field. Usually, players would play a monster with Thorns in the position 1 and my exploding monsters would die from that thorns. If I add another monster with Strengthen ability, My exploding monsters can take that thorns damage so they can last longer and deal more damage. With the Born Again ruleset, the +1 health will benefit them more as they can last 2 more rounds. In total, my exploding dwarf and exploding rats can last up to 4 rounds.
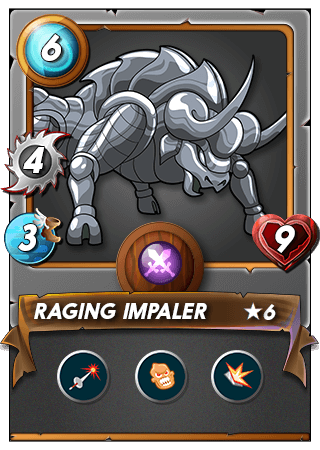
Pos 1 Monster: Raging Impaler
Abilities:
Piercing - If Melee or Ranged attack damage is in excess of the target's Armor, the remainder will damage the target's Health.
Enrage - Has 150% increased Melee attack and Speed when damaged rounded up.
Shield - Reduced damage from Melee and Ranged attacks
- Attack damage gets halved (rounded up), except attack 1 which deals 0 damage
Reduces the Thorns damage to 1
Cancel Redemption damage
Pos 2 Monster: Molten Ash Golem
Abilities:
Close Range - Monster's health increases each time it damages an enemy Monster's health in proportion to the damage dealt
Weaken - Reduces the Health of all enemy Monsters by -1
- this helps Exploding Dwarf and Exploding Rats to annihilate my enemy line up in 1 or 2 rounds
Demoralize - When this Monster dies, it does 1 damage to all enemy monsters
- 1 to melee attack, it cannot be less than 1
- This is also a Melee Mayhem ruleset so I expected my opponent would choose melee monsters to maximize this ruleset.
Even with Fire & Regret ruleset, I thought this was still worth playing in this battle.

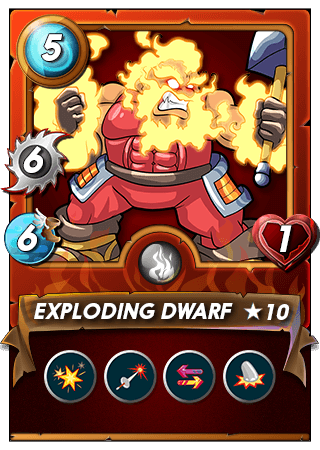
Pos 3 Monster: Exploding Dwarf
Abilities:
Blast - Does additional damage equivalent to main damage divided by 2, rounded up to Monsters adjacent to the target Monster
Piercing - If Melee or Ranged attack damage is in excess of the target's Armor, the remainder will damage the target's Health.
Retaliate - When hit with a Melee attack, Monsters with Retaliate have a 50% chance of attacking their attacker
Trample - When a Monster with Trample hits and kills its target, it will perform another attack on the next Monster on the enemy Team
Without looking at its 1 Health, you already know why I picked this monster. Melee attack, Speed, and all its abilities can easily take down 3-4 enemy monsters in 1 round.
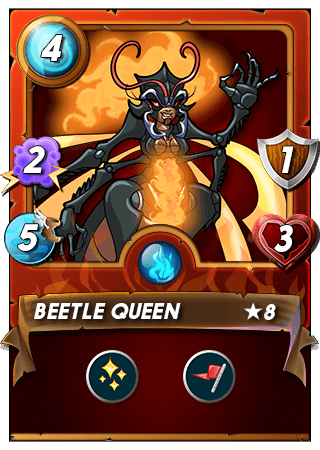
Pos 4 Monster: Beetle Queen
Abilities:
Tank Heal - Restores 1/3 portion of the Monster in the first position's health each round
Inspire - Gives all friendly Monsters +1 Melee attack
- helps my Exploding Dwarf and Exploding Rats deal more damage.
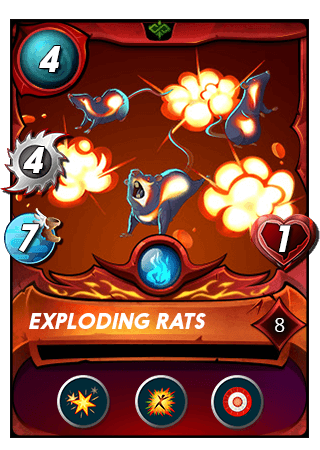
Pos 5 Monster: Exploding Rats
Abilities:
Blast - Does additional damage equivalent to main damage divided by 2, rounded up to Monsters adjacent to the target Monster
Redemption - When this Monster dies, it does 1 damage to all enemy monsters
True Strike - This monster's attacks cannot miss
With its high damage, high speed and Blast ability, it will surely help remove some enemies on the battle field.
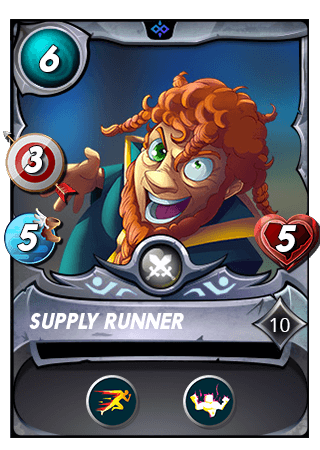
Pos 6 Monster: Supply Runner
Abilities:
Swiftness - All friendly Monsters have increased +1 Speed
- this helps make sure my monsters will attack first, before my enemy monsters can even react.
Strengthen - All friendly Monsters have increased +1 Health
- this helps secure at least 4 rounds for my exploding Dwarf and Exploding Rats.
Can't wait to see them in action? Let's watch the game.
You may also watch battle here.
In the end, it all worked as I hoped for. The redemption line-up worked well since we don't have armor. Halfling Alchemist worked best with Fire & Regret as it was able to trigger the Redemption earlier.
Hope you learned something from my game and how I came up with this lineup.
What would you have done differently given the same ruleset, mana cap and active elements? Let us know by dropping a comment.
Want to play Splinterlands with me? Play with me
Make passive income by renting out your card collection in peakmonsters
Earn on your blogs. Blog with us here in Hive
Earn passive income by sharing your internet bandwidth with Honeygain
Do you know you can win a Chaos Legion pack and many other things just by following some simple steps ?? Check out our Latest Daily Showcase and Participate our latest Giveaway. Thanks
Thanks for sharing! - @alokkumar121
