Hosting splinterlands bot on Heroku [GUIDE]
Prerequisites:
- A working bot version
- Heroku account
- Git CLI (CLI = command line interface)(installation link in step 3)
- Heroku CLI (installation link in step 3)
- Code editor (most computers should have vim or nano though, and if your on windows notepad is fine, just make sure you have a way of editing files)
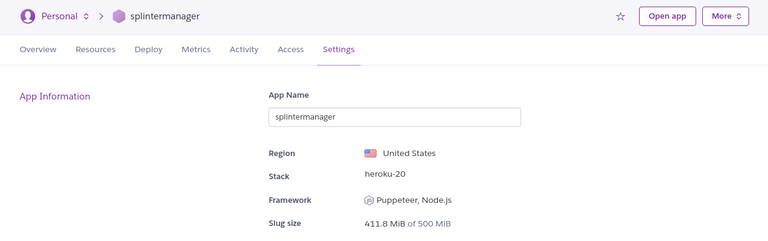
STEP 1: Create app
Login and Create a new heroku app, just give it a name and select your region, you don't need to add pipeline stuff.
STEP 2: Add buildpack and enviroment variable
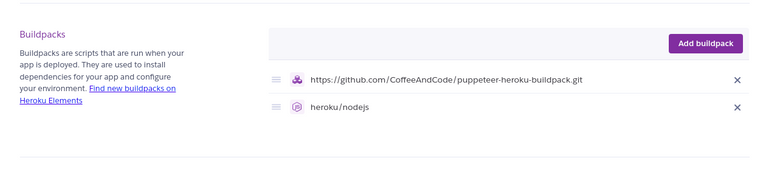
Once your in your app, go to settings look for buildpack and add this buildpack https://github.com/CoffeeAndCode/puppeteer-heroku-buildpack.git and also don't worry about adding the Node buildpack, heroku should add it automatically once we upload our code.
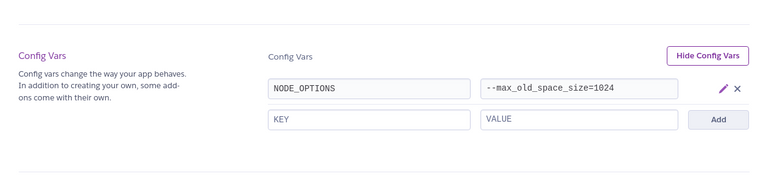
Also go to Config vars and add NODE_OPTIONS, then set its value to --max_old_space_size=1024
STEP 3: Connect to heroku app
Make sure you have the heroku cli and the git cli installed, if you don't then please do so.
Git cli: https://git-scm.com/book/en/v2/Getting-Started-Installing-Git
Heroku cli: https://devcenter.heroku.com/articles/heroku-cli
Sidenote: Make sure once you downloaded the Heroku cli to login using the "heroku login" command, just in case you missed it in the heroku cli link.
Now open up your terminal or git cli and navigate to your bot directory/folder using the cd command
Example(To enter a directory/folder): "cd <directory_name>"
Example(To back out of a directory): "cd .."
Cool article if you get lost in the terminal/need a little more help: https://medium.com/@grace.m.nolan/terminal-for-beginners-e492ba10902a
Once your in the bot directory run this command
heroku git:remote -a <Name_of_app>
Example below
heroku git:remote -a splintermanager
To verify if you did this correctly run
git remote -v
You should see something like this pop up
heroku  https://git.heroku.com/<Name_of_app>.git (fetch)
heroku  https://git.heroku.com/<Name_of_app>.git (push)
STEP 4: Preparing you bot
We need to do a few things here before pushing our code to the bot such as, adding a Procfile, adjusting our package.json file, and adjusting your .gitignore file.
First you need to create a file called "Procfile" with no extensions, so Procfile.txt does not work, .Procfile does not work, it must be just "Procfile".
Then open it up and add this line of code.
worker: npm start
Second adjusting your package.json, so go ahead and open your package.json file.
Then look for "start": "node index.js" and replace with the following.
"start": "node --max_old_space_size=1024 index.js"
Third thing we need to do is open up the .gitignore file and remove anything that the bot may need to use, like the .env file which contains your account details and bot settings.
Warning: Careful not to push your code to github without adding .env back to your .gitignore unless you want to push your account details to github.
STEP 5: Push your code and wait
Use the following commands to push your code to heroku
git add .
git commit -m 'write any message here doesn't really matter'
git push heroku main
Wait for the command to finish doing its thing then give it five minutes or so to do its thing.
Afterwards check up on your bot using
heroku logs
Hopefully you don't errors from heroku
Thanks so much for reading my guide here and I wish you the best of luck climbing the ranks.
This took me while to research and write up this guide so please consider sliding some DEC my way @hectik