FanArt: Medusa
Arte Digital | Digital Art
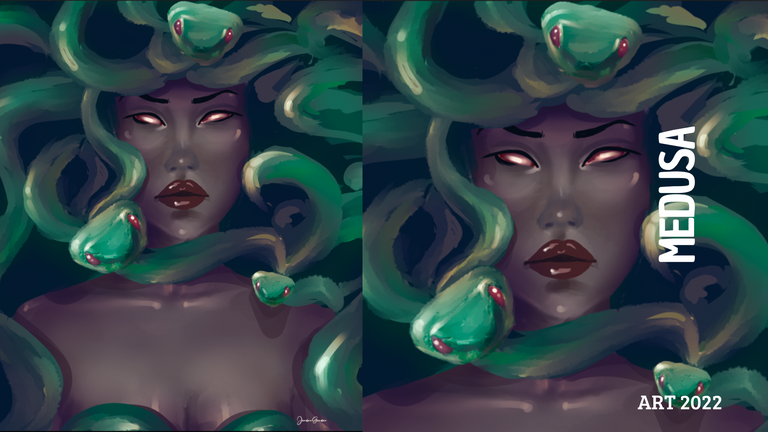
Saludos querida comunidad, presento un nuevo trabajo digital con el cual participare en el concurso de arte elaborado por @splinterlands. Siempre he querido dibujar este personaje y obtener un buen resultado pero no siempre me gusta del todo, se que es un buen trabajo aunque quise deshacerlo todo aqui estoy compartiendo con mi querida comunidad, acompañame a ver el proceso de creacion...
Greetings dear community, I present a new digital work with which I will participate in the art contest prepared by @splinterlands. I've always wanted to draw this character and get a good result but I don't always like it at all, I know it's a good job although I wanted to undo everything here I'm sharing with my dear community, come with me to see the creation process...
¡Espero te guste! | I hope you like!
Presentación del diseño | Desing presentación
Materiales | Materials
- Mini laptop
- Tableta Huion H950P
- Programa Adobe Photoshop 2019
- Mini laptop
- Huion H950P tablet
- Adobe Photoshop 2019 program

Proceso | Process
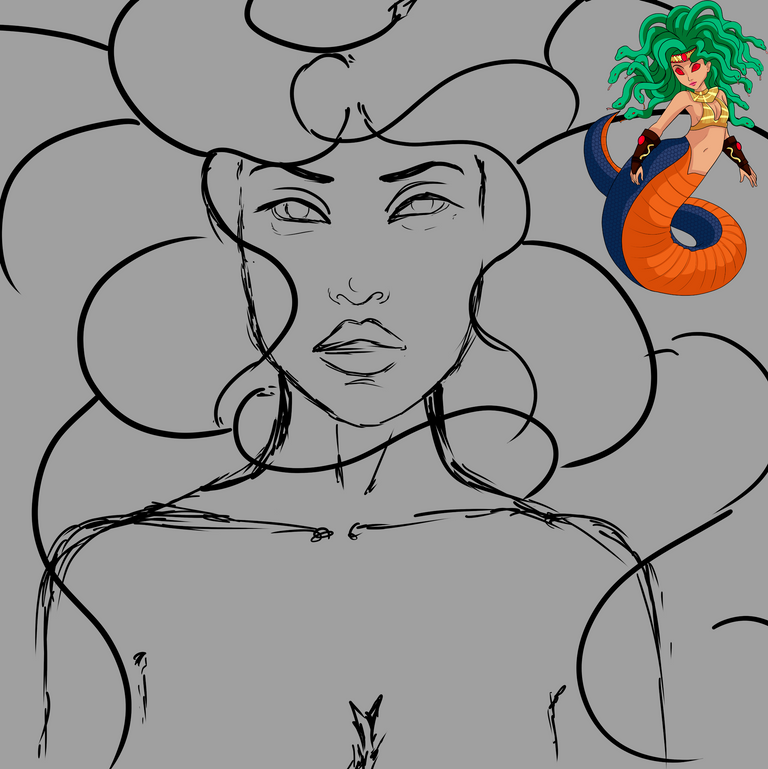
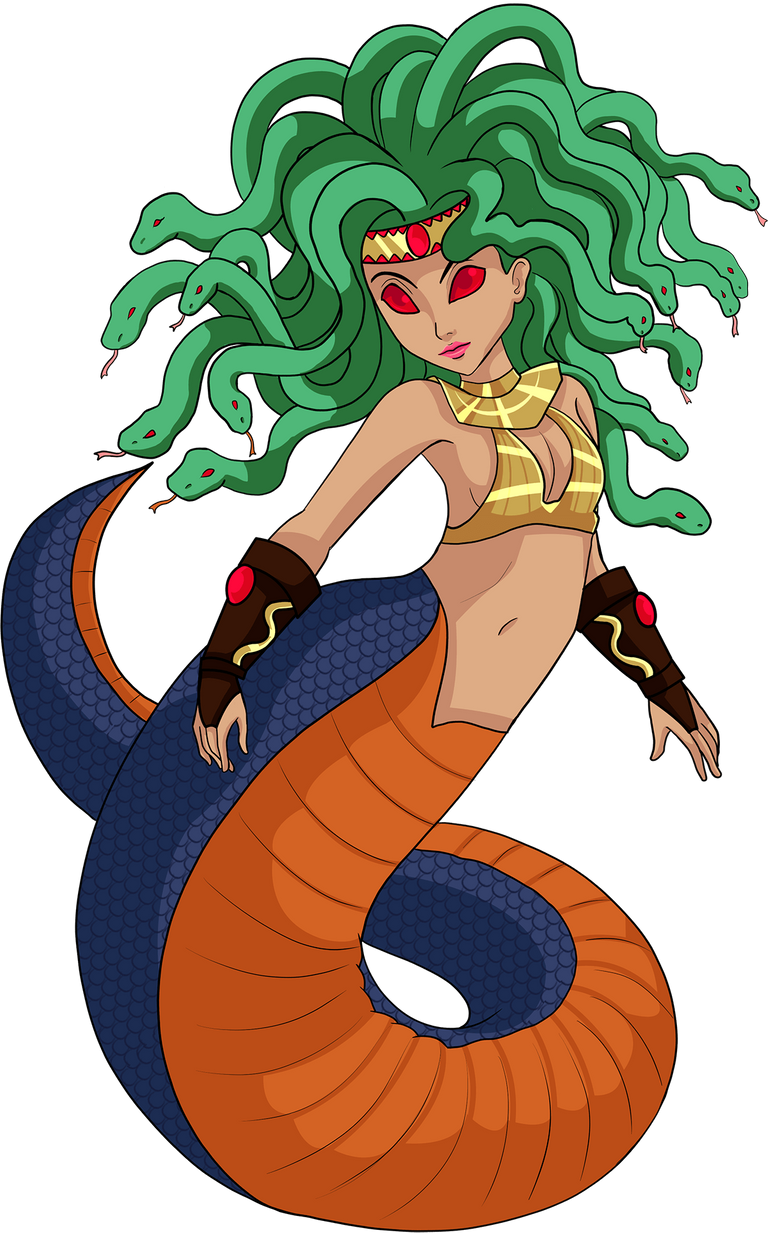
Primer paso: El boceto, es donde creamos la mayor parte de lo que queremos, despues tener lineas entendibles, continuamos al segundo paso:
First step: The sketch is where we create most of what we want, after having understandable lines, we continue to the second step:
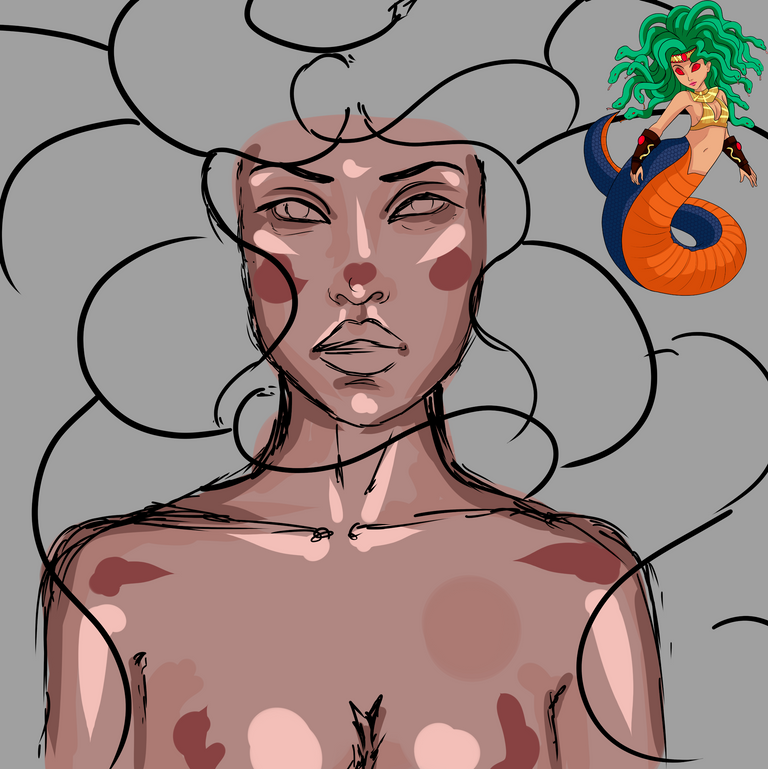
Segundo paso:Selecionamos algunas tonalidades un tono medio y adicional a este uno oscuro partiendo de la base y un claro partiendo de la misma base escogida anteriormente, y una tonalidad saturada para que sea mejor trabajada al piel al momento de mezclar las tonalidades.
Para este paso uso un pincel difuso, resulta mejor al momento de mezclar el color:
Second step:We selected some shades, a medium tone and in addition to this, a dark one starting from the base and a light one starting from the same base chosen previously, and a saturated tone so that it is better worked on the skin when mixing the tones.
For this step I use a diffuse brush, it is better when mixing the color:
Tercer paso: una vez mezclamos todo el color de la piel es momento de detallar las otras partes de la ilustracion:
Third step: once we mix all the skin color, it is time to detail the other parts of the illustration:
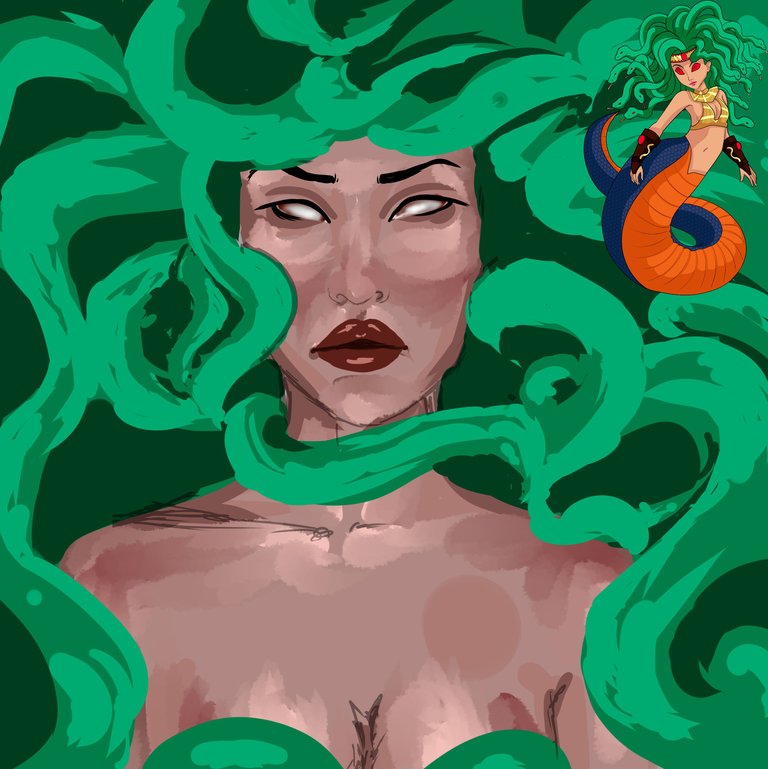
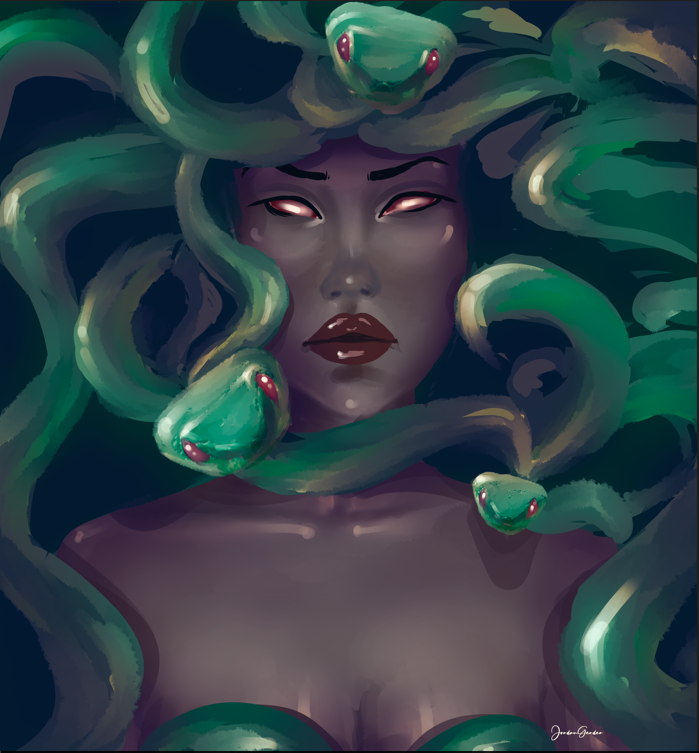
Paso cuatro: agregamos mucho mas detalles en este paso, dibuje solo una forma de serpiente y duplique esta y cambie posiciones, todo el cuerpo fue creado con la herramienta dedo. al finalizar use algunos brillos que le dieron un aire diferente a este trabajo:
Step Four - We add a lot more details in this step, draw just one snake shape and duplicate this and switch positions, the whole body was created with the finger tool. At the end I used some glitters that gave a different air to this work:
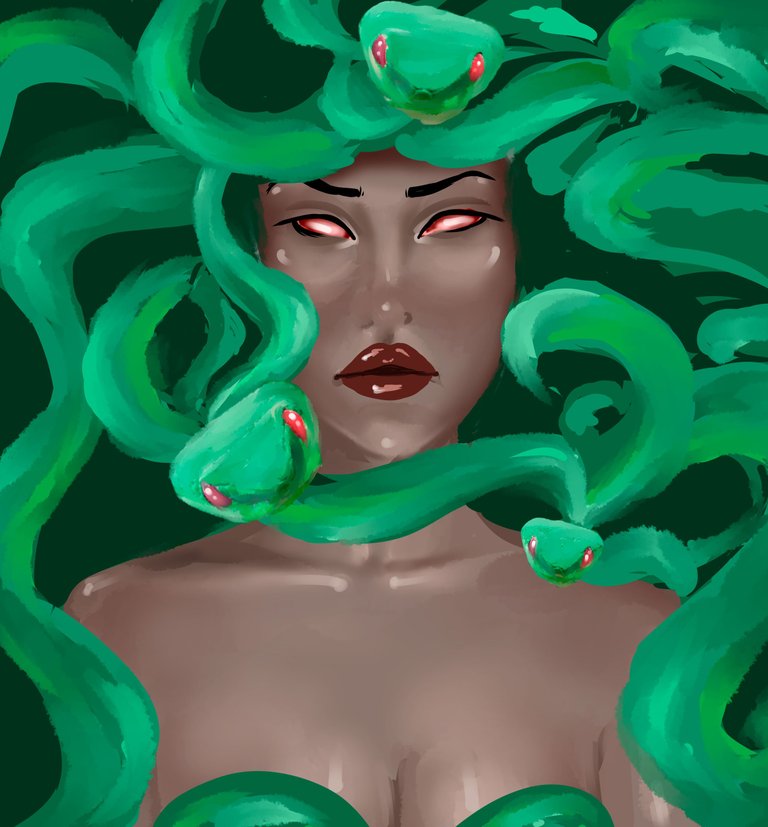
Ajusté detalles finales y así obtuve el fino resultado:
I adjusted final details and that was how I obtained the fine result
Espero te haya gustado lo he elaborado con cariño para ustedes, nos vemos en la próxima 😍
I hope you liked it, I have elaborated it with love for you, see you next time 😍
Art inspired by @splinterlands
¿Cómo pintar la piel en Photoshop? (piel difusa) | How to paint skin in Photoshop? (fuzzy skin)

Presentación del diseño | Desing presentación
Materiales | Materials
- Mini laptop
- Tableta Huion H950P
- Programa Adobe Photoshop 2019
- Mini laptop
- Huion H950P tablet
- Adobe Photoshop 2019 program
Proceso | Process
Primer paso: El boceto, es donde creamos la mayor parte de lo que queremos, despues tener lineas entendibles, continuamos al segundo paso:
First step: The sketch is where we create most of what we want, after having understandable lines, we continue to the second step:
Segundo paso:Selecionamos algunas tonalidades un tono medio y adicional a este uno oscuro partiendo de la base y un claro partiendo de la misma base escogida anteriormente, y una tonalidad saturada para que sea mejor trabajada al piel al momento de mezclar las tonalidades.
Para este paso uso un pincel difuso, resulta mejor al momento de mezclar el color:
Second step:We selected some shades, a medium tone and in addition to this, a dark one starting from the base and a light one starting from the same base chosen previously, and a saturated tone so that it is better worked on the skin when mixing the tones.
For this step I use a diffuse brush, it is better when mixing the color:
Tercer paso: una vez mezclamos todo el color de la piel es momento de detallar las otras partes de la ilustracion:
Third step: once we mix all the skin color, it is time to detail the other parts of the illustration:
Paso cuatro: agregamos mucho mas detalles en este paso, dibuje solo una forma de serpiente y duplique esta y cambie posiciones, todo el cuerpo fue creado con la herramienta dedo. al finalizar use algunos brillos que le dieron un aire diferente a este trabajo:
Step Four - We add a lot more details in this step, draw just one snake shape and duplicate this and switch positions, the whole body was created with the finger tool. At the end I used some glitters that gave a different air to this work:
Ajusté detalles finales y así obtuve el fino resultado:
I adjusted final details and that was how I obtained the fine result
Espero te haya gustado lo he elaborado con cariño para ustedes, nos vemos en la próxima 😍
I hope you liked it, I have elaborated it with love for you, see you next time 😍
Art inspired by @splinterlands
¿Cómo pintar la piel en Photoshop? (piel difusa) | How to paint skin in Photoshop? (fuzzy skin)
0
0
0.000
This close-up shot gives me the vibe of medusa being a predator hiding in the shadows and then slowly appearing from the dark to snatch her prey. The snakes are cute though. 😊
Great job.
Keep it up.
!1UP
You have received a 1UP from @thecuriousfool!
@monster-curator, @oneup-curator, @ccc-curator, @neoxag-curator, @pal-curator
And they will bring !PIZZA 🍕.
Learn more about our delegation service to earn daily rewards. Join the Cartel on Discord.
PIZZA Holders sent $PIZZA tips in this post's comments:
@curation-cartel(12/20) tipped @jordangerder (x1)
Learn more at https://hive.pizza.
Thanks for sharing! - castleberry#6859
