Battle Mage Challenge: Up to Eleven. Strategy, My Battle and Alternative Lineups
This weeks Battle Mage Challenge is about the Up to Eleven rule.
Splinterlands tells us this about the Up to Eleven rule:
All units have the Amplify ability.

    Use Thorns, Return Fire, and Magic Reflect to ensure your opponent suffers.
And that describes much of what we need to understand this rule. Amplify does the following:
Increases Magic Reflect, Return Fire, and Thorns damage to all enemy monsters by 1
So this means that reflection abilities are much more potent than normally. Depending on the rules that Up to Eleven occur along with, it can be impactful or somewhat irrelevant.

Incompatible Rules
Up to Eleven is compatible with all other rules.
Desirable Abilities


( Thorns, Return Fire, Magic Reflect, Reflection Shield)
The three reflection abilities are the only abilities that are affected by this rule, and the effect of all three is increased. For this reason, it can be a very good idea to include Reflection Shield in this rule. To get a small protection from the reflected damage, it can also be a good idea to include Shield and Void.
Advantaged Summoners


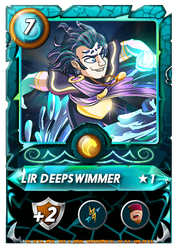
There are four summoners that provide reflection abilities. These are Mylor Crowling, Ilthain, Owster Rotwell and Lir Deepswimmer. This rule is a major advantage for them, especially if one or more attack types are favored by another rule.
Disadvantaged Summoners

The only summoner with a direct disadvantage in this rule is Grandmaster Rathe. He is disadvantaged because he already provides Amplify to his team, but in this rule that is already provided.
Desirable Monsters


Disadvantaged Monsters


My Battle : Up to Eleven battle
My battle had the following configuration: Wild Champion league. 26 mana, rules: Wands Out, Up to Eleven, Born Again. Splinters: Death, Dragon.

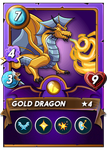
In this battle, Magic Reflect would have been very powerful, but since it is a relatively low mana battle, there are not that many Magic Reflect monsters to choose from. In fact, there are only Djinn Muirat, Gold Dragon and Prismatic Energy. I only had access to Djinn Muirat, but chose not to go for it here, because spending so much mana on a single unit is not that great in a Born Again match. Of course, there is also Owster Rotwell to consider, but again I did not have access to him at the time.
My lineup


My lineup ended up being a bit rushed, as I ran out of time while picking my team. Therefore, the ordering of the units is clearly not optimal. Nevertheless, my strategy relies on Redemption, which we can trigger twice per unit in this rule, and that amounts to a lot of damage in total. Secondly, if my magic damage gets reduced by Void or Silence, I have included two Poison units so that I can still deal some damage.
Opponent's lineup


My opponent went for a completely different strategy, and have only relied on keeping Agor Longtail alive through all the damage. This setup could be great unless Agor gets an Affliction debuff.
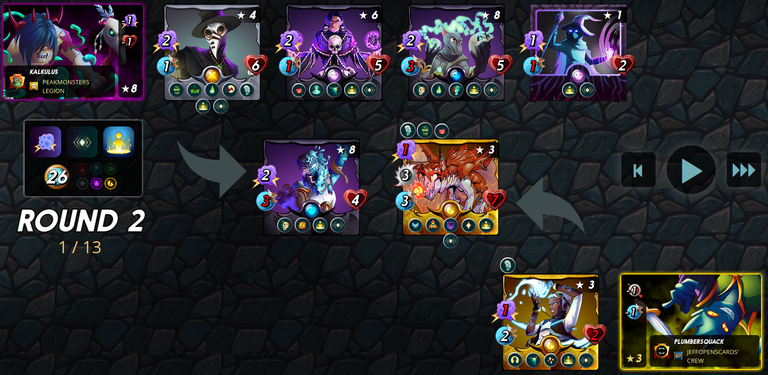
Battle progress and Result
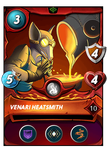
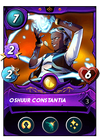
In round 1, Agor has the speed advantage, and immediately kills the Venari Spellsmith. We then get our first Redemption, dealing a little damage to both units. Next, my two Life Leech units attack, but gain no health because they only deal damage to Agor's armor due to the [Void Armor] ability. When Oshuur attacks, the Spellsmith dies for the second time, and does another Redemption, bringing Oshuur down to 2 health. Finally, Revealer lands a Stun and Doctor Blight lands an Affliction, stopping the healing strategy, which is great news for me.
In round two, my leechers attack, and the Bonesmith lands Poison. After Doctor Blight and Revealer attack, Agor dies, but is resurrected and comes back with a good amound of armor.
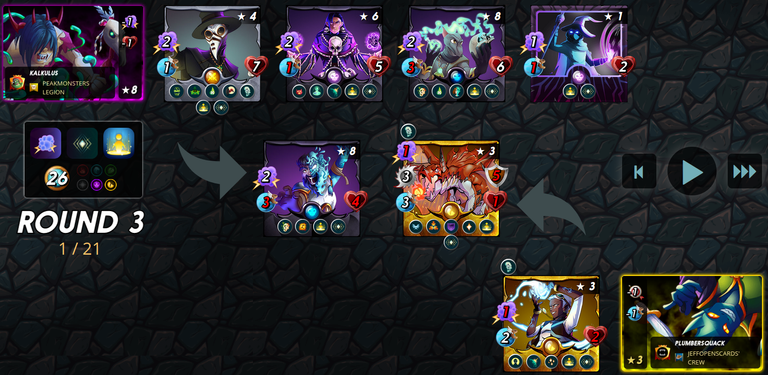
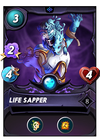
Since Agor has the highest speed, he is able to Heal and restore some health before attacking and killing the Life Sapper. We then get the third Redemption, so now Oshuur is down to 1 health. My Bonesmith lands another Poison, and Oshuur kills the Life Sapper again, proccing the final Redemption, and Oshuur dies. The ruleset brings him back with one health though. It would have been great to have another Redemption, but unfortunately I didnt have that. Once again Doctor Blight lands Affliction and Revealer lands Stun, so now Agor is in trouble.

In round 4, Bonesmith and Doctor Blight bring down Agor for the second time, but he is resurrected once again. Fortunately, Revealer lands another Stun. In round 5, Bonesmith lands Poison, and Oshuur restores some health to Agor. Once again, the Stun lands, and Agor is prevented from attacking or healing once again.
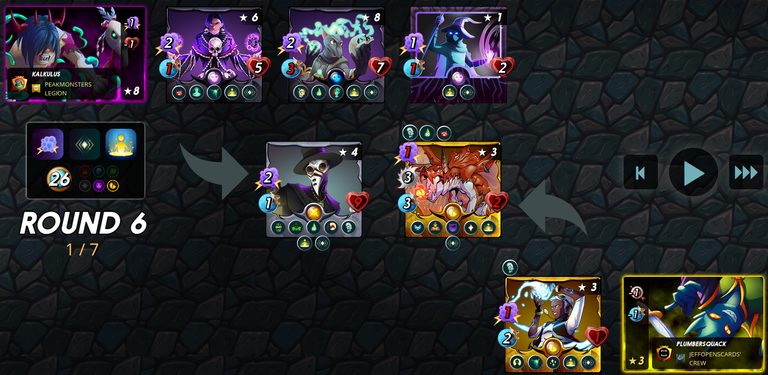
In round 6, Agor finally dies for the last time due to Poison, and all that is left is to bring down the 1 health Oshuur.
So with the aid of Affliction, Stun, Poison, and Redemption my squad of small units were able to bring down the big bad Agor-Oshuur combo.
Alternative lineups
Thadddius Brood


Jarlax the Undead


Owster Rotwell

I hope you found this post interesting. If you did, you might also enjoy my other content.
Battle mage challenges
Battle Mage Challenge: Up Close & Personal
Battle Mage Challenge: Unprotected
Battle Mage Challenge: Target Practice
Battle Mage Challenge: Taking Sides
Battle Mage Challenge: Super Sneak
Battle Mage Challenge: Stampede
Battle Mage Challenge: What Doesn't Kill You
Battle Mage Challenge: Wands Out
Battle Mage Challenge: Silenced Summoners
Battle Mage Challenge: Rise of the Commons
Battle Mage Challenge: Reverse Speed
Battle Mage Challenge: Odd Ones Out
Battle Mage Challenge: Noxious Fumes
Battle Mage Challenge: Melee Mayhem
Battle Mage Challenge: Lost Magic
Battle Mage Challenge: Lost Legendaries
Battle Mage Challenge: Little League
Battle Mage Challenge: Keep Your Distance
Battle Mage Challenge: Holy Protection
Battle Mage Challenge: Healed Out
Battle Mage Challenge: Going the Distance
Battle Mage Challenge: Ferocity
Battle Mage Challenge: Fog of War
Battle Mage Challenge: Fire & Regret
Battle Mage Challenge: Explosive weaponry
If you would like to see more of this content, please let me know, like and share the post. Also, if you have not yet started playing Splinterlands, you can join and support me and the same time with the following link
Best of luck in Splinterlands!
Kalkulus
Thanks for sharing! - @underlock
