Battle Analysis - Silvershield Knight
Header 1Tips and Tricks on How to Win with Silvershield Knight
In this week battle challenge, since i don’t have a match with level 4 animated corpse, however i will discuss with another great card which is Silvershield Knight. This would be very helpful for lower bracket, that have a life quest.
Battle Link
[View the battle] https://splinterlands.com?p=battle&id=sl_00454b97f3fbdd486b2f09b01260343a&ref=merakilia63
If you are new please use my [Referal Code] https://splinterlands.com?ref=merakilia63
Overview
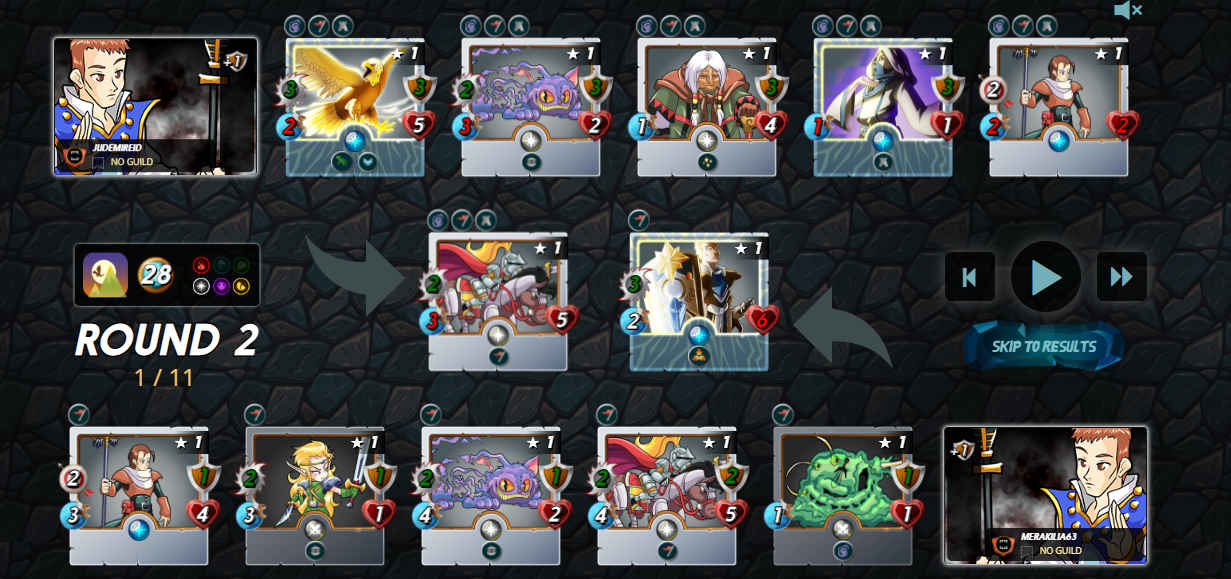
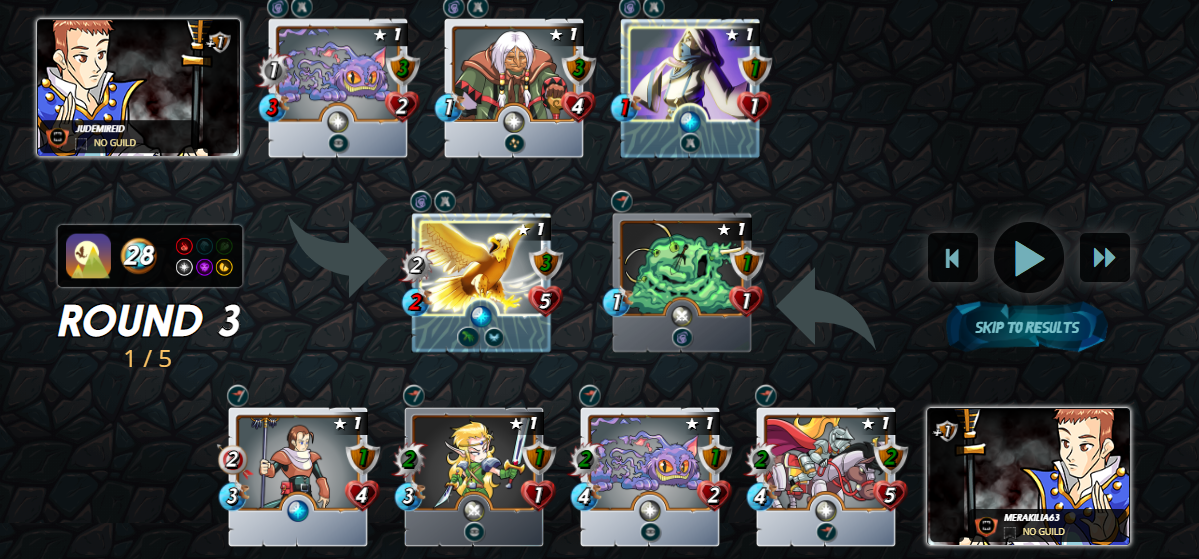
In this battle the mana cap is 28, water & earth are ban, and no legendary allow. It is a perfect opportunity to use Silvershield Knight, since it is a common card.

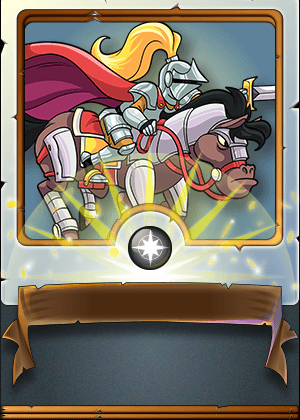
Silvershield Knight
This monster has the “inspire” ability which gives all our monster +1 attack. This card also have 5 health and 1 armor, along with 1 melee damage, and 4 attack speed. This card is suitable for secondary tank, due to it’s health is not that big and the ability is very supportive, so it is necessary to guard this card.
Round 1
My enemy uses life splinter as well. With the same summoner we both gain +1 armor, however since my enemy use 2 buffs monster which are a healer, and a armor buff resulting my enemy have all it’s monster gain another +3 armor. My enemy had the idea of using Silvershield Knight as well, which gives it the +1 attack, but notice my enemy put it on the front instead of 3rd position like mine.
I know that i am at an advantage here since his damage dealers are only 4, while my deck on the other hand have 5 which 2 focuses on the back side, and the other 3 on the front side. On the other hand, my Silvershield Knight is kept in 3rd position giving it the protection it needed to kept buffing my monster +1 attack. Creeping Ooze act as my buff which gives the enemy -1 slow in attack speed, and it act as my sacrifice as well.

Round 2
No monster died in round 1 but as you can see the enemy back side has weakened to only left with 2 HP (previously 4 HP with 4 armor). WHile i on the other hand, my front tank had received tons of damage that made it left with 6 HP.
Round 3
In this round the enemy back side (Peacebringer) had died giving me the advantage of kept attacking the back. And also, my enemy front tank had died as well, giving me a huge advantage of my enemy attack becoming original. While my front tank had died as well.
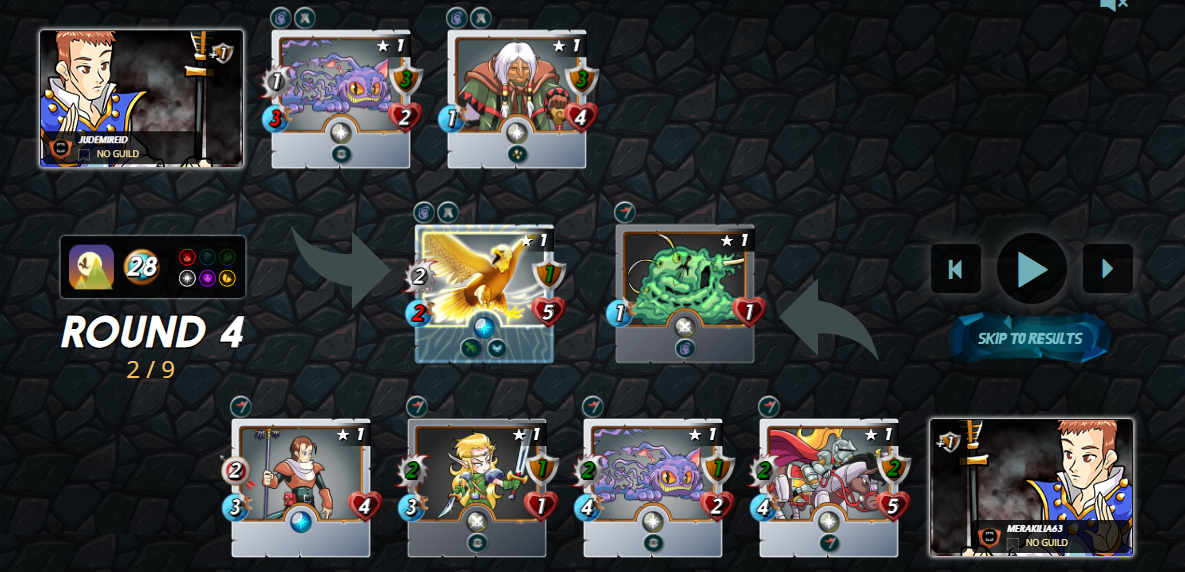
Round 4
Notice my enemy monster left with only 3 and 2 of it is damage dealers and 1 is buff. But it is still nowhere to underestimate my enemy, since his front have the flying ability which have 25% dodge chance. My focus here still the same, which kept attacking the back side.
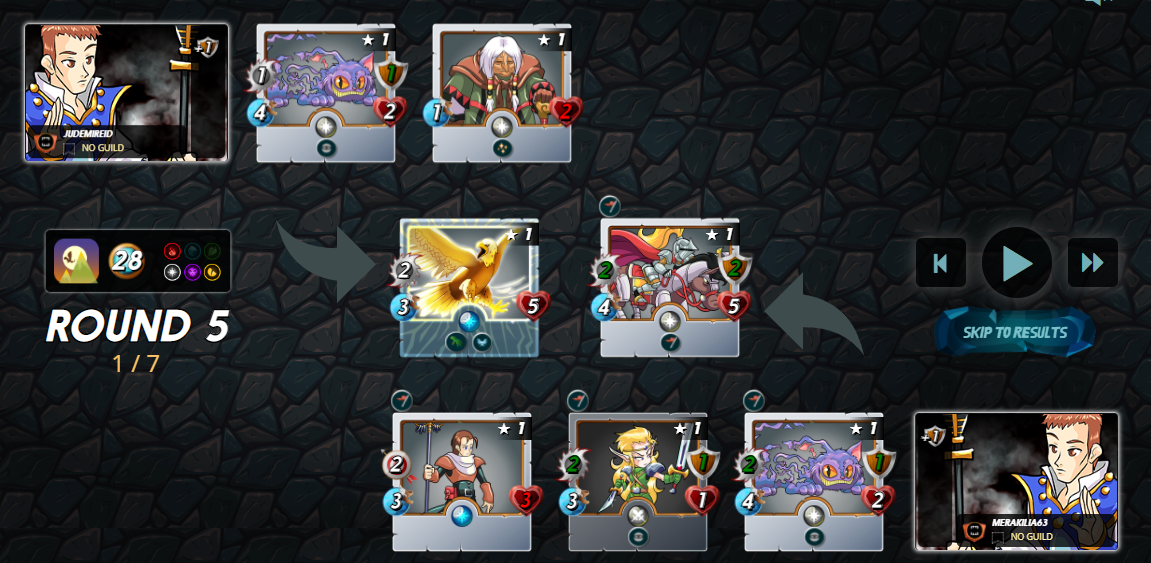
Round 5
My enemy back side have left with 2 HP, and it’s front tank have no armor. But this is the hard part, because my attack kept missing due to my enemy front tank have the flying ability. And since my buff had died, his speed had returned to normal giving him the advantage of it’s front tank being 3 attack speed (gives my enemy more chance to dodge, since the higher the speed the better chance to dodge).
Round 6
My enemy buff had died. On this point i know i’m going to win in this round since I have 4 damage dealers while my enemy only had 2.
.png)
As you can see, i managed to won. The advantage here is because i had putted my SIlvershield Knight on 3rd position.
(end).png)
Thanks for sharing! - @cieliss
