BATTLE MAGE SECRETS - Silenced Summoners! [PT/EN]
Read this post in English by clicking here
Olá Splinters, bem vindos de volta!
Nossas batalhas são recheadas de obstáculos e a cada semana temos a oportunidade de aprender um pouco mais sobre as possibilidades que existem em Splinterlands quando vários jogadores compartilham suas batalhas. Esse desafio é uma ótima oportunidade de aumentar nosso leque de estratégias e hoje não será diferente, vamos falar sobre uma regra de batalha que pode mudar a forma com que disputamos nossas batalhas!
Um bom jogador de Splinterlands, precisa estar atento aos detalhes e conhecer cada regra de batalha é muito importante para conseguir vitórias. Vamos ter que lidar com muitas dificuldades, ams depois de algumas partidas, vamos nos habituando a reconhecer as melhores opções para cada situação.
O tema do nosso conteúdo de hoje será a regra Silenced Summoners e tenho certeza que você já passou por ela, mas hoje vou mostrar um pouco das minhas estratégias e claro, uma batalha!

Essa é uma regra da qual eu não gosto muito de jogar, pois ela tira muito das minhas estratégias que gosto, pois o summoner é a primeira escolha que devemos fazer ao criar uma equipe. Com um summoner eu consigo criar boas estratégias, mas se ele for silenciado, pouco se pode fazer.
Então, nessa ocasião, vamos poder contar somente com as habilidades dos monstros em campo! Mas quais são as melhores estratégias para lidar com essa regra de batalha?
A primeira coisa que você deve procurar é por um summoner que tenha pouco custo, já que e summoners não terão impacto na nossa batalha, quanto mais barato ele custar, melhor.
Summoners com 2 ou 3 de custo serão as melhores escolhas para essa ocasião e não importa o que eles fazem, nessa regra eles serão inúteis. Então a melhor forma de conseguir tirar vantagem é conseguir economizar na mana!
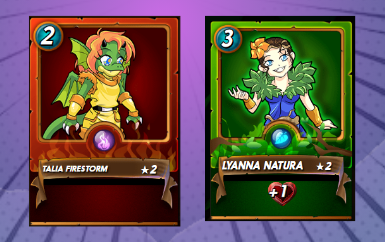
Outra dica valiosa é você escolher um summoner do elemento dragão. Esse elemento vai possibilitar a escolha de dois elementos ( mais o elemento neutro), aumentando as opções de monstros que você poderá colocar em campo. Essa é um excelente dica, pois você dependerá mito mais dos monstros e com mais monstros como escolha, será mais fácil colocar peças fundamentais em campo e conseguir ganhar!
Claro que se você conseguir unir as duas dicas que eu dei acima, sua escolha será ainda mais eficiente! Então, que tal ver um pouco disso na prática?

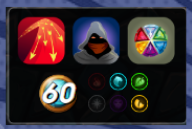
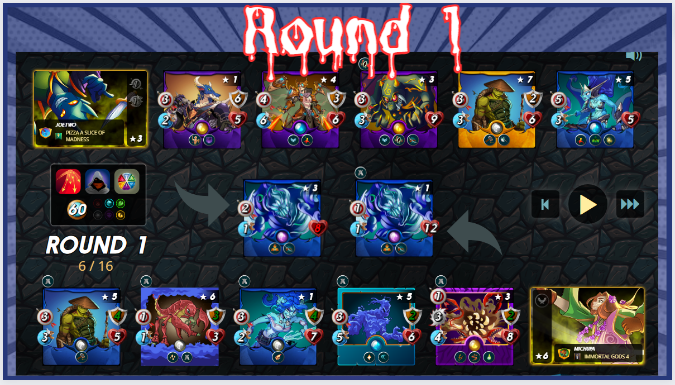
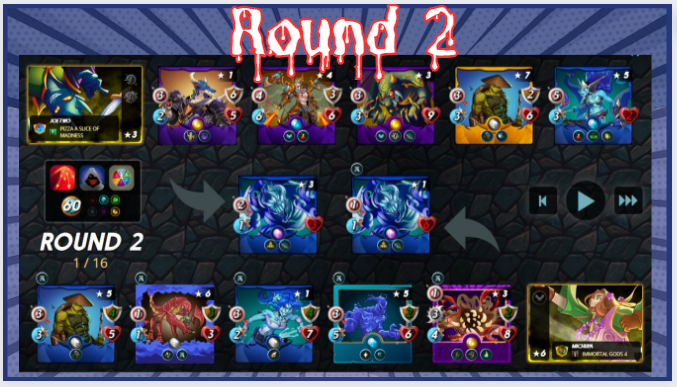
Essa foi uma batalha interessante, além de summoners perderem sua funcionalidade, apenas monstros com ataque ranged poderiam entrar em campo. Além dessas duas barreiras, uma terceira foi imposta quando monstros neutros não poderiam também entrarem campo. Mas para equilibrar tantas limitações, a quantidade de mana foi bem alta, 60. Essa quantidade me da a liberdade de escalar um time de alto custo se for possível e isso é bom!
Summoner:
O summoners não podem fazer nada nessa partida, porém existe aquela dica que dei lá no começo desse pos e assim como eu, meu oponente também adotou essa estratégia. Eu escolhi um summoner que possui menos mana, mas não sei se isso é tão relevante para essa ocasião, talvez em outra quando a mana fosse mais baixa seria uma escolha melhor. Mas bem, tanto faz.
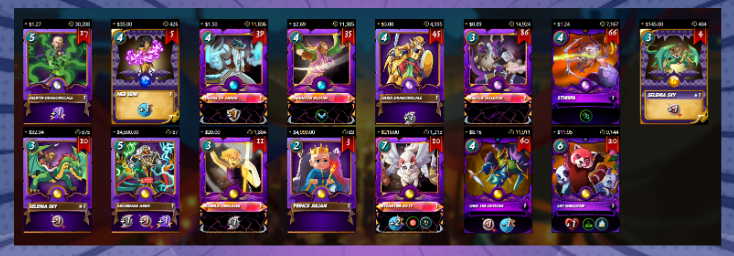
Meu time:
| Monstros | Objetivo |
|---|---|
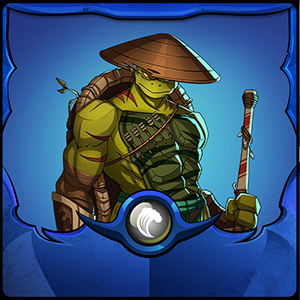
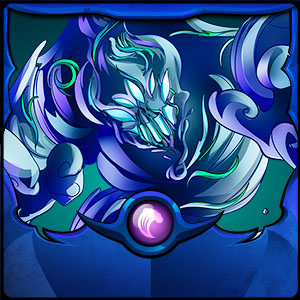 | Esse é o primeiro monstro a ser escolhido pois possui uma boa quantidade de vida e a habilidade Taunt, que atrai todos os ataques para sim. Além disso, esse monstro poderá atacar na primeira posição, o que pode causar alguns danos adicionais ao oponente. |
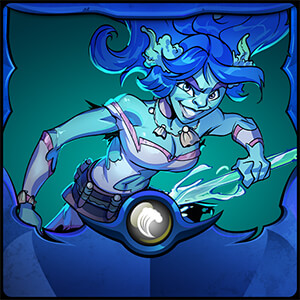
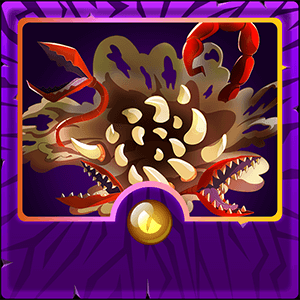 | O segundo monstro a ser escolhido poderá ser uma peça chave na ofensovidade do meu time, pois ele possui 2 tipos de ataques diferentes e poderá atacar duas vezes no mesmo round. Além disso, possui a habilidade Poison, para causar ainda mais danos ao monstro atacado! |
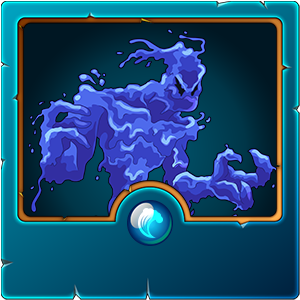 | Eu aposto na ofensividade desse monstro, mas ele possui uma espécie de plano B caso meus dois primeiros monstros sejam destruídos, ele vai ficar na posição de tank e poder se curar a cada rodada. |
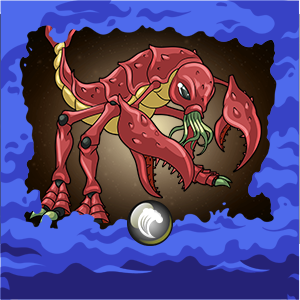
 | Esse monstro foi uma aposta ofensiva, já que possui um ataque muito bom. Ele acertará algum monstro aleátorio em campo e com sorte, pode derrubar algum monstro importante do inimigo. |
 | Eu escolho esse monstro para dar mais suporte ao meu tiem, curando o meu tank a cada rodada e adicionando escudos a toda a equipe. |
 | Por último, um monstro que poderá somar forças ofensivas ao time mas também que adiciona suporte, ao restaurar um escudo a cada rodada. |
Round por round!
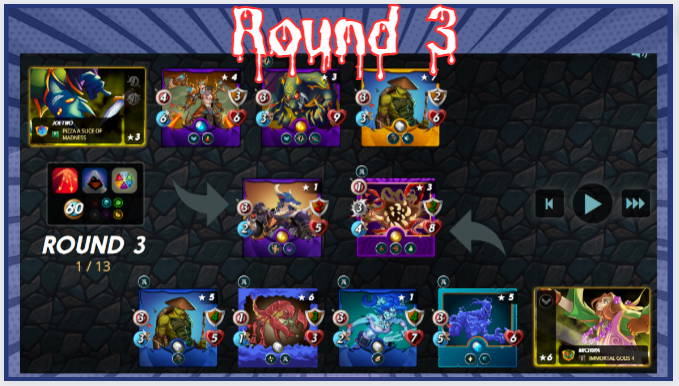
Esse primeiro round não foi nada emocionante, apenas monstros atacando os tank que ainda possuíam muita vida. Porém eu tive uma boa amostra de que fiz escolhas inteligentes ao adicionar monstros com suporte ao meu time e isso vai ajudar a preservar meu tank por mais tempo.
No segundo round as coisas ficaram mais quentes quando eu derrubei o tank inimigo e ele derrubou o meu logo em seguida. Eu também consigo derrotar um de seus monstros mais fortes e isso me da um certo alivio e a esperança de que essa partida poder boa para mim.
O round 3 simplesmente foi um hit de esquiva, apenas um mostro conseguiu acertar alguma ataque.
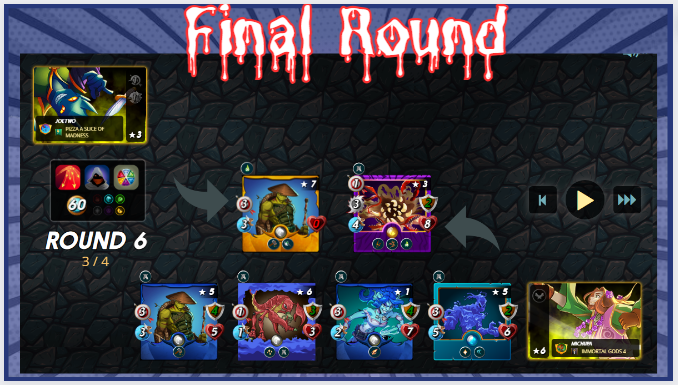
Depois de alguns rounds com muitas esquivas e armaduras sendo reconstruídas, finalmente eu consigo derrotar meu adversário. O que mais foi importante nessa partida, foi o equilíbrio que eu trouxe ao meu time com ataque e defesa bem presentes em campo. Isso foi a chave para a vitória!
Para assistir essa batalha completa, clique aqui
E por aqui eu encerro este post. Obrigado por passar um pouco do seu tempo com minhas palvras e pensamentos, até a próxima!

[EN]
Hello Splinters, welcome back!
Our battles are full of obstacles and each week we have the opportunity to learn a little more about the possibilities that exist in Splinterlands when several players share their battles. This challenge is a great opportunity to increase our range of strategies and today will be no different, let's talk about a battle rule that can change the way we fight our battles!
A good Splinterlands player needs to pay attention to details and knowing each battle rule is very important to achieve victories. We will have to deal with many difficulties, but after a few games, we will get used to recognizing the best options for each situation.
The theme of our content today will be the Silenced Summoners rule and I'm sure you've already experienced it, but today I'm going to show you some of my strategies and of course, a battle!
This is a rule that I don't really like playing, as it takes away a lot of my strategies that I like, as the summoner is the first choice we must make when creating a team. With a summoner I can create good strategies, but if he is silenced, there is little I can do.
So, on this occasion, we will only be able to rely on the skills of the monsters on the field! But what are the best strategies for dealing with this battle rule?
The first thing you should look for is a summoner that has a low cost, since summoners will have no impact on our battle, the cheaper it costs, the better.
Summoners with 2 or 3 cost will be the best choices for this occasion and no matter what they do, under this rule they will be useless. So the best way to take advantage is to save on mana!
Another valuable tip is to choose a summoner with the dragon element. This element will allow you to choose two elements (plus the neutral element), increasing the options of monsters you can put on the field. This is an excellent tip, as you will depend more on the monsters and with more monsters to choose from, it will be easier to place fundamental pieces on the field and be able to win!
Of course, if you can combine the two tips I gave above, your choice will be even more efficient! So, how about seeing some of this in practice?
 a4c380aac80630dd564caa6b4&
This was an interesting battle, in addition to summoners losing their functionality, only monsters with ranged attacks could enter the field. In addition to these two barriers, a third was imposed when neutral monsters could not also enter the field. But to balance so many limitations, the amount of mana was very high, 60. This amount gives me the freedom to scale a high-cost team if possible and that's good!
Summoner:
Summoners can't do anything in this match, however there is that tip I gave at the beginning of this post and just like me, my opponent also adopted this strategy. I chose a summoner that has less mana, but I don't know if this is so relevant for this occasion, perhaps on another occasion when mana was lower it would be a better choice. But well, whatever.
My team:
| Monsters | Objective |
|---|---|
| This is the first monster to be chosen as it has a good amount of life and the Taunt ability, which attracts all attacks to you. Furthermore, this monster will be able to attack from the first position, which can cause some additional damage to the opponent. |
| The second monster to be chosen could be a key part of my team's offensive, as it has 2 different types of attacks and can attack twice in the same round. Furthermore, it has the Poison ability, to cause even more damage to the attacked monster! |
| I bet on this monster's offensiveness, but it has a speciesie plan B if my first two monsters are destroyed, he will stay in the tank position and be able to heal himself every round. |
| This monster was an offensive bet, as it has a very good attack. It will hit a random monster on the field and with luck, it may knock out an important enemy monster. |
| I choose this monster to give my team more support, healing my tank every round and adding shields to the entire team. |
| Finally, a monster that can add offensive strength to the team but also adds support, by restoring a shield each round. |
Round by round!
This first round was nothing exciting, just monsters attacking tanks that still had a lot of health. However, I had a good idea that I made smart choices when adding supported monsters to my team and this will help preserve my tank for longer.
In the second round things got hotter when I took down the enemy tank and he took down mine right after. I also manage to defeat one of his strongest monsters and that gives me some relief and hope that this match can be good for me.
Round 3 was simply a dodge hit, only one monster managed to land an attack.
After a few rounds with a lot of dodging and armor being rebuilt, I finally manage to defeat my opponent. What was most important in this match was the balance I brought to my team with attack and defense well present on the field. That was the key to victory!
To watch this full battle, click here
And here I end this post. Thank you for spending some of your time with my words and thoughts, until next time!
Credits:
Thumbnail background image: Source
Image editor: Canva
Screenshots taken from the game Splinterlands
Click on the image and use my referral link!


Obrigado por promover a comunidade Hive-BR em suas postagens.
Vamos seguir fortalecendo a Hive
!1UP
Click this banner to join "The Cartel" discord server to know more.
You have received a 1UP from @lipe100dedos!
@monster-curator, @oneup-curator, @leo-curator, @bee-curator, @pimp-curator, @thg-curator, @vyb-curator, @pob-curator, @neoxag-curator
And they will bring !PIZZA 🍕.
Learn more about our delegation service to earn daily rewards. Join the Cartel on Discord.
$PIZZA slices delivered:
@curation-cartel(1/20) tipped @michupa
Congratulations @michupa! You have completed the following achievement on the Hive blockchain And have been rewarded with New badge(s)
You can view your badges on your board and compare yourself to others in the Ranking
If you no longer want to receive notifications, reply to this comment with the word
STOPCheck out our last posts:
This is nice
I wonder how you are able to know each cards and what they do. I guess it took you a long time to achieve that. Am I right?
Thanks for sharing! - @yonilkar
