ADELADE BRIGHTWING | Splinterlands Art Contest Week 283!
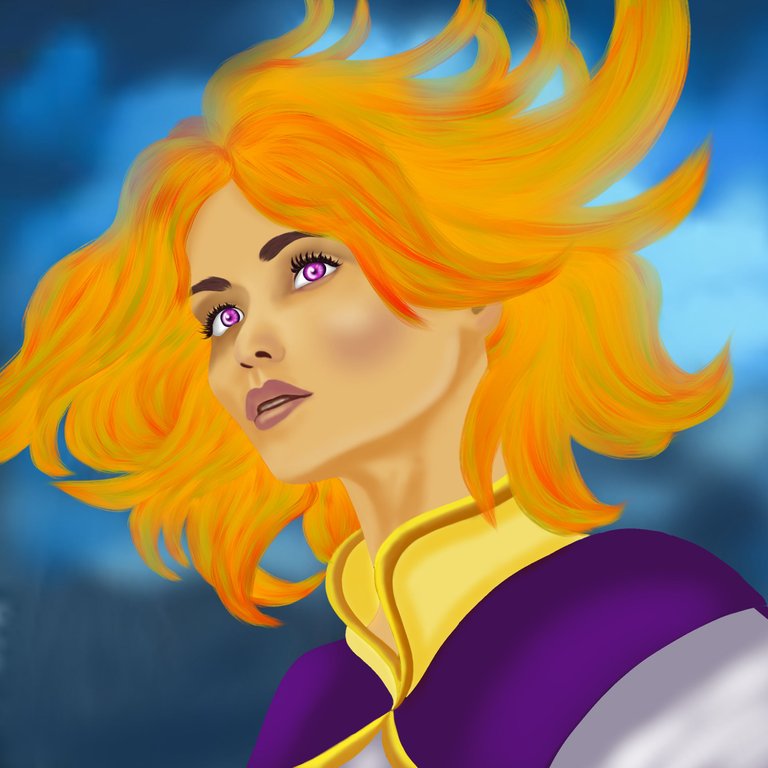
Greetings to the SPLINTERLANDS COMMUNITY! How is everyone? I'm excited this week as I've joined the Splinterlands Art Contest Week 283! For this week, I chose to draw ADELADE BRIGHTWING, a Life Legendary Monster, which is one of my favorites in battles due to her abilities. To kick off my fan art, I looked for angel images on Google for inspiration. I also took ADELADE BRIGHTWING's image from the Splinterlands official website to use as a reference. So, enough with the long story, let's start the process of creating my fan art from beginning to end.
| Illustration 1 | Illustration 2 | Illustration 3 |
|---|---|---|
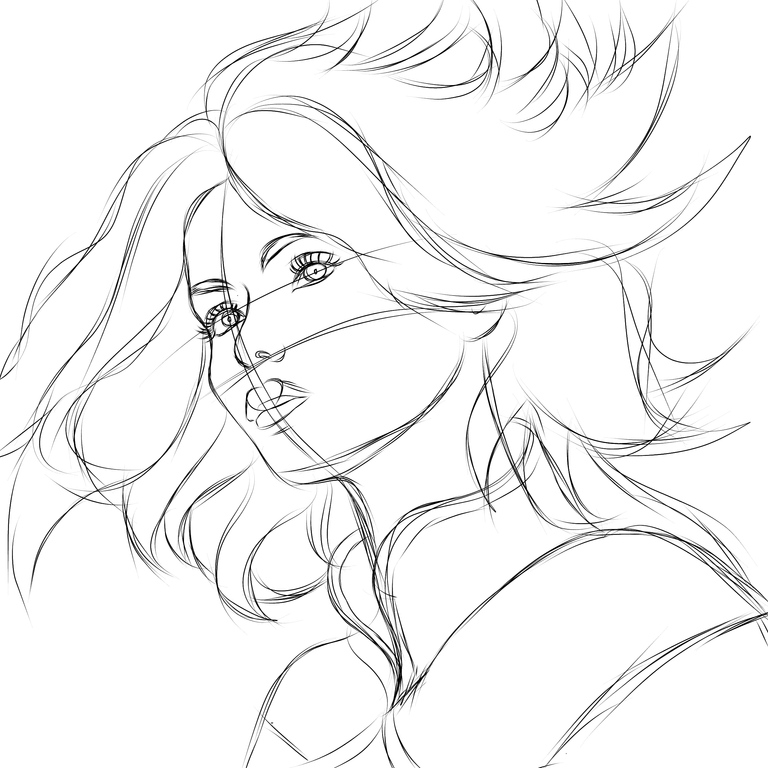 |  |  |
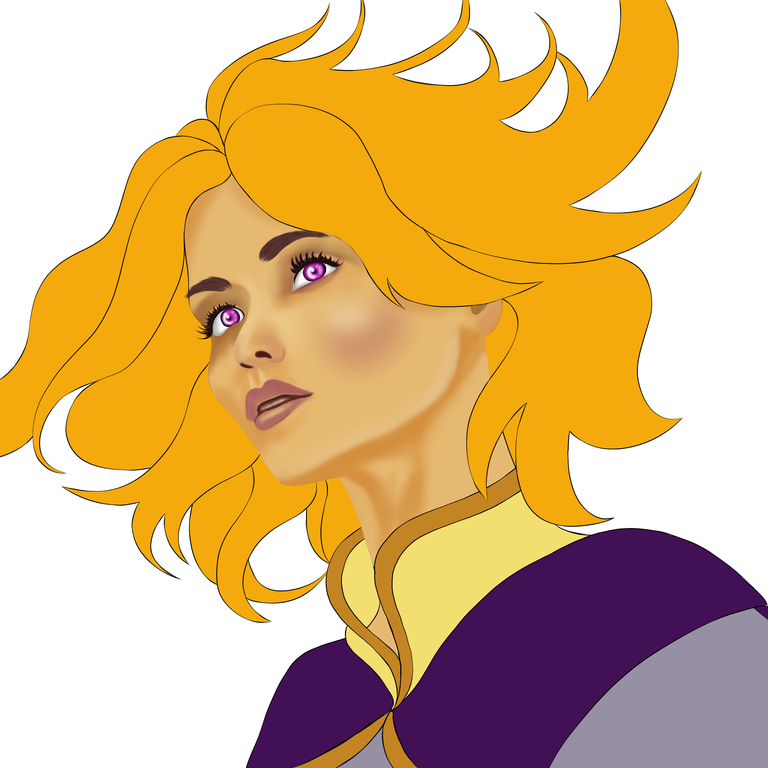
SKETCHING TO BASE COLOR
Once I had many ideas in mind, I quickly sketched using the DIP PEN (HARD) in IBISPAINTX with a canvas size of 2500x2500 for faster drawing. After sketching, I added a new layer on top, set it to MULTIPLY, and reduced the sketch opacity to 50 for a cleaner base to work with. I then started refining and cleaning the sketch on this new layer. I used the BUCKET TOOLS for the base color to make coloring easier.
| Illustration 4 | Illustration 5 | Illustration 6 |
|---|---|---|
 | 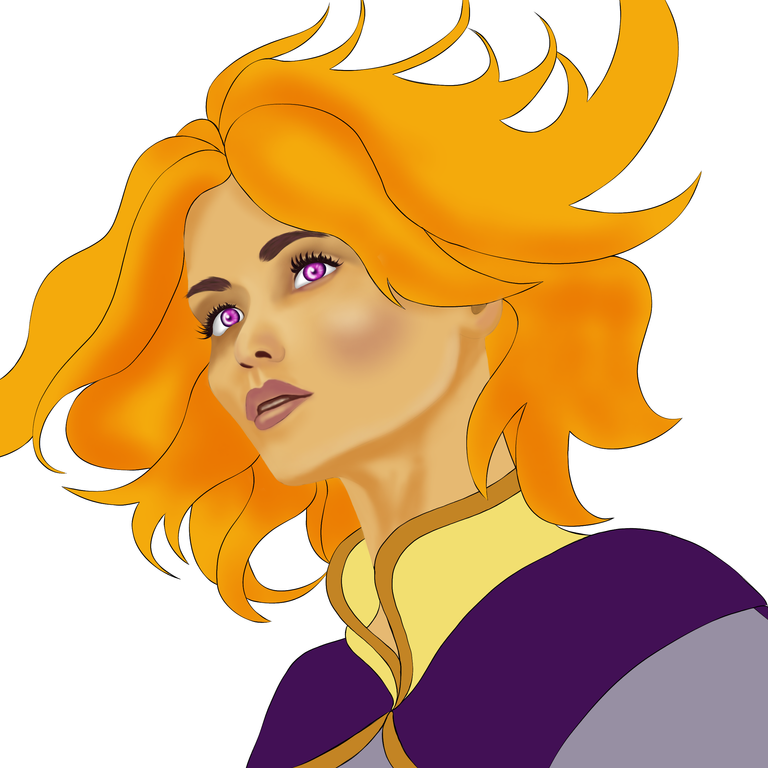 |  |
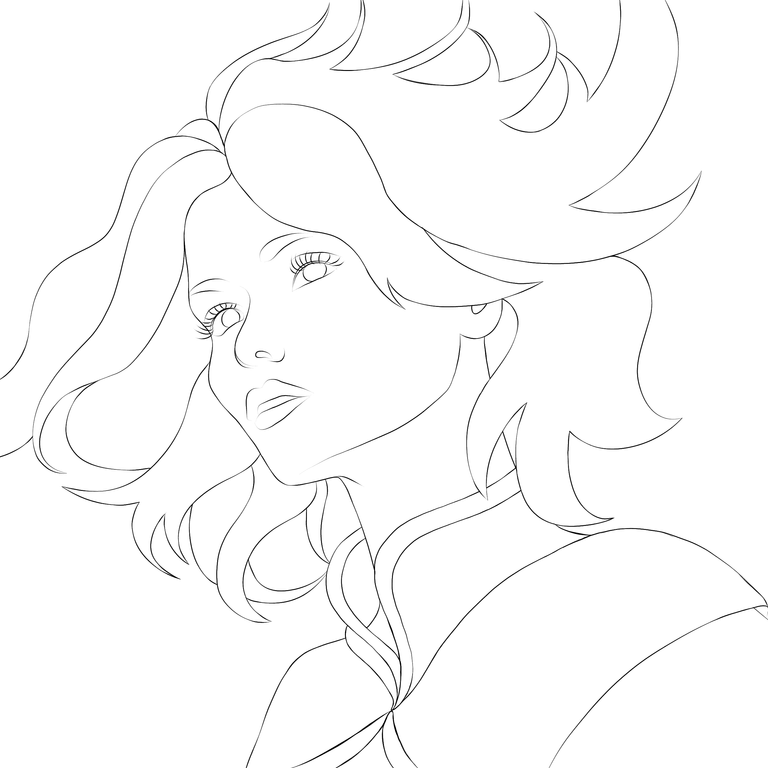
SKIN, HAIR AND CLOTHES RENDERING
On another layer above the base color, I began adding shadows to the face and skin using the AIRBRUSH. I used the MULTIPLY LAYER for hard shadows and the COLOR DODGE layer for light shadows. I also worked on the eyes and eyebrows. At this point, I didn't merge the layers yet. I added details, then moved on to the hair, using the HAIR BRUSH in IBISPAINTX on a new layer to start rendering. I still picked colors from the ADELADE BRIGHTWING reference. After the hair, I detailed her clothing using the airbrush and eraser for the desired texture. Once satisfied with the semi-realistic appearance, I merged the layers.
| Illustration 7 | Illustration 8 |
|---|---|
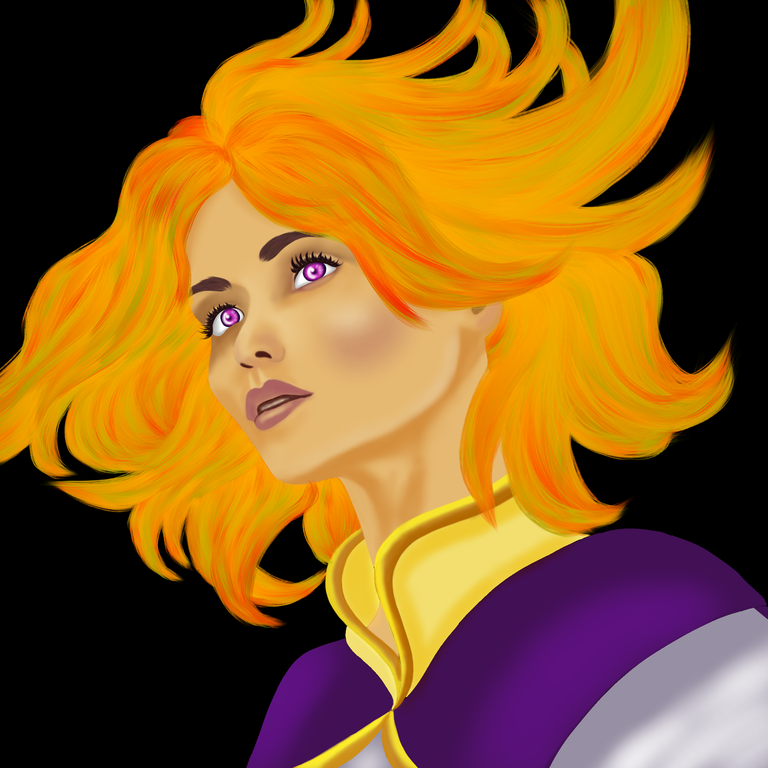 | |
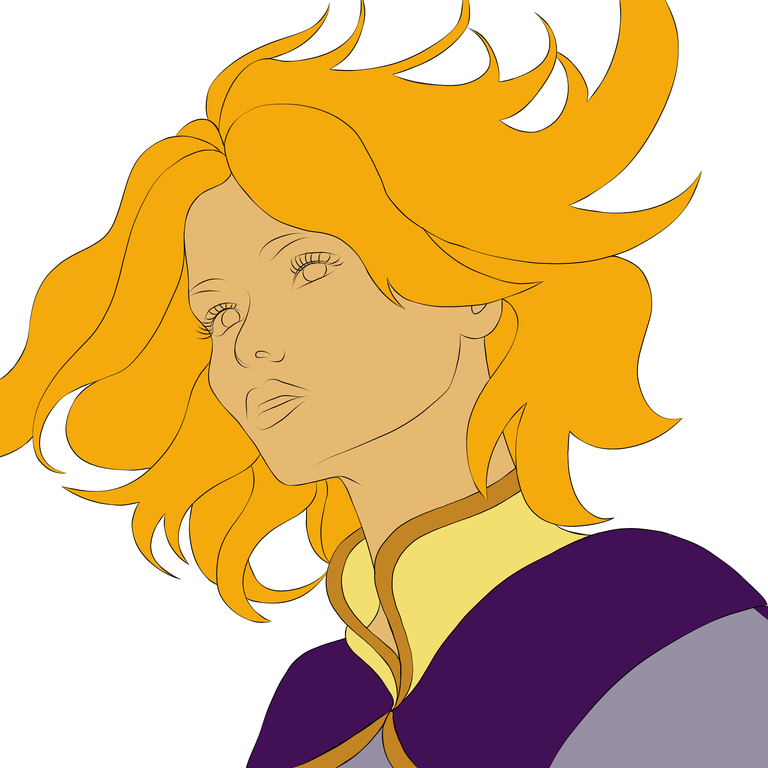
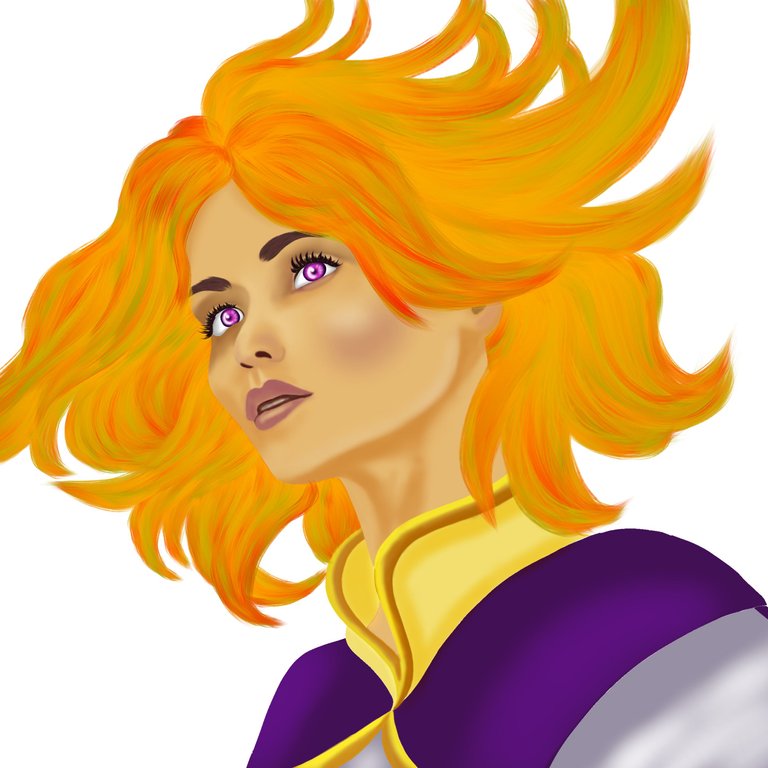
ILLUSTRATION OF BACKGROUNDS
After merging, I started working on the background. I chose a black base color and slowly colored it with white and blue to create a cloud-like effect. I used the BUCKET TOOLS for the background base color and the BASIC CLOUDS (REAL) brush (free in IBISPAINTX, with ads) haha. I went for this background as I associate angels with ADELADE BRIGHTWING.
That concludes my story. I hope you enjoyed the processes I shared and gained some new insights. I'm Noblebright for this week. Thank you for reading and supporting me. Bye for now!
App used: IBISPAINTX
Tools: Dip Pen (Hard)
Bucket Tool
Airbrush
Hair brush
Basic Clouds
Canvas and Layer:
2500x2500
Multiply layer
Color Dodge layer
Normal layer
Artist: NOBLEBRIGHT
Ilabas na ang malupet na anghel!
Haha.. salamat bro sa pagbisita.
Checkout our BDVoter Daily Hive Showcase & Participate into our Daily giveaway to win various prize.
Ganda ahh semi-realistic nga ganda ng shape ng face at yung eyelashes talaga nagdala bro😁
Wow napansin din ako ni master japex ❤️. Salamat bro.
No probs naman bro hahaha nag comment ka eh. Di kita nahagilap sa HivePH discord ahhh chat ka dun sa art section😁
Wala pa ko dun bro kakajoin ko lang ngayon haha 😅.
ahahaha nice nice enjoy lang😁