SHARE YOUR BATTLE Weekly Challenge! DJINN APPRENTICE
Hello there.
Today I'll share my battle using the Djinn Apprentice. It is a Fire Rare Chaos Legion card. It has 2 Magic damage at 1BCX which is good when you want to focus on damage. It has average stats for 5 mana, but being a Magic Damage monster in Fire makes it usable in certain scenarios.
The Ruleset:

We have a high mana battle with Equal Opportunity, and Rise of the Commons Rulesets. Only Fire, Water, Life, and Dragon are available. Just looking at this I can tell that my opponent will be using a lot of Melee because they can attack from the back. Having Common and Rare being the only ones available makes the battle more predictable, and the available monsters smaller. I'm assuming my opponent will use a Disintegrator. I'm definitey using Tarsa for this battle, then use my own Disintegrator with Molten Ogre for double Demoralize. I'll put in a Djinn Apprentice to ignore their armor and have a consistent source of damage. Since their melee damage should be low enough, my Djinn Apprentice should be able to attack quite a few times.
For Fire, I'm thinking my opponent will use Living Lava, Radiated Brute, and Antoid Platoon to bait the melee opportunity attacks. Djinn Apprentice is perfect for two of those targets.
For Water, I'm thinking they can use Diemonshark front, Serpent of Eld back. They might have a Demented Shark to increase their melee damage. My double Demoralize should be able to deal with those, and the Djinn Apprentice won't miss on the Serpent of Eld.
For Life, they might still go with the Pelacor Arbalest with Shieldbearer to protect it, so I used the Ash Mirage to lessen their Ranged attack. My high attack monsters should be able to deal with the Shieldbearer quickly.
For Dragon, there are different possibilities they can go for. A lot of the magic damage are Epic/Legendary, so my 2 Demoralize and 1 Headwind should help with whatever they put out.
The Lineup:
| Card | Ability | Comments |
|---|---|---|
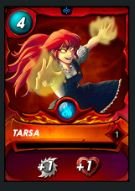 | Ally monsters get +1 in HP and Melee Attack | I plan to go Melee heavy so Tarsa is perfect |
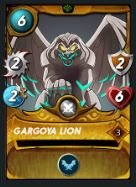 | Flying | This was the last monster I added to maximize my mana. The Flying should help evade some attacks |
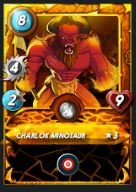 | True Strike | Charlok has high attack, and the True Strike will help hit evasive opponents. |
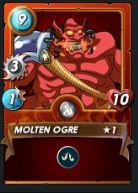 | Demoralize | The Demoralize ability is my main focus for adding Molten Ogre, the high attack is a bonus. |
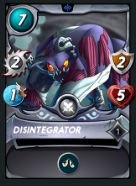 | Demoralize | The Demoralize ability is my main focus. It having armor helps it survive longer as the second opportunity target |
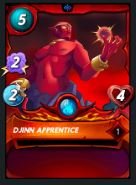 | - | The magic damage helps deal with Shield or armored opponents. |
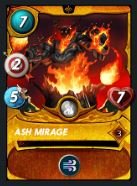 | Headwind | I wanted Headwind to protect against the off chance that they use Ranged attacks. It having high HP is good against sneaks. |
The Battle:
Round 1
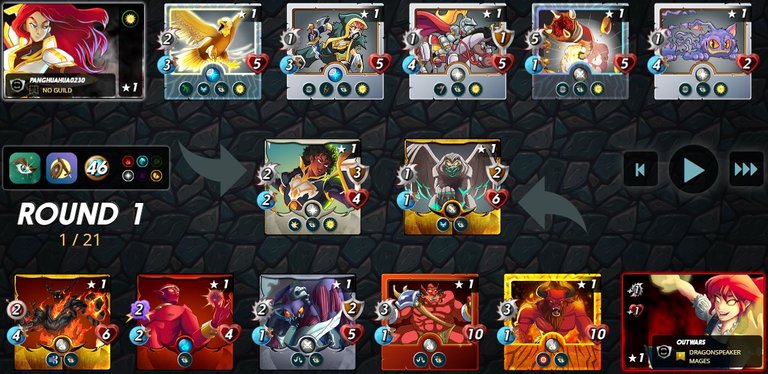
My opponent used a Lorna Melee Sneak Comp that I did not expect. But since it is still melee, my 2 Demoralize should weaken their damage. The Sand Worm should still hit hard, but my Ash Mirage has 4 speed so hopefully some attacks miss.
Round 2
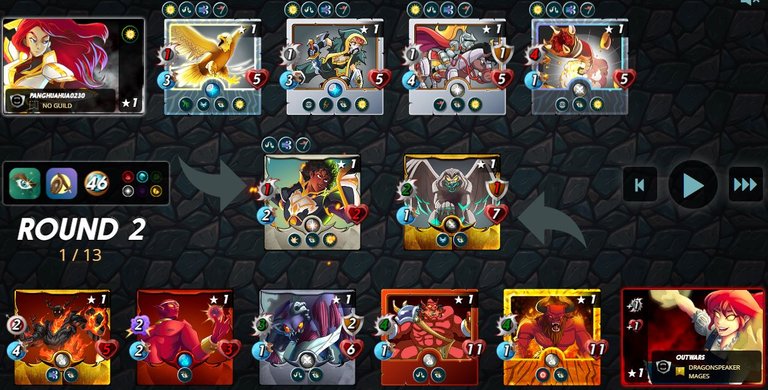
The Silvershield Knight and Luminous Eagle targeted my Djinn Apprentice but lacked damage to kill it. The Sand Worm missed its attack which was expected with the speed difference. I was able to kill the Feral Spirit, and the Chaos Knight should follow this round.
Round 3
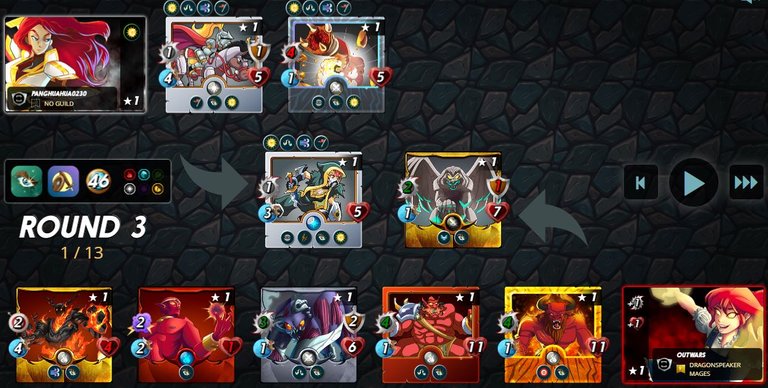
The Sand Worm missed its attack again. I was able to kill both the Chaos Knight and the Luminous Eagle. My Djinn Apprentice should die this round, but this battle looks like it's my victory.
Round 4
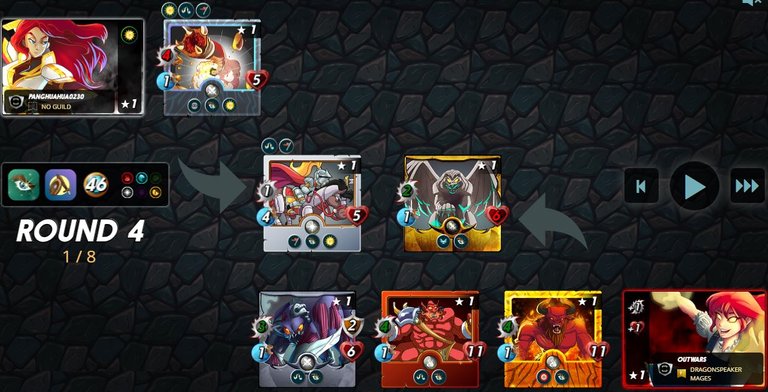
The Sand Worm finally hits its attack and kills my Ash Mirage. My Djinn Apprentice also died. I was able to kill the Assassin, and removed the armor and Divine Shield of the Silvershield Knight. The Sand Worm will still have to go through my Disintegrator's armor so it should not have enough time to clutch a win even if I miss a few times on my other attacks. The True Strike of Charlok also makes sure I don't miss.
Round 5
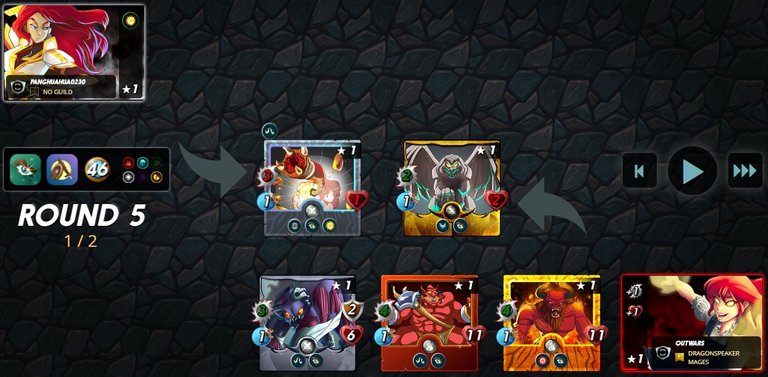
I didn't miss my attacks on the Silvershield Knight, and was able to kill it in that round. With just the Sand Worm left, this battle is over.
The Result:

Conclusion
I countered the opponent's team with my 2 Demoralize, but I think the battle would have been closer if their Sand Worm didn't miss its attacks. I think I still would have won since I have 2 11 HP 4 Attack units left. I think I constructed my team well, being prepared for a lot of my opponent's possible team comps, and it paid off.
Thanks for sharing! - @marianaemilia

Cool lineup, it is very rare to see Molten Ogre in action! Thanks for sharing!