Chickening out? #chickenstrats gone wrong
TO CHICKEN ...
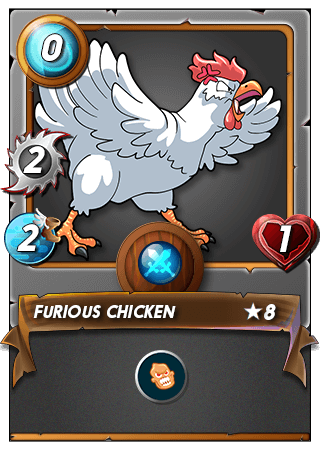
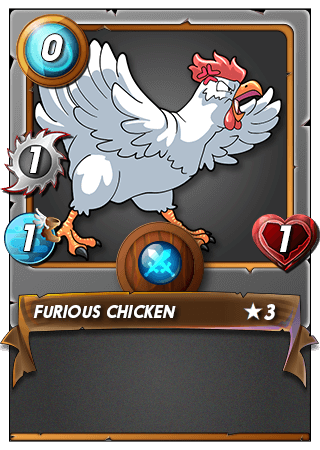
Without a doubt the most used single card in Splinterlands is Furious Chicken. Is it good? Absolutely! Look at that anger! Look at those talons! In all seriousness, the real reason that the chicken is widely used is simply the fact that it is 0 mana. In many formats the mana cap is low enough such that you can't fill out your full 6 monster lineup. The chicken allows you to add one more monster. But why is that important?
1. Taking Hits
While the Furious Chicken doesn't really have much in the way of base stats, it can gain abilities from summoners/teammates like armor, divine shield, or extra hp. This can make the difference of 1 or 2 extra hits your other more important units won't take. Against ranged/melee attacks, 1 armor can mean eat any amount of damage if the enemy doesn't have piercing. This will guarantee a 2nd attack before bbq chicken. Sometimes that extra hit is all it takes to secure a win.
2. Synergistic effects
There are a few abilities which synergize very well with having an extra monster slot. The primary one is the scavenger ability (grants +1 hp every time a monster dies, friendly or enemy). So a chicken placed in a position to die really means +1 hp for your other monster at a zero mana cost (in addition to taking some hits to kill). Another example is the ruleset called equal opportunity. In this format all monsters have equal HP. This favors low HP units with high armor or good abilities that often come at the cost of survivability (i.e. damage / speed). The chicken has only 1 base HP, so it pretty much always gains HP to soak more damage at no mana cost. Always an option to be a free frontline monster, allowing you to dedicate more of your mana pool to other higher priority units.
OR NOT TO CHICKEN?
Is it right to always play the chicken if you have the slot? Well, no, and this is actually one I wanted to focus on with a pretty funny chicken lose con I had in a recent battle.
1. Anti-synergy
There are some rulesets where it is actively bad to have chicken on your team. The primary one is if you have the resurrect ability on your team (summoner / monster ability that revives the first minion to die with 1 hp). This very strong ability is limited to only a few cards, but is exceptionally strong for units with high armor and/or strong healing abilities to immediately restore the resurrected unit. However, wasting your revive on a chicken is often a losing strategy. Ideally you want to be resurrecting something that has higher value. Another example is currently brawl specific, but there is ability called bloodlust which allows a gladiator to gain stats everytime it kills an enemy. The chicken, unfortunately, often just gives the enemy a free power up that can really get the ball rolling for the enemy gladiator. As gladiators become more popular in frays, think twice before using that good ole chicken.
2. Blocking your composition
One of the most common positions to place a chicken is in the first position of the team. This is the most commonly attacked position as all monsters default attack this position. It requires either a special ability (snipe, opportunity, sneak) or a ruleset to alter the attack position of the unit. A common team might place the chicken in the first slot, then a traditional melee tank in the 2nd slot and a reach monster in the 3rd slot. The thinking behind this is the chicken takes 1 or 2 hits, then the 2nd slot tank moves into the first position (where it can now attack).
But what if your enemy decides to never attack your first position? Now your 2nd and 3rd position monsters will miss their attack order (since melee can only attack from the first position unless granted an ability to attack elsewhere) and you are essentially fighting 3 v 6. When setting up the team composition, this should always be considered on whether it is likely or possible for this stranding technique can be employed against you.
Without further ado, I wanted to share this silly battle where not fully thinking out the chicken strategy cost my enemy the win (or at least a draw)
The Ruleset
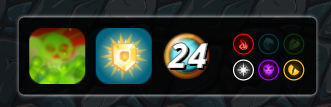
The poison ruleset is by far least favorite ruleset. Why? Because about 20-30% of the games end in draws as 2 gelatinous cubes sit there exchanging heals for 18 rounds. Another 50% or so are decided who has a Scarred Llama Mage, and the remainder of the battles on who attacks first.
The Strategy
Ruleset shenanigans aside, my strategy for this battle seeing as earth was banned was to simply stall out as long as possible and put the cube at the end. From there, I just hope my opponent runs out of damage and/or hp before I do, since there aren't too many cleansers in this splinter arrangement (5 are available, 4 monsters (3 in life + diamond dragon) and Chanseus). As there are no cleanses that work in any position other than the first position, Mimosa is a great summoner for applying the anti-heal effect affliction. If I stall killing the first position monster for a turn or two, I might be able to avoid the opponent cleanse if paired with some weaken abilities (goal is basically to try and reduce enemy cleanser to <5 hp so they die in 2 rounds). Once the cleanser is dead, I want to try and stall for 1-2 more turns then let the cube finish the game after gaining a bunch of HP.
The Summoner
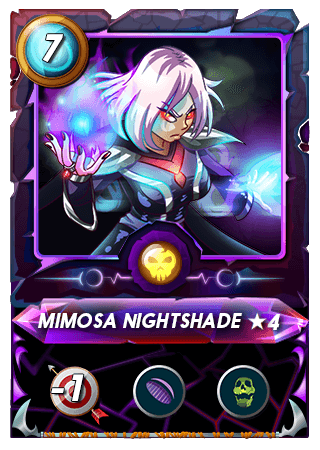
Basically the only reason I use this is to stall and prevent heals to the back line.
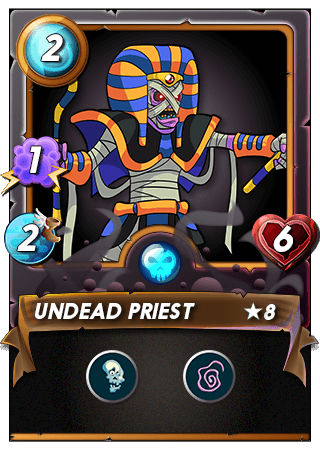
1st Slot - The divine shield remover
The "chicken" replacement in this comp who's main role is to eat 2 hits and then remove divine shield from the entire enemy lineup. If it does survive the whole round, it dies to poison round 2 clearing the way for the frontliner behind.
2nd Slot - The Tank
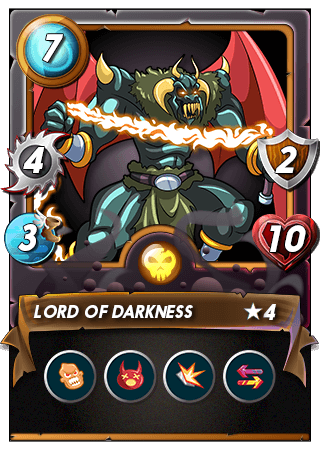
A dark team staple with insanely good abilities. It does massive melee damage and can punish enemy melee with retaliatory attacks while simultaneously taking reduced melee/ranged and a chance to stun. An all-in-one great unit that can sometimes (with some RNG luck) destroys enemy melee focused compositions alone.
3rd Slot - The Chicken
just get roasted already to feed my cube. Thanks.
4th Slot - The Weakener
Weaken is basically to try and reduce the HP of the enemy to 4 so that they die to poison in 2 turns instead of 3. The slow is just an extra benefit to maybe make them miss? Not too relevant in this comp.
5th Slot - The HP feeder, part deux
Essentially just another guy to feed the cube HP.
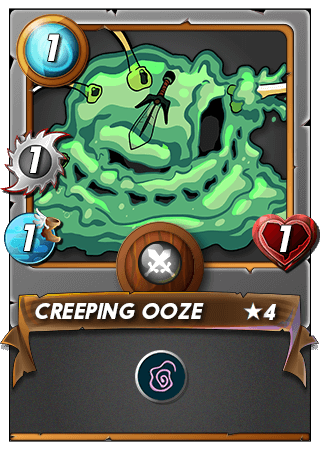
6th slot - the win con
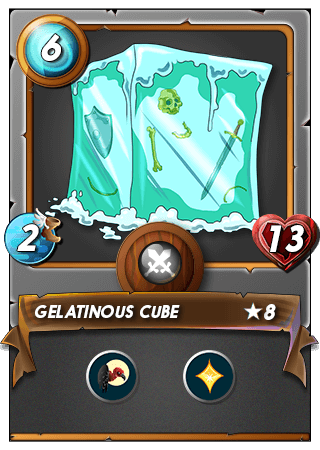
Basically the whole comp is just wait for everything to die. In this format the cube is great as it just heals each turn.....Not much to say about this other than using it leads to many skip to results....
The Battle
Round 1:
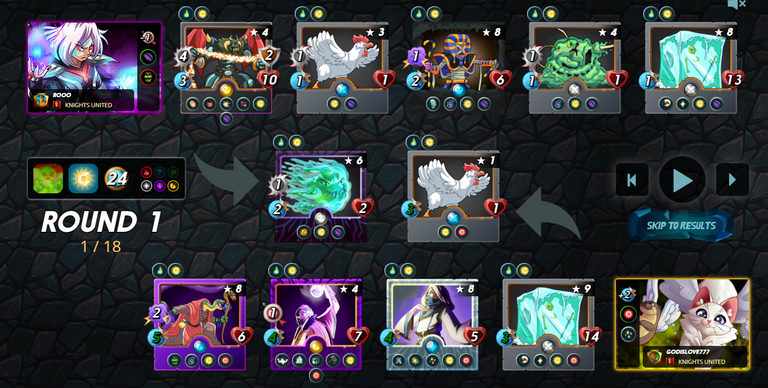
So here the enemy has a pretty well thought out team composition. a cleanser, some extra HP, an affliction (the anti-cube ability), and some backline heals to stay alive. But wait, what's this? A chicken in the front? That cleanse won't work unless the chicken dies!
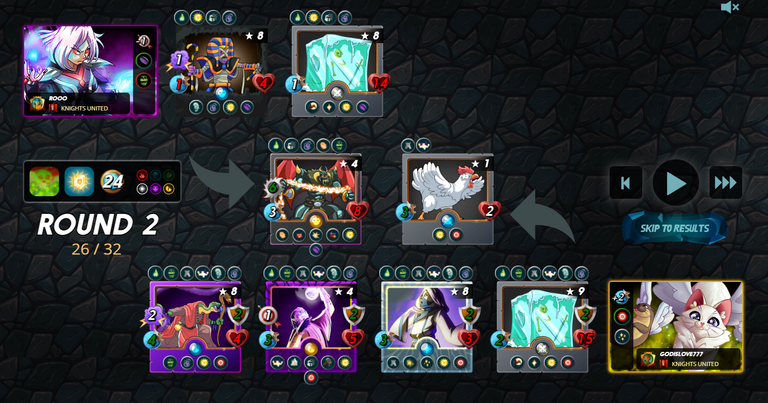
Round 2:
So after a riveting round 1 where basically nothing happens, my comp starts blowing itself up to poison. Their cleansed chicken now won't die to poison allowing the cube to move up and get cleansed.

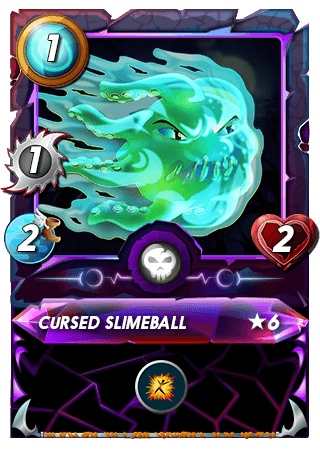
Oh no! that 1 armor is going to be stripped by the cursed slimeball's redemption and my Lord of Darkness is going to kill the chicken! noooo my plan is ruined. But never fear, my opponent has a mob with repair so his repair will add armor to the chicken before I attack! I'm saved!
Round 3:
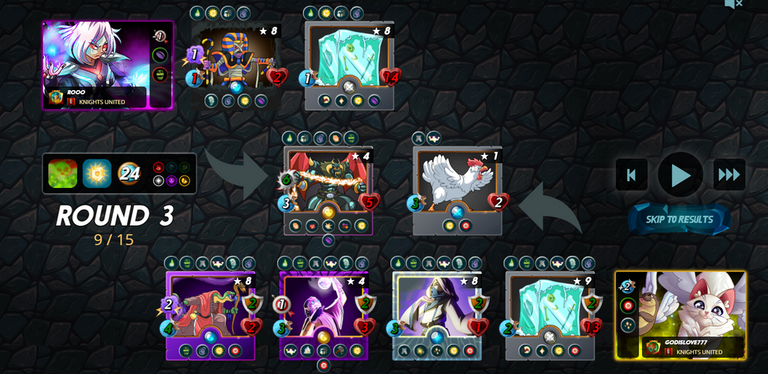
Nothing happens, but a repeat of round 2...with 2 hp on the cleanser and the affliction mob and my cube not targetable by the affliction, that's all she wrote. this match is over. my cube can heal, and my opponents can't.
Round 4:
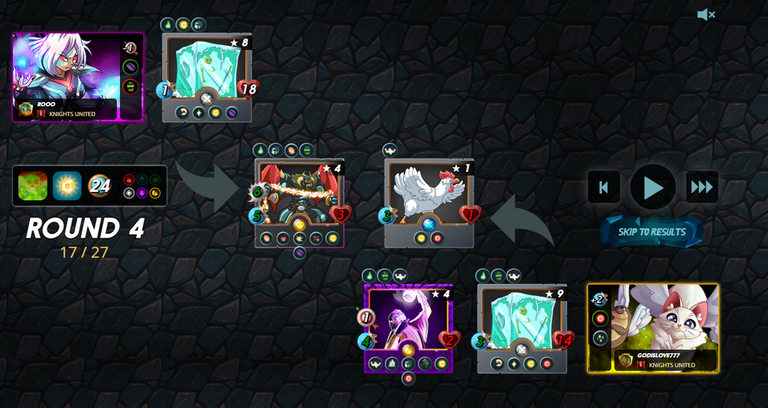
The enemies backline waves goodbye, and the chicken lives on!
The long slow end:
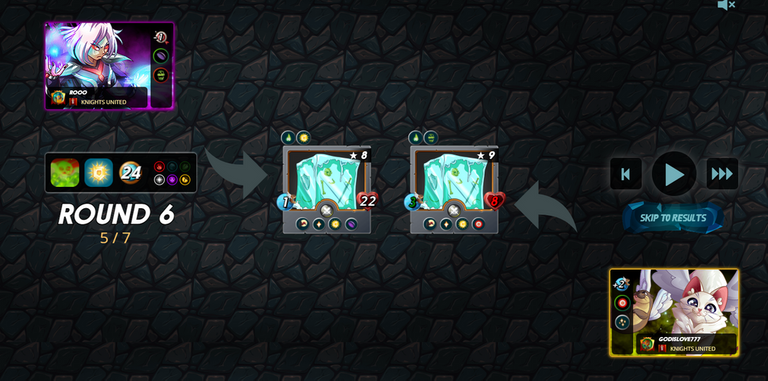
22 HP to 8 hp...seems fair. just waiting for the poison to do it's job.
The Wrap
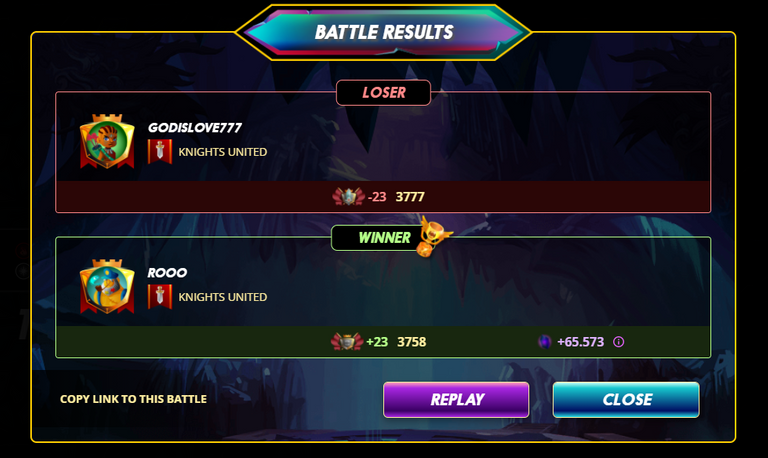
This was an interesting battle to me in that the opponent had the far superior composition to mine as I really did no damage, couldn't cleanse, couldn't heal, or really do damage. My only win condition is waiting for poison to kill the enemy backline and wait for fatigue. Thankfully my opponent gave me an out by putting the chicken in the front. By not dying, This prevented the cube from getting cleansed, which would have won the match since I couldn't re-apply affliction or kill it in time. Lesson from this battle is to always know your win conditions and your lose conditions. The opponent figured out their win condition, but didn't take into account they left a lose condition in place and I exploited that in a very non-traditional way.
Total Chickens BBQ'd: 2
(disclaimer: no chicken were harmed in the write up of this post)
Thanks for sharing! - @yonilkar

Be careful with chicken, can be furious and also save you a battle.
Electronic-terrorism, voice to skull and neuro monitoring on Hive and Steem. You can ignore this, but your going to wish you didnt soon. This is happening whether you believe it or not. https://ecency.com/fyrstikken/@fairandbalanced/i-am-the-only-motherfucker-on-the-internet-pointing-to-a-direct-source-for-voice-to-skull-electronic-terrorism
Congratulations @rooo! You have completed the following achievement on the Hive blockchain and have been rewarded with new badge(s) :
Your next target is to reach 400 upvotes.
You can view your badges on your board and compare yourself to others in the Ranking
If you no longer want to receive notifications, reply to this comment with the word
STOPCheck out the last post from @hivebuzz: