Creating an Uchiwa Fan with a Splinterlands Theme
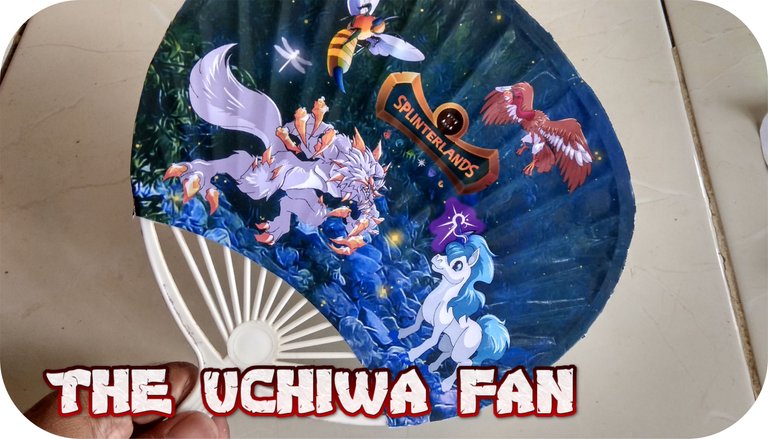
Hello there. I hope you all have a creative day. This time, I'll share my post on how I decorated a hand fan I acquired at a friend's warehouse. These are items that are no longer in use and will be discarded. However, I have a plan to redecorate it. This fan is known as uchiwa. An uchiwa is a hand fan that may be used to keep cool while it's hot weather.
Well, it's not too much for the materials I'm using. I discovered this uchiwa frame in a broken state after being submerged in a flood, so all I had to do was clean it.
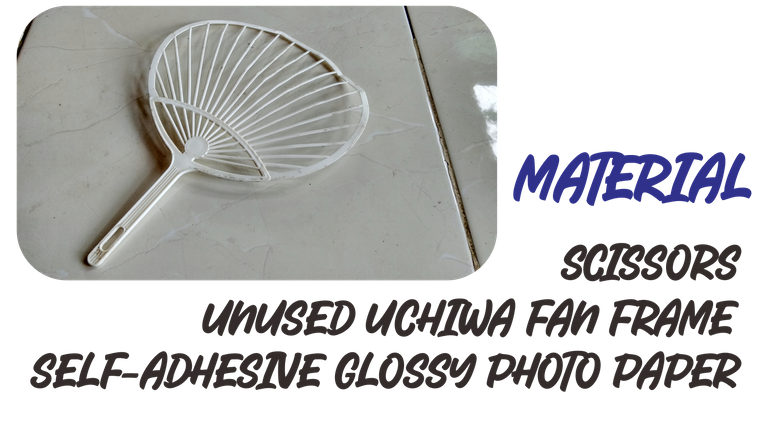
This is a fan frame made of uchiwa. Plastic is used in the construction of the item. This fan was previously damaged after being drenched in floodwater.
All I need is some glossy self-adhesive sticker paper. Also, a tiny character design that I'd want to include into the fan theme later. Which I'm now working on in CorelDraw
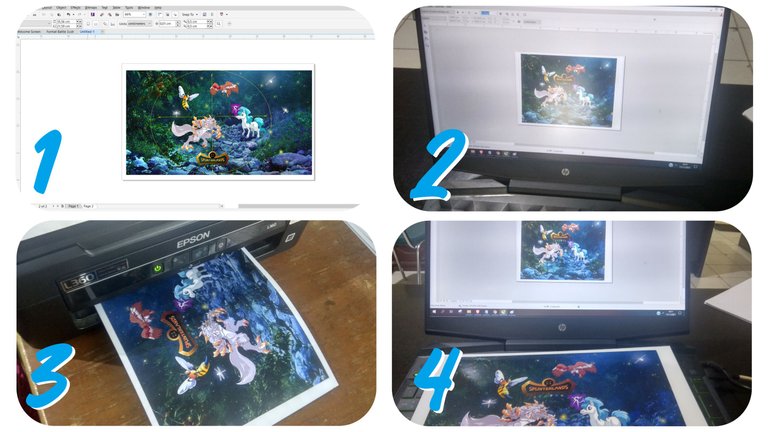
I used Coreldraw to create the design and created two drawings for each side of the fan. I choose several characters from the game Splinterlands. If you're not acquainted with Splinterlands, it's an NFT-based hive game in which each card may be used as an asset. The kids in our family are now enjoying some of the characters. As a result, I later picked that character in the fan.
After the design was finished, I then printed it using an Epson printer. And this is the result. Two sheets of glossy paper have a Splinterlands themed design printed on them.
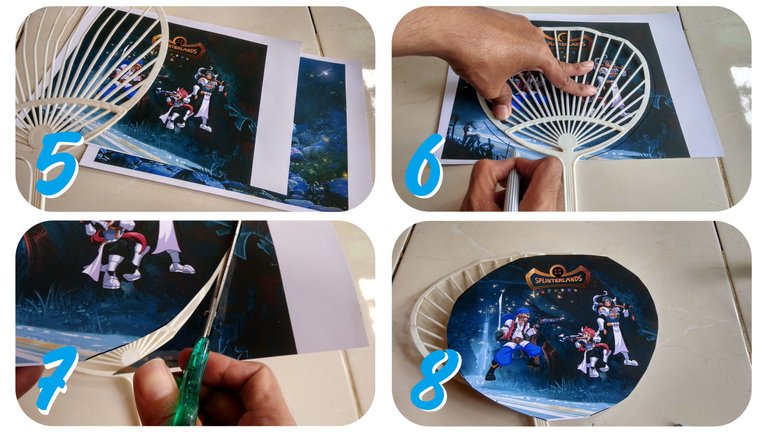
Next, we first clean the remaining adhesive that is still attached to the fan frame.
We then measure so that the design is exactly in the desired position. I have previously measured in CorelDRAW so that each character is included in the fan area.
I then made a guideline to cut the design paper to fit the shape of the fan frame. I deliberately exaggerated a little so that later the results can be tidied up.
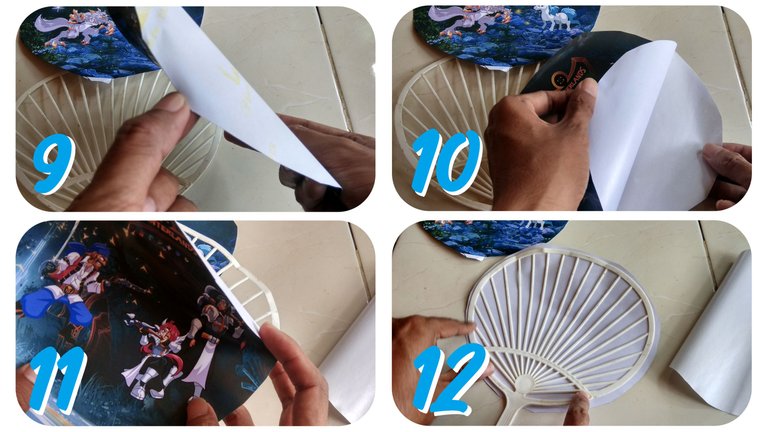
After that, we open the back of the sticker paper so that it can be glued to the fan frame. I did it carefully on the first side. Next, start to press the sticker paper so that each adhesive sticks between the sections of the fan frame.
Don't forget to press down on the paper so that the adhesive sticks together on each side.
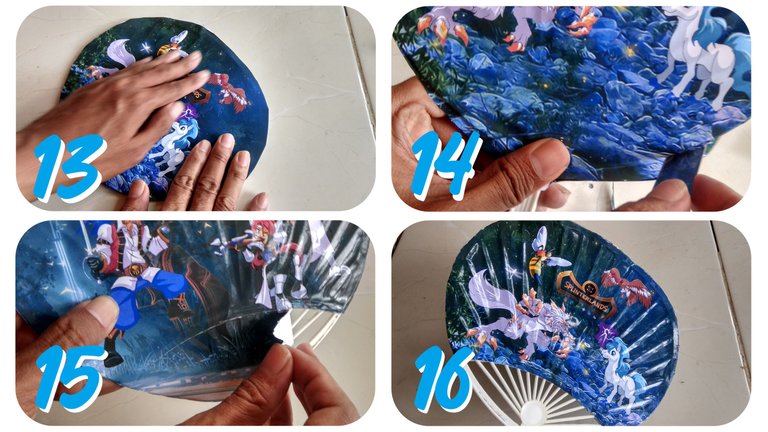
The final step is to start tidying up each side. I used scissors and started cutting to fit the fan frame.
After I had trimmed each side, then clipped the bottom of the design paper so that the frame near the handle was not hidden by the design paper.
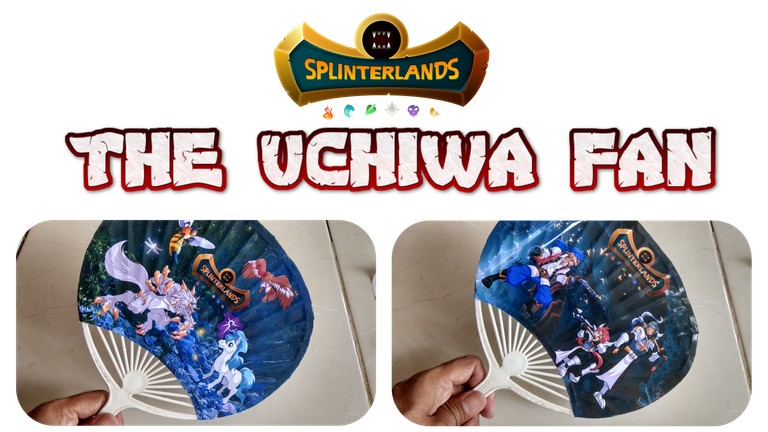
And the result of our work has been completed, with a design that meets our needs. If you ever happen along with an unused uchiwa fan frame, you may apply this method.


If you haven't tried out this fantastic game called Splinterlands yet, I invite you to Join.
It's free, but you'll need to invest in a beginning deck or buy gaming cards to gain real assets like cards and tokens.

If you're interested in my content, here are some of my latest posts:
Thanks for sharing! - @cieliss
