Needlework Monday: Lorna Shines Sweater
Happy Needlework Monday everyone,
Today we'll take a little look on the progress with our Lorna Shine Costume, and how I did the sweater,
unfortunately some parts of the costume in Leatherette has been delayed due to unavailability of what I'm currently using, and that I cant work on the changes since I already did finished some parts of the armors.
Hopefully by next week the leatherette that I need becomes available.
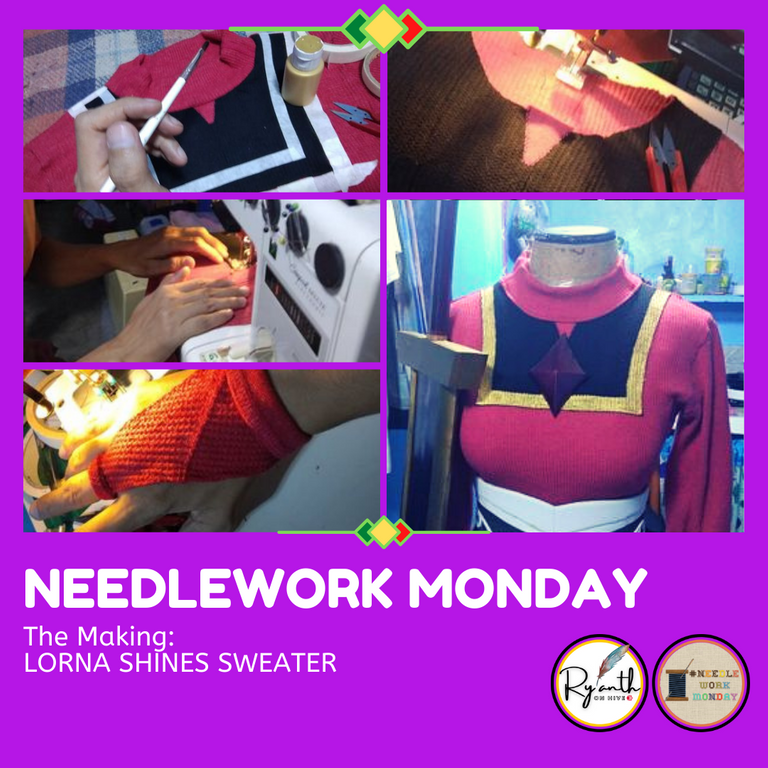

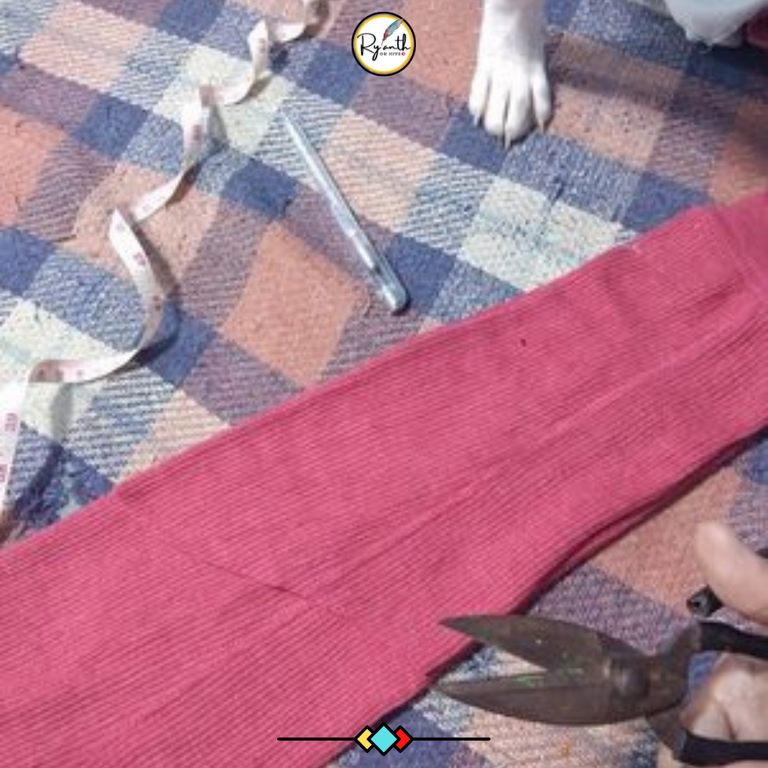
To start with, the materials.
We have here size L sweaters, those with a weaved-like texture,
Why Large clothes? Because it easier to adjust with cutting and allowance sinc eyou have a big clothes to work with.
Why not buy a new fabric? Hmmmm, I find it a little practical to buy used but good as new clothes in a thrift shop, you dont have to sew all the way, you just need to cut what you need in them, and for the price? I bought them for $2.

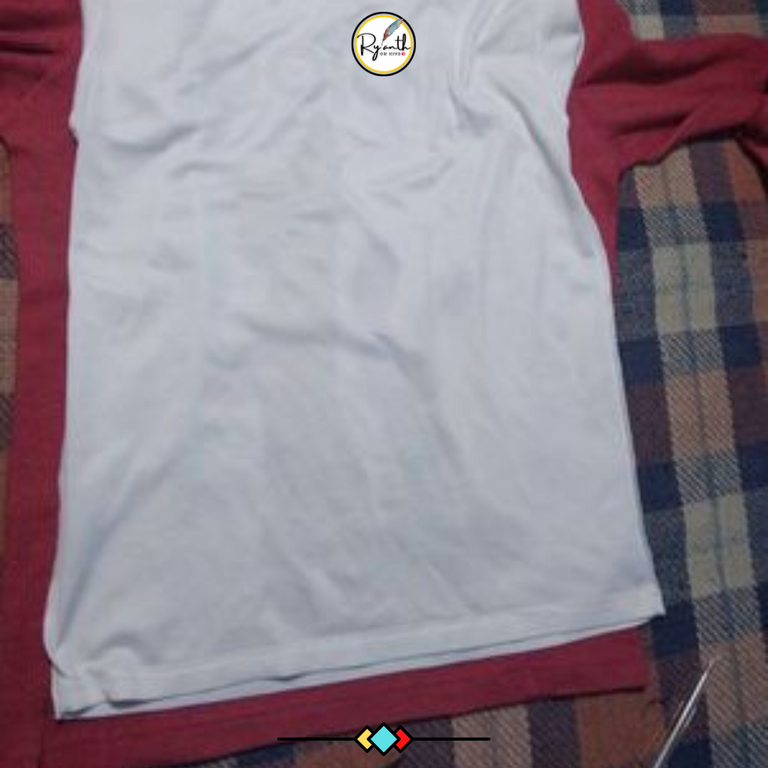
Using my Sleeveless clothes as a pattern to trace in our fabric.
We need the lower hem in here so I have to trace the clothe at the bottom part.
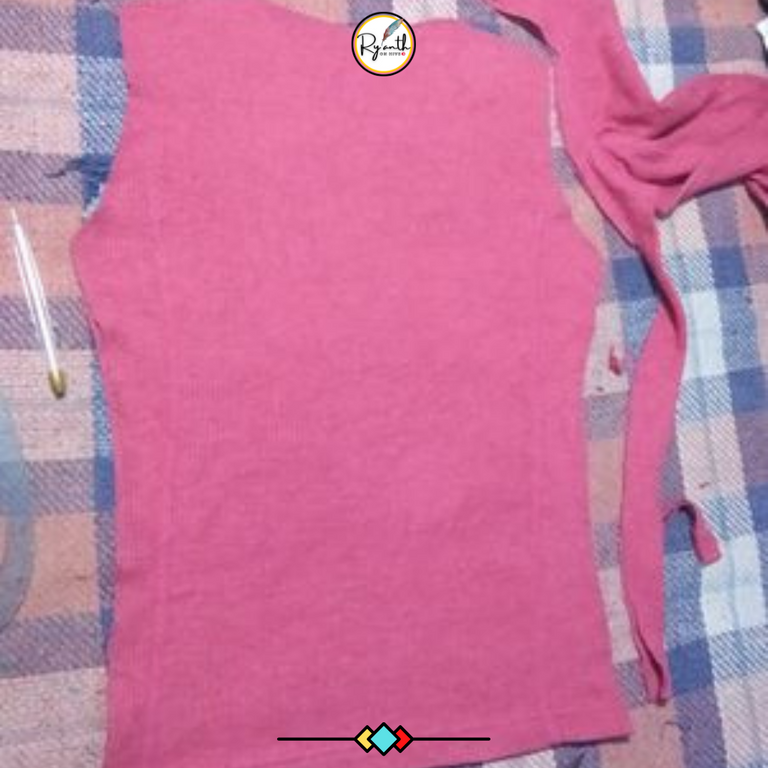
Once it cut, lets ready the other part
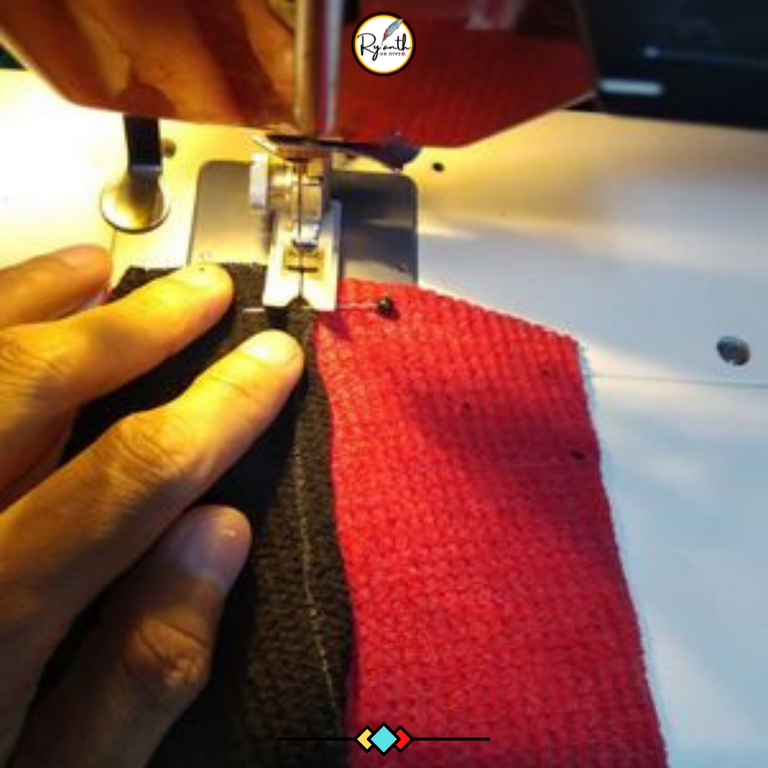
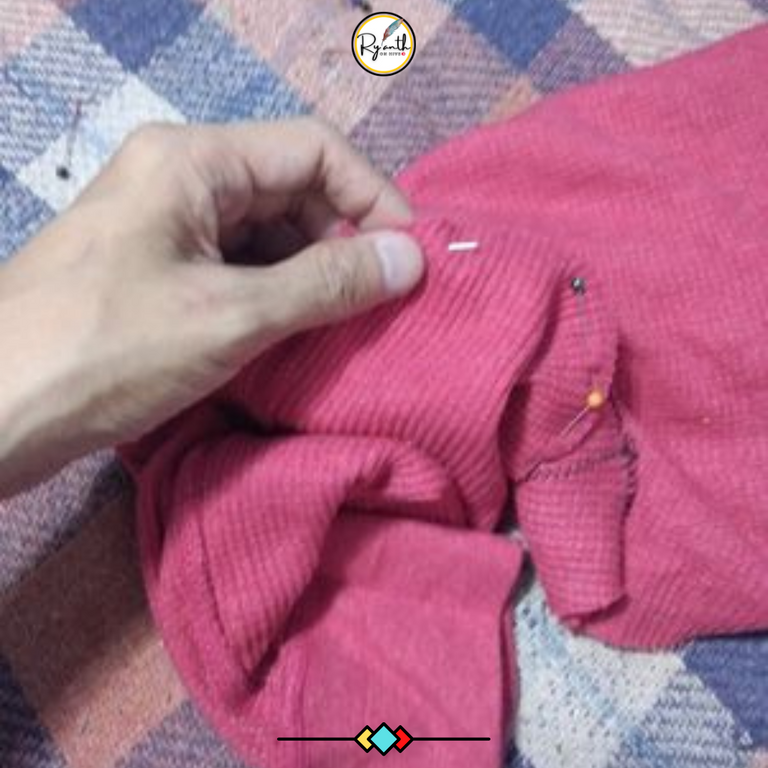
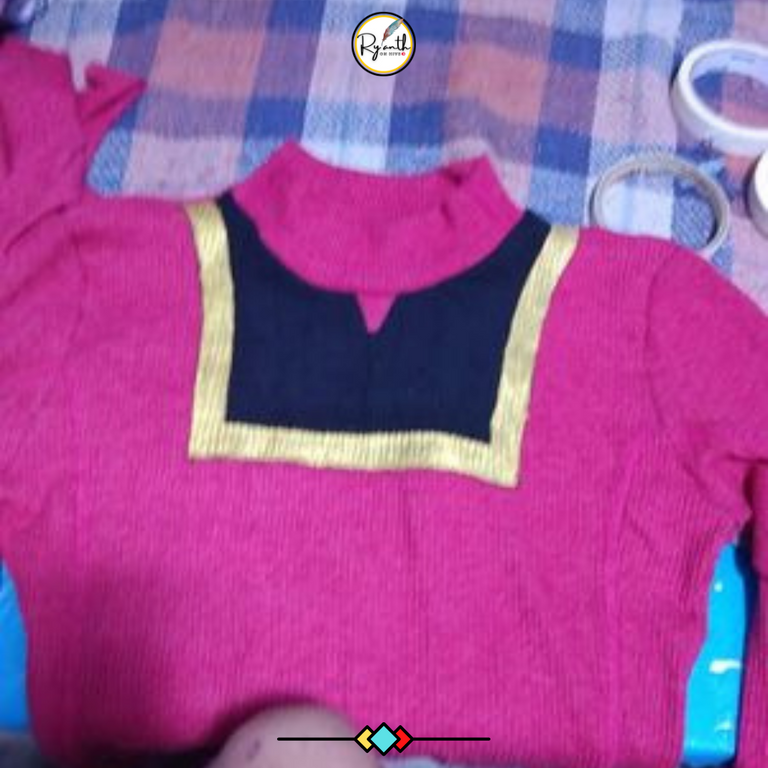
The black on the front I cut in the sleeve of our black sweater, we dont need to cut the body if we only need a small piece. Lets pin it and saw in ZIG-ZAG Stitch.
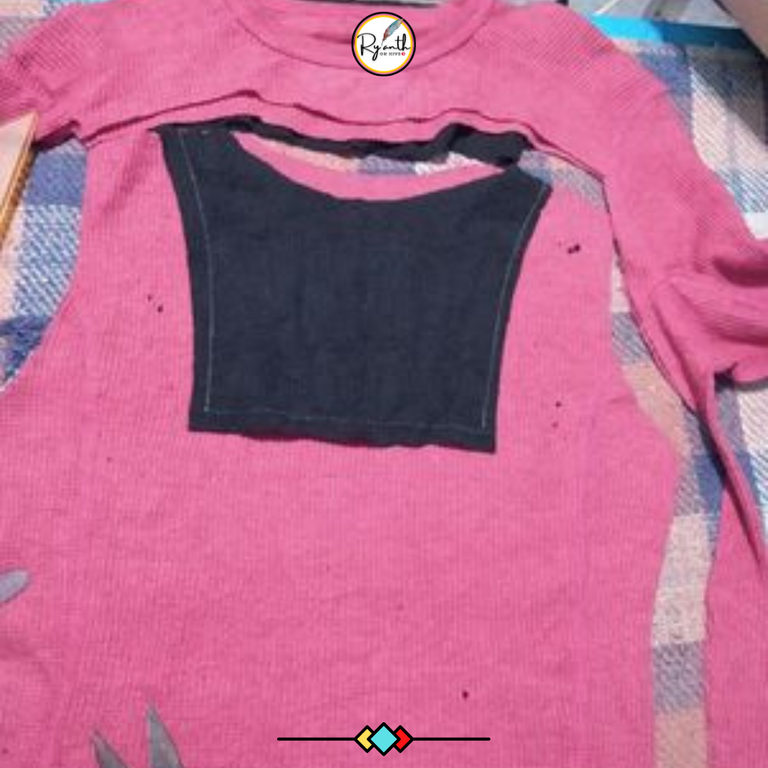
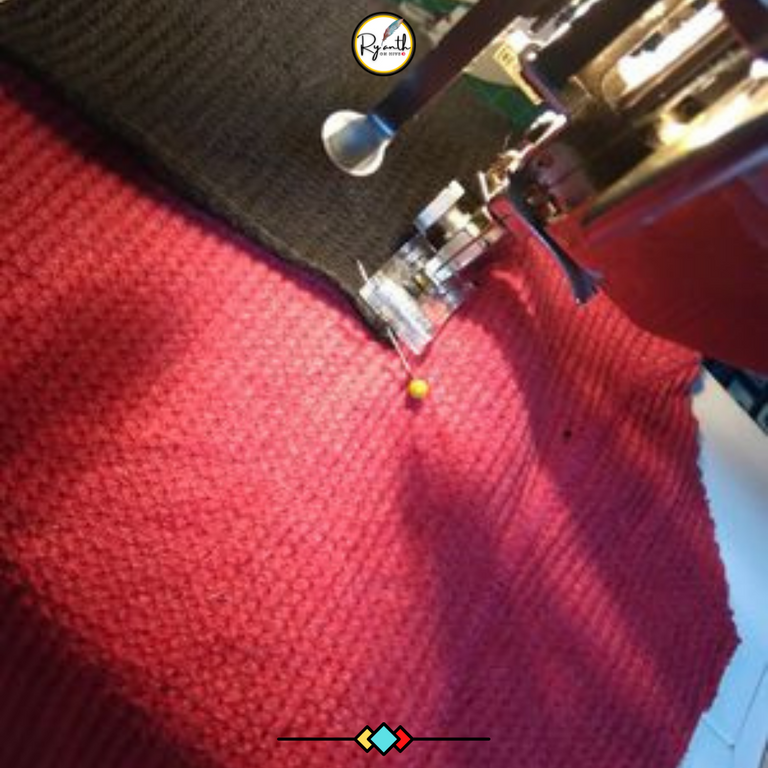
Cut and saw some details before we proceed with the sleeves and Turtle neck.
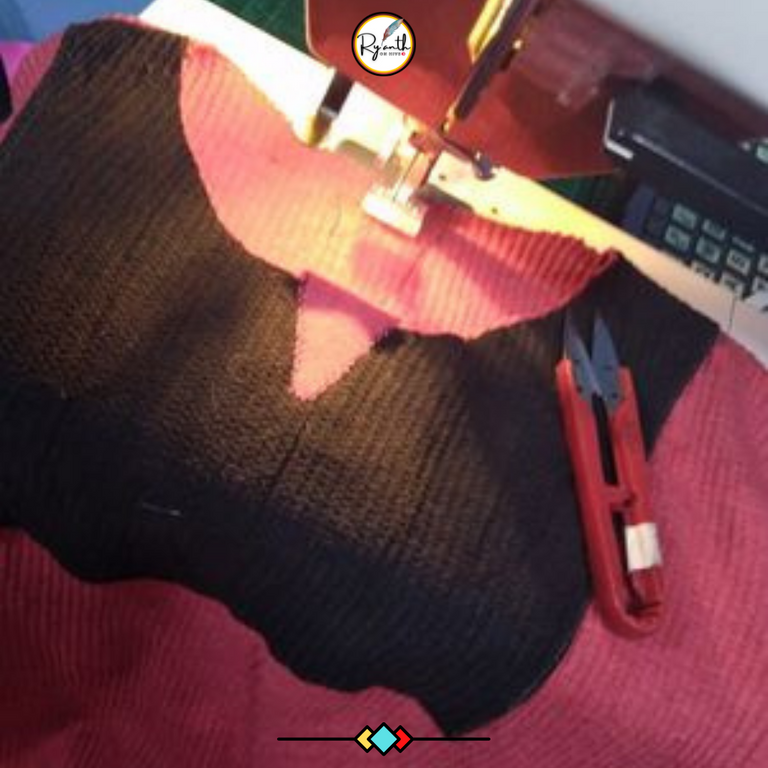
Unfortunately, the some of the turtle neck to sleeve part has corrupted..
I cut our turtle neck from the upper part of the sleeves since I made the sleeves to 3/4 cut and its a large cloth the upper part of the sleeve could cover the fabric I needed for the turtle neck.
With the sleeves, using curve rulers to cut the 3/4 sleeve starting from the cuff
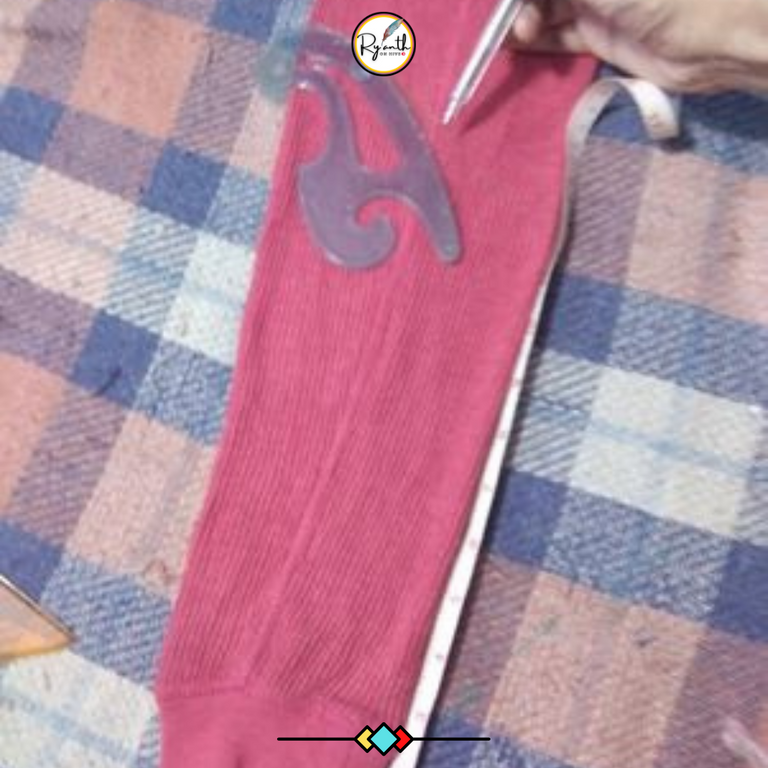
Then trace on the other side,
And Pin the sleeves to the arm hole, and we are ready to saw.
Thats Keppie's Paw <3
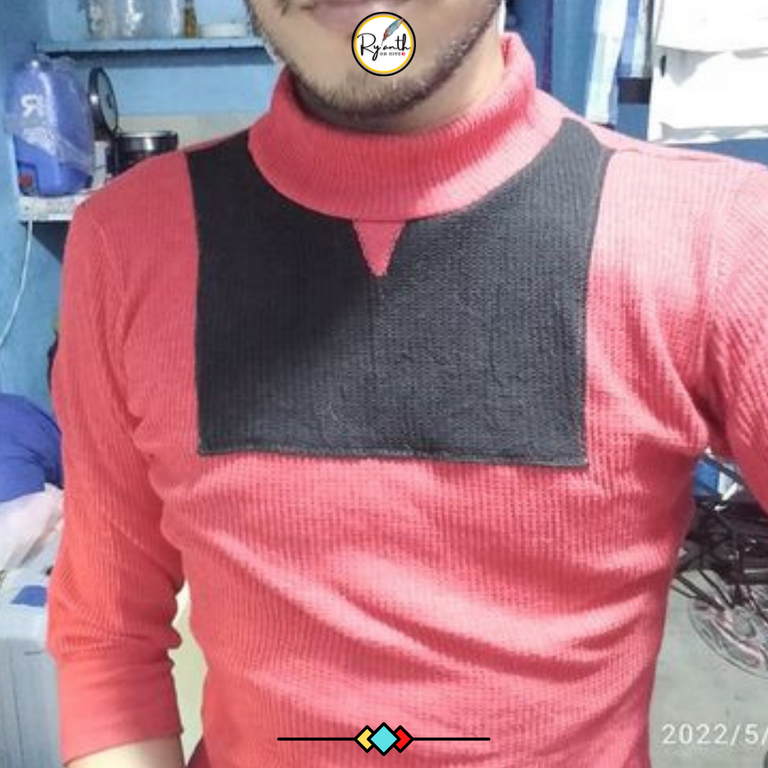
Heres how it fits, the fabric is very stretchable so it still ok if I wear some B##bs and Bras.
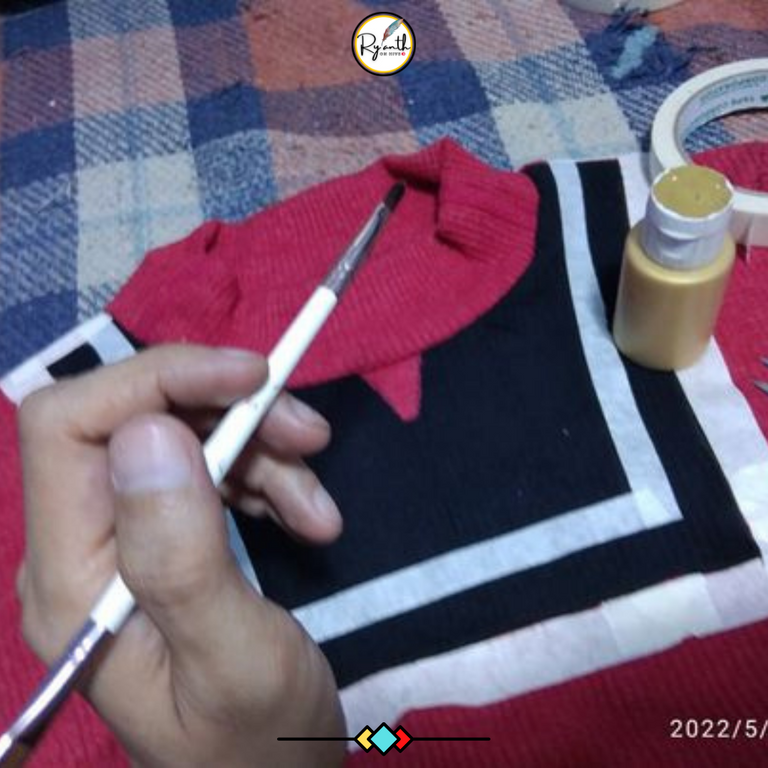
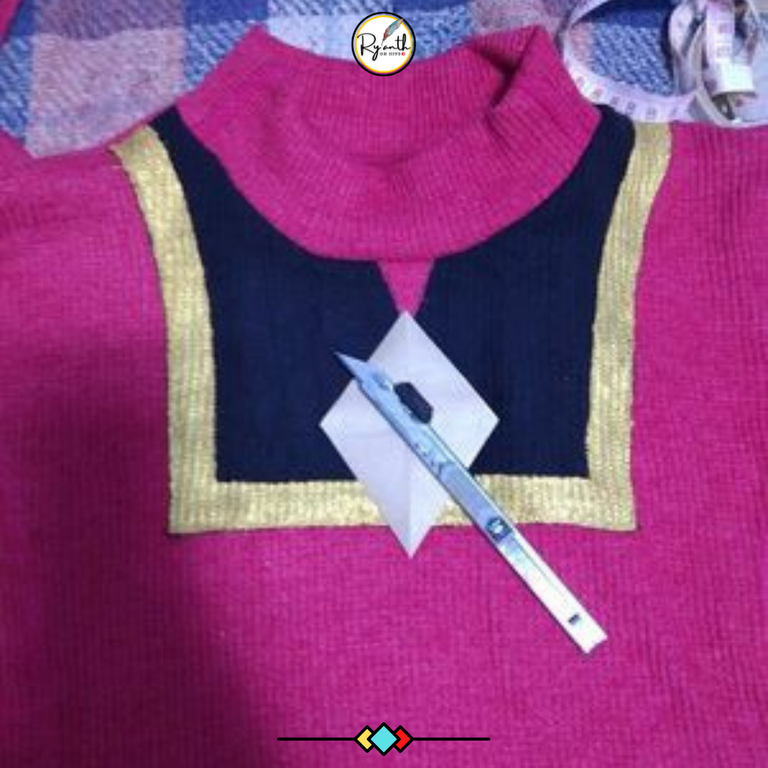
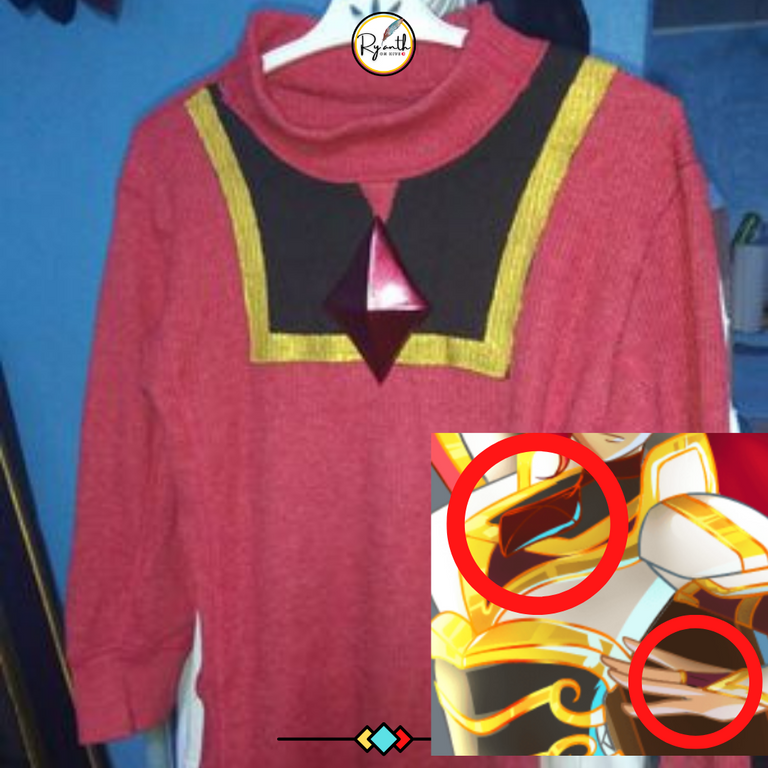
Next is, Painting the lining with Gold Fabric Paint, line the areas we need to paint with masking tape, so we could have a neat result.
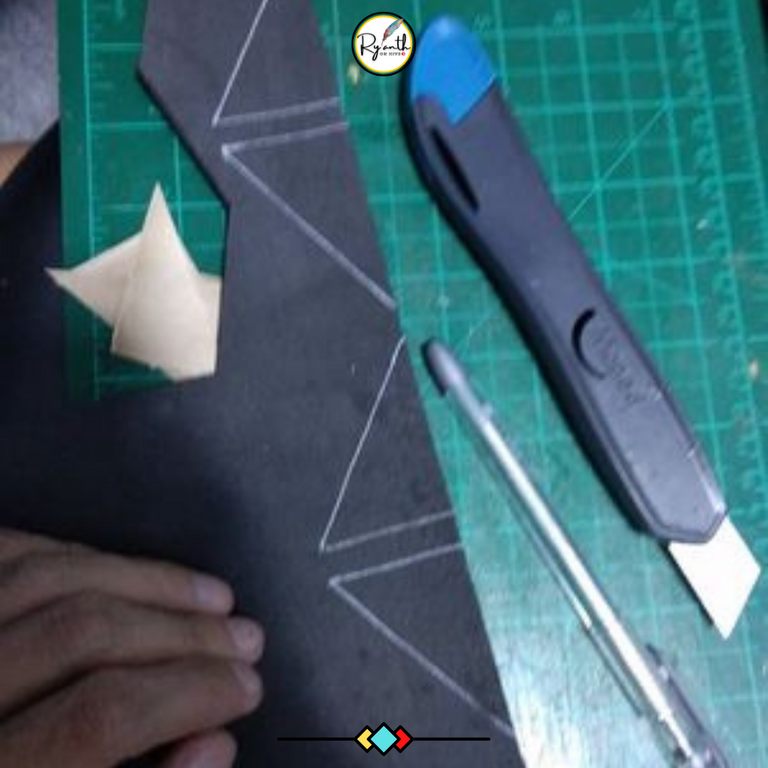
The Gem, using a Gummed tape to shape the gem cut into four and place in out rubber.
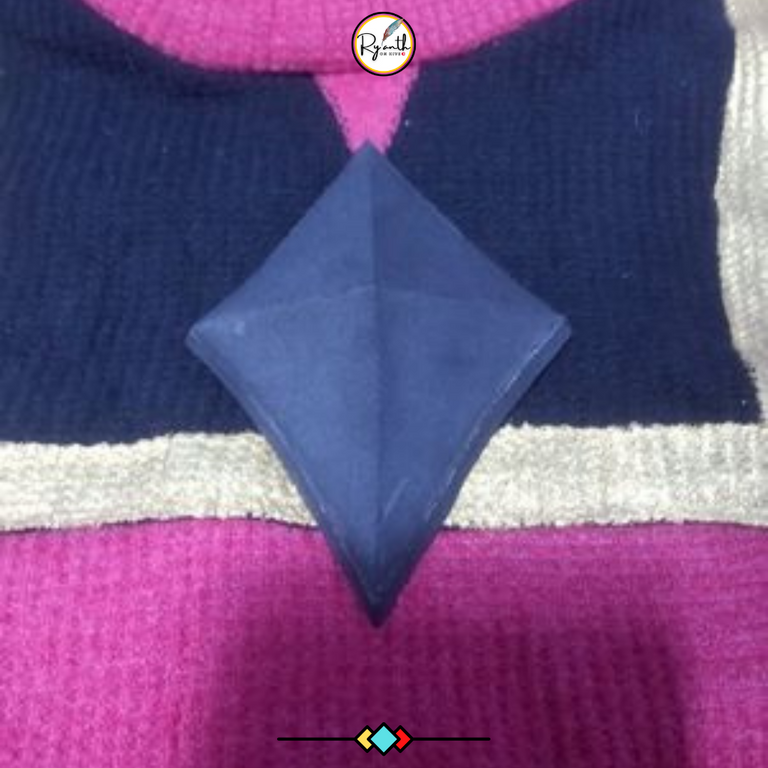
Heres how it look, coat with a primer before spraying paint in metallic red.
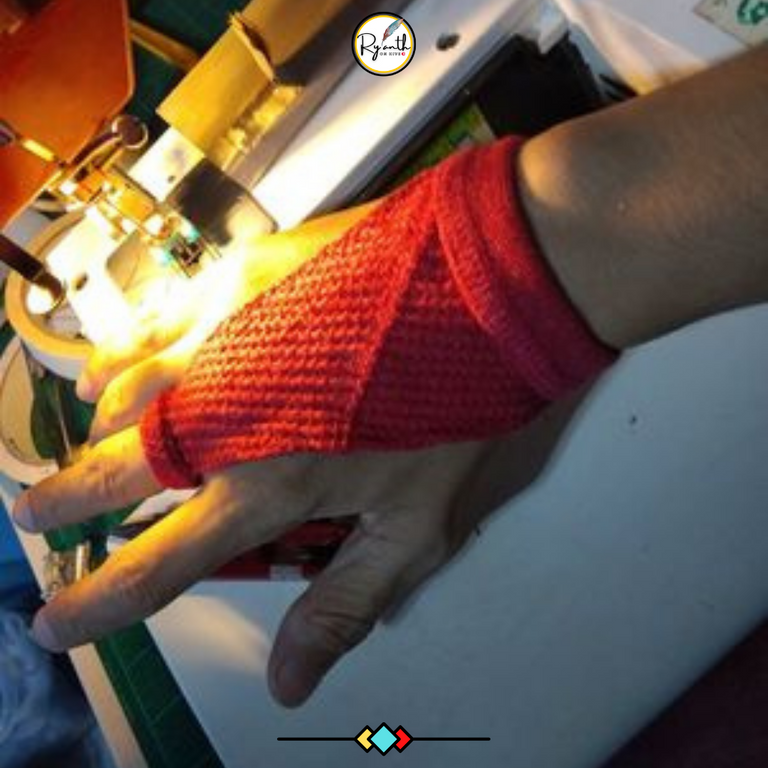
I just saw this real quick, I forgot to take some shots, but here the wrist band I cut from the Hem of the neck.
And heres our finished Gem. I just stick it temporarily.
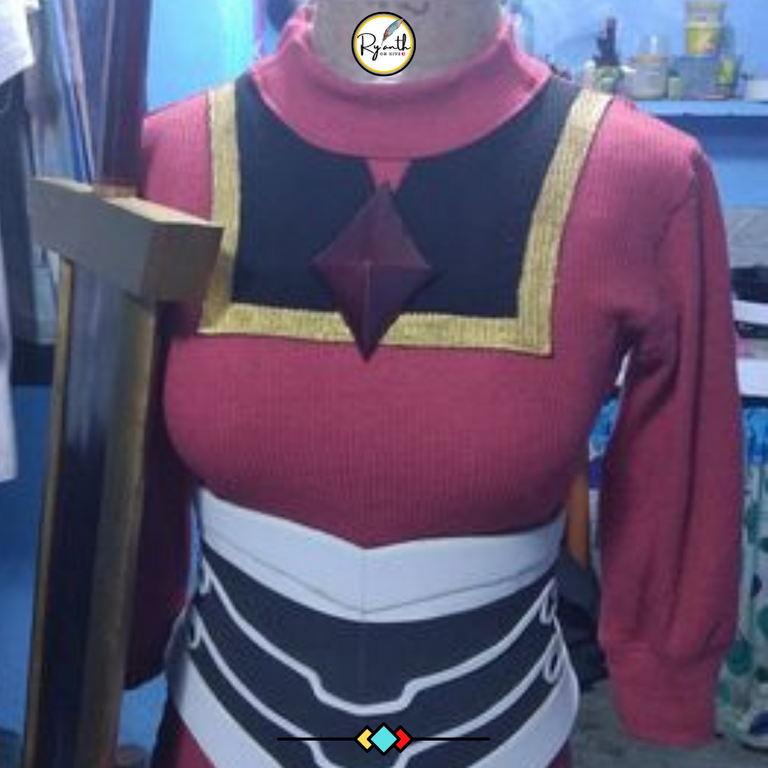
And heres our sweater with the corset(not done yet) and sword
You may check on the link below if you want to see how I did that Giant Sword posted on Hive DIY.
https://peakd.com/hive-188409/@ryanth17/the-making-lorna-shines-giant-sword-hive-188409
Well cover the corset soon, I have to make it in leatherette (No Sewing Required) and how I did the patterns for it.
And I hope you enjoy our Needlework Monday.
Thank you very much for reading.

Beautiful thanks for sharing @ryanth17
https://twitter.com/ryanth1785/status/1529776201887207424
The rewards earned on this comment will go directly to the people sharing the post on Twitter as long as they are registered with @poshtoken. Sign up at https://hiveposh.com.