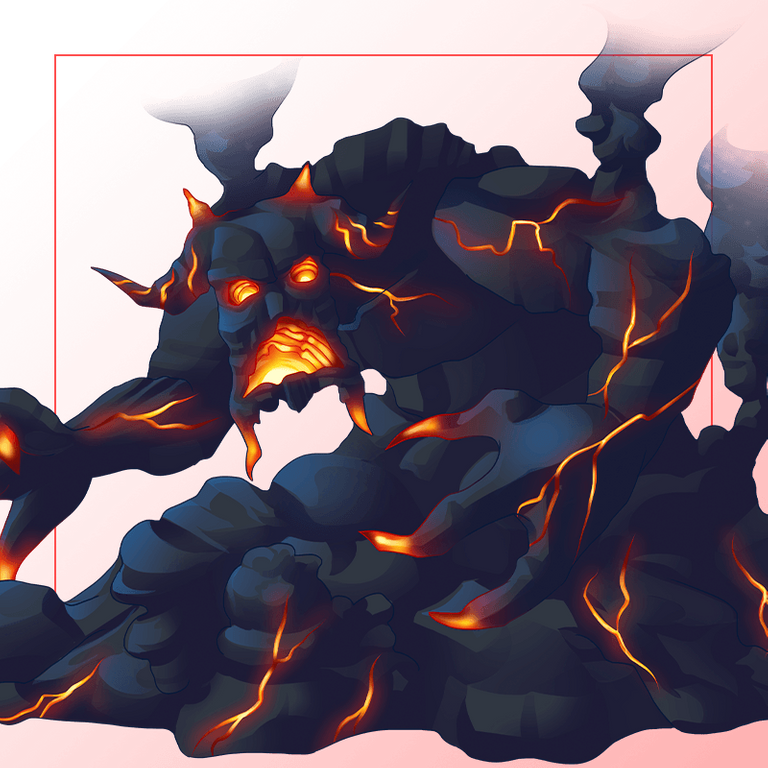
Molten Ash Golem: Sentient Ash from Forgotten One

Introduction
Hello there! @Saydie here, playing Splinterlands everyday!
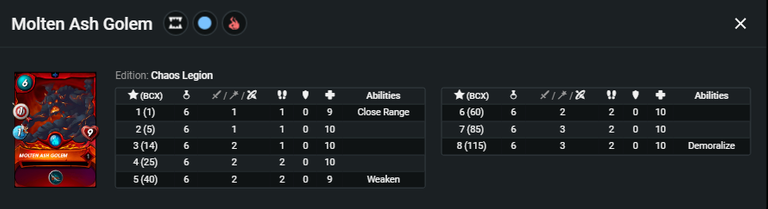
I'm here again for this week's Share Your Battle Challenge with the featured card: Molten Ash Golem. It is a 6 mana- cost range splinter from the Fire with 9 health, 1 Speed, 1 range attack and has the Close Range ability at level 1.
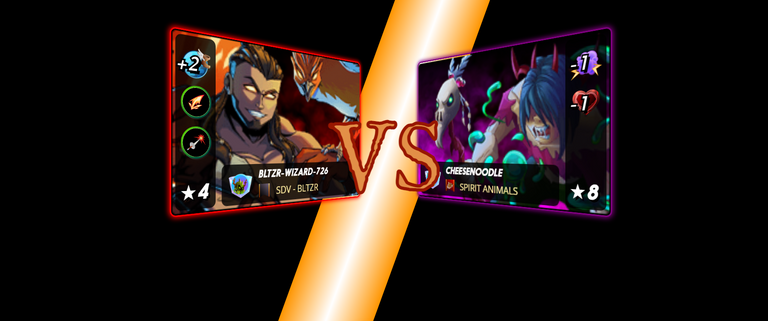
The Battle that I will show to you belongs to bltzr-wizard-726 which is the scholar account awarded to me by Balthazar guild that has max level Chaos Legion deck and is currently playing on the Diamond III of the Modern Format after falling from Champion III after EOS but before I show you the battle, let us learn more about this card.

Molten Ash Golem
| Mana Cost | 6 |
|---|---|
| Edition | Chaos Legion |
| Element |  Fire Fire |
| Rarity | Rare |
| Attack Type |  Range Range |
| Abilities |  Close Range, Close Range,  Weaken Weaken  Demoralize Demoralize |
| RF Burn Value | 20 DEC |
| GF Burn Value | 500 DEC |
Lore
The Molten Ash Golems are birthed from a creature known as the Forgotten One. Created by the High Magus of the Crypteia and serving as his personal servant, the Forgotten One is a fiery beast of might and malice.
The Forgotten One's great power sometimes spills over, leaving trails of molten ash in its wake. And within these beats the strong enchantments the Magus originally put on his Forgotten One. Within a day, these piles of burning ash become sentient.
Rising from the ground and forming into loose humanoid shapes, these Molten Ash Golems have only one desire. Find their creator. They will travel the lands searching for the Forgotten One, never tiring and never needing to stop. Once reunited with their source, they serve faithfully for as long as they continue to burn. Continue Reading...
Card Stats
Card Prices
| Card Foil | 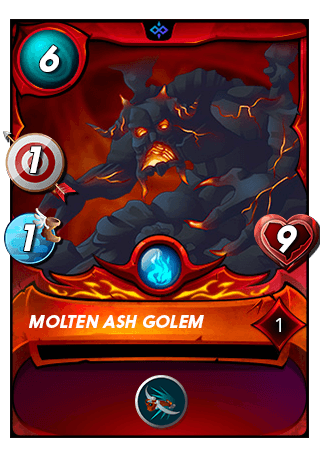 | 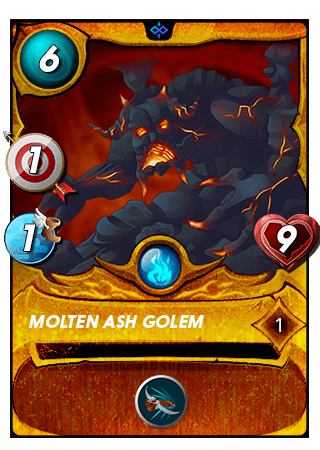 |
|---|---|---|
| Market Price | ||
| Rental Price |
6 Months Price Listing


Note:This are the market price for the Molten Ash Golem by the time that I checked on it and is subject to change depending on when you check for prices. Source: Peakmonsters and Splintercards
Card Review
Prons
- Molten Ash Golem has the Close Range that allows this card to attack at 1st position.
- It has huge health for the cost of only 6 mana and can be used as a tank specially during Keep Your Distance rule set.
- The Weaken and Demoralize ability from this card will be useful to reduce the health and melee attack of all opponent monsters.
- The slow speed of this card will be best used when there is a Reverse Speed rule set.
Cons
- Slow speed might cause for many misses against fast opponents or those with Blind, Dodge and Flying abilities.
- Will be disadvantageous to use under Fire & Regret rule set as it reflects range attacks.
Molten Ash Golem is a range splinter for the Fire element. With this having the Close Range ability at level 1, it can still attack when it was in the 1st position and with a huge health, it can even serve as tank. At level 5, it gains the Weaken which reduces the health of all the opponent monsters by -1 and when it reached level 8, gains the Demoralize ability which reduces the melee attack of all opponent monster. It has the max speed of 2 which makes it very slow at default which is great when there is a Reverse Speed rule set but outside this rule set, it will be very disadvantageous when facing fast opponents or those with Blind, Dodge and Flying ability as it increases the dodge chance of this monsters.
Battle Conditions and Team Line- up
Rule Set
| Conditions | Description |
|---|---|
 Diamond League Modern Format | 40 Mana Cap Available Elements Fire, Life, Death |
 Explosive Weaponry | All Monsters have the Blast ability. |
 Evens Stevens | Only Monsters with even Mana costs may be used in battles. |
Opponent's Line-up
| Card | Position | Mana Cost | Description |
|---|---|---|---|
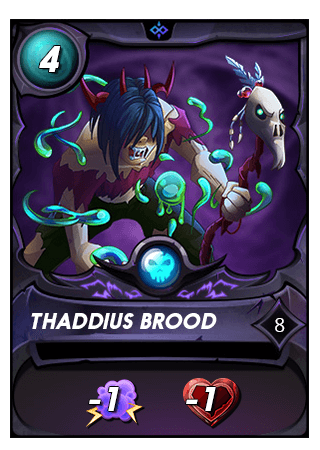 | Summoner | 4 | Thaddius Brood is a rare Death summoner that gives -1 Magic, health to all opponent monsters. Monster Cap: Common- 10, Rare- 8, Epic- 6, Legendary-4 |
 | 1st | 6 | Coeurl Lurker is a 6 mana melee monster with the Thorns which return +2 damage on melee monster that attack this cards then it also has Heal which allows this card to restore portion of it's health every turn and Slow that reduces the speed of all opponent monsters as long as this is in play. |
 | 2nd | 4 | Revealer is a magic monster with the Stun ability which makes the afflicted monster to skip an attack, Immunity prevents this card to be afflicted by negative status effects and Reflection Shield that makes it immune from reflected and indirect damage. |
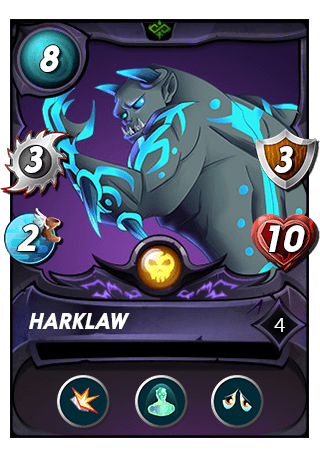 | 3rd | 8 | Harklaw is a melee monster with the Shield ability that reduces melee and range attack by half, Immunity that prevents this card from afflicted by negative status effects and Demoralize that reduces melee attacks of the opponent by -1. |
 | 4th | 4 | Doctor Blight is a magic monster with the Affliction which prevents the target to be healed and Comouflage that prevents this card from being attacked. It also posses Poison which deals -2 damage every turn and Scavenge which allows this card to gain health every time a monster dies. |
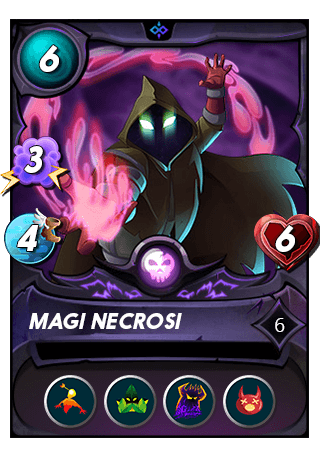 | 5th | 6 | Magi Necrosi is a magic monster with the Snipe ability which allows it to attack the non melee monster closest to the 1st position and Comouflage which makes this card not targetable. It also has Oppress which deals 2x damage to monsters with no attack and Stun which prevents the target to attack when afflicted. |
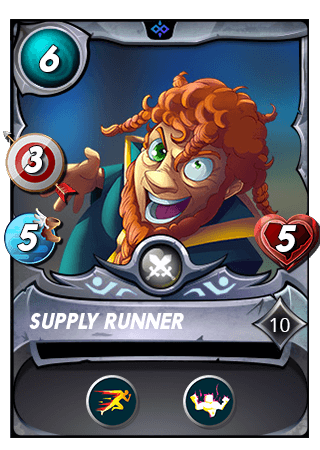 | 6th | 6 | Supply Runner is a Range monster with the Swiftness ability that increases the speed of all ally monsters by +1 and Strengthen which increases the health of all ally monster by +1. |
| Total Cost | 38 |
My Team
| Card | Position | Mana Cost | Description |
|---|---|---|---|
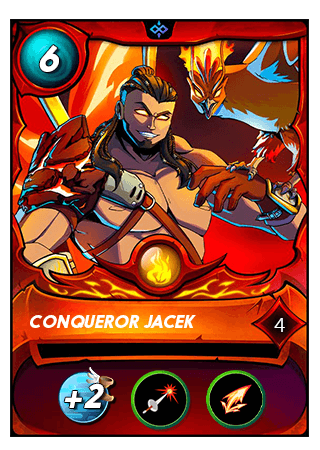 | Summoner | 6 | Conqueror Jacek is a Legendary Fire summoner that gives +2 speed, Pierce and Scattershot ability. Monster Cap: Common- 10, Rare- 8, Epic- 6, Legendary-4 |
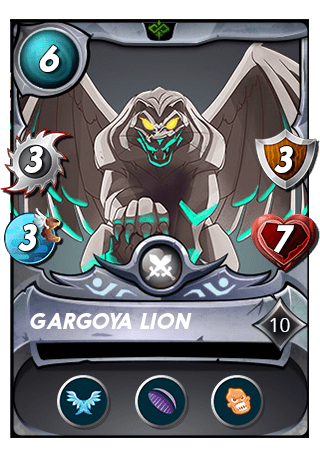 | 1st | 6 | Gargoya Lion is a melee monster with Flying that gives 25% dodge chance, Void that halves magic damage and Enrage that increase melee and speed when health is reduced. |
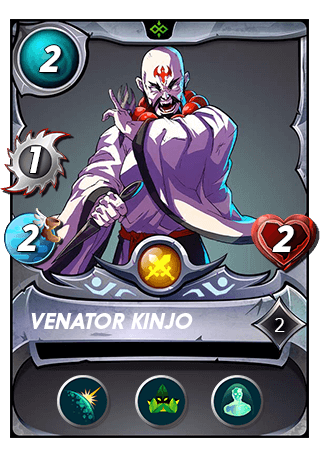 | 2nd | 2 | Venator Kinjo is a melee monster with the Reflection Shield that makes it immune to indirect and reflected damage, Comouflage that makes this card not targetable and Immunity that makes it immune to negative status effects. |
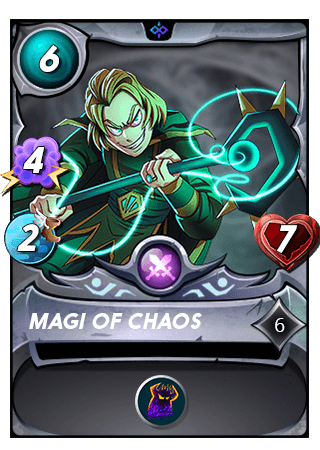 | 3rd | 6 | Magi of Chaos is a magic monster with the Oppress ability which deals double damage on monsters with no attack. |
 | 4th | 6 | Molten Ash Golem is a range monster and is the featured monsters for this week's battle challenge with Close Range ability that allows this card to attack at 1st position, Weaken that reduce the health of all opponent monsters by -1 and Demoralize that reduce the melee of all opponent monsters by -1. |
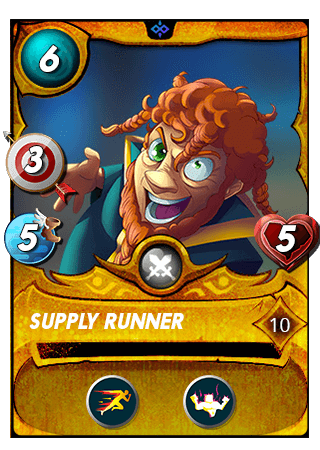 | 5th | 6 | Supply Runner is a Range monster with the Swiftness ability that increases the speed of all ally monsters by +1 and Strengthen which increases the health of all ally monster by +1. |
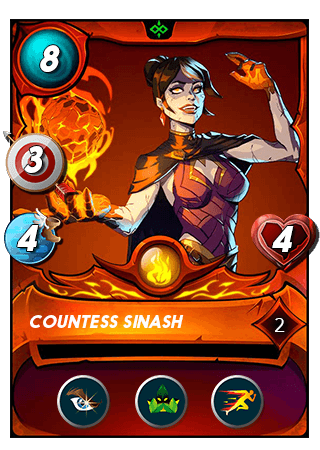 | 6th | 8 | Countess Sinash is a Range monster with the Opportunity which allows this card to attack the monster with the lowest health, Comouflage that makes this card untargetable and Swiftness ability that increases the speed of all ally monsters by +1. |
| Total Cost | 40 |
Battle Phase
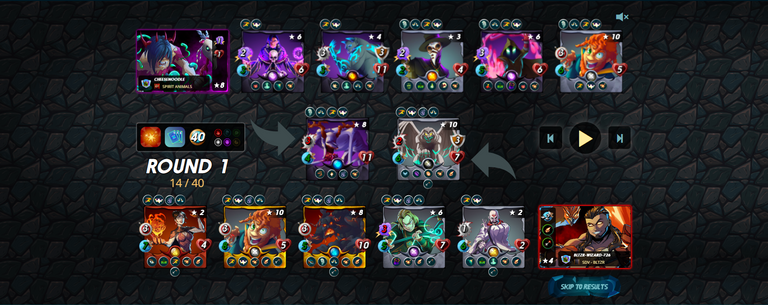
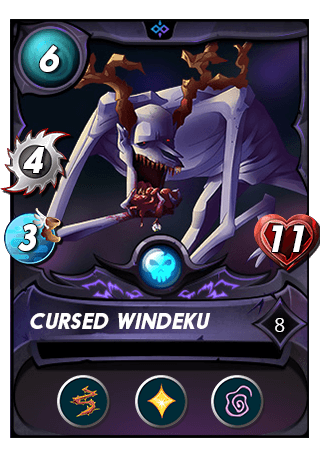
This battle was limited on only Fire, Life and Death Element monsters but because of the Evens Stevens rule set, the options for a team were further limited to only even mana monsters then there is the Explosive Weaponry which gives Blast ability on all monsters. My opponent uses Thaddius Brood for the summoner then with the monster's Cursed Windeku which is followed by Revealer with the Reflection Shield ability which makes this card immune to Blast damage. For some reason, Harklaw was placed on the 3rd when this card cannot attack on this position then followed by Doctor Blight and Magi Necrosi which both have the Comouflage which makes it not targetable but can received damage from indirect attacks and finally with Supply Runner which increases both the speed and health of the team by +1.
I, on the otherhand, decided to go with a Fire team with Conqueror Jacek that gives me + 2 speed and will give me higher chance to evade melee and range attacks as well as be the first one to attack. I use Gargoya Lion for my Tank as it have the Flying ability which gives this 25% dodge chance against melee and range monsters and Void to reduce magic damage then when it recieves damage on health, its speed and melee damage will increase because of the Enrage. This was followed by Venator Kinjo that even though cannot attack on this position, still have the Reflection Shield ability which makes it immune from Blast damage plus it has the Comouflage which makes this card not targetable. On the 3rd position was Magi of Chaos followed by Molten Ash Golem which will be the reserve cards that can attack at the 1st position when all my melee monsters were defeated. Finally, I have Supply Runner and Countess Sinash with the Swiftness ability to increase the speed of my team so that they can attack first.
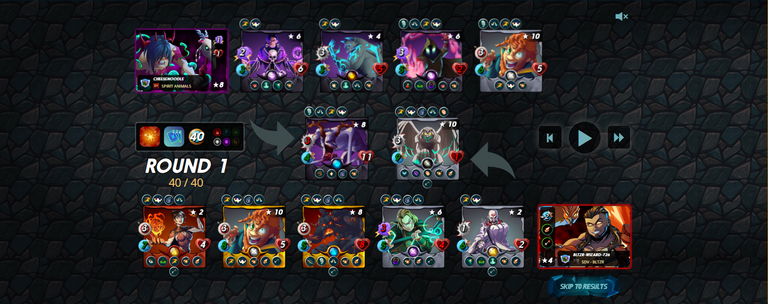
Through the first round, by attacking Harklaw, Supply Runner and Countess Sinash was able to put an end to Doctor Blight because of the Blast damage but Gargoya Lion was close on being defeated on the first round. Magi of Chaos and Molten Ash Golem also received damage because of the Snipe from magi Necrosi which was also down to 2 health.

Round 2 started with Gargoya Lion self- destructing by attacking Cursed Windeku and suffering from Thorns damage but our offensive does not stop there as my Supply Runner attacks the opponents which also causes for Magi Necrossi to suffer damage and get defeated but retaliates by attacking Venator Kinjo. The attack from Molten Ash Golem put's an end to Cursed Windeku but Magi of Chaos got beaten when Revealer attacks, ending the round with Molten Ash Golem to be at the 1st position.
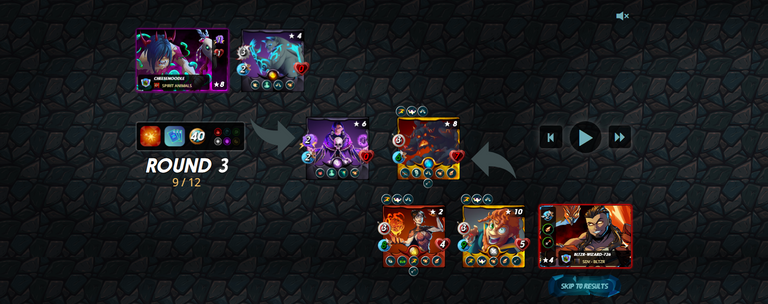
Round 3 marks as the final round of this battle as Molten Ash Golem deals the final blow, defeating both Revealer and Harklaw.
Here is a replay of the battle which at you can watch at 3speak or in Splinterlands.
Did your Strategy Work?
My strategy works well within this setup as the Scattershot from Conqueror Jacek allows the Blast damage to spread out and within my opponent and Piercing deals any excess damage on their health. Furthermore, the use of Molten Ash Golem here proves to be the right choice since it comes to the point that it was placed on the 1st position and can still attack because it has the Close Range ability.
Do You Like Molten Ash Golem?
I am more of a magic man than a range man because they cannot attack on the first position but since Molten Ash Golem is a card that I can at this position and works as tank, then it is a monster that I will consider to use during battles. it might be a little slow but with some support with other cards, it's weakness that is it's speed can be improved.
What will you try differently next time?
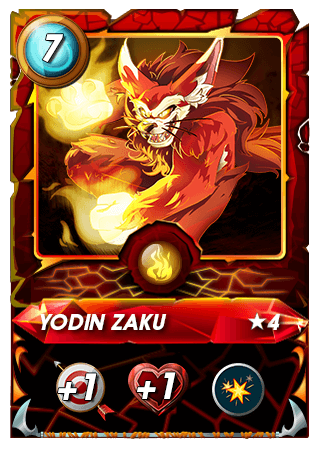 |  | 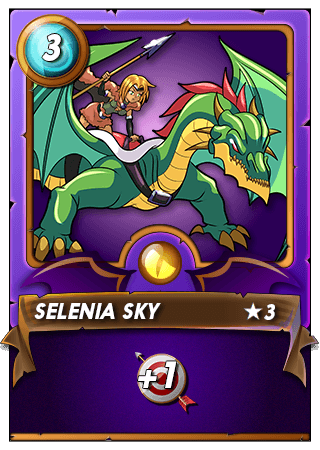 | |
Dragon Element is not available within my battle this time but I would like to use it together with the help of Archmage Arius and Selenia Sky to have more range damage on Explosive Weaponry rue sets but if not, then I would like to go and just spam Yodin Zaku as long as the Fire element is present.

Previous Battles


All the image that I edited here belongs to Splinterlands.
Footer and divider image made by splintercell-01
Card abilities and rulesets from Splintercards
Thank you for reading my post. If you're interested to play Splinterlands, you can join by clicking this the images below and follow me on Twitter and 3Speak for timely Splinterlands updates.
 |  |  |
thanks
https://twitter.com/1365116763730448388/status/1598685629810085888
The rewards earned on this comment will go directly to the people( @saydie ) sharing the post on Twitter as long as they are registered with @poshtoken. Sign up at https://hiveposh.com.
Click on the badge to view your board. Click [here](https://hivebuzz.me/rankingWC) to check your ranking.
Thank you to our sponsors. Please consider supporting them.
Check out the last post from @hivebuzz:
Click on the badge to view your board. Click [here](https://hivebuzz.me/rankingWC) to check your ranking.
Thank you to our sponsors. Please consider supporting them.
Check out the last post from @hivebuzz:
@tipu curate
Upvoted 👌 (Mana: 15/55) Liquid rewards.
Click on the badge to view your board. Click [here](https://hivebuzz.me/rankingWC) to check your ranking.
Thank you to our sponsors. Please consider supporting them.
Check out the last post from @hivebuzz:
Thanks for sharing! - @zallin

Amazing content, keep it up!
Thank you! Your continued support motivates me to keep improving my content.