Battle Mage Secrets: Counterspell

COUNTER SPELL

Hello mage to another installment of the Battle mage secrets. Last week, we buffed up the ranged units but this unit we have switched focus to the magic units but they are at a disadvantage. The magic units can be summoned but they will always get their attacks reflected to them because every unit has been granted the Magic Reflect ability. How will the magic units perform if there are any? Let's find out.

The Combat Rules
| COMBAT RULES |  |
|---|---|
| MODIFICATIONS | COUNTERSPELL, REVERSE SPEED, FIRE AND REGRET |
| ACTIVE SPLINTERS | FIRE, WATER, EARTH,LIFE, DRAGON |
Well, well, well. I have to reconsider using magic and ranged units with this combination of rulesets. Just great. This battle would require me to use some nice melee units that are not so fast normally. I have just the team, for that.

LINEUP
| SUMMONER |  |
|---|---|
| NAME | TARSA |
| SPLINTER | FIRE |
| EDITION | CHAOS LEGION |
| RARITY | RARE |
| LEVEL | 4 |
| MANA COST | 4 |
| BUFFS | +1 MELEE ATTACK, +1 HEALTH |
I will not be using any ranged or magic units so I have decided that Tarsa would be a great summoner for an all melee attack team. Let's see how the arrogant summoner performs.
| UNIT 1 | 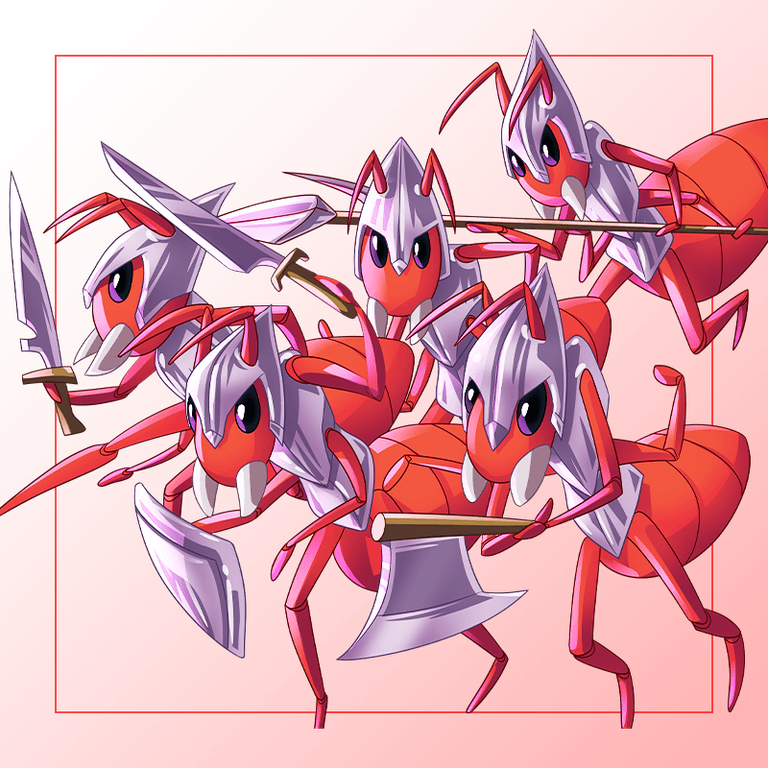 |
|---|---|
| NAME | ANTOID PLATOON |
| SPLINTER | FIRE |
| EDITION | CHAOS LEGION |
| RARITY | COMMON |
| LEVEL | 5 |
| MANA COST | 4 |
| ATTACK | 2X MELEE ATTACK |
| SPEED | 2X |
| HEALTH | 4X |
| TOUGHNESS | 4X |
| ABILITIES | SHIELD |
First on the line is Antoid Platoon. This unit is a good tank for low mana battles like this one. The Antoid Platoon gets overlooked a lot but his shield ability can be really helpful in some situations.
| UNIT 2 |  |
|---|---|
| NAME | FLAME MONKEY |
| SPLINTER | FIRE |
| EDITION | REWARD |
| RARITY | COMMON |
| LEVEL | 5 |
| MANA COST | 1 |
| ATTACK | 2X MELEE ATTACK |
| SPEED | 3X |
| HEALTH | 1X |
| TOUGHNESS | 0 |
| ABILITIES | REPAIR |
Flame Monkey is in the second position just like Bulldog advised in one of his old videos. This unit is going to keep repairing the Antoid Platoon's armor making the tank harder to get through.
| UNIT 3 |  |
|---|---|
| NAME | ORELLA ABADON |
| SPLINTER | FIRE |
| EDITION | GLADIUS |
| RARITY | COMMON |
| LEVEL | 2 |
| MANA COST | 2 |
| ATTACK | 2X MELEE ATTACK |
| SPEED | 3X |
| HEALTH | 3X |
| TOUGHNESS | 0 |
| ABILITIES | SNEAK |
I will be using multiple sneak attack units and I will be starting with this Gladius card. The bloodlust may work against him in terms of speed but he is still crucial to thus team.
| UNIT 4 | 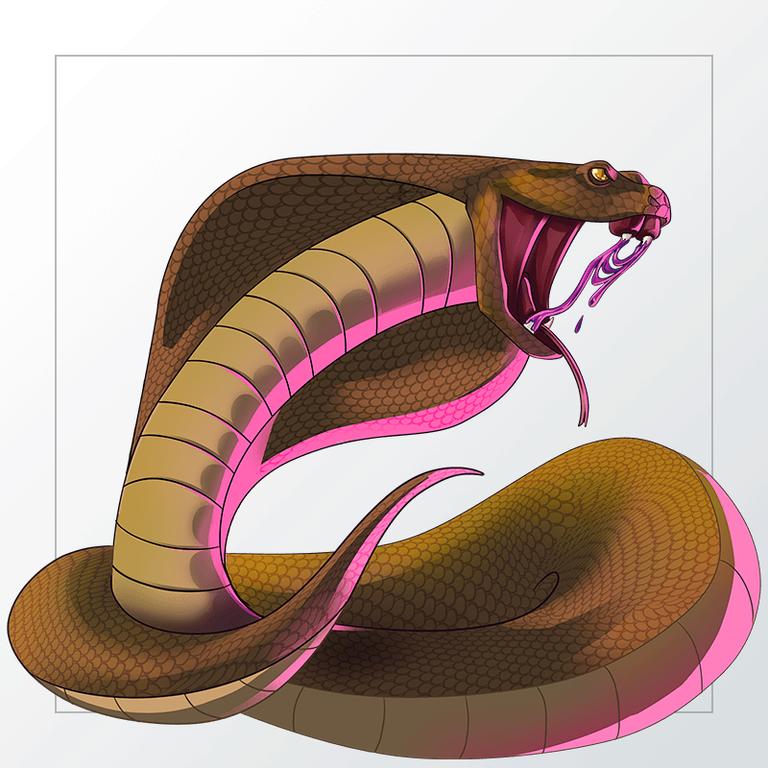 | |
|---|---|---|
| NAME | URAEUS | |
| SPLINTER | NEUTRAL | |
| EDITION | REWARD | |
| RARITY | EPIC | |
| LEVEL | 3 | |
| MANA COST | 3 | |
| ATTACK | 2X MELEE ATTACK | |
| SPEED | 3X | |
| HEALTH | 3X | |
| TOUGHNESS | 1X | |
| ABILITIES | SNEAK | \ |
Next we have the venomous Uraeus but without the venom at level 3. This unit is simply part of the Sneak Attack Force, "SAF"😆
| UNIT 5 | 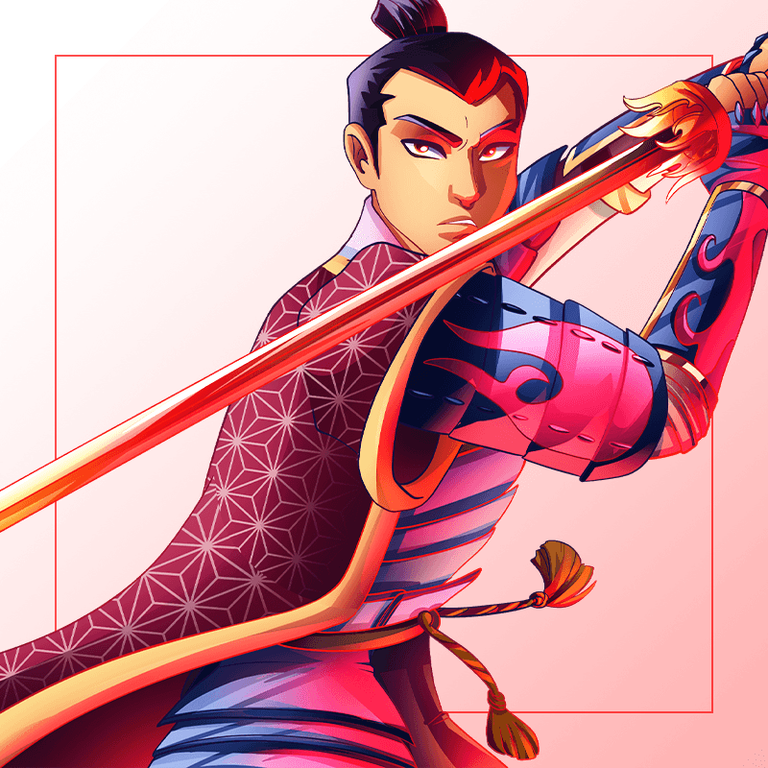 |
|---|---|
| NAME | TENYII STRIKER |
| SPLINTER | FIRE |
| EDITION | CHAOS LEGION |
| RARITY | RARE |
| LEVEL | 4 |
| MANA COST | 5 |
| ATTACK | 3X MELEE ATTACK |
| SPEED | 3X |
| HEALTH | 6X |
| TOUGHNESS | 0 |
| ABILITIES | SNEAK, DODGE |
Next on the force is the impressive Tenyii Striker. This guy has sneak but he also has Dodge which may be useful if the last unit gets killed and the Tenyii Striker gets attacked by a sneak unit.
| UNIT 6 | 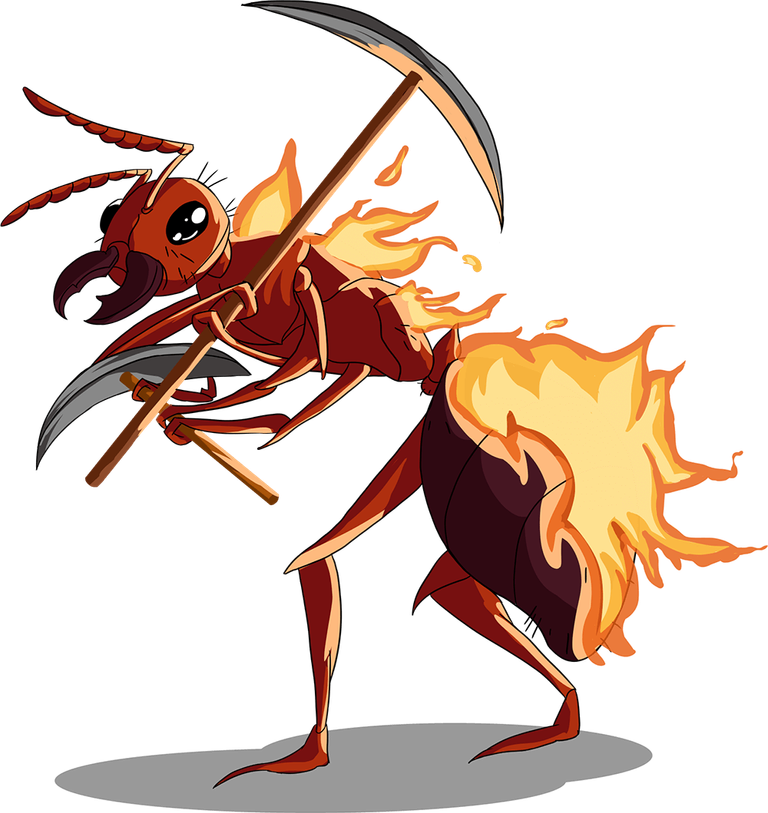 |
|---|---|
| NAME | ANT MINERS |
| SPLINTER | FIRE |
| EDITION | REWARD |
| RARITY | COMMON |
| LEVEL | 5 |
| MANA COST | 2 |
| ATTACK | 1X MELEE ATTACK |
| SPEED | 2X |
| HEALTH | 2X |
| TOUGHNESS | 1X |
| ABILITIES | SCAVENGER |
Of course, we can't forget our dummy unit. This 2 mans dummy unit is a scavenger and a good unit to put at the back to absorb initial hits form sneak.

The Battle Highlights
| My Element | Enemy's Element |
|---|---|
 |  |
Round 1:
- Tarsa and her evil double start by buffing up there units. There are only melee units on the field as anticipated.
- Grum starts with an attack on the Antoid Platoon which retaliates immediately.
- Tenyii Striker kills Radiated Scorcher after Orella misses.
- The enemy uses Orella and Uraeus to weaken my Ant Miners.
- My Uraeus destroys his double's armor.
Round 2:
- Grum starts again with an attack on the Antoid Platoon but the Flame Monkey restores the platoon's armor.
- The Platoon hits Grum and destroys his armor.
- Orella and Tenyi Striker kill the enemy's Uraeus.
- The enemy's Orella kills the Ant Miners and gets his bloodlust activated.
- Uraeus ends the round by greatly weakening Gladius unit.
*Round 3:
- Again, Grum tries to wound the Antoid Platoon but the shield is just repaired.
- The Antoid Platoon retaliates.
- Orella kills his evil double on the other side and activates his bloodlust.
- Tenyii Striker takes out the idle Fiend.
- Uraeus damages Grum who is the last unit on the other side at this point.
Round 4:
- Desperate, Grum tries again to wound the Antoid Platoon but fails.
- The Platoon and Tenyi Striker take down the monstrous Grum and secure victory for the team.
CLICK HERE TO WATCH THE BATTLE

CONCLUSION
I would say that my plan in this battle worked quite well. I expected the enemy to use sneak or opportunity attacks so I decided that Antoid Platoon would be a great tank especially with some support that came from Flame Monkey. Even Grum couldn't get through the tank.
The sneak attacks were also the best offensive way to approach this battle. It was really easy to take down the units at the back with multiple sneak attacks.
The enemy's sneak attacks were weakened a little thanks to the scavenger at the back who gained one health that helped to protect Tenyii Striker from being targeted.
All in all, everything worked out fine. Only one Tarsa can win after all.

That's All For Today, Warrior!
- Unless otherwise stated, all images used in this post are from the Splinterlands game.
- All GIFs used are screen recordings from the Spinterlands game edited with GIPHY.
- All dividers were made by me with Canva.
One more thing.
I'm glad you made it this far in the post. If you enjoyed my post please drop a comment or just say hi so we can be friends. Also, don't be left behind. Join Splinterlands by clicking this link and claim your piece of this amazing blockchain game. I'll see you on the other side, mage!


Checkout our BDVoter Daily Hive Showcase & Participate into our Daily giveaway to win various prize.
Thanks for sharing! - @yonilkar

Congratulations @theawesononso! You received a personal badge!
Participate in the next Power Up month to get another one!
You can view your badges on your board and compare yourself to others in the Ranking
Check out our last posts:
Congratulations @theawesononso! You received a personal badge!
You can view your badges on your board and compare yourself to others in the Ranking
Check out our last posts: