[ESP-ING] Fanart Centauri Mage Medallion || Splinterlands Art Contest Week 279
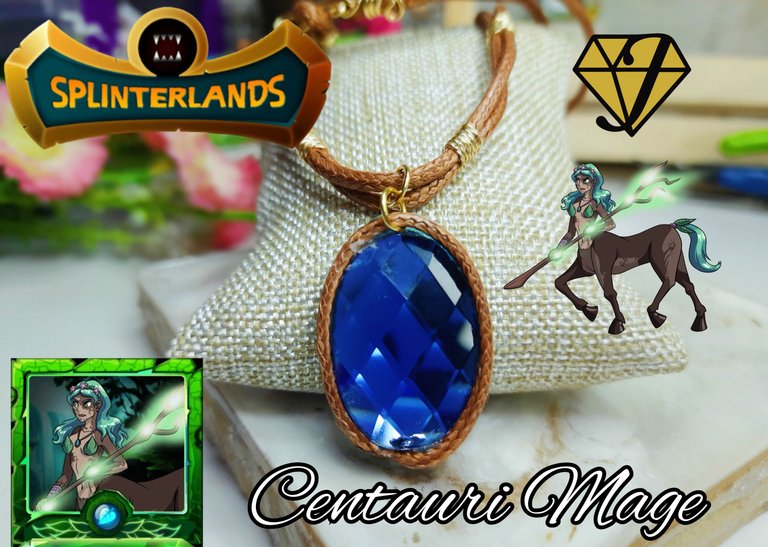


Un saludo, mi gente maravillosa de @jewelry hoy vengo a participar en el concurso #279 de Splinterlands, para ello realice un "Collar de Medallon", motivado al personaje que lleva el nombre de "Centauri Mage" este fanart cautivo mi atención y quise recrear una parte de alguna manera, y se me ocurrio que podia hacer ek medallon que este fanart lleva puesto.
Centauri Mage, esta carta posee posee return fire, con la cual devuelve daño parcial a los monstruos de ataque cuerpo a cuerpo que lo ataquen, en el quinto nivel adquiere repair con la cual puede reparar parcialmente la armadura del monstruo amigo que haya recibido el mayor daño en cada ronda, esto es genial a la hora de de jugar.
En esta ocasión quise recrear el medallon que posee este fanart y lo realicé con un medallon azul que asemeja al que ella tiene, y el collar con piel de serpiente, y lo decore con alambre entorchado, les invito a ver este paso a paso creativos.

Greetings, my wonderful people of @jewelry today I come to participate in the contest #279 of Splinterlands, for this I made a "Medallion Necklace ", motivated to the character named "Centauri Mage " this fanart captivated my attention and I wanted to recreate a part somehow, and it occurred to me that I could make ek medallion that this fanart is wearing.
Centauri Mage, this card has return fire, with which it returns partial damage to the melee attack monsters that attack it, in the fifth level it acquires repair with which it can partially repair the armor of the friendly monster that has received the most damage in each round, this is great when it comes to play.
This time I wanted to recreate the medallion that has this fanart and I made it with a blue medallion that resembles the one she has, and the necklace with snakeskin, and decorate it with twisted wire, I invite you to see this creative step by step.
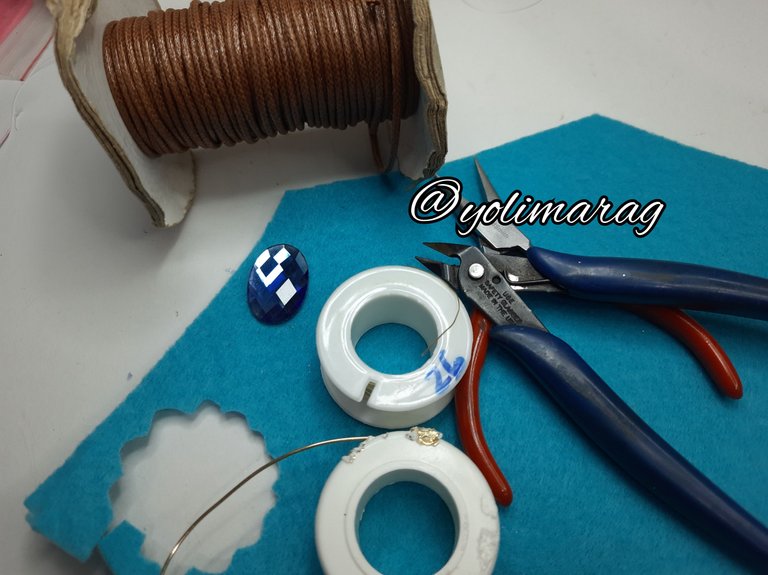
Materiales:
✅️ 70cm de piel de serpiente #2
✅️ 1 Puedra azul tipo medallon
✅️ Fieltro
✅️ Silicón
✅️ Alamve #26 y #18
Materials
✅️ 70cm snakeskin #2
✅️ 1 blue medallion type cane
✅️ Felt
✅️ Silicone
✅️ Alame #26 and #18
Paso a Paso / Step by Step
 |  |  |
|---|
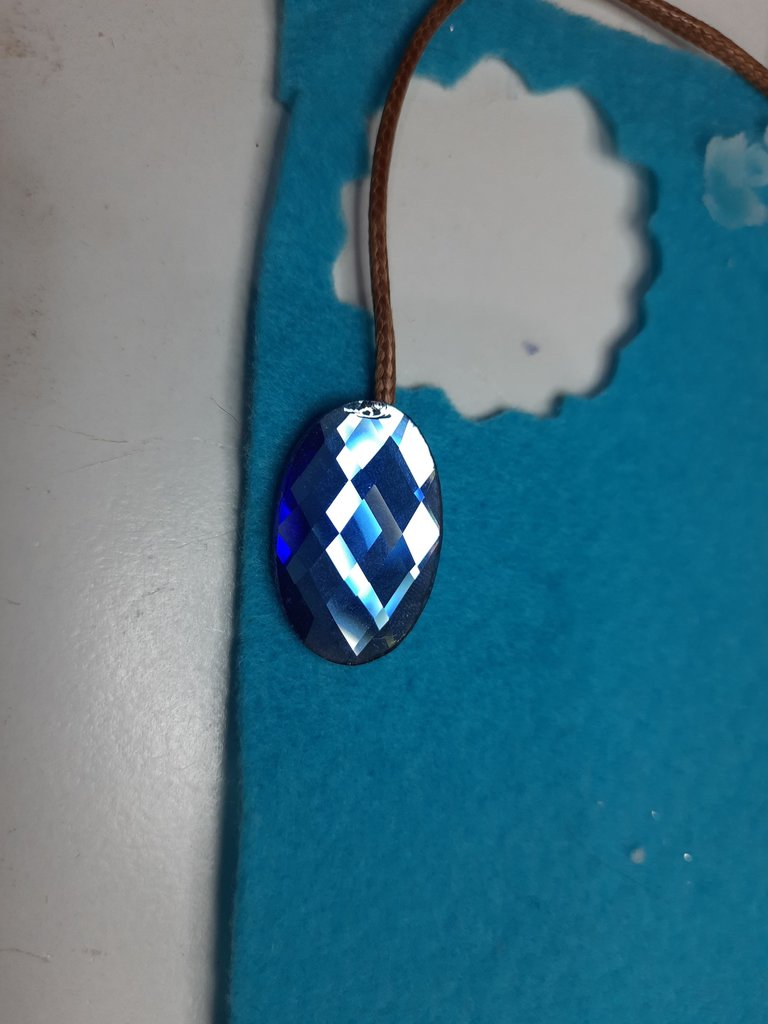
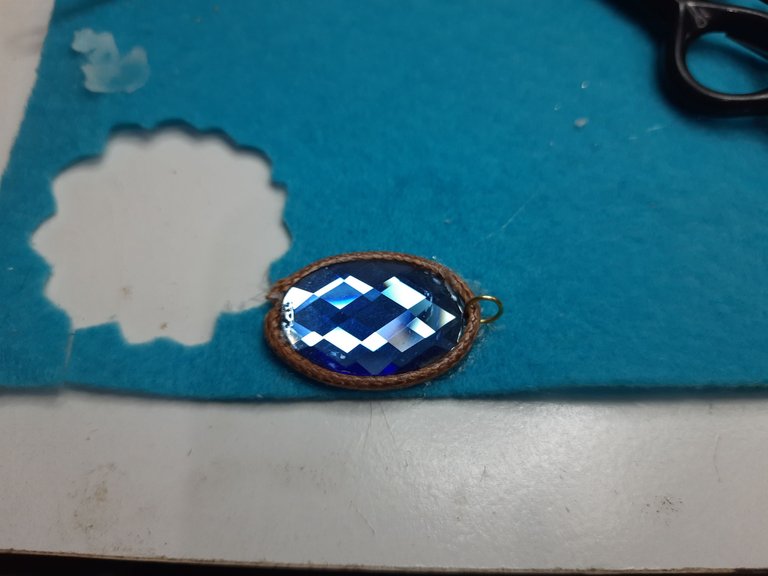
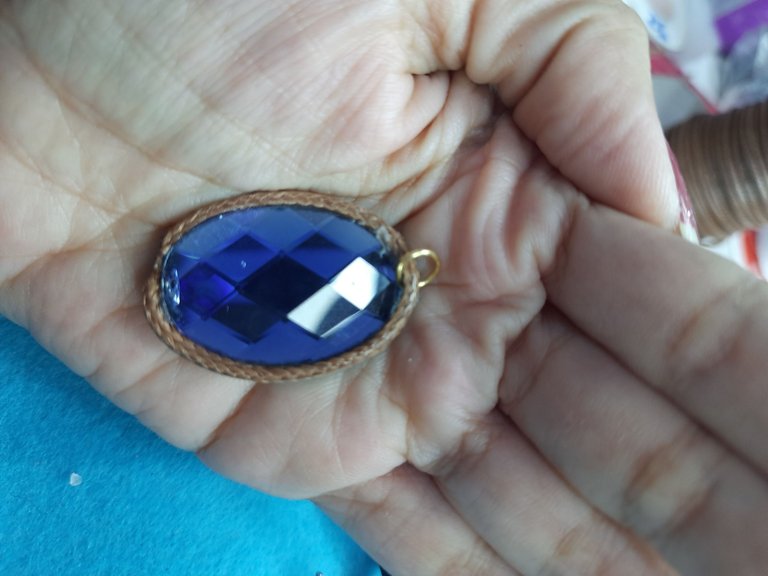
Lo primero que haremos será colocar nuestra piedra con un poco de piel de serpiente la cual introducimos por debajo, pegamos la piedra con la piel de serpiente y el fieltro, luego con el silicón alrededor de la piedra vamos a ir pegando nuestra piel de serpiente y en el medio en la parte superior colocaremos una argolla y en la parte de abajo es que cerraremos, podemos quemar al recortar nuestra figura nos queda un medallón y podemos quemar las puntas que queden como recién cortadas.
The first thing we will do is to place our stone with a little snakeskin which we introduce underneath, we glue the stone with the snakeskin and felt, then with the silicone around the stone we will be sticking our snakeskin and in the middle at the top we will place a ring and at the bottom is that we will close, we can burn to cut our figure we have a medallion and we can burn the tips that are as freshly cut.
 |  |
|---|
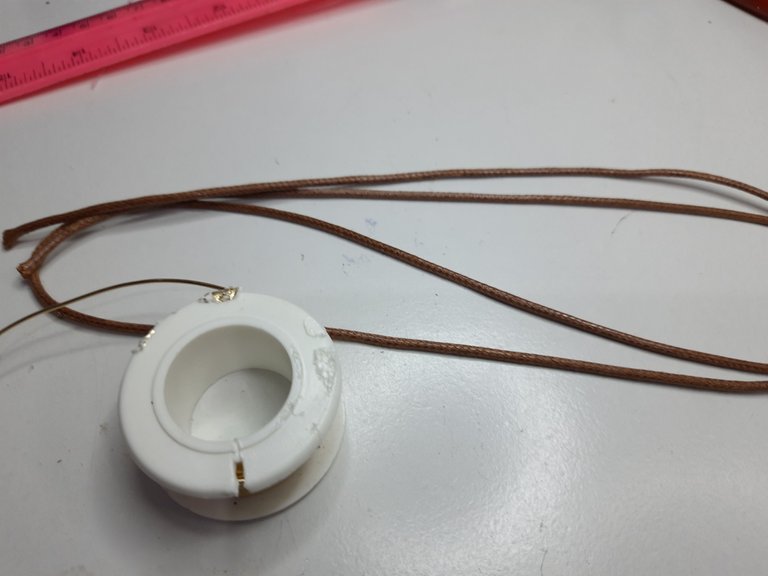
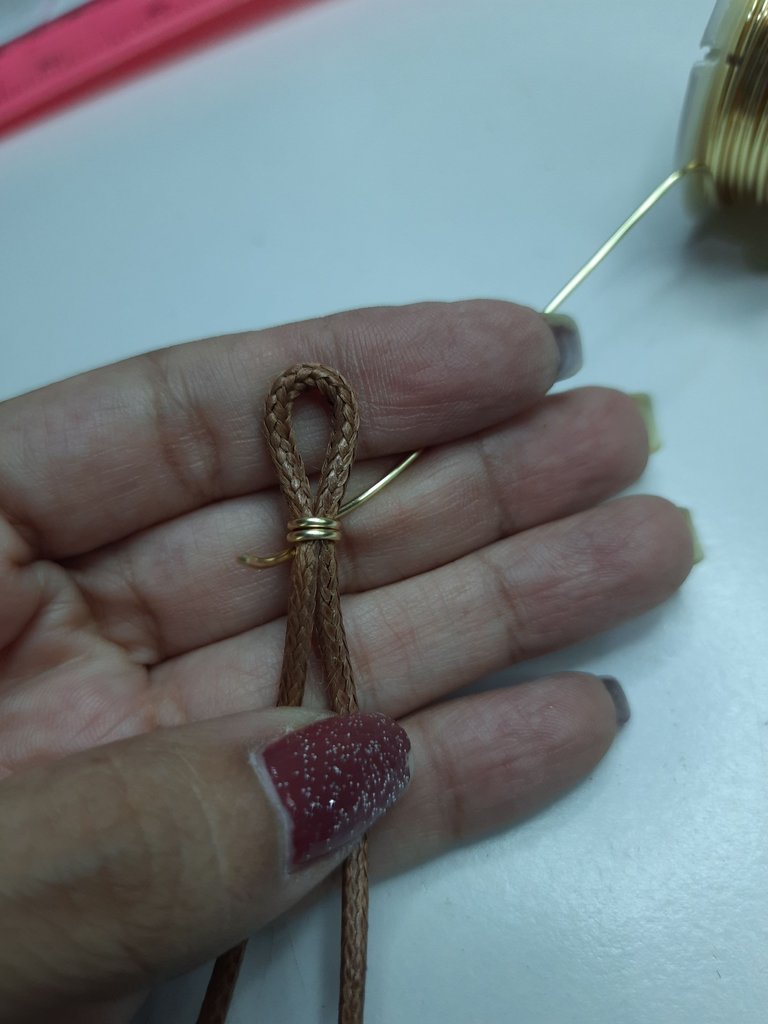
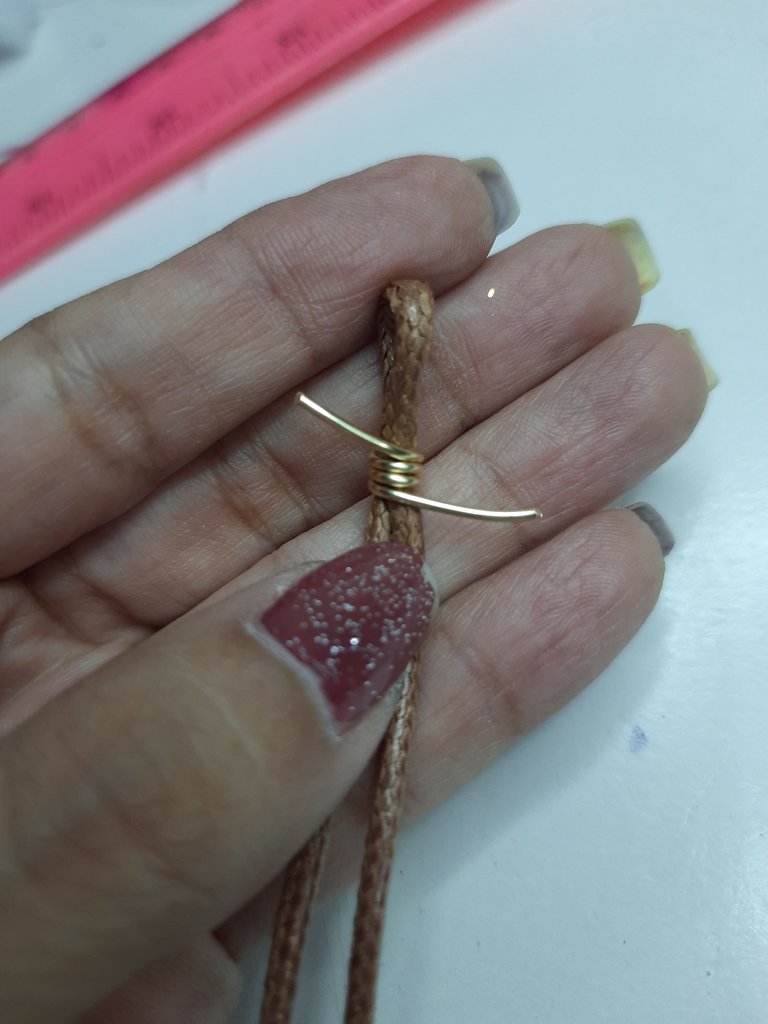
Tomaremos nuestra piel de serpiente doblada a la mitad los 70 cm, dejando aproximadamente un 1.5 centímetro, vamos a tomar nuestro alambre número 18 y daremos unas tres vueltas y vamos a cortar nuestro alambre dejando un centímetro de ambos lados.
We will take our snake skin folded in half the 70 cm, leaving approximately 1.5 centimeter, we will take our wire number 18 and we will give about three turns and we will cut our wire leaving one centimeter on both sides.
 |  |
|---|
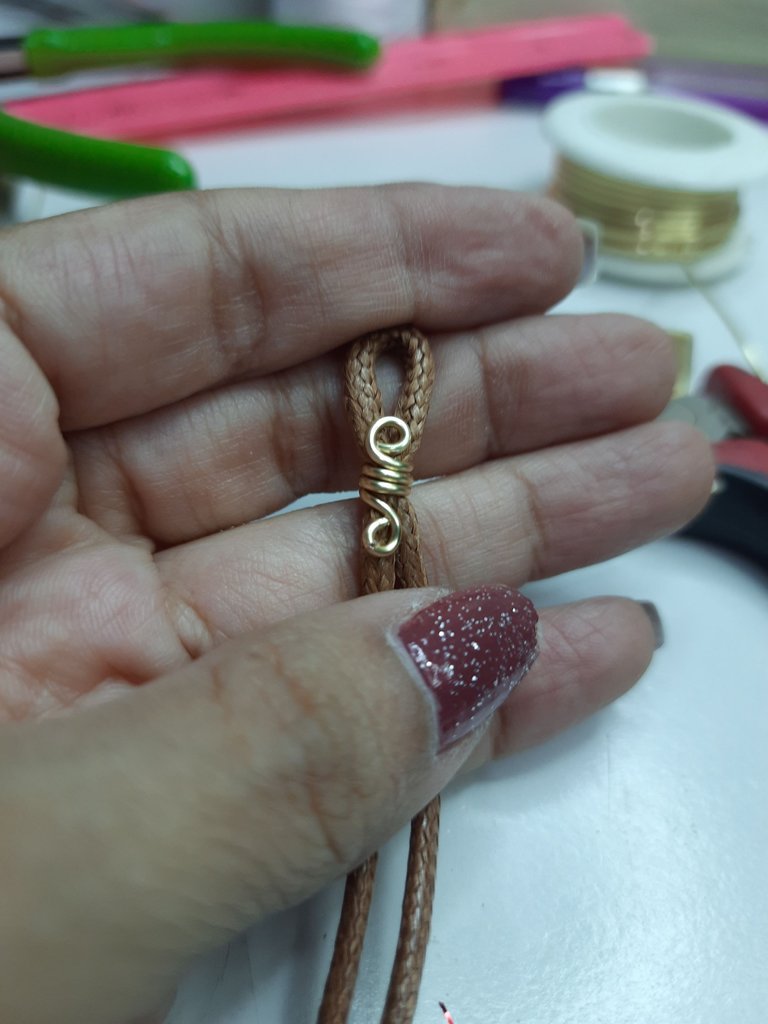
Vamos a hacer unos pequeños aros en la parte de arriba y en la parte de abajo de los alambres que dejamos para darle un estilo diferente a nuestras puntas.
We are going to make some small rings at the top and at the bottom of the wires we left to give a different style to our tips.
 |  |  |
|---|
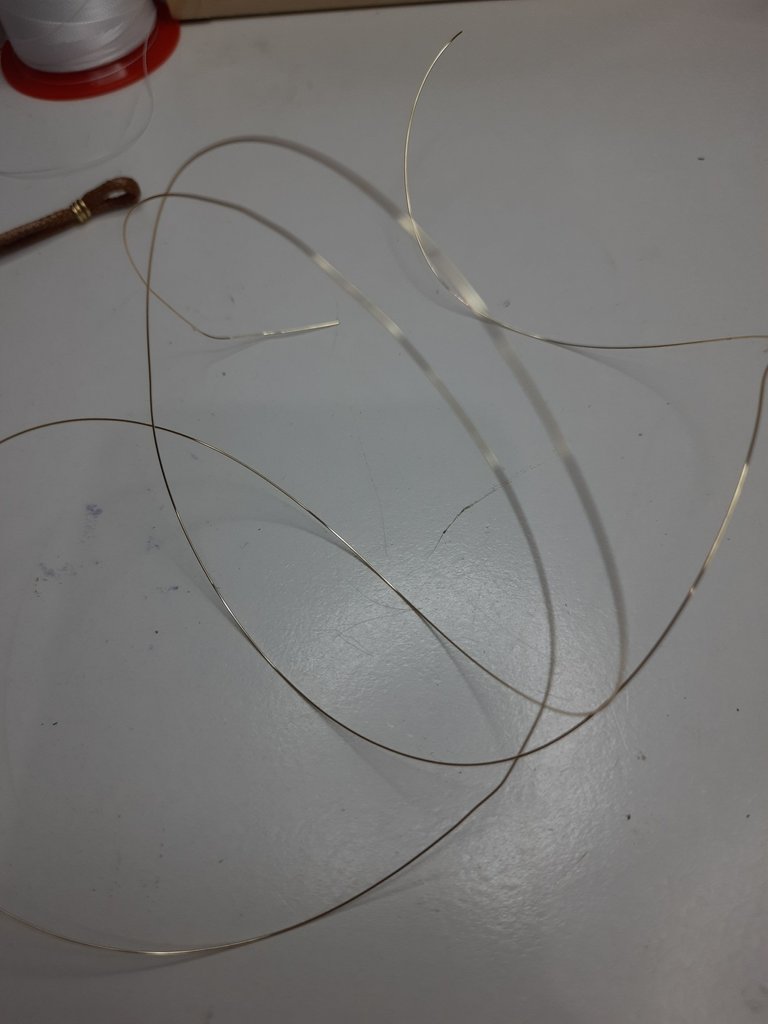
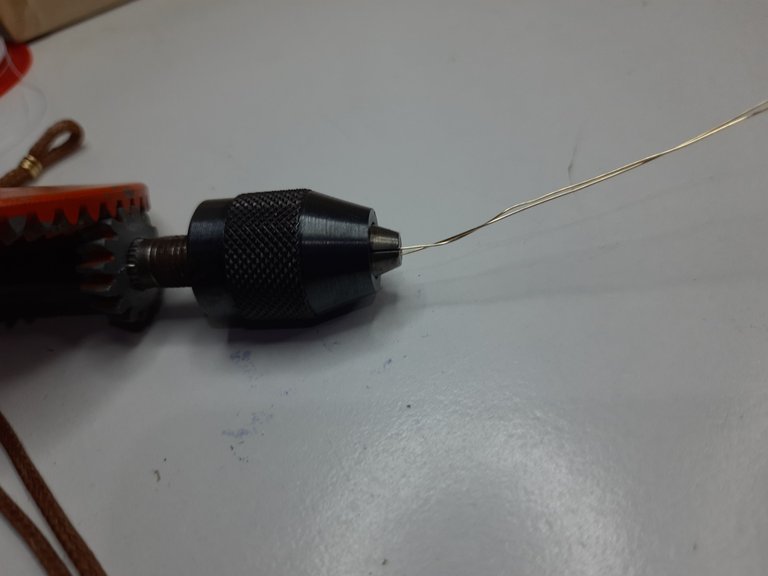
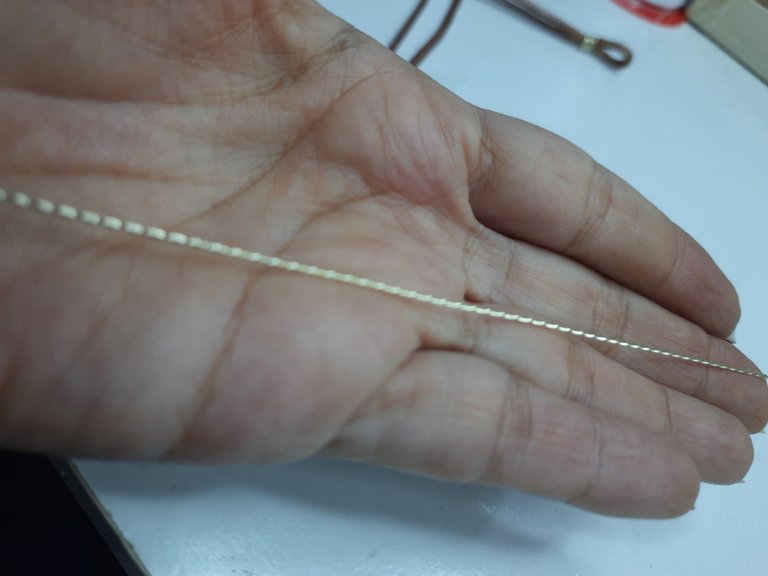
Ahora tomaremos un metro de alambre número 26 y vamos a doblarlo a la mitad, con nuestra herramienta vamos a entorchar nuestro alambre de manera que quede Unido y entrelazado.
Now we will take a meter of wire number 26 and we will bend it in half, with our tool we will twist our wire so that it is joined and intertwined.
 |  |
|---|
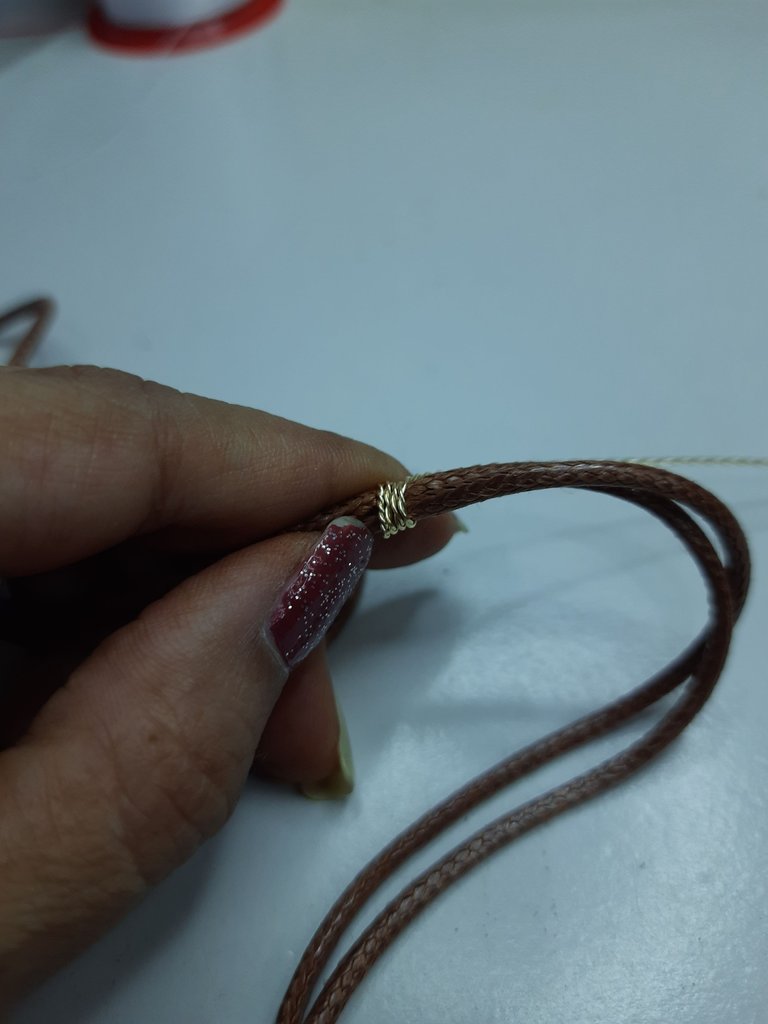
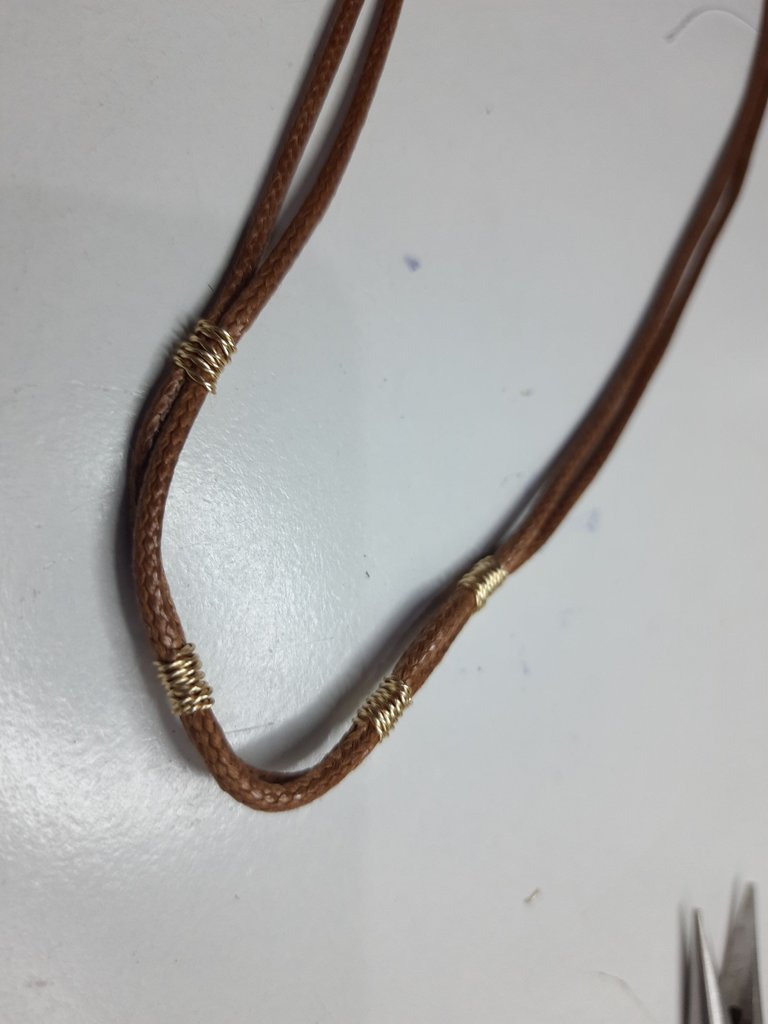
Vamos a colocar nuestro alambre de manera envolvente en nuestro collar, dando siete vueltas aproximadamente de cada lado, midiendo aproximadamente dos dedos de cada lado desde el centro, y luego unos tres o cuatro dedos hacia arriba.
We are going to place our wire in a wraparound manner on our necklace, making approximately seven turns on each side, measuring approximately two fingers on each side from the center, and then about three or four fingers up.
 |  |  |  |
|---|
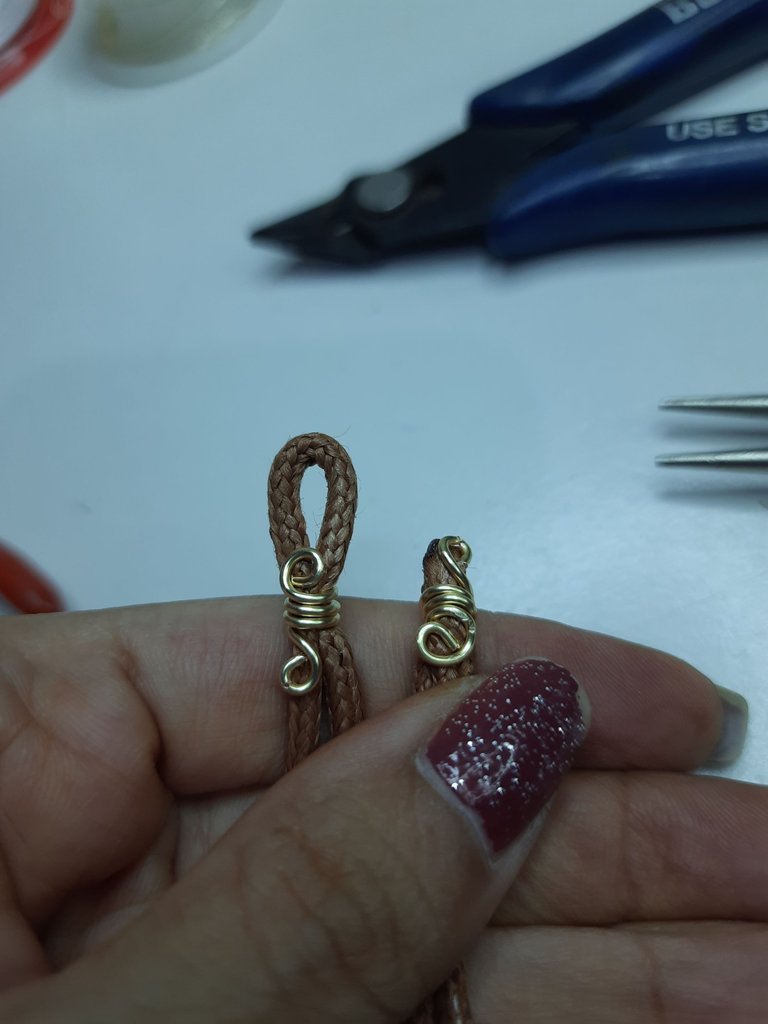
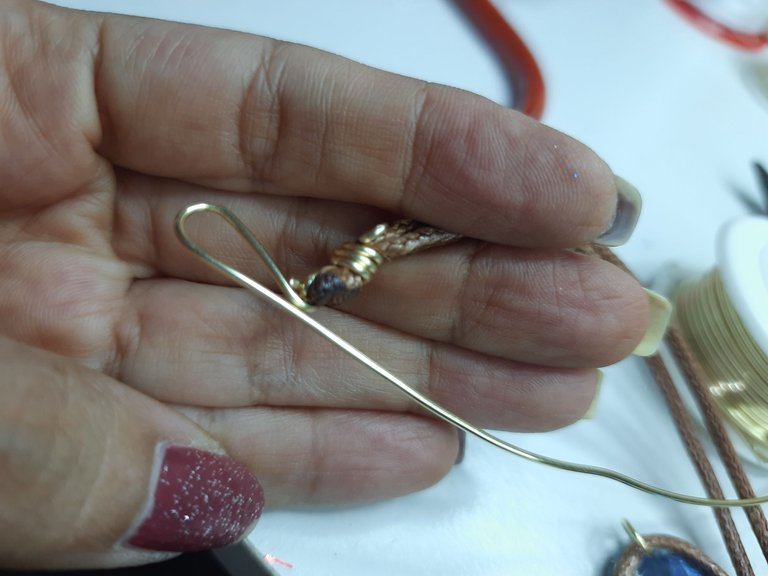
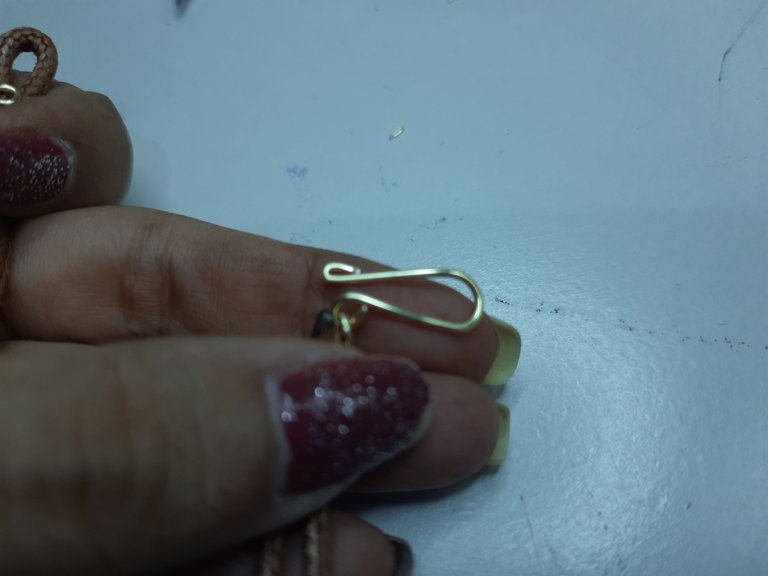
Por último vamos a hacer las terminaciones de las puntas que faltan, hacemos lo mismo que al principio y haremos también nuestro trancadero con alambre el número 18 colocaremos la punta de nuestro alambre por uno de los orificios de las terminaciones que acabamos de realizar y con la pinza redonda hacemos un Loop y luego también contando un centímetro y medio a dos centímetros vamos a doblar en forma circular con nuestra pinza, cortamos.
Luego vamos a hacer otra vez un look y vamos a aplanarlo un poco con pinza plana, ya hemos terminado de hacer el trancadero ahora vamos a colocar una argolla en nuestro medallón para guindarlo a nuestro collar.
Finally we are going to make the endings of the missing ends, we do the same as at the beginning and we will also make our trancadero with wire number 18 we will place the tip of our wire through one of the holes of the endings that we have just made and with the round pliers we make a Loop and then also counting one and a half to two centimeters we will bend in a circular shape with our pliers, we cut it.
Then we are going to make a look again and we are going to flatten it a little with flat pliers, we have already finished making the locket now we are going to place a ring in our medallion to hang it to our necklace.
Resultado: / Result:
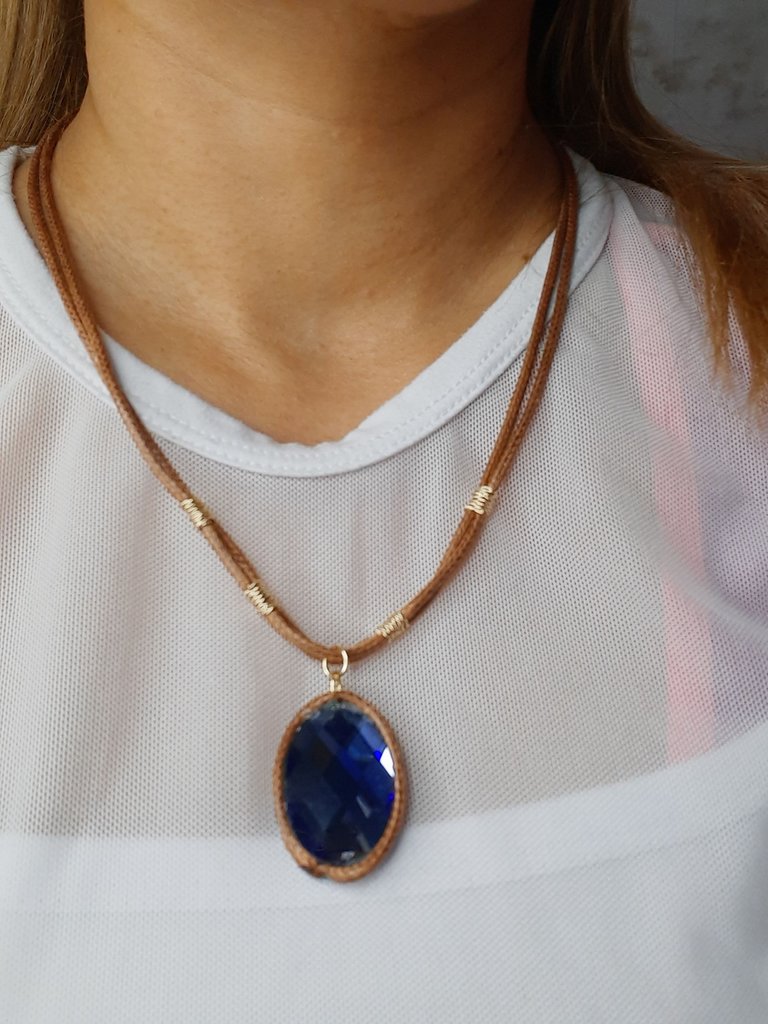
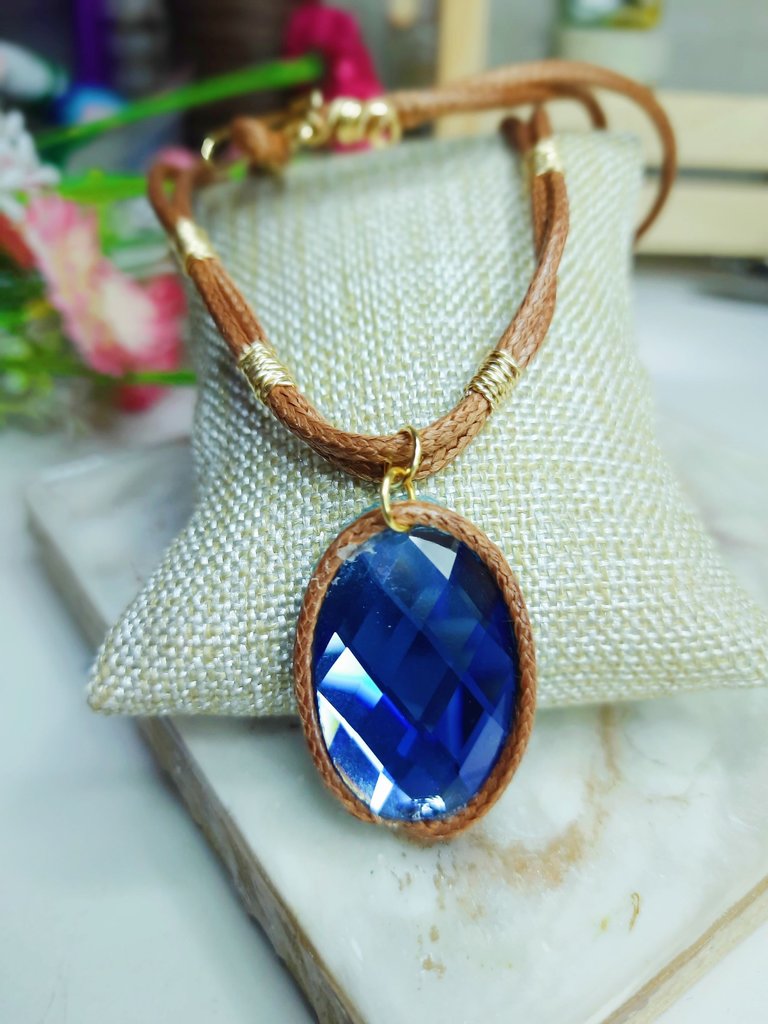
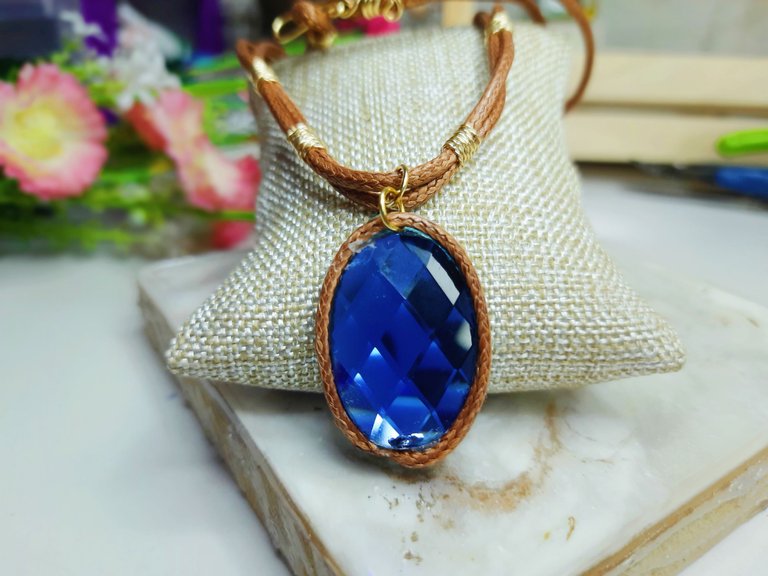
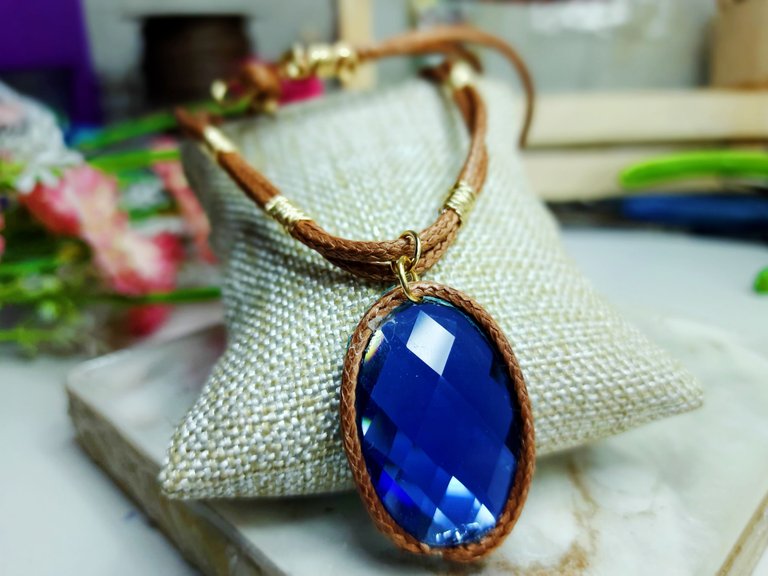
Y así ha quedado nuestro sencillo tutorial de nuestro fanart Centauri Mage, espero que sea de su agrado, tanto como me ha gustado a mi esta pequeña y hermosa creación y mi participación al concurso de arte de @Splinterlands
Gracias por estar aquí y ser parte de mi blog y de la comunidad @jewelry 😉
And so is our simple tutorial of our Centauri Mage fanart, I hope you like it, as much as I liked this beautiful little creation and my participation to the @Splinterlands art contest.
Thank you for being here and being part of my blog and the @jewelry community 😉.

Les invito a suscribirse a la comunidad de @Jewelry y poder así mostrar todas sus creaciones de accesorios, tanto de adultos como de niños; nos encanta ver y apoyar a todos los artesanos, manualistas y orfebres, puedes crear accesorios para damas, caballeros y niños, así que tu creatividad es el límite 😉
I invite you to subscribe to the @Jewelry community to showcase all your accessory creations for both adults and children; we love to see and support all the artisans, crafters and goldsmiths, you can create accessories for ladies, gents and kids, so your creativity is the limit 😉.
"Los accesorios tienen el poder de hacer sentir a la mujer única y especial"
Accessories have the power to make a woman feel unique and special"
Fotos principal editada con Canva.
Separadores de mi Autoría
Fotos de mi Autoría derechos reservados
Cámara: Samsung M31
Traducido con www.DeepL.com/Translator (versión gratuita)
Photos edited with Canva
Separators by me
Photos by me Author's rights reserved
Camera: Samsung M31
Translated with www.DeepL.com/Translator (free version)


Te quedó muy elegante @yolimarag ese color está espectacular a mí me gustó mucho tu collar, saluditos, feliz noche 🌹
Gracias querida @nhaydu el color es de mis favoritos 🤩
This is so awesome and very straightforward to make, I will try this very soon
If it is simple and you can have a nice piece
Esta presioso amiga, buen trabajo.
Gracias amiga 🤗
Very nice work
Me encanto la forma en que editaste tu post, la forma en que colocaste las imagenes, quedo muy bonito el collar con la piel de serpiente.
This necklace together with the pendants are too colorful. The charming from the pendants can be used by the character to defeat the enemies.
Wowww amiga, me encantó este accesorio, una grandiosa replica del que adorna el cuello del personaje.
Gran trabajo. Éxitos y suerte en el concurso @yolimarag ✨
!DIY
Gracias amiga por tu apreciación ❤️ me alegra que te guste.
You can query your personal balance by
!DIYSTATSWuaoh! Que delicado ha quedado el proyecto. Felicitaciones amiga.
Gracias amiga me alegra mucho que te guste 💕 😊
Hermoso , bellísimo trabajo como todos los que haces amiga @yolimarag . Bello
Gracias amiga @lupasbra21 me alegra mucho que te gusten 😊
Esto se ve hermoso! Es una replica de la prenda de la foto. De hecho creo que se ve hasta mejor que el del dibujo jejeje qué talento y qué manera de presentarlo, se ve muy bonito en ese escenario.