Splinterlands Fan Art TARSA// WEEK 182 CONTEST ENTRY// DRAWING TIPS

Greetings my fellow summoners!
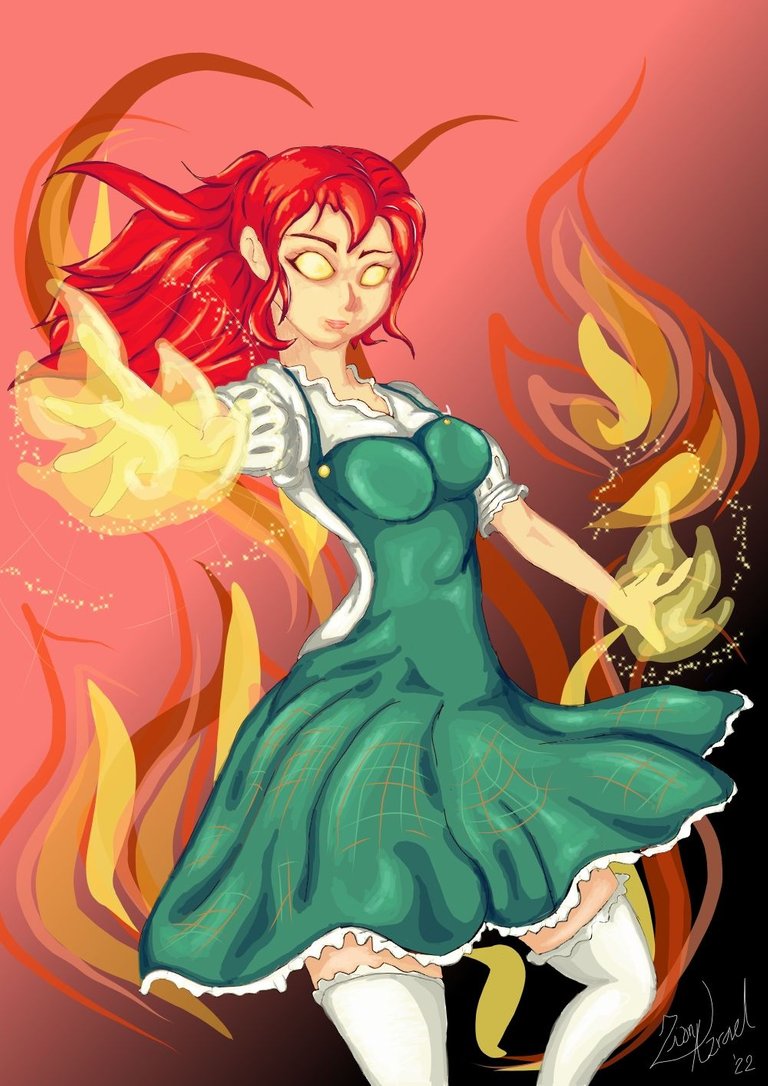
I'm @zionazrael and I am here to day to share to you my new Splinterlands Fan art Inspired by the Chaos Fire Summoner TARSA.I also added a simple Header picture for my post Inspired by the logo of @peakmonsters and a I'm not sure if you call this a Divider with Hive written in the center. All are original drawn by me and I did not used any Font effects for the letter.

Here is my @splinterlands Fan art for Fire Summoner TARSA.
Tools and App Used.
- Android Phone
- Stylus Drawing Pen
- Medibang Android App
My Drawing and Coloring Techniques Reveal
- For Sketching, I also do a sketch with shadows on it to have a clear look of my idea in my drawing.
- For My coloring Process, I always Begin by adding the base color and then putting dark shades near the edges then add Dark solid lines on the other edges for detailing and last is adding Light shades depending on how much light effects I needed to put.
- I sometimes changed the opacity of the brush or the pen to have control of the color and put a better coloration, it also helps to blend the colors better.
I hope this will help my fellow summoners out the who is having trouble it the coloring process😉😉
Drawing Steps
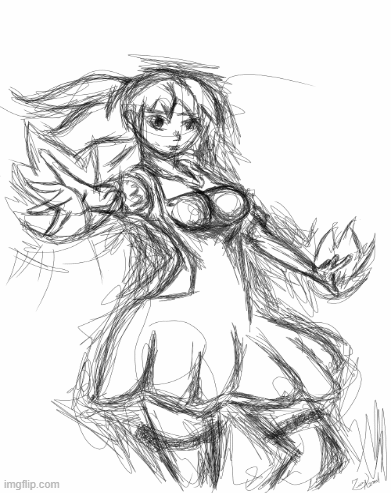
Sketching and Outlining
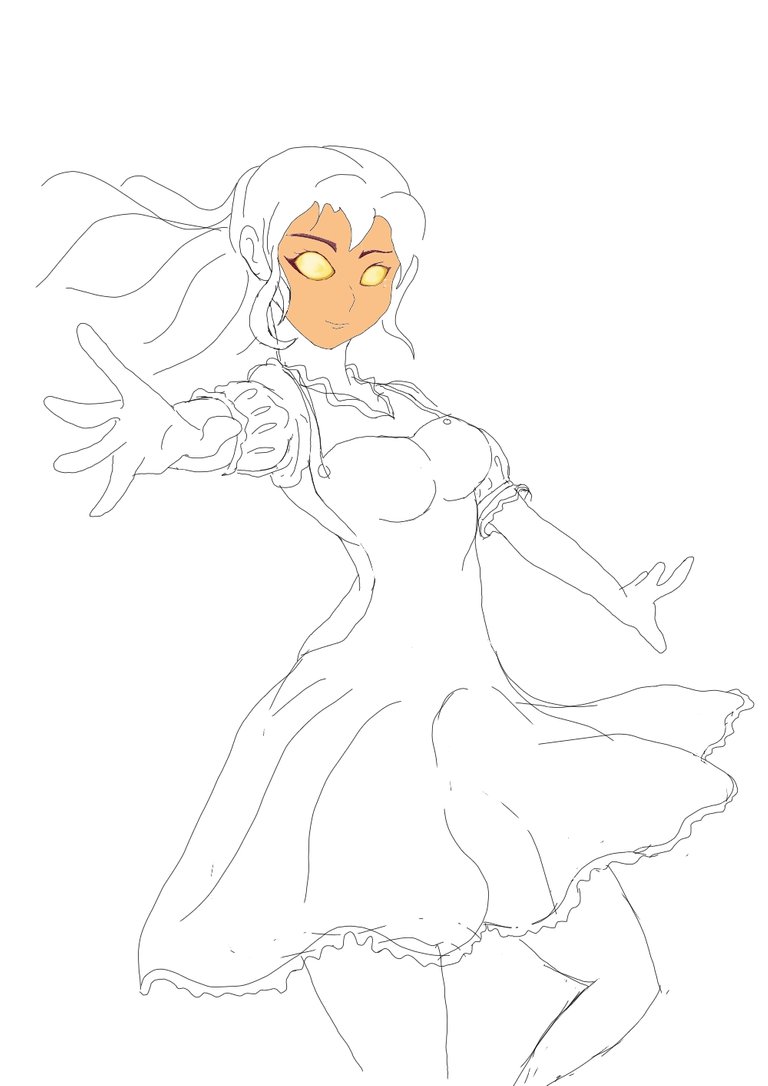
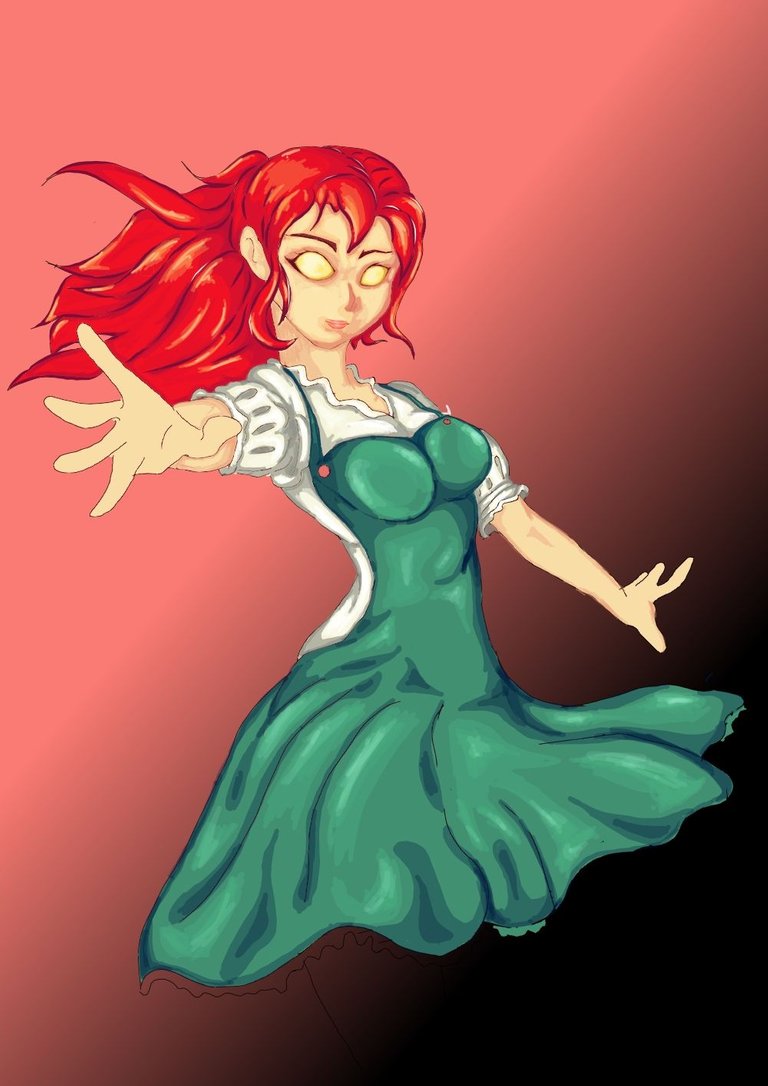
The First thing I did Is Sketching *TARSA *showing her two hands
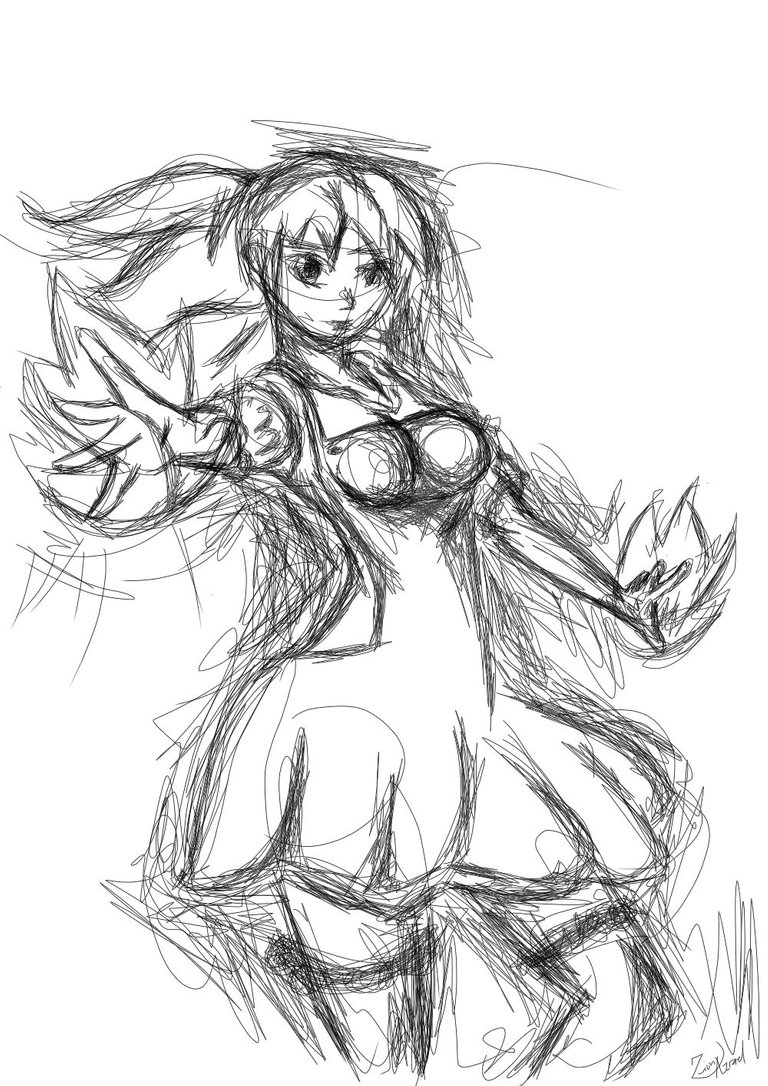
After Sketching and putting my Idea on it. I started getting the outline of the drawing to have a clear look.
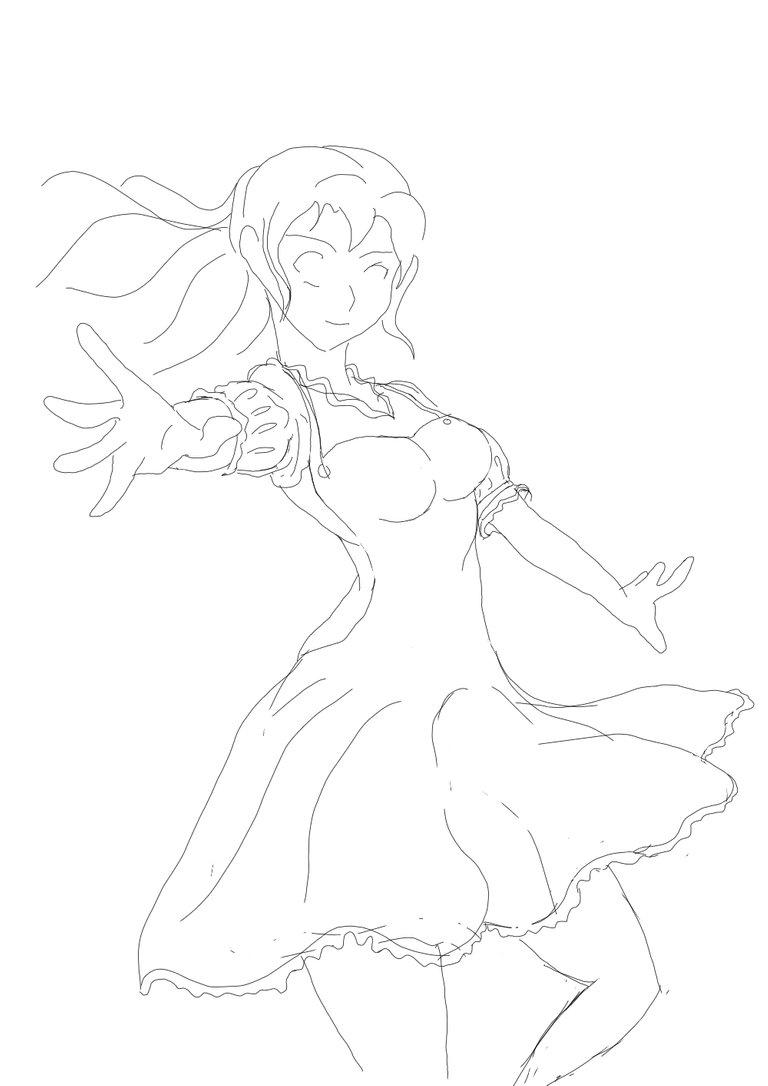
Coloring
Coloring my drawing was time consuming and also the hardest part because I need to have the color that is the same color on the Splinterlands card to make it more look alike.
I began coloring the eyes and put a dark brown shades on the eye linings.
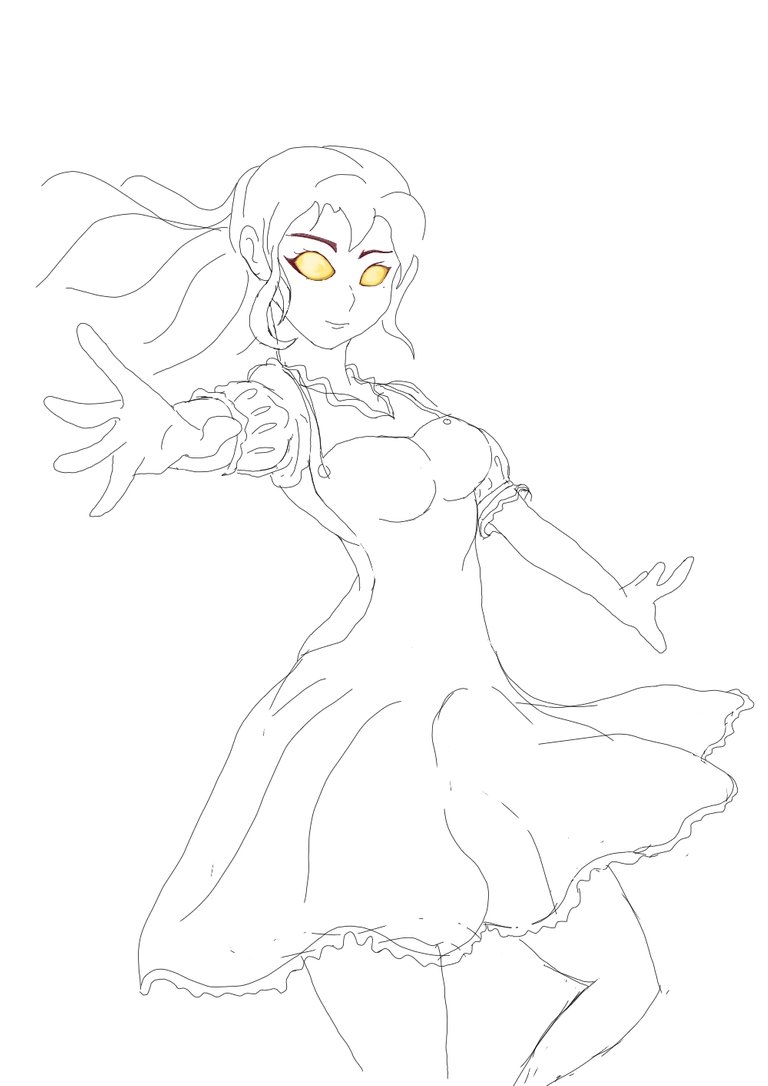
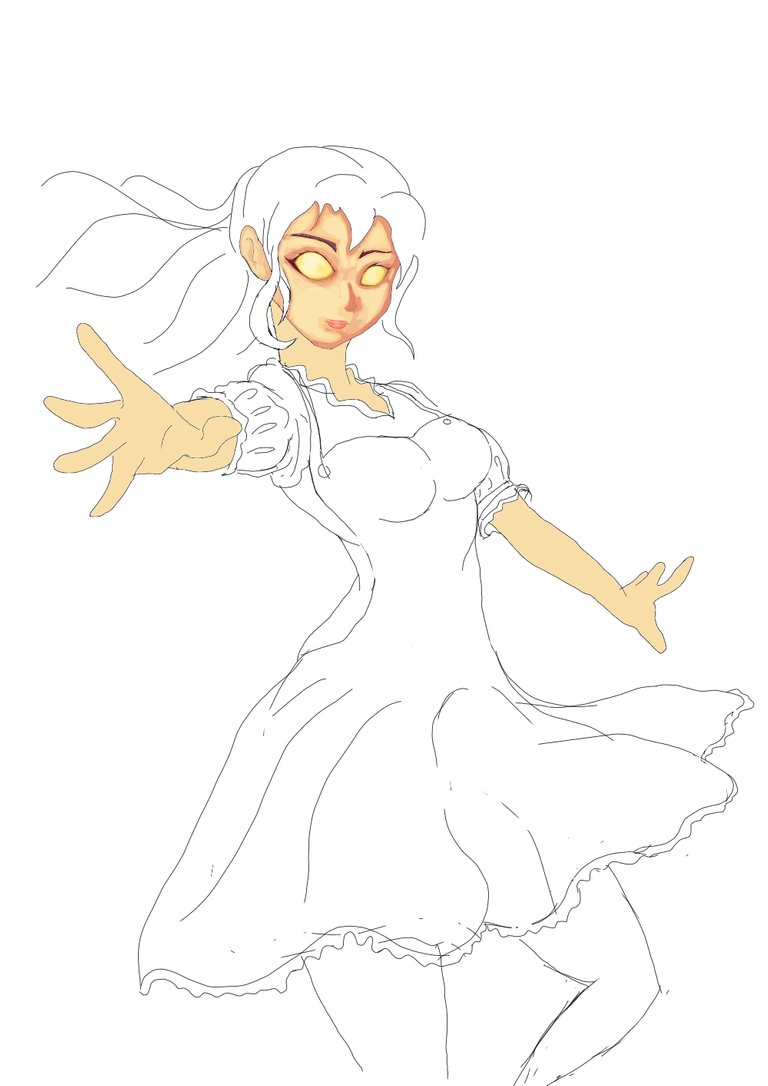
After that I colored the Face, I also included the Picture on what base color I put on the face and then I added dark brown on the edges and the part that should be in dark. Then add some light colors on the cheek and forehead. Then I began adding the base color on the rest of the skin.
Then I started coloring the hair this time i used Red as the base color of the hair.
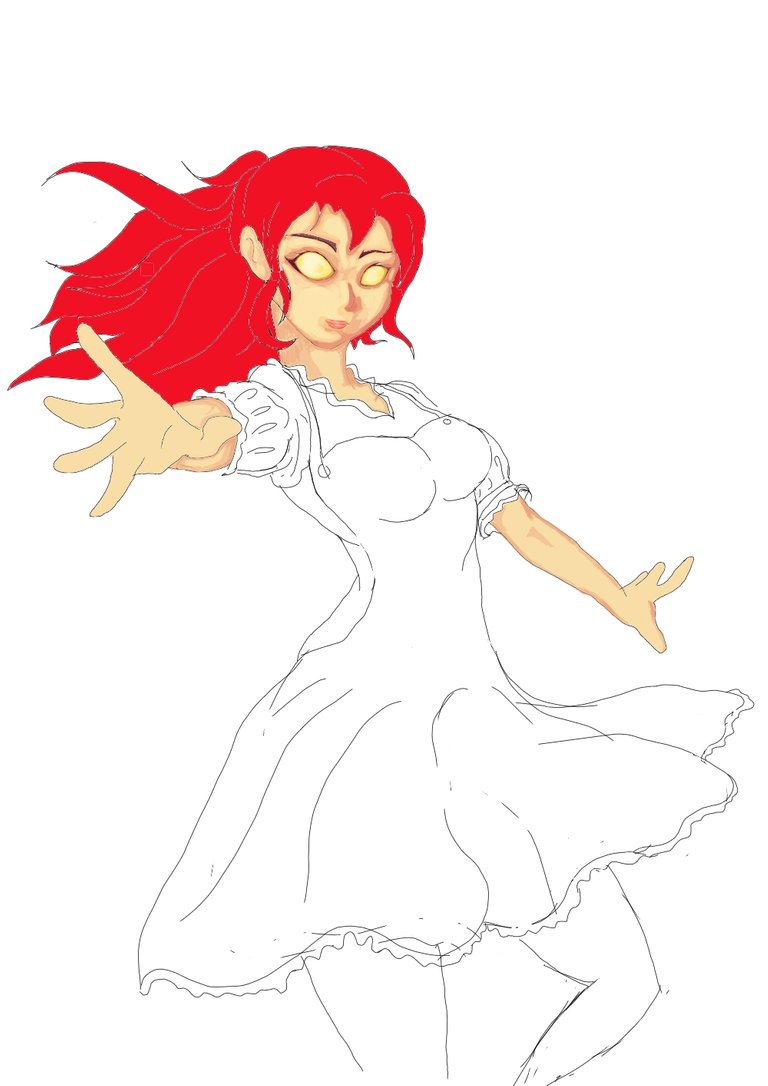
Then I added a dark shades on the egdes of hair lines

Then I added Dark lines on the hairlines.

Then i added light shades and a little glossy color on the hair.
I also added dark shades on the rest of the skin.

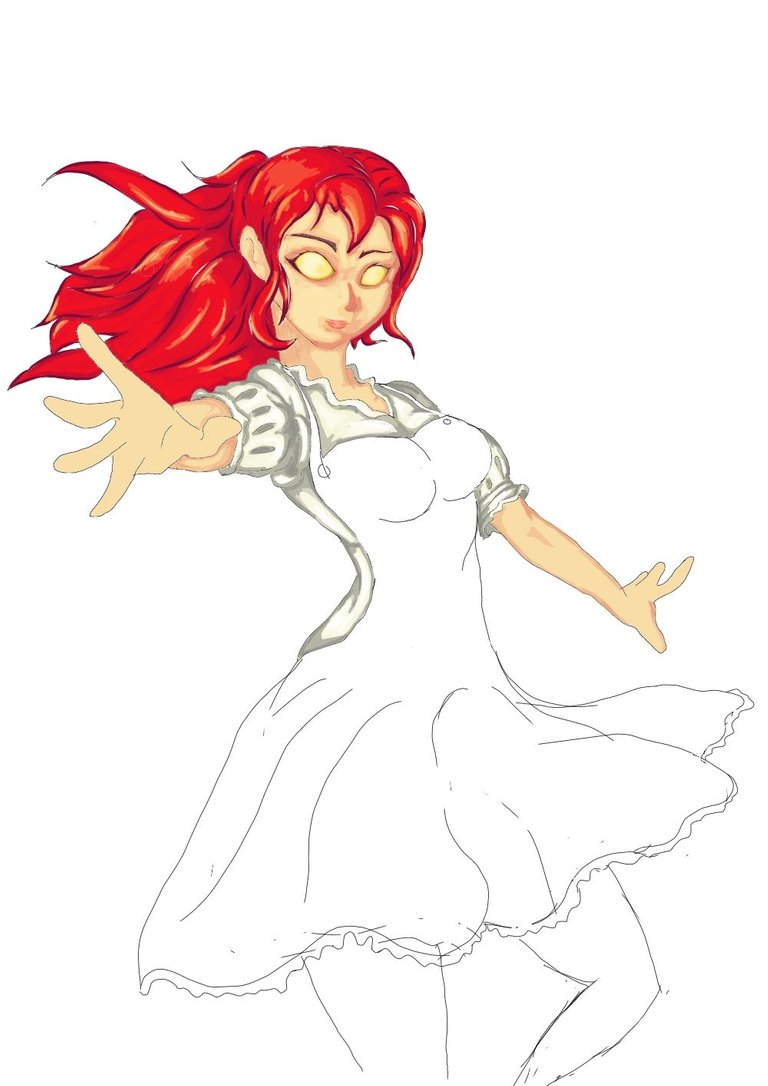
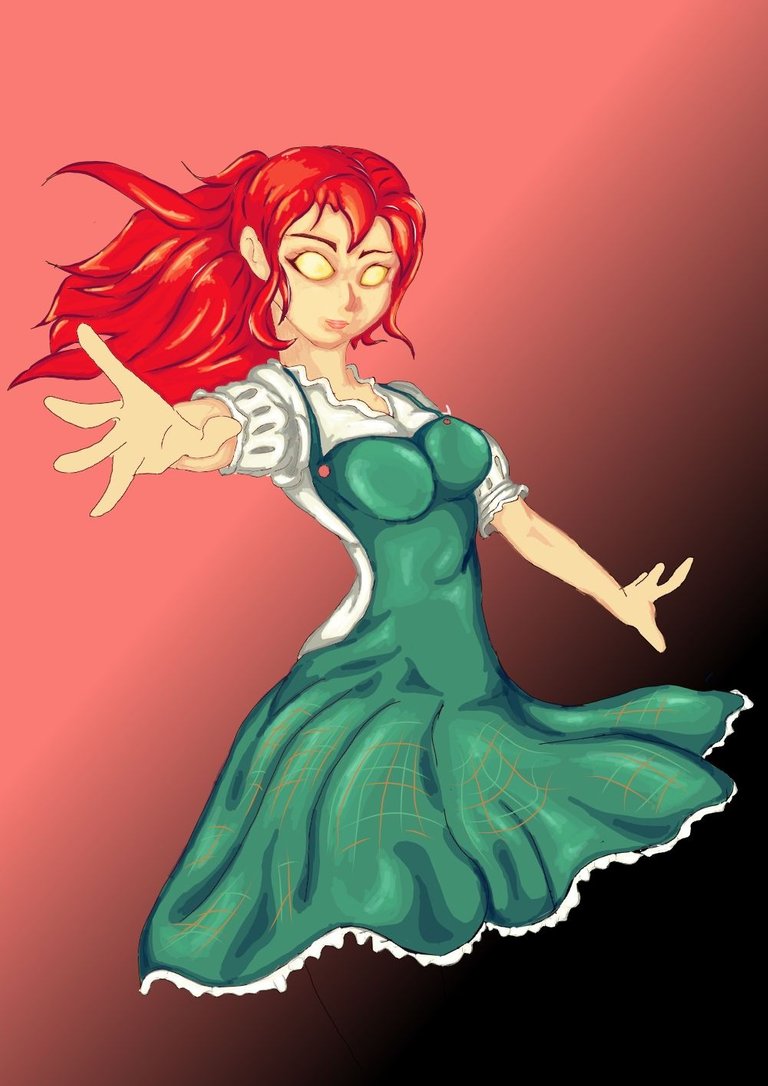
After that began coloring the dress. First I colored the inner dress.

Then I added dark shades on the edges and the foldings of the dress. and lastly adding the light shades.
Then I began Coloring the outer dress. I first put the base color which is dark green and the I added dark shades on the Edges and light and glossy shades. I made it glossy because I will add the Fire on the hands and I want to make it look like the light effects. You can also notice that I added a background because I wanted to see the result of the coloring I made.
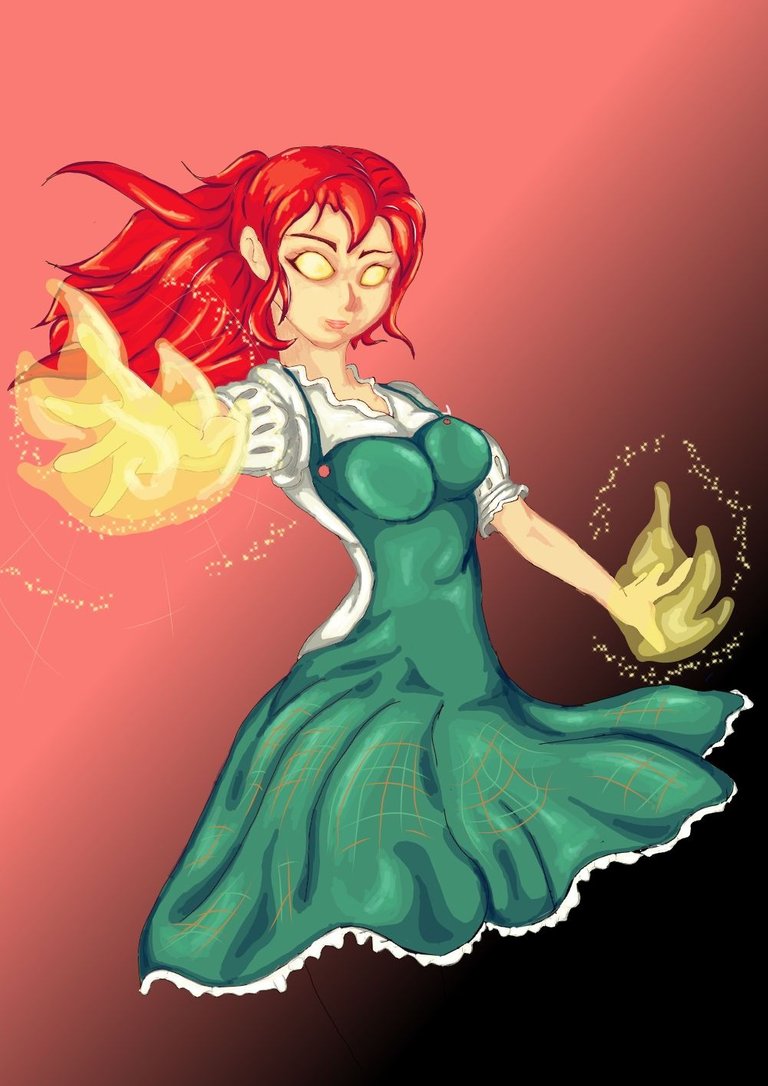
As I've mention I've added the Fire on the hands. The reason I did not put the fire on on the hand on other steps because I want to make it look a little transparent.
Then I colored the legs same process of shading first is adding shades on edges and then adding light effects.
I included this picture that has no background to help you see the difference of the coordination of my coloring process to the background.
You can see that having the background is also a big help to make the subject better.
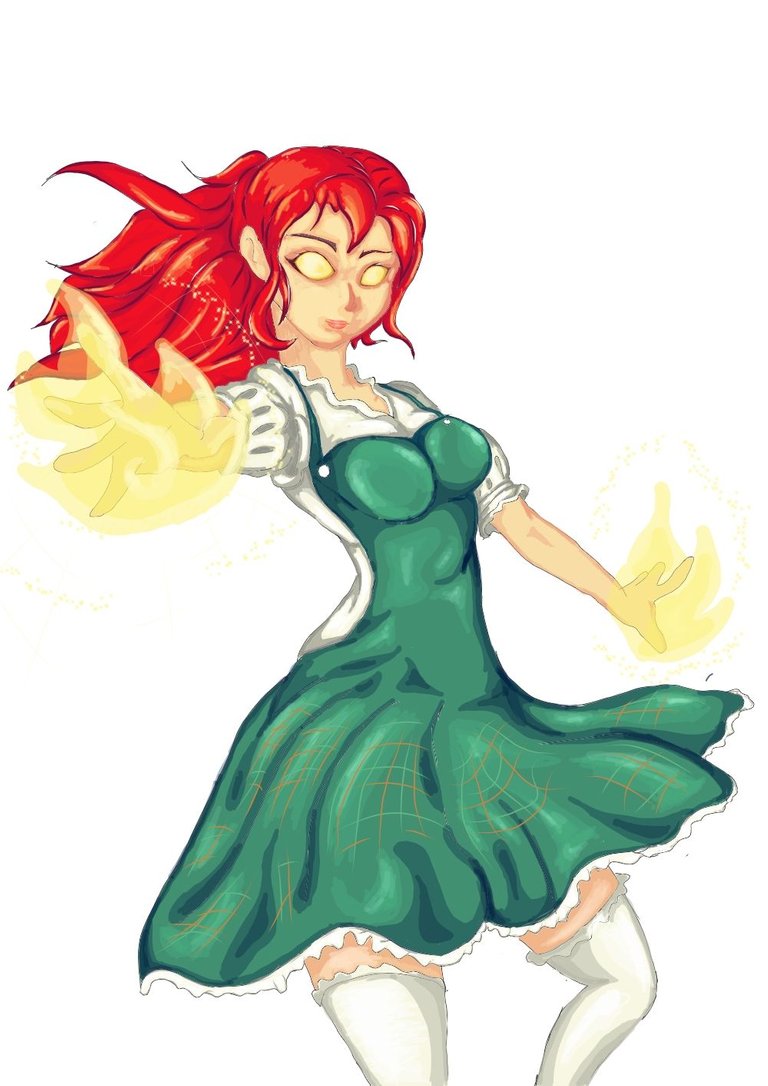
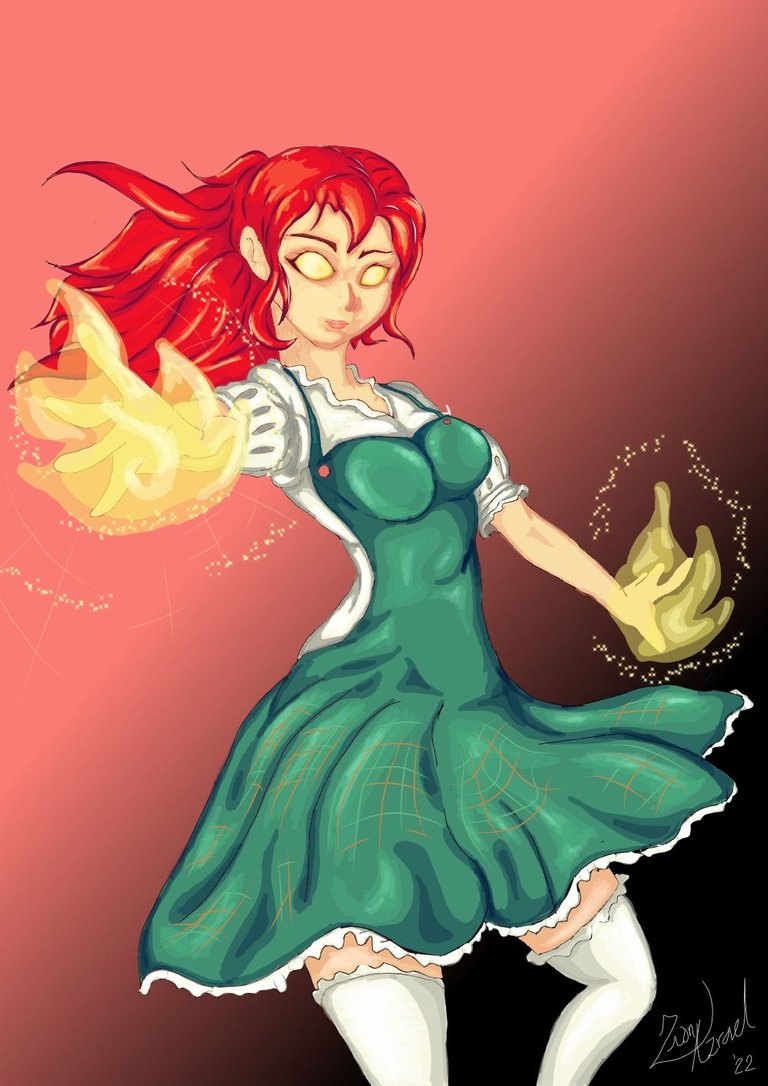
Now for the last part and the Final output of my work I added some fire shapes on the background to also represent the Fire element of this card.
I added a Gif to have a quicker look on the process.
That's it for now guys, I hope you like this kind of art that I made and I hope the drawing tips I included will help others, more arts to come.
May the odds be with you in opening Chaos Packs and Reward chest.

!PIZZA
Thanks
PIZZA Holders sent $PIZZA tips in this post's comments:
jbtc19warrior tipped zionazrael (x1)
@curation-cartel(2/20) tipped @zionazrael (x1)
japex1226 tipped zionazrael (x1)
Join us in Discord!
Thanks for sharing! - castleberry#6859

Thank you :)
So cool! Well done man keep it up!
!1UP !PGM !PIZZA
100 PGM token to send 0.1 PGM three times per day
500 to send and receive 0.1 PGM five times per day
1000 to send and receive 0.1 PGM ten times per day
Discord
Support the curation account @ pgm-curator with a delegation 10 HP - 50 HP - 100 HP - 500 HP - 1000 HP
Get votes from @ pgm-curator by paying in PGM, here is a guide
Create a HIVE account with PGM from our discord server, here is a guide
I'm a bot, if you want a hand ask @ zottone444
Thankyou sir
You have received a 1UP from @japex1226!
@monster-curator, @oneup-curator, @thg-curator, @neoxag-curatorAnd they will bring !PIZZA 🍕
Learn more about our delegation service to earn daily rewards. Join the family on Discord.
Thankyou