Splinterlands battle weekly challenge: MOLTEN OGRE
From now on I will try to participate on this @splinterlands challenge every single week! I need to write more content and this is an awesome topic that I enjoy writing about so it's a win win situation. I want to slowly grow my posting habits until I can make at least 5 week. Thanks to some comments on my post about Nexo I learned how to edit text and image side by side so I will use it to try to make this post more appealing.
The Battle
Mana cap: 38
Ruleset: Target Practice
Link: https://steemmonsters.com?p=battle&id=6fe541a34ff4bfa6c0139385ecdc3b65ee83daf4&ref=myfreebtc
Most battles I see that the mana cap is very high I know two things, Molten Ogre and Sand worm will probably be part of my roster. Since "Target Practice" was enabled I decided to use Malric Inferno with an all melee team and a sacrificial piece to absorb the damage from the ranged units that my enemy could bring to the fight while my melee monsters go ham on his team.
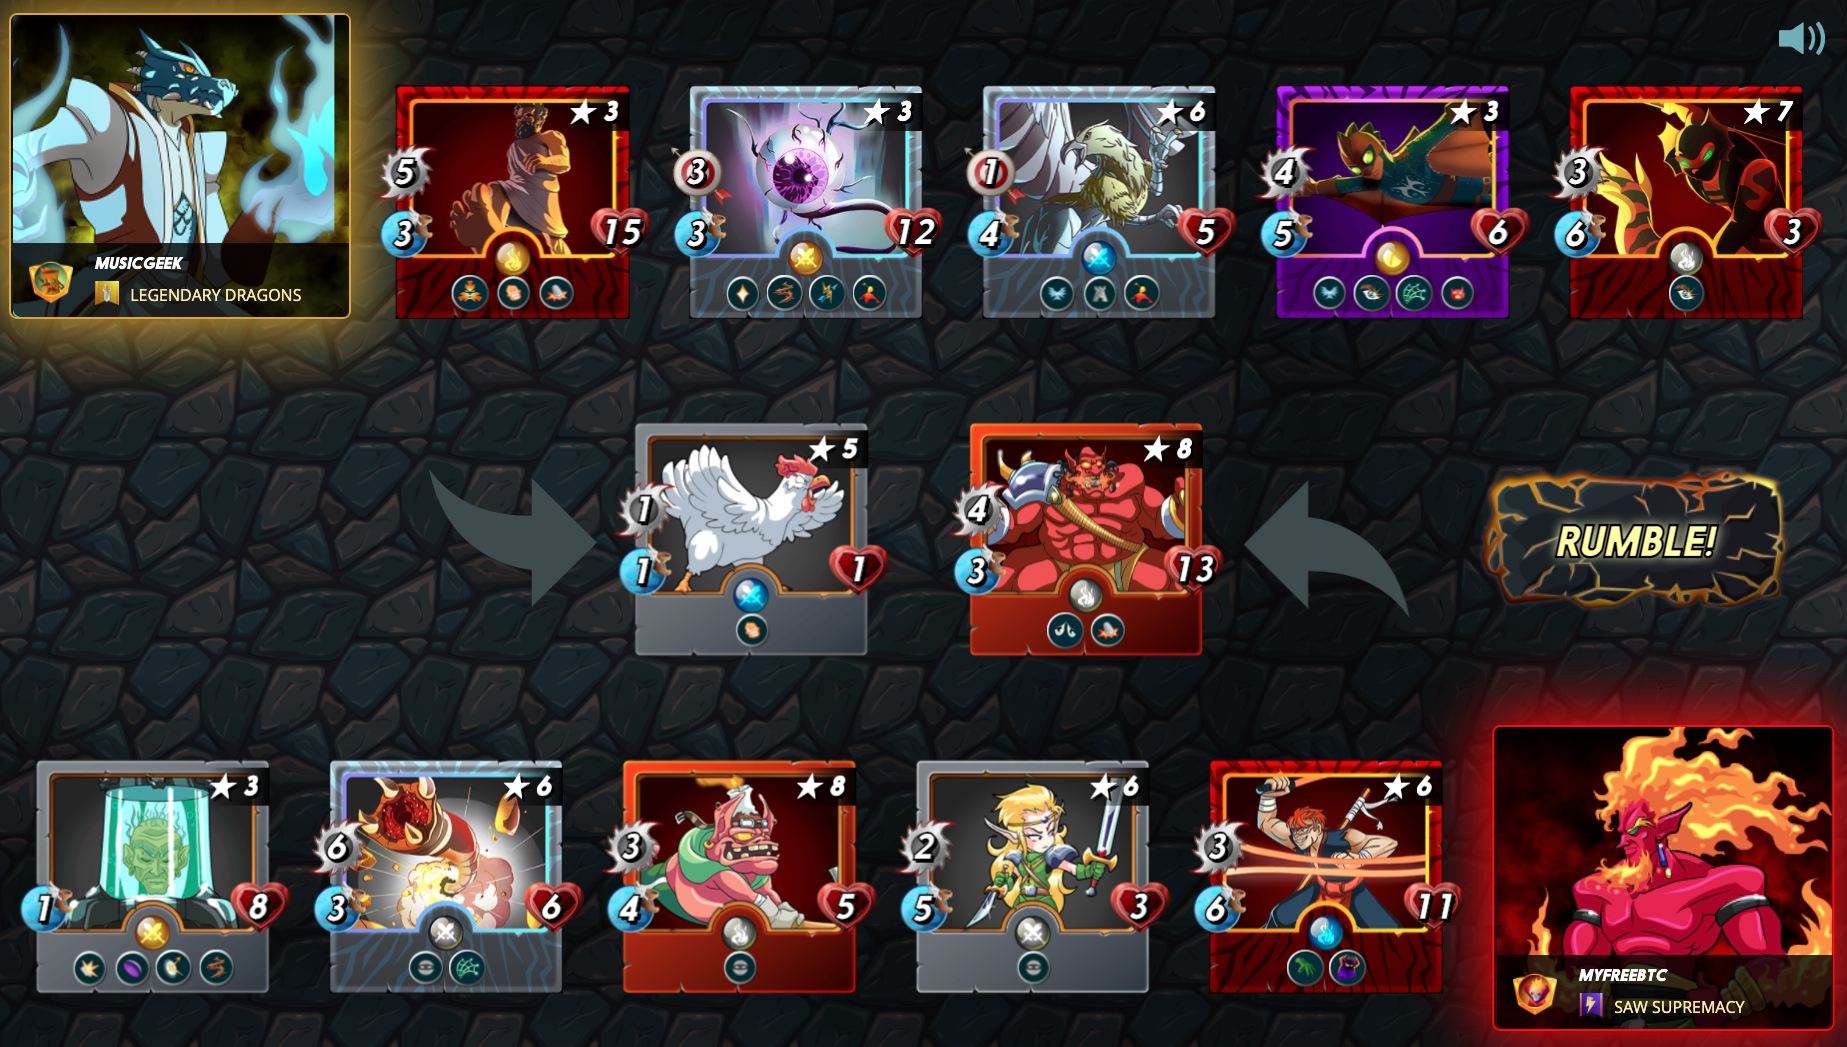
The Lineup
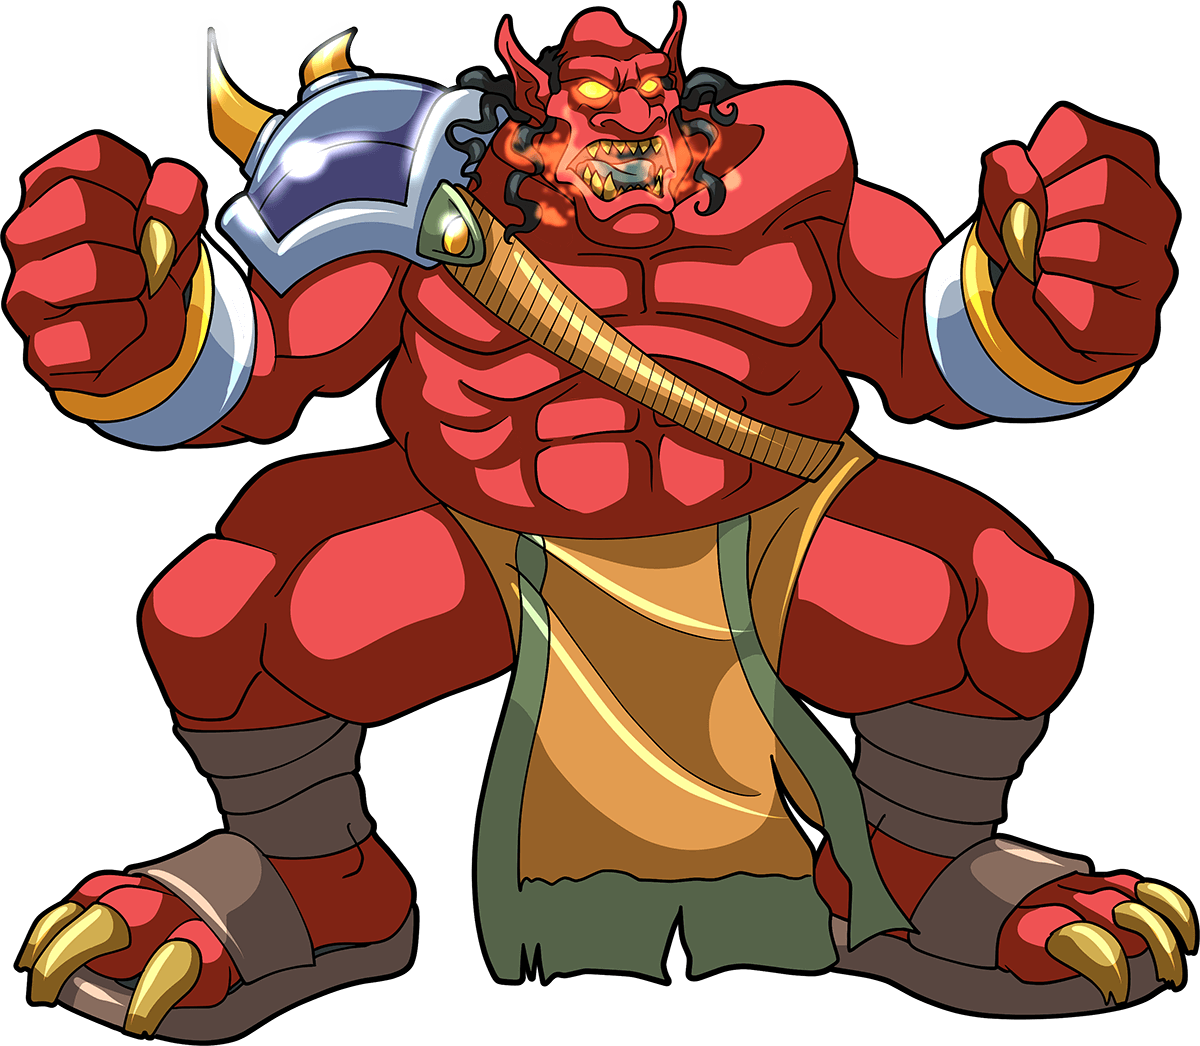
Molten Ogre went upfront to soak the enemies front line damage and reattribute with his own powerful attacks of 4+1! He was crucial to obtain this victory since the Demoralise lowered the enemies opportunities attacks and allowed my units to survive long enough to get a win.

Fineas Rage in the second place to help out distribute even more damage to the enemies front line and possibly hold the line in the event the Molten Ogre goes down. Ended up being the last man standing and delivering the winning blow because of his insane speed!

These two sneaky champs to take care of the enemy backline, one of my favourite combos to use. They usually shred the enemy team from the back to the front line one by one but on this battle the opportunity attacks from the enemy quickly put them both out of commission.
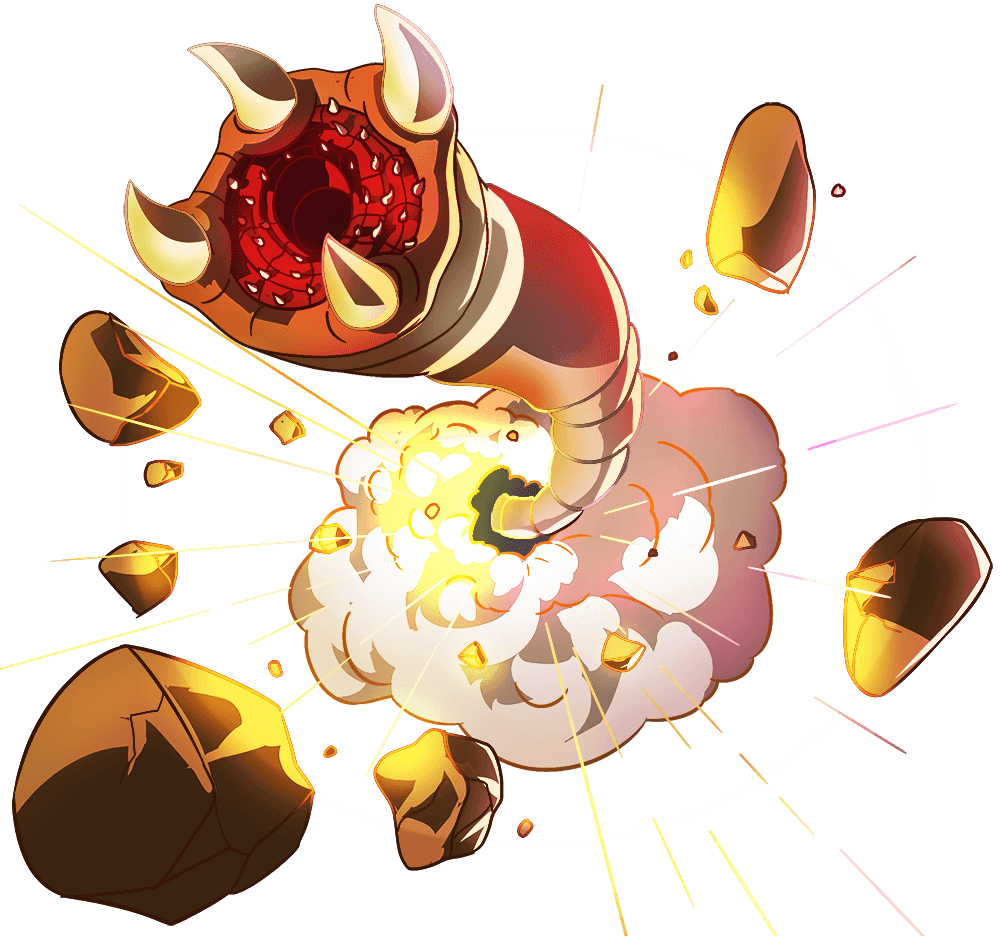
I had to include the sand worm in this line up. Combined with the other two sneaky attackers to eliminate possible shields this one would just 1 hit K.O. whatever health could be left. Also serves as a nice tank to hold the backline.
The Crucial piece of my strategy: Since all ranged enemies had the snipe ability because of the "Target Practicing" rule I placed him on the back of an all melee team to tank all the ranged attacks and to potentially hurt any monsters that would try to sneak up on my team! Lord was able to help my team stay alive and thorn some opportunity attacks that landed on him towards the end of the battle. I would say he was the MVP of this battle.
Epic battle
It ended up with a lot of missing because of the last two flying enemies still standing but after a couple misses I finally landed the winning blow just when my last unit was about to drop. Very intense battle, missing a couple attacks on a row it's one of the most frustrating things in Splinterlands specially when it costs me a win.
Hope you enjoyed the new editing style, I'm still playing around with it to see what works best for my posts. No doubt it will keep improving with your feedback and some more learning on my part.

I use those two (sand worm and ogre) even when the mana is low haha, I just love them too much, sometimes it works out surprisingly well!