Battle Mage Secrets Weekly Challenge 04/01/2023

CHALLENGE RULES
RULESET: Back to Basics
Description: Monsters lose all abilities.
Tip: Back row monsters are safe from enemy's Sneak, Snipe and Opportunity attacks. The ruleset places importance on Magic and Ranged attacks as melee attacks loose their ability to hit outside of the first position. Select monsters with high speed and choose a summoner that increases damage or defense against Magic or Ranged attacks. Lining up monsters in ascending order of their health is the way to go.
Battle Rulesets:


Going the Distance: Only monsters with ranged attacks may be used.
TIP: Consider including monsters with the Close Range and Return Fire abilities in your lineup.

BACK TO BASICS: Monsters lose all abilities.
TIP: Back row monsters are safe from enemy's Sneak, Snipe and Opportunity attacks. The ruleset places importance on Magic and Ranged attacks as melee attacks loose their ability to hit outside of the first position. Select monsters with high speed and choose a summoner that increases damage or defense against Magic or Ranged attacks. Lining up monsters in ascending order of their health is the way to go.

Little League: Only Monsters & Summoners that cost 4 Mana or less may be used in battles.
TIP: Monsters and summoners of 4 Mana or less will be the only ones available in this ruleset. Try increasing your defense by using summoners that give +1 armor or +1 health. Use monsters with at least 2 magic damage and 2 ranged damage. Using Mylor as summoner in this ruleset helps a lot.

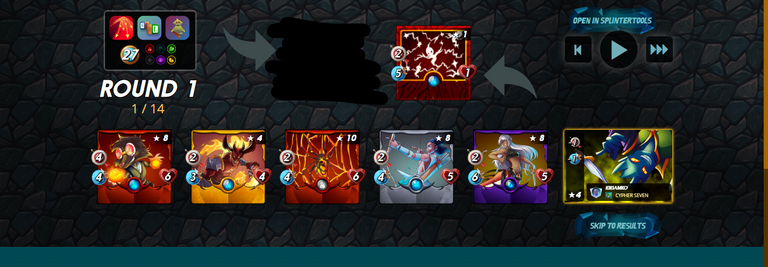
MANA CAP: 27
Active Splinters:
- Fire
- Earth
- Death
- Dragon
TEAM AND STRATEGY
TEAM
Summoner: Quix the Devious
Monsters: Spark Pixies, Naga Assassin, Xenith Archer, Lava Spider, Pyrewatch Devi and Scavo Firebolt.
Strategy
First of all, this is my girlfriend's account (@kikiamko) which I am playing. Since its only Ranged only battle and Dragon Splinter is active, there is a 99% that both of us will use Quix the Devious. Of course I will put in 1st position the Spark Pixies since it has a 5 Speed and Naga Asssassin at the 2nd position so she can attack at the first Round. Btw, I have a wrong position there and I didn't notice it. Its the 3rd and 4th position, because Lava Spider has 1 more Health than Xenith Archer. That is a lesson learned for me.
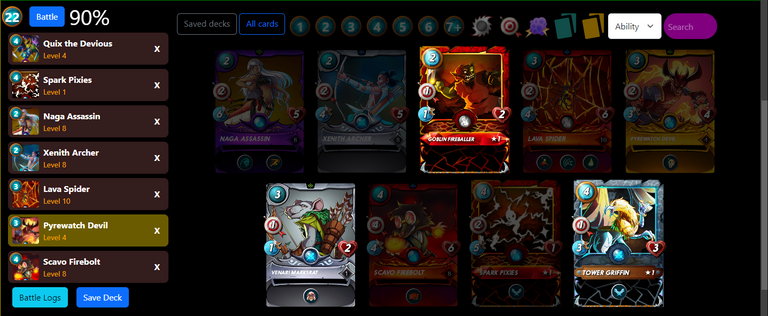
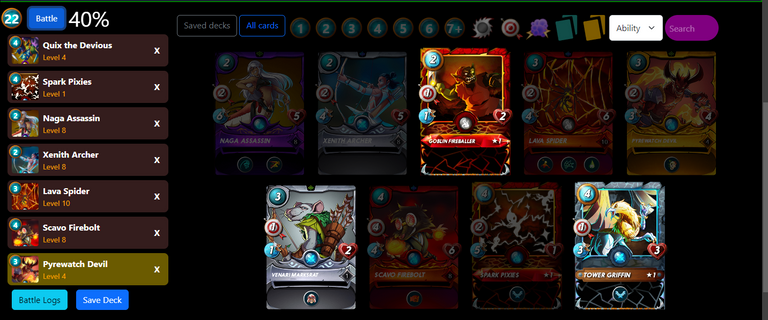
Lets move on to the 5th and 6th position, I put Pyrewatch Devil at the 5th position instead of 6th position because Scavo Firebolt has a 4 Damage and I really made it as my Core Damage in my team. You will also the difference of Win Rate below if I change the position of Pyrewatch Devil and Scavo Firebolt.
Positioning
Position 1:
Spark Pixies - Because of its Speed so there is a higher chance that my opponent will miss their attacks.
Position 2:
Naga Assassin - Same as Spark Pixies but I want her to make an attack to the opponent.
Position 3:
Xenith Archer - Like I said in the Strategy, Its a wrong position. The correct position for her is 4th position.
Position 4:
Lava Spider - 3rd position instead of 4th because it has the same Speed but more Heatlh than Xenith Archer.
Position 5:
Pyrewatch Devil - Because of lower Health and Speed and it has the same Damage like Lava Spider and Xenith Archer.
Position 6:
Scavo Firebolt - My Core Damage because of his 4 Damage
Battle
Round 1
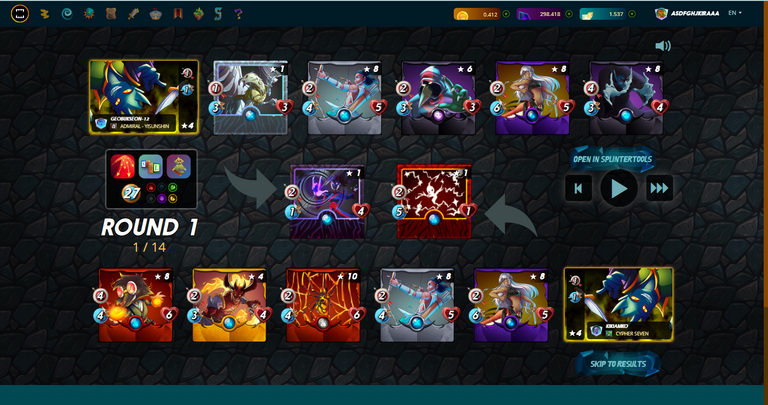
Sadly,my Spark Pixies got hit and dies. But before the end of the Round, there are 3 misses on my opponents and my Naga Assassin survived.

Round 2
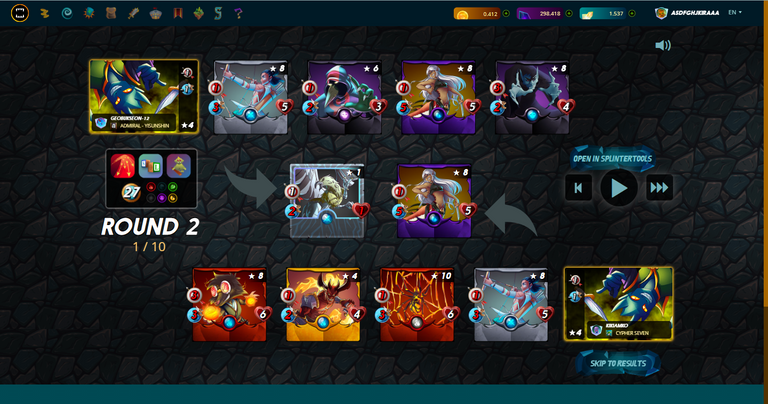
This time, my Naga Assassin died and we both have 4 Monsters left in the battlefield at the end of the Round.
Round 3
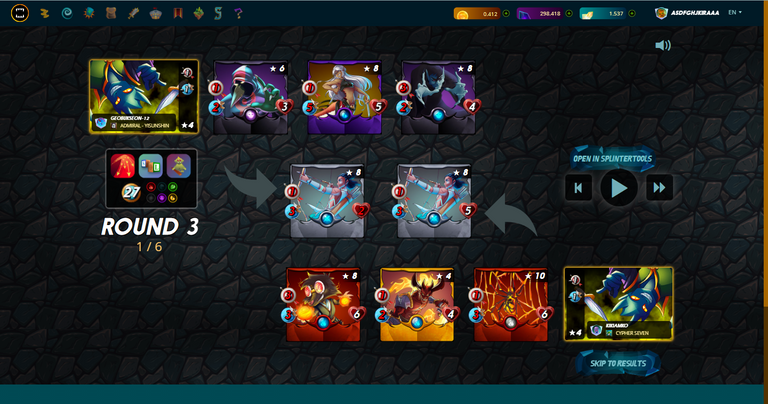
At the start of this Round, I'm at the advantage since my Xenith Archer has a lot of Health left than my opponents Xenith Archer.
My Xenith Archer survived this Round and is moving on to the Round 4.
Round 4
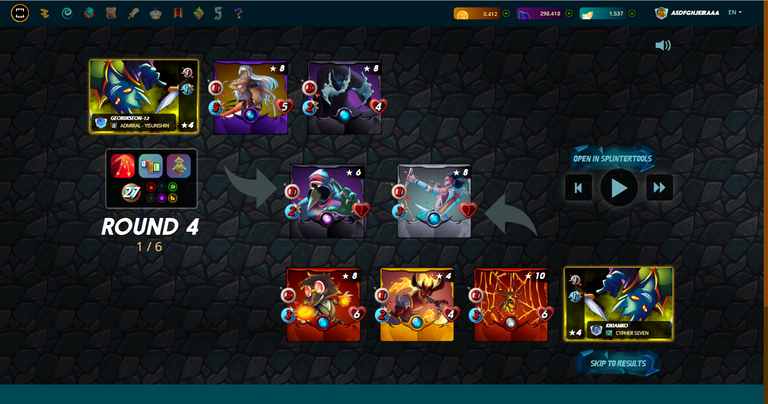
I'm really at the advantage since I still have 4 Monster and they only got 3 Monster and the Round ended with 2v3.
Round 5

This Round, his Naga Assassin is in front now so its still not a sure win since my Monsters might miss their attacks. Luckily, My Scavo Firebolt hits her and my Lava Spider died in the battle.
Round 6
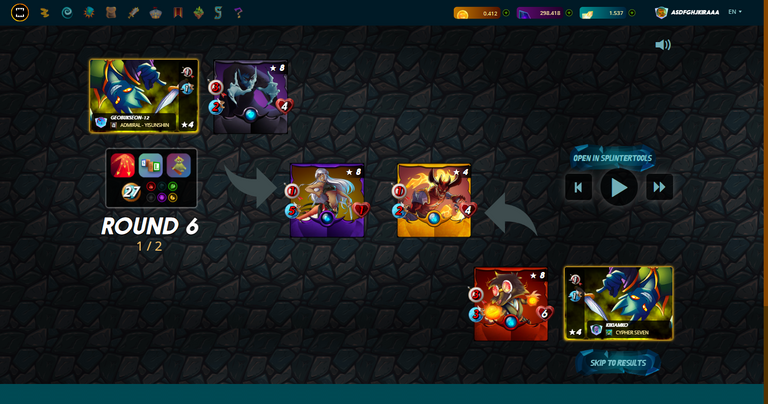
His Naga Assassin is still alive and there is a chance for a miss on my side. And luckily again, My Scavo Firebolt hits her!!! The Round ended at 1v2 battle.
Final Round
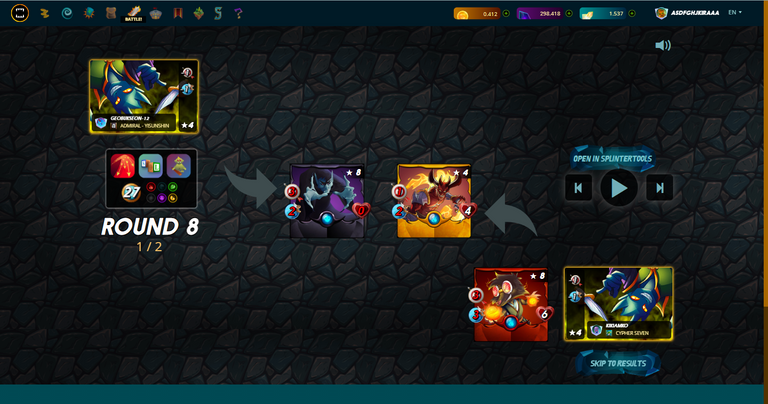
Finally the final Round and its a sure win because his Soul Strangler can't attack anymore and it got killed by my Scavo Firebolt.
Battle Summary
Overall, those 3 misses in the 1st Round wins this battle because I might lose since there is a wrong positioning on my team. There is also a leasson learned for me that always double check your team before submitting it.
Also, I used Splintertools to see the difference of the positioning of my 5th and 6th position and you can see it below. All in all, my decision was right to make my Scavo Firebolt as my Core Damage.
Original Lineup:
Changed Lineup:
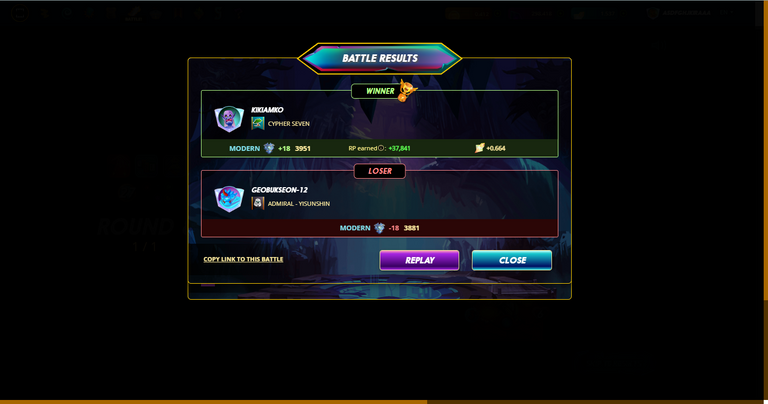
Battle Results and Rewards
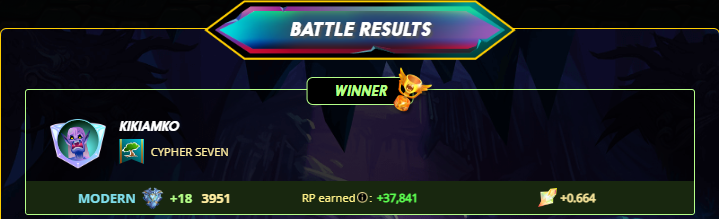
Rating: +18(3951)
RP earned: +37,841
SPS earned: +0.664

Watch the full battle. Click Here
Follow me on:
Thank you for reading my blog! Much love ❤️ Good luck everyone on your Splinterlands grind and keep safe!


Nice post, Kira! 👍
Do you know you can win a Chaos Legion pack and many other things just by following some simple steps ?? Check out our Latest Daily Showcase and Participate our latest Giveaway. Thanks
Thanks for sharing! - Underlock#8573
