Splinterlands Art Contest Week 244!- MY VERSION UNDEAD REXX
Hello friends of the community of @splinterlands I come to share with you my entry to the contest number 244 with my version of UNDEAD REXX a card of death element I made this version of a T rexx zombie mode in a scenario where he was the first infected I hope you like it as much as I liked me, here are the steps I performed.
- Hola amigos de la comunidad de @splinterlands vengo a compartir con ustedes mi entrada al concurso numero 244 con mi versión de UNDEAD REXX una carta de elemento muerte hice esta versión de un T rexx modo zombie en un escenario en donde el fue el primer infectado espero les guste tanto como me gusto a mi , a continuación los pasos que realice.

Process
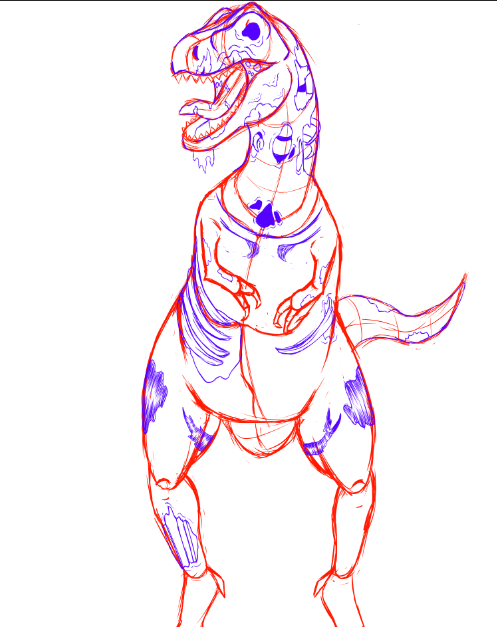
STEP 1 : Sketch, in this first layer I made the sketch of the drawing based on the illustration of the card to take the most important details to add them to my version of undead rexx I wanted to make it a little more corpulent with reference to a figure of a movie rex.
- PASO 1 : Boceto, en esta primera capa realice el boceto del dibujo basándome en la ilustración de la carta para tomar los detalles mas importante para agregarlos a mi versión de undead rexx quise hacerlo un poco mas corpulento con referencia a una figura de un rex de película.
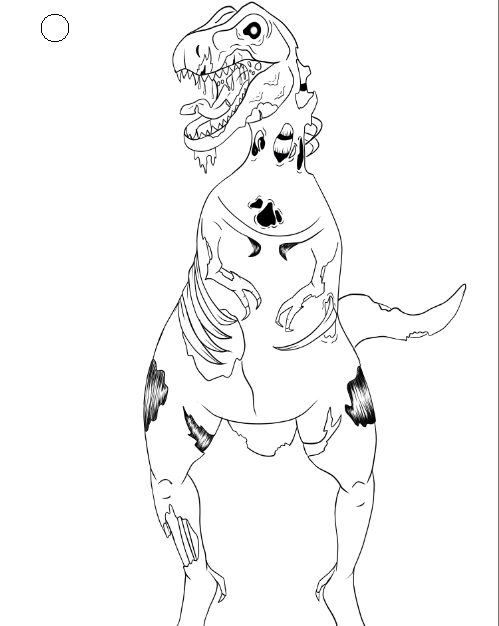
STEP 2 : LINEART, make the lineart in another layer I usually use several layers to separate the processes of the drawing and not mix them to achieve a better finish and not to damage it with a mistake and then erase everything advanced, when making the linear I made better the final shape of the neck and ribs.
- PASO 2 : LINEART, realice el lineart en otra capa suelo usar varias capas para separar los procesos del dibujo y no mezclarlos para lograr un mejor acabado y no dañarlo con un error y luego borrar todo lo avanzado , al hacer el linear hice mejor la forma final del cuello y las costillas.
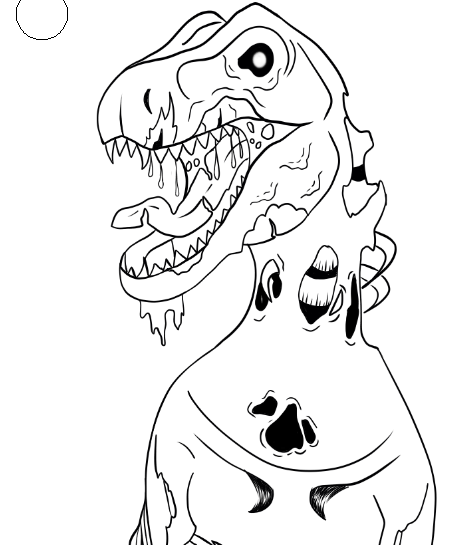
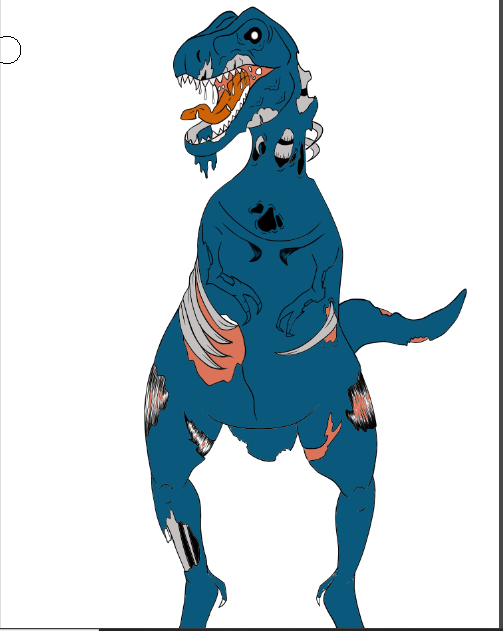
STEP 3: Color, I added the base color based on the original colors of the chart and then I started to add more details like volume and lights, but my version has a little more exposed bones, something different I liked.
- PASO 3 : Color, agregue el color bases basándome en los colores originales de la carta para luego empezar a agregar mas detalles como el volumen y las luces , pero mi versión posee un poco mas de huesos expuestos algo diferente me gusto.
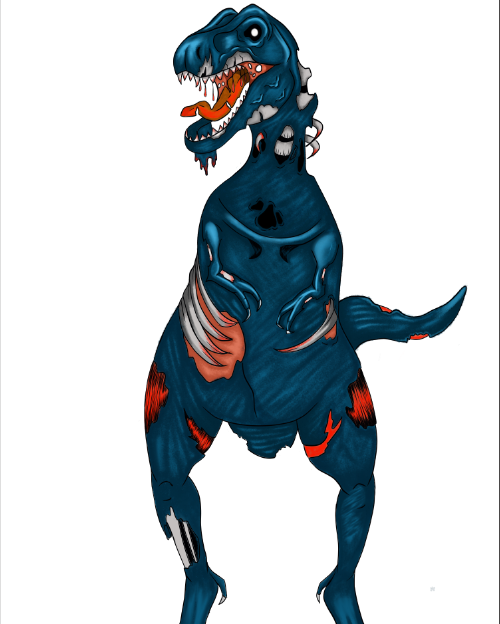
I added the details in another layer as darker tones to create some volume as well as some light with lighter tones, details like the wounds and the blood on the teeth I liked.
- Agregue los detalles en otra capa como tonos mas oscuros para crear algo de volumen asi como algo de luz con tonos un poco mas claro , detalles como las heridas y la sangre en los diente me gustaron.
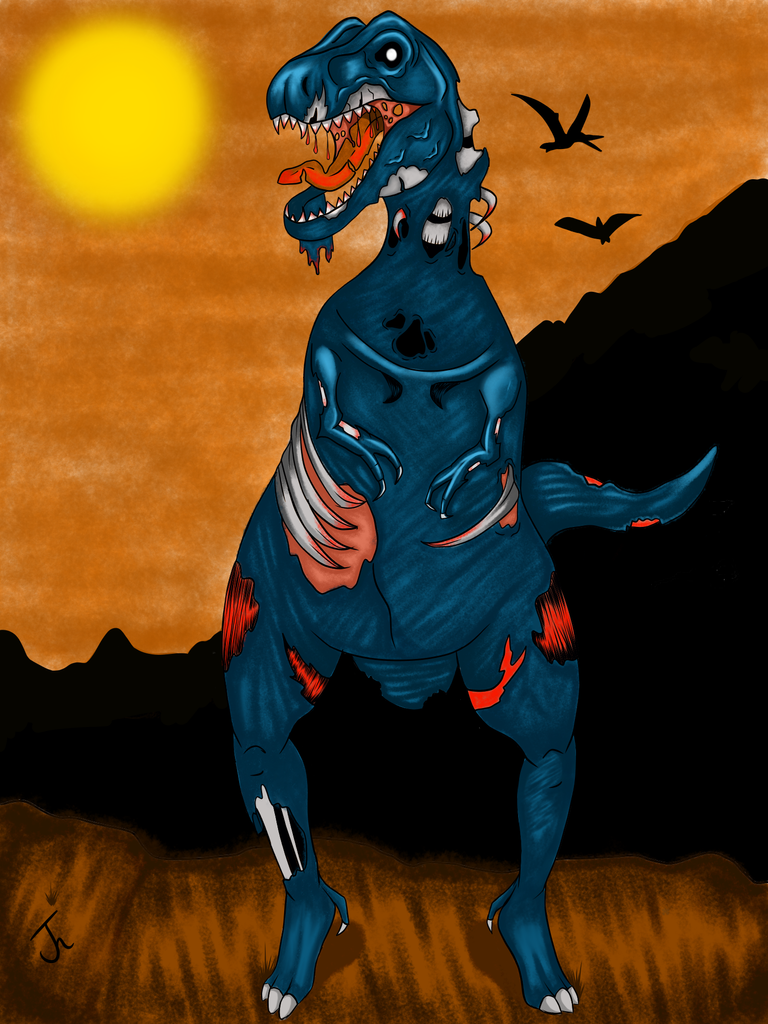
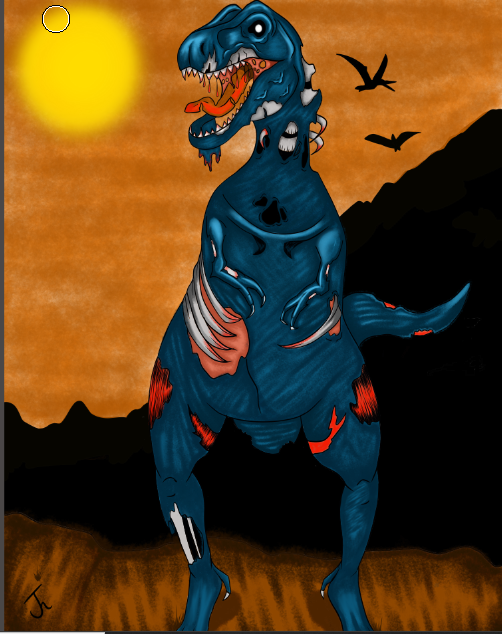
Then I made a background with a sunset and a mountain in the background the truth was not finding a color to make the blue stand out then I tried with the yellow and orange tones and I liked it so I made a sunset to highlight the undead rexx , I hope you like the result as much as I do not read in a next post friends.
- Luego realice un fondo con una puesta de sol y una montaña de fondo la verdad no encontraba un color para hacer que el azul resaltara luego probé con los tonos amarillos y naranjas y me gusto así que hice un atardecer para hacer resaltar el undead rexx , espero les guste el resultado tanto como a mi no leemos en un próximo post amigos.
All the images with captures made by me.
Todas las imágenes realizadas por mi.
THANK YOU VERY MUCH FOR READING.
MUCHAS GRACIAS POR LEER

Thanks for sharing! - castleberry#6859
