FINEAS RAGE🔥 Social Media Challenge Splinterlands SPT
Hola querida comunidad nuevamente les doy la bienvenida a una nueva presentación de la semana!😊👋❤️💕
Hello dear community again I welcome you to a new presentation of the week!😊👋❤️💕
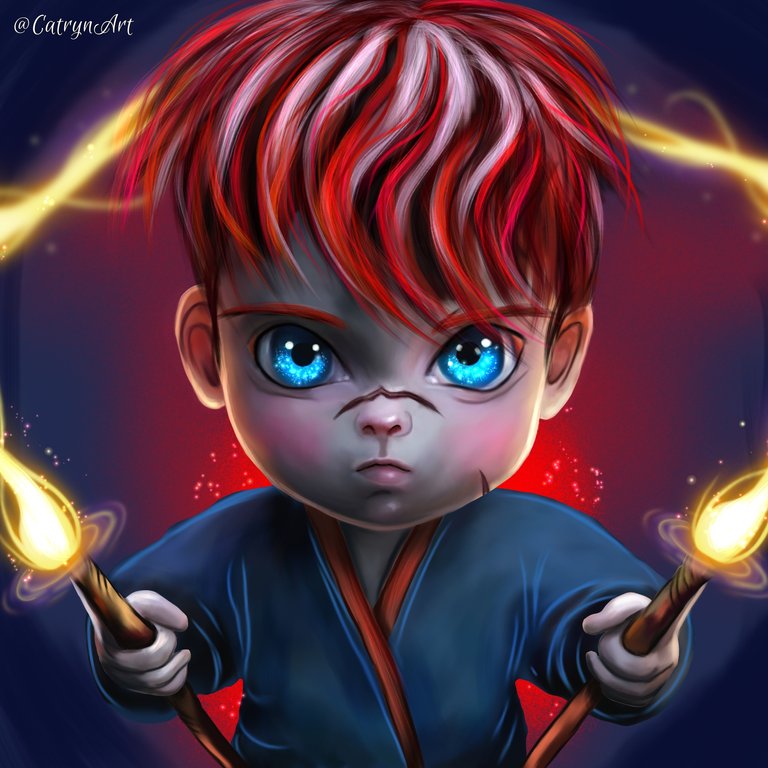

Feliz y bendecido jueves espero hayan tenido, hoy finalizando ya este día quiero compartirles la continuidad de esta pieza, pasando a la etapa de coloreado, que es la etapa más larga. Y con esta presentación estaría participando al Social Media Challenge de la semana de @Splinterlands. Es una representación de un retrato de la niñez de este personaje de FINEAS RAGE, queriendo resaltar sus ojos con un tamaño grande y su cabello con un aura en su entorno rojiza por el elemento que el domina con sus artes. Espero disfruten este proceso y por supuesto este estilo!😊👋🌷
Happy and blessed Thursday I hope you have had, today as this day ends I want to share the continuity of this piece, moving on to the coloring stage, which is the longest stage. And with this presentation I would be participating in the @Splinterlands Social Media Challenge of the week. It is a representation of a childhood portrait of this character from FINEAS RAGE, wanting to highlight his eyes with a large size and his hair with an aura in his reddish environment due to the element that he dominates with his arts. I hope you enjoy this process and of course this style!😊👋🌷
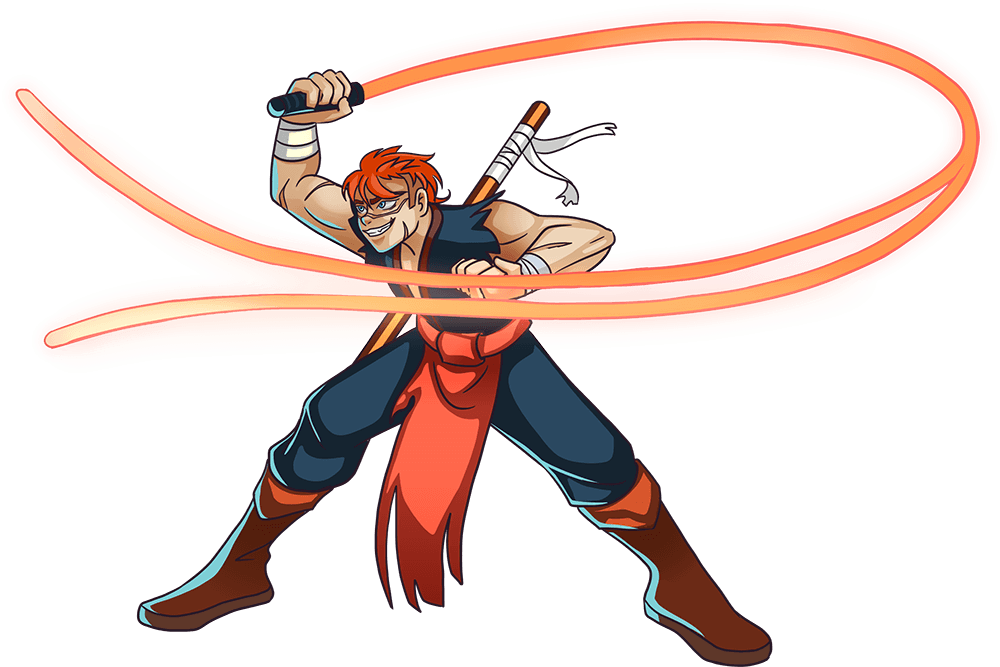
Link de la Imagen de Referencia/Reference Image Link
Etapas del Dibujo/Drawing Stages
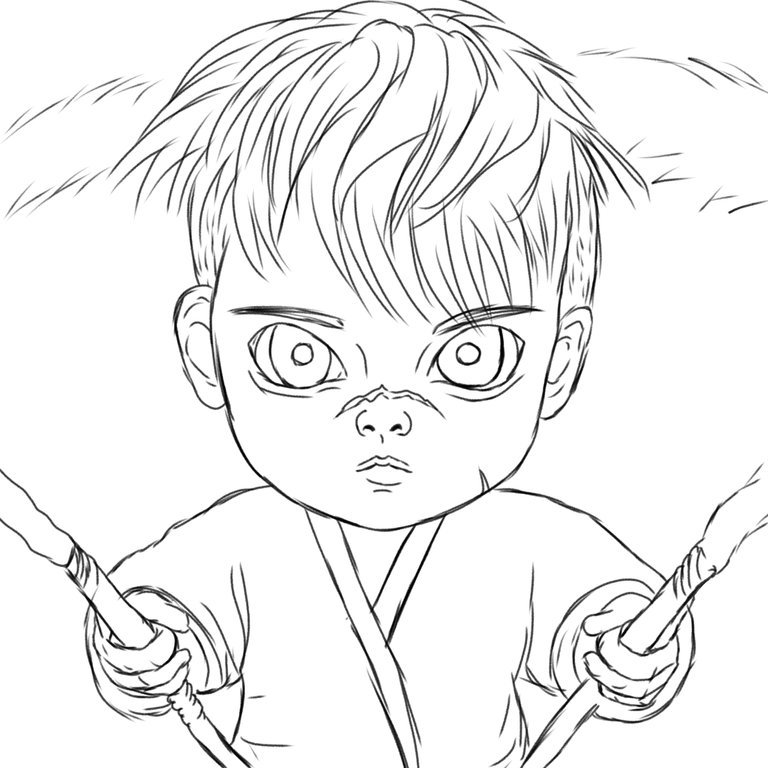
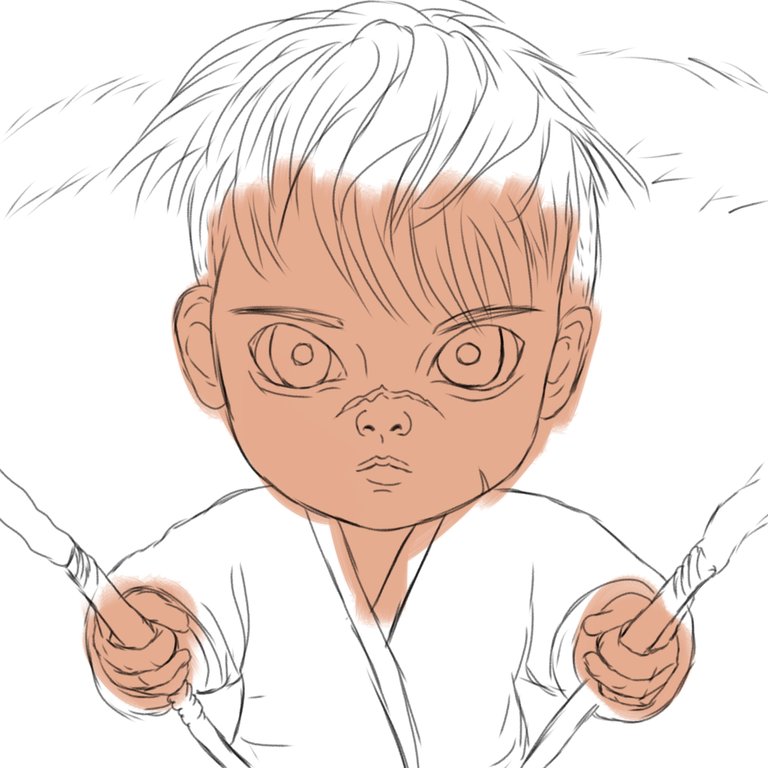
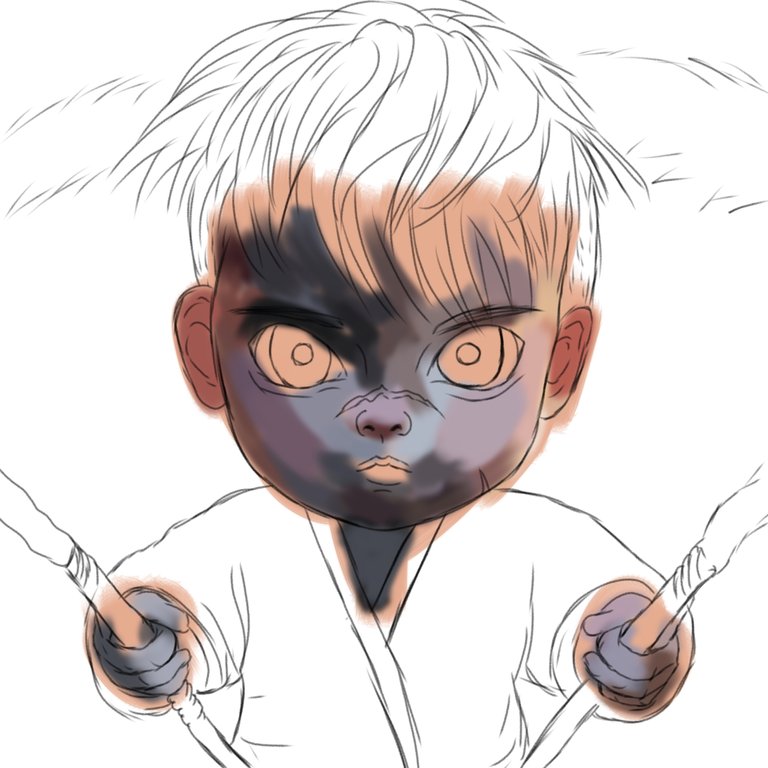
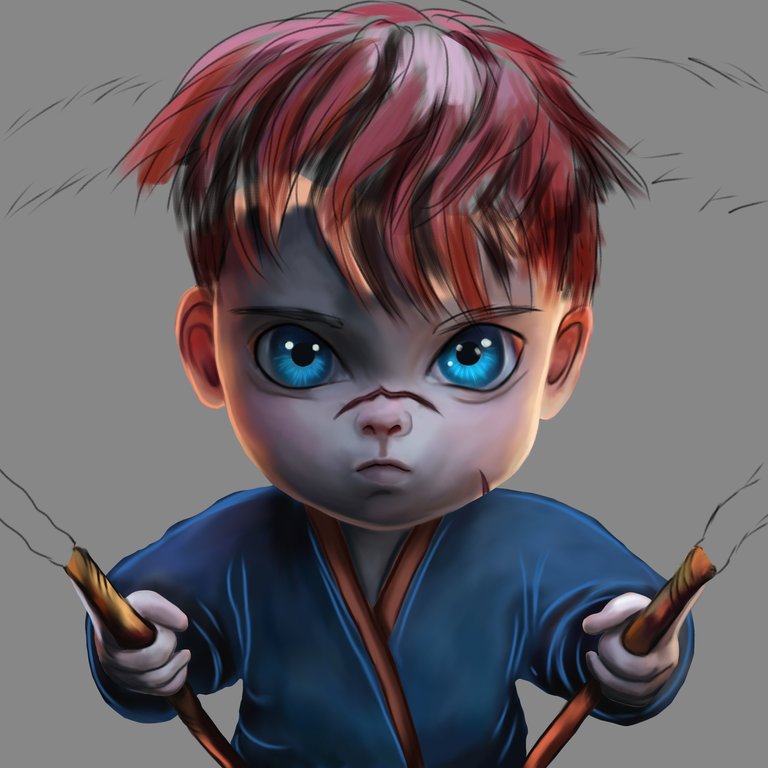
En un post anterior había ya compartido lo que es el proceso del boceto, así que tomando el boceto base que normalmente utilizo con el solo delineado pase entonces en una nueva capa a aplicar las capas de colores y detalles, y para esto use el método normal de mezcla y también la brocha plano real agregando un color de piel base para luego dar lugar a varios matices. Fui agregando colores fríos y luego fui difuminando para mezclar con la base y así crear una armonía con la iluminación, luego de esto empecé a cambiar el tono de fondo.
In a previous post I had already shared what the sketch process is, so taking the base sketch that I normally use with the only outline, I then went to a new layer to apply the layers of colors and details, and for this I used the normal method of blending and also the actual flat brush adding a base skin color and then giving rise to various shades. I was adding cold colors and then I was blurring to mix with the base and thus create a harmony with the lighting, after this I began to change the background tone.
 |  |
 |  |
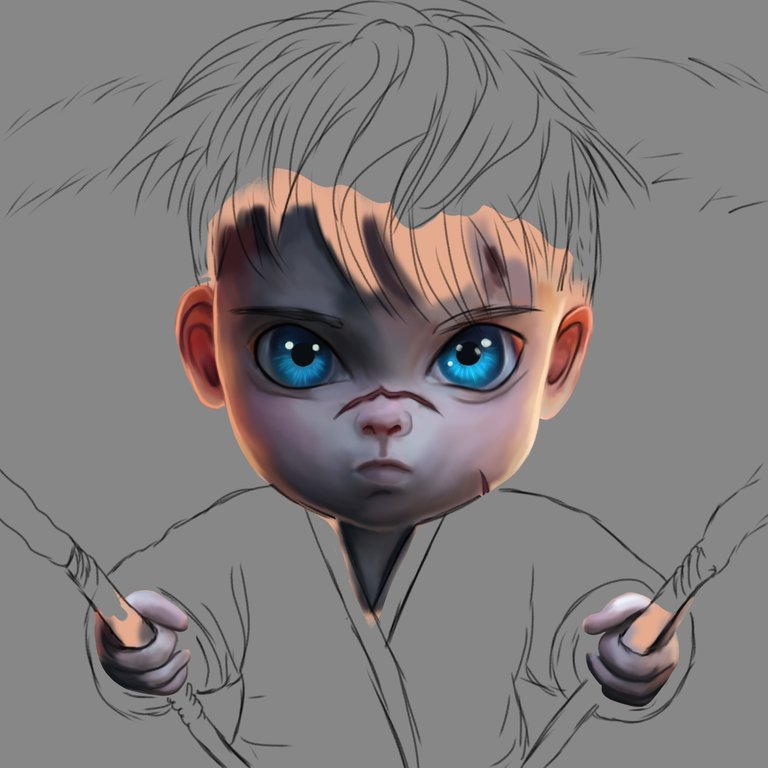
Seguí trabajando su rostro en cuanto a los ojos y boca y oscureciendo algunas líneas para definir, ya que iba borrando el delineado en negro a medida que iba avanzando. Después fui aplicando el color base en una nueva capa para ir dándole forma a la túnica usando el mismo método de mezcla normal. Luego fui difuminando para mezclar y seguí aplicando unas líneas más claras para definir los pliegues y los fui suavizando con el difumino. Después seguí borrando el delineado en negro y seguí en otra capa dándole cuerpo al cabello con la brocha tipo pincel redondo abanico, variando los tonos en una nueva capa y con el mismo método de mezcla normal.
I continued working on her face in terms of the eyes and mouth and darkening some lines to define, since I was erasing the black outline as I went along. Then I was applying the base color in a new layer to shape the tunic using the same normal blending method. Then I was smudging to blend and I continued applying some lighter lines to define the creases and I was softening them with the smudger. Then I continued erasing the outline in black and continued in another layer giving body to the hair with the round fan brush, varying the tones in a new layer and with the same normal mixing method.
 |  |
 |  |
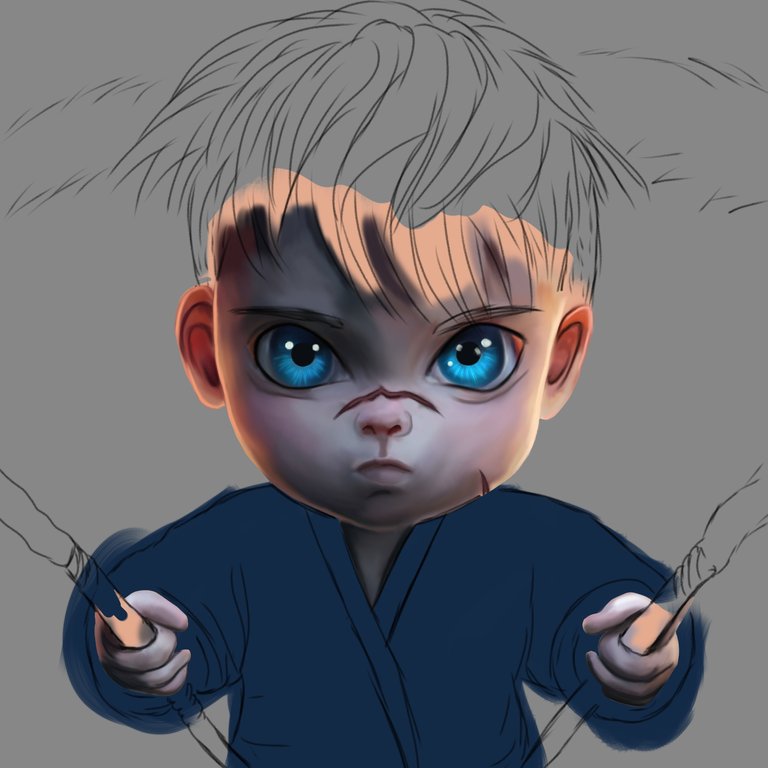
Seguí dándole profundidad al cabello con mechones más oscuros en una nueva capa por debajo de la capa principal del cabello, y cambies un azul el fondo para hacer un contraste con el rojo. Fui ilustrando los mangos de los látigos y agregando luego la llama con ese detalle de ondas en sus bases. Después de esto, fui agregando un rojo de fondo con el aerógrafo de partículas y abrí una nueva capa con superposición donde resalte algunos detalles en cuando a piel y la vestimenta, también resalte el azul de sus ojos. Luego abrí una capa en añadir para resaltar algunos brillos como en los ojos un poco en la boca y nariz, después con el pincel de punto de brillo agregué más brillos a los ojos y alrededor de los látigos y el entornos de este lindo personaje. Espero les haya gustado como finalizó el resultado de esta pieza y como siempre agradeciéndoles por estar aquí!😊👋🌷❤️💕🌛🌟feliz noches querida y linda comunidad!❤️🌷
I continued to give the hair depth with darker strands on a new layer below the main hair layer, and changed the background a blue to contrast with the red. I was illustrating the handles of the whips and later adding the flame with that wave detail at its bases. After this, I was adding a red background with the particle airbrush and I opened a new layer with an overlay where I highlighted some details in terms of skin and clothing, I also highlighted the blue of her eyes. Then I opened a layer in add to bring out some glitters like in the eyes a little bit on the mouth and nose, then with the glitter point brush I added more glitters to the eyes and around the whips and the surroundings of this cute character. I hope you liked how the result of this piece ended and as always thanking you for being here!😊👋🌷❤️💕🌛🌟Happy night dear and beautiful community!❤️🌷
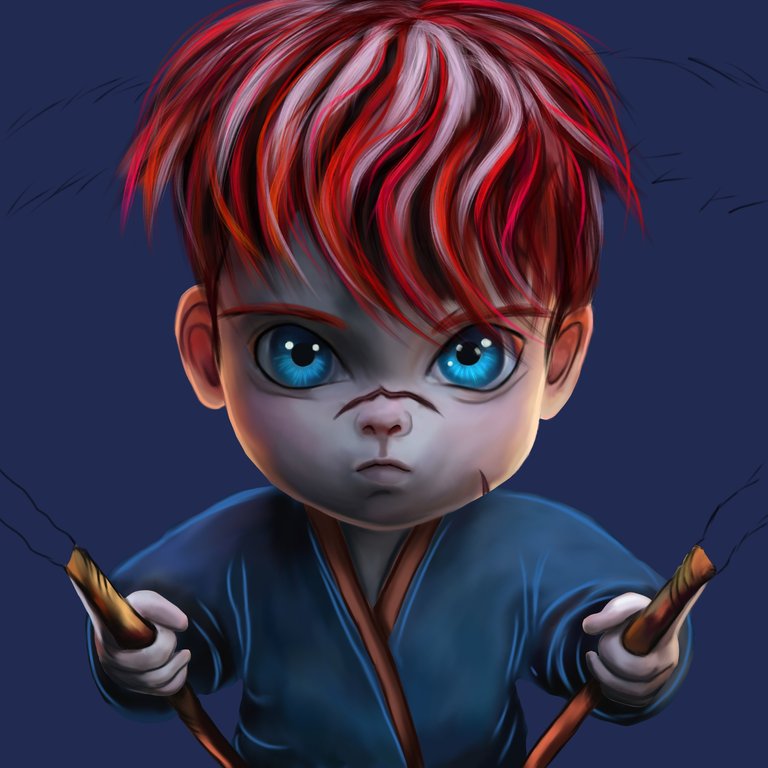 | 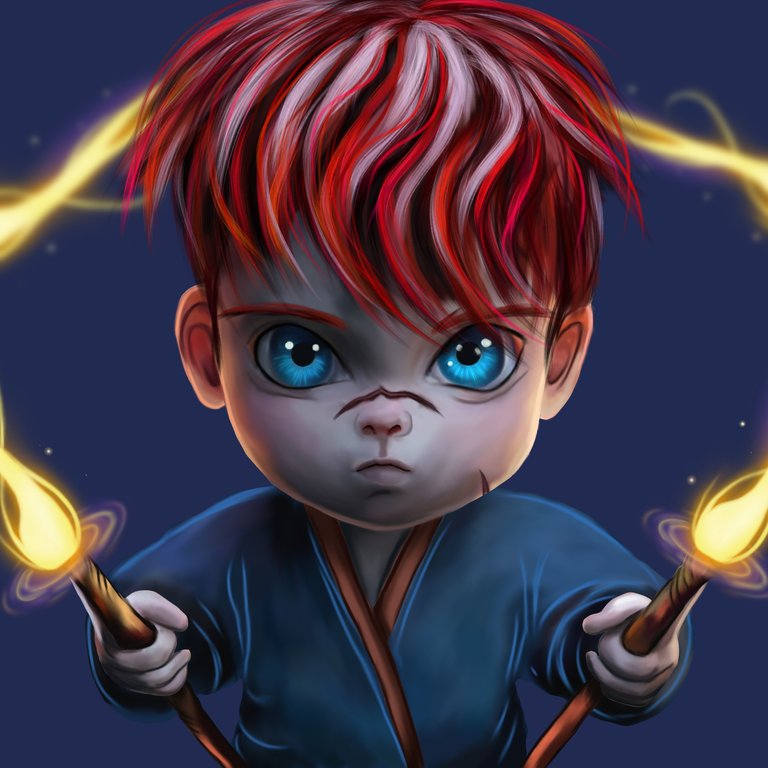 |
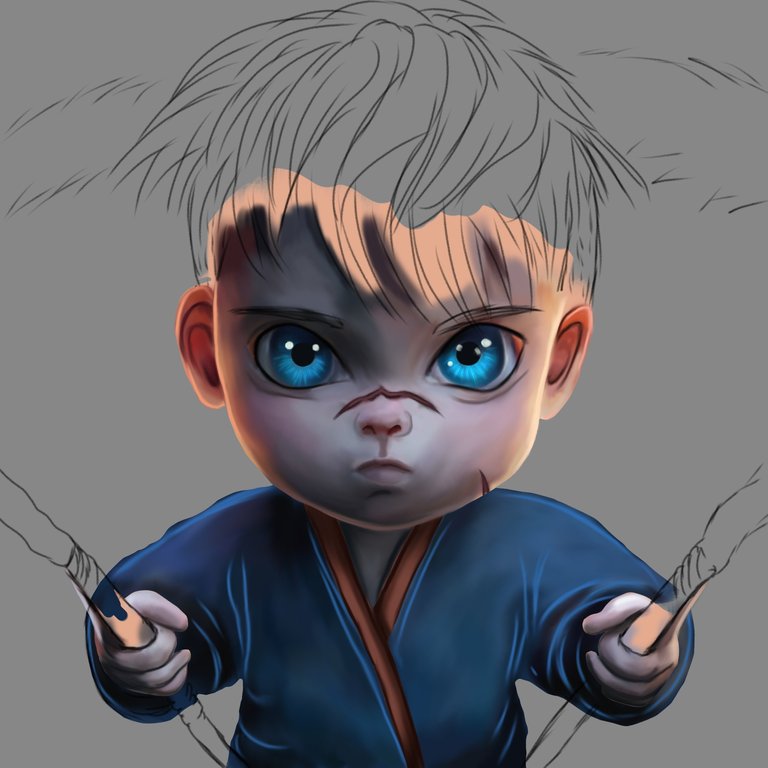
ILUSTRACIÓN FINAL/ End Illustration
Redes Sociales/ Social Networks
Sigueme en/ Follow me in:
👉Instagram: @catrynart
👉 Twitter: @catrynart
Herramientas Usadas/Used Tools
- Tablet Android/ Android Tablet
- Programa Ibis Paint X/ Ibis Paint X Program
- Traductor Deepl/ Deelp Translator
- Servidor de Imagenes Imgbb/ Imgbb Image Server
- Dactilopintura Digital/ Digital Fingerprint Painting
🌺¡HASTA EL PRÓXIMO POST!🌺

Detenerse es Retroceder
To Stop is to go Backwards
</center
@stoodkev 🥰♥️
!PGM
!PIZZA
!CTP
Thanks for sharing! - @alokkumar121
