ICE PIXIE🌊 Splinterlands Art Contest SPT W-266
Hola amigos de Hive! nuevamente les doy la bienvenida a una nueva presentación de la semana!😊👋❤️💕
Hello Hive friends! Once again I welcome you to a new presentation of the week!😊👋❤️💕
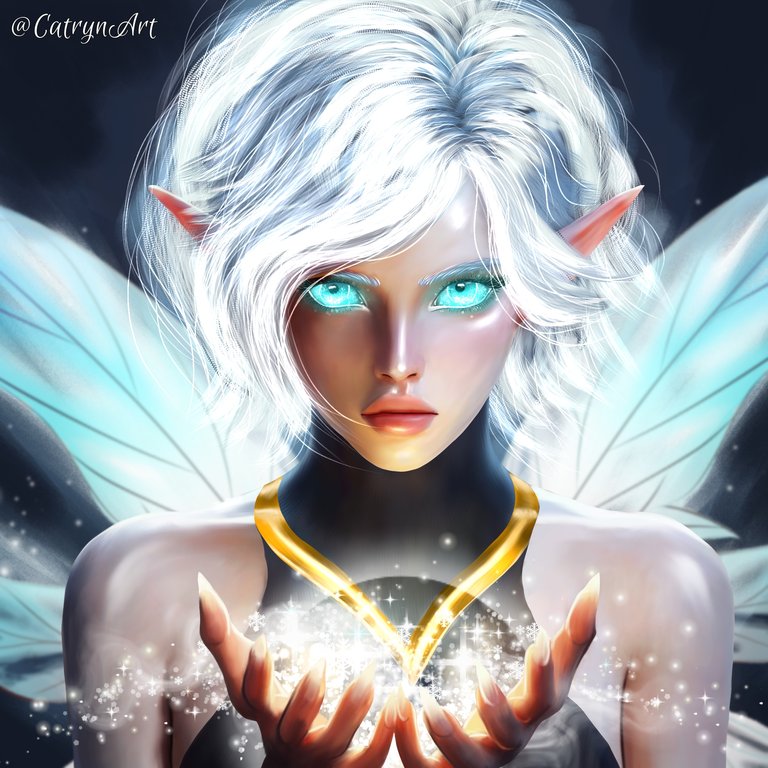

Les deseo un feliz fin de semana, en este día estoy compartiendo con ustedes mi participación al concurso de arte de @Splinterlands representando a la carta de ICE PIXIE una linda ninfa de hielo. En esta presentación me enfoque un retrato de este personaje, estaba algo corta de tiempo y no puse mucha atención a detalles. Estaba un poco desanimada y tarde mucho en los ojos no me salían como quería pero trate de difumine y agregar un leve turquesa como luz que emana de sus ojos. Espero me acompañen en este paso a paso y que disfruten de esta representación.
I wish you a happy weekend, on this day I am sharing with you my participation in the @Splinterlands art contest representing, in the style of ICE PIXIE, a beautiful ice nymph. In this presentation I focused on a portrait of this character, I was somewhat short of time and did not pay much attention to details. She was a little discouraged and after a long time her eyes didn't turn out the way I wanted but I tried to blend them out and add a slight turquoise like light emanating from her eyes. I hope you join me in this step by step and that you enjoy this representation.
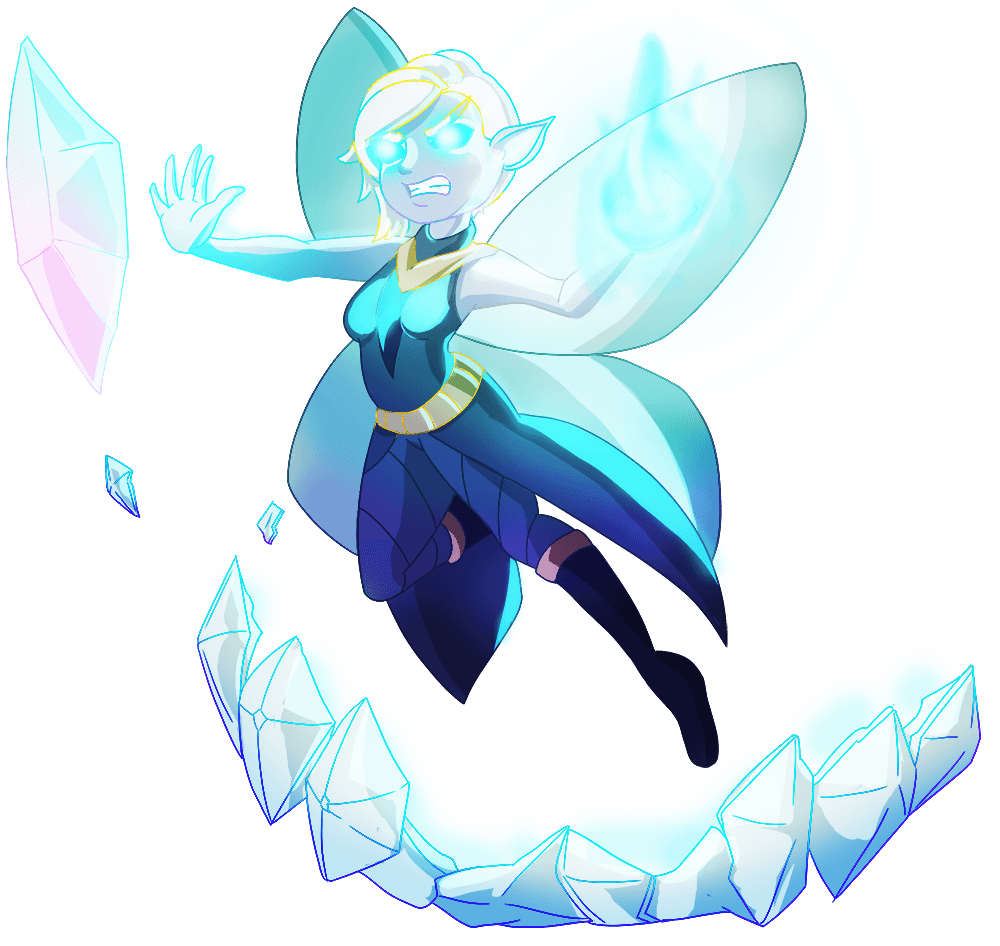
Link de la Imagen de Referencia/Reference Image Link
Etapas del Dibujo/Drawing Stages
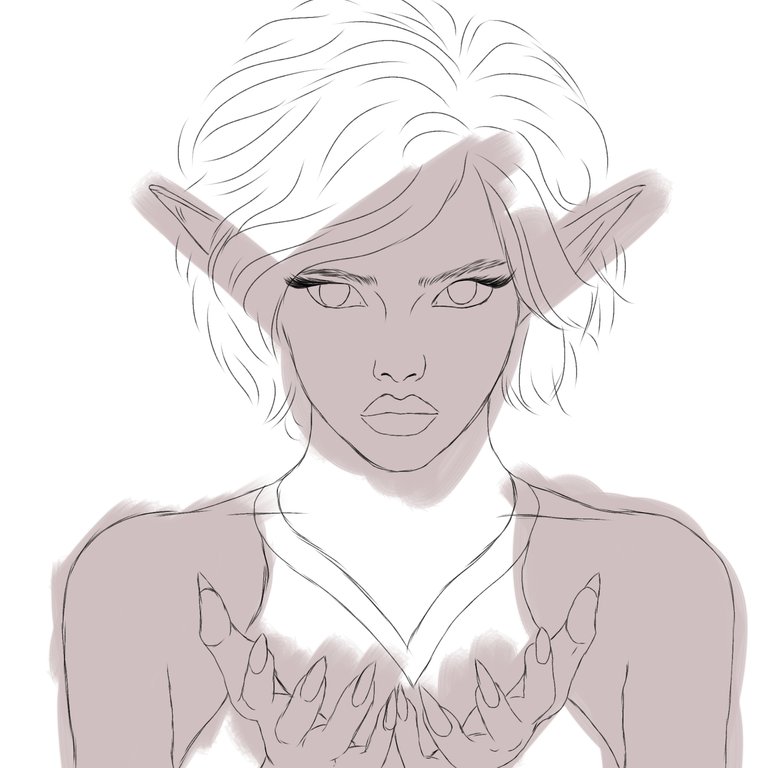
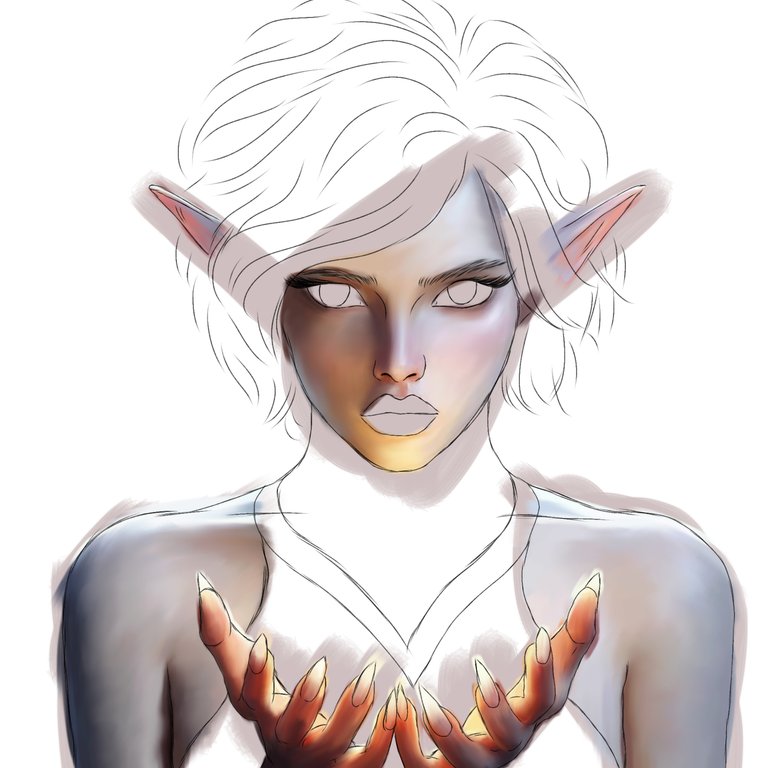
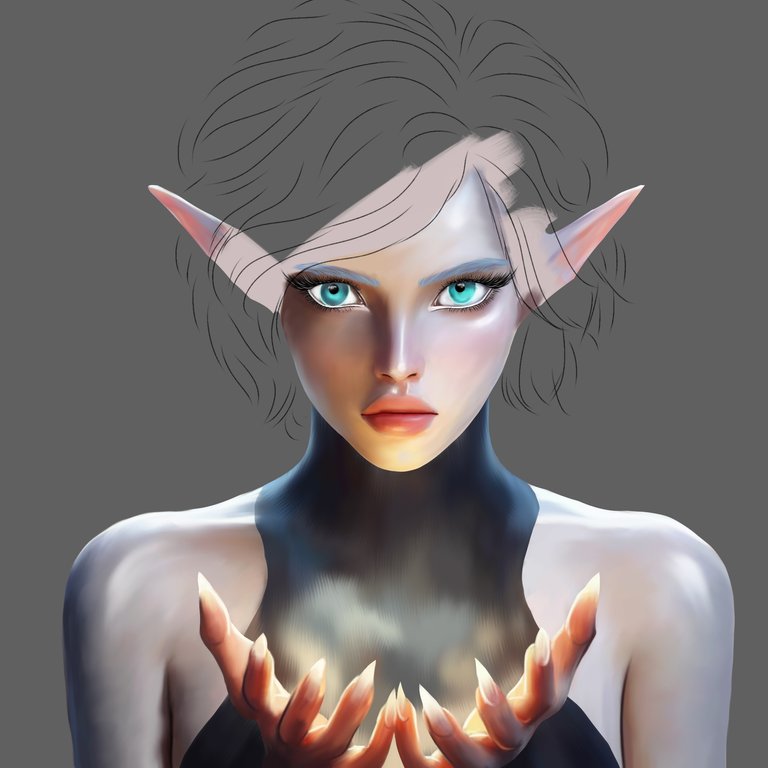
Tome para realizar el boceto la brocha tipo pelo por su fluidez en el trazo, luego en una nueva capa empecé a colocar el color base. Después empece a pincelar con la brocha tipo plano real usando método normal de mezcla, tomando tonos algo fríos y en las manos unos tonos calidos para la iluminación que quería. Fui aplicando el difumino para mezclar y suavizar y luego fui definiendo un poco más algunas sombras, seguí trabajando con el difumino. Quería lograr una piel algo fria y luego usando tonos más oscuros fui aplicando después el filtro difumino.
I took the hair-type brush to make the sketch because of its fluidity in the stroke, then in a new layer I began to place the base color. Then I started brushing with the real flat brush using the normal mixing method, taking somewhat cold tones and in my hands some warm tones for the lighting I wanted. I applied the blend to mix and soften and then I defined some shadows a little more, I continued working with the blend. I wanted to achieve a somewhat cool skin and then using darker tones I then applied the blur filter.
 |  |
 |  |
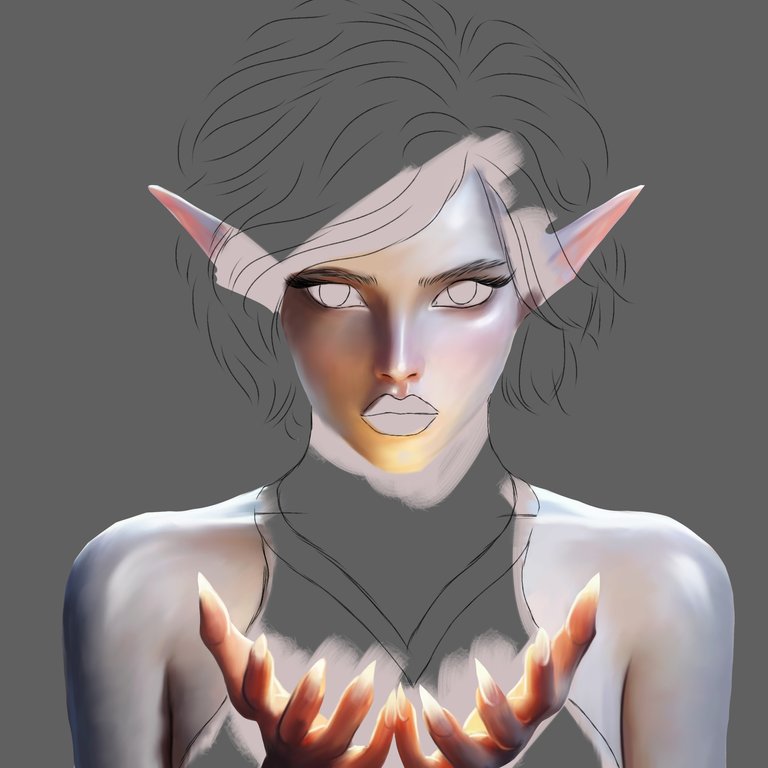 |  |
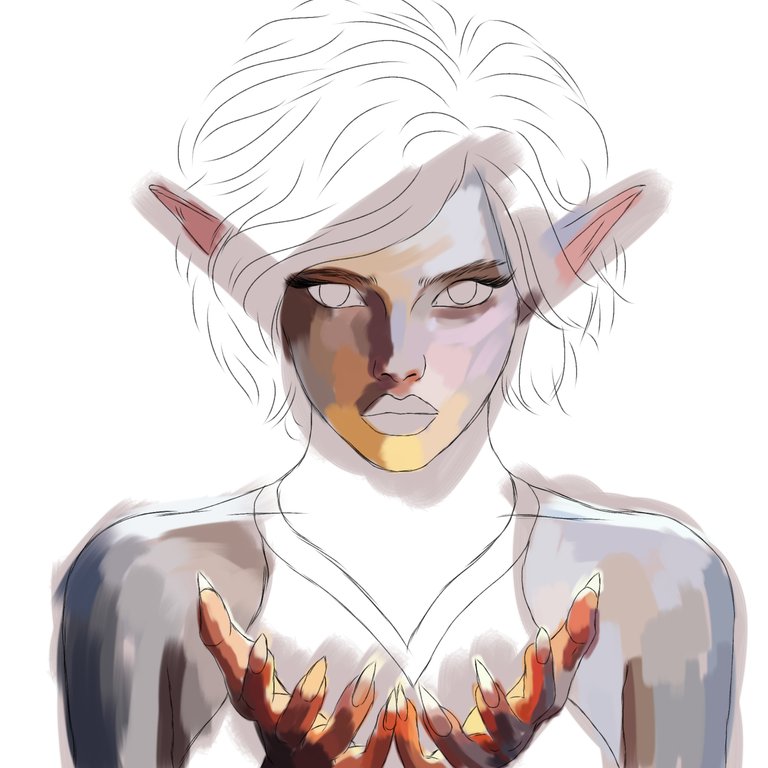
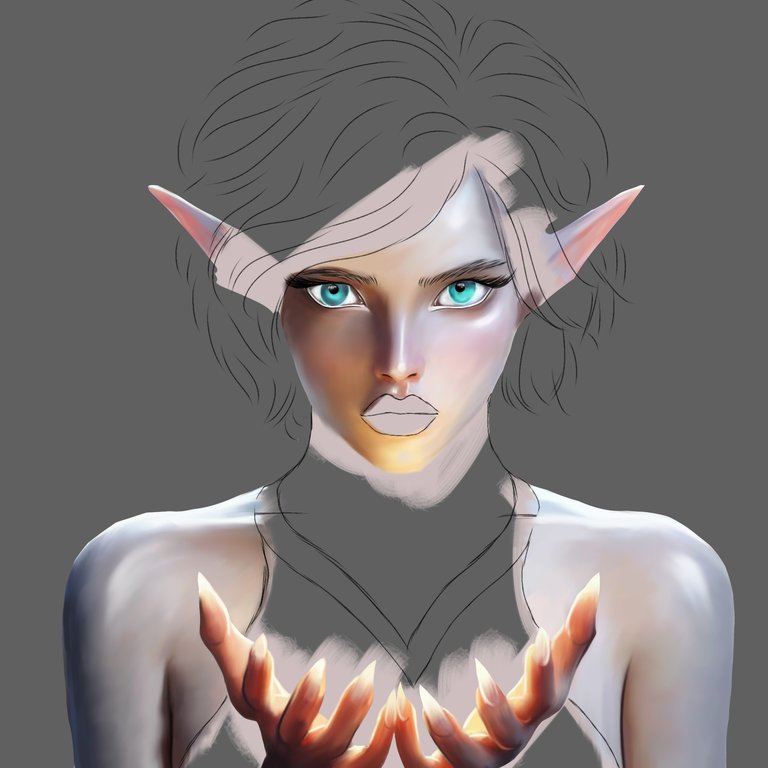
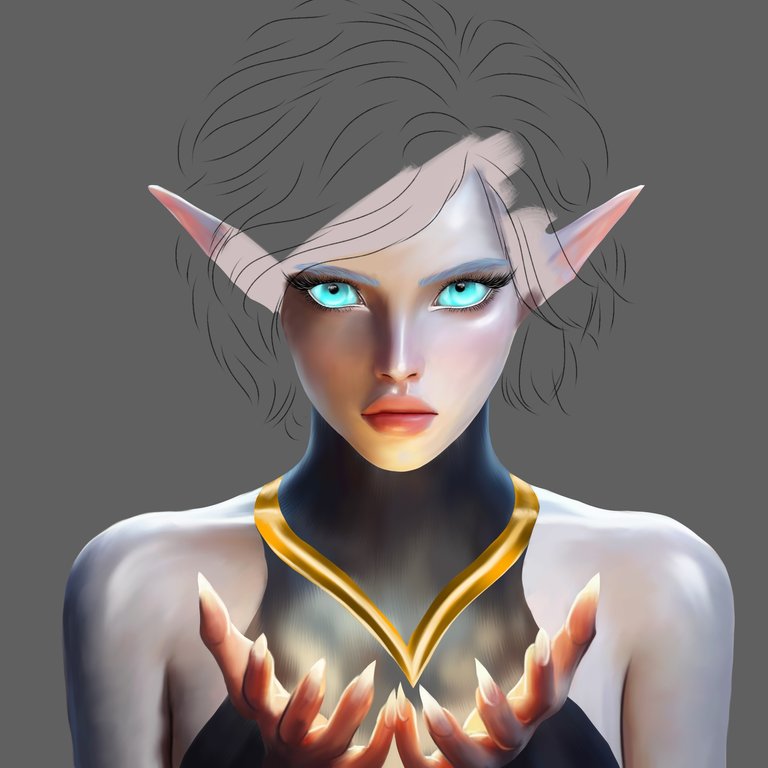
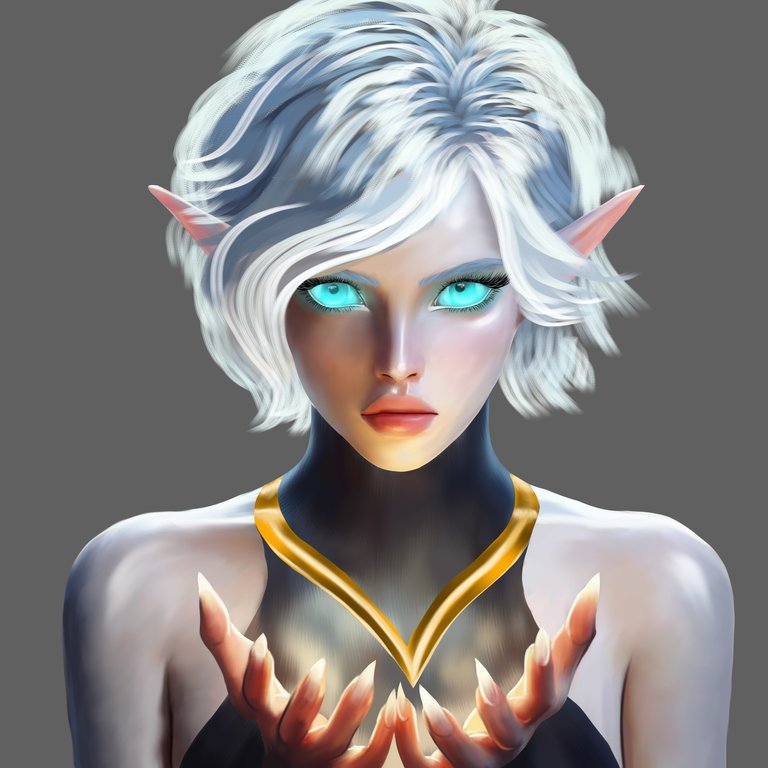
Seguí con los ojos con el mismo pincel. Fui definiendo un poco más y aplicando más iluminación para definir tambien, trabaje la boca en otra capa con el mismo pincel y el mismo método normal de mezcla, seguí con la ropa y accesorios dorado definiendo con sombras e iluminación para crear profundidad y volumen. Para el cabello use la brocha tipo pincel abanico para ir dándole forma luego use el pincel redondo, agregando capa de fondo para darle profundidad con tonos más oscuros. Luego seguí con el fondo para hacer el escenario.
I continued with the eyes with the same brush. I defined a little more and applied more lighting to define as well, I worked on the mouth in another layer with the same brush and the same normal mixing method, I continued with the gold clothing and accessories, defining with shadows and lighting to create depth and volume. For the hair, use the fan brush to give it shape, then use the round brush, adding a base layer to give it depth with darker tones. Then I continued with the background to make the stage.
 |  |
 |  |
 | 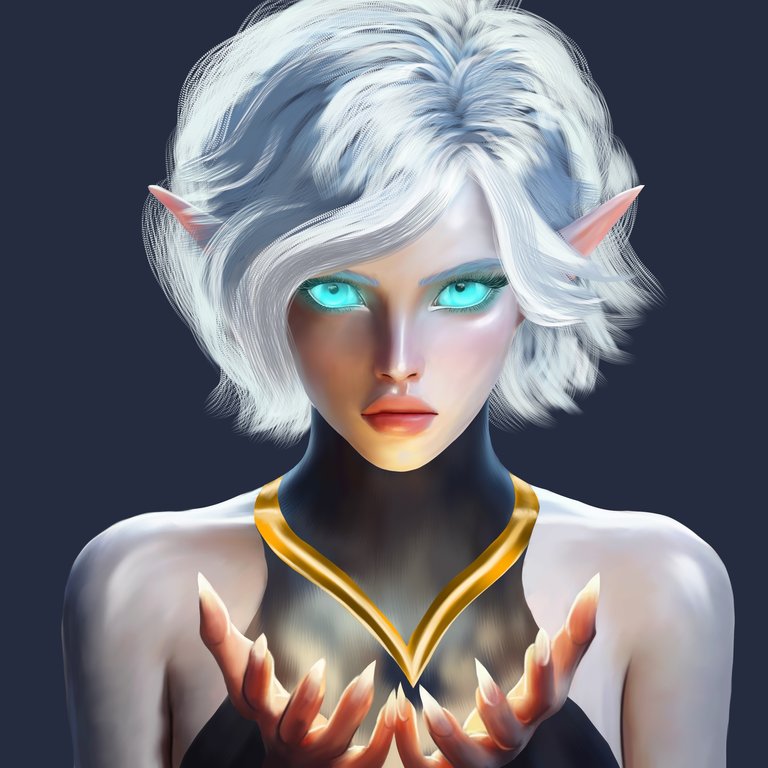 |
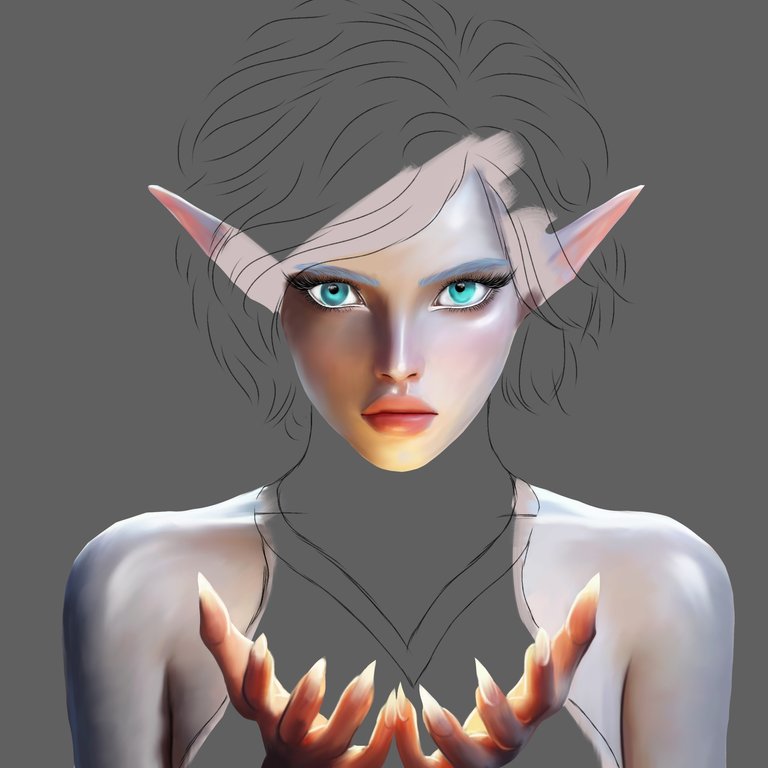
Estaba agregando para el fondo pincelada con la brocha tipo plantel suave para dar iluminación a las alas que luego agregaría, y fui dando otras pincelada de azules más claros y oscuros para crear una iluminación en el entorno, agregué una capa añadir para darle más volumen sal cabello con la brocha tipo pelo, lo trabaje muy rápido y así mismo fui agregando el aura de magia que sale de sus manos agregando un humo y difuminando, use una capa en superposición y con el pincel plano real con opacidad baja fui resaltando las sombras y agregando un poco más de iluminación, después añadi unas luces con purpurina, punto de brillo, nieve y pincel tipo luz. Así mismo con el pincel purpurina agregué brillos a los oojos. Espero les haya gustado esta nueva presentación de esta semana!🙂👋💕🌹
I was adding brushstrokes for the background with the soft stencil type brush to illuminate the wings that I would later add, and I was adding other brushstrokes of lighter and darker blues to create lighting in the environment, I added an add layer to give it more salt volume hair with the hair type brush, I worked it very quickly and in the same way I added the aura of magic that comes out of his hands by adding smoke and blurring, I used an overlapping layer and with the real flat brush with low opacity I highlighted the shadows and adding a little more lighting, then I added some glitter lights, sparkle point, snow and light brush type. Likewise, with the glitter brush I added sparkles to the eyes. I hope you liked this new presentation this week!🙂👋💕🌹
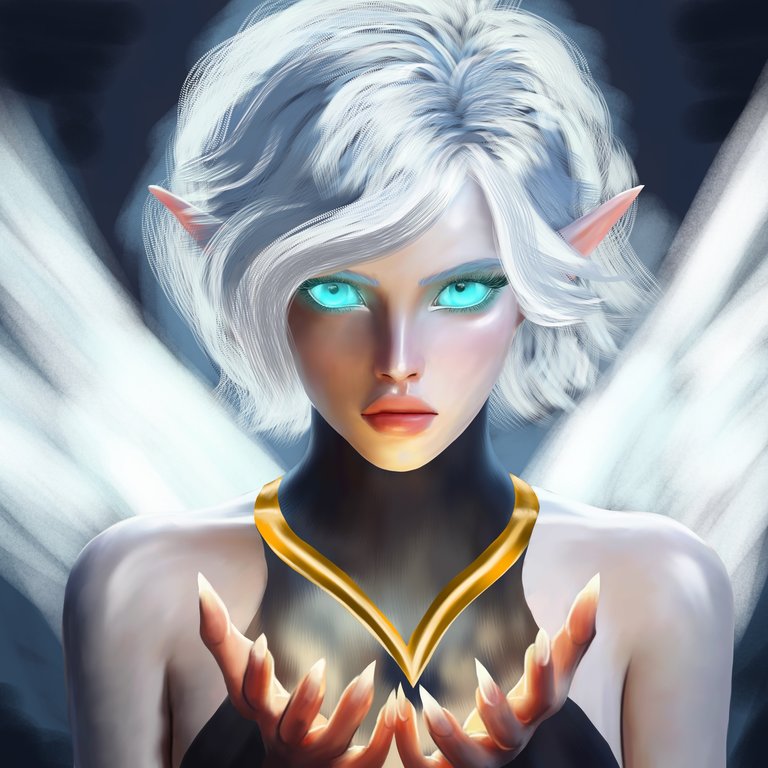 | 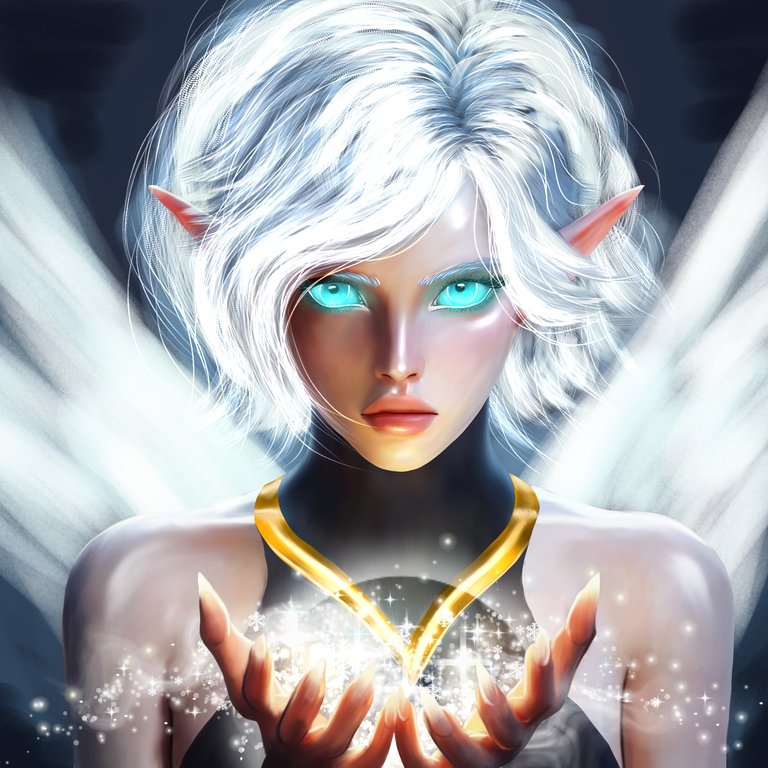 |
ILUSTRACIÓN FINAL/ End Illustration
Redes Sociales/ Social Networks
Sigueme en/ Follow me in:
👉Instagram: @catrynart
👉 Twitter: @catrynart
Herramientas Usadas/Used Tools
- Tablet Android/ Android Tablet
- Programa Ibis Paint X/ Ibis Paint X Program
- Traductor Deepl/ Deelp Translator
- Servidor de Imagenes Imgbb/ Imgbb Image Server
- Dactilopintura Digital/ Digital Fingerprint Painting
🌺¡HASTA UN PRÓXIMO POST!/ UNTIL A NEXT POST!🌺
Detenerse es Retroceder
To Stop is to go Backwards
Contáctenos para saber más del proyecto a nuestro servidor de Discord.
Si deseas delegar HP al proyecto: Delegue 5 HP - Delegue 10 HP - Delegue 20 HP - Delegue 30 HP - Delegue 50 HP - Delegue 100 HP.
@curangel thanks so 🥰🌹too to all curators❤️