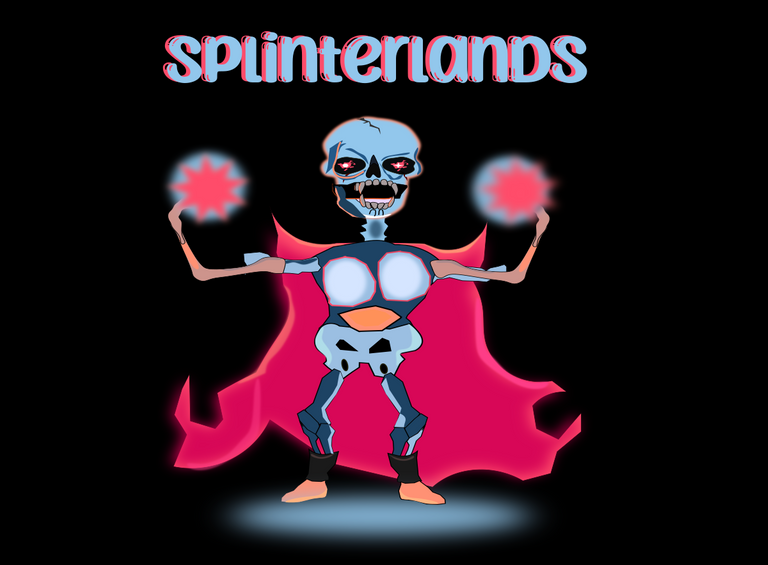
Splinterlands Art Hungry-Skull [ESP/ENG]
Paso 1:
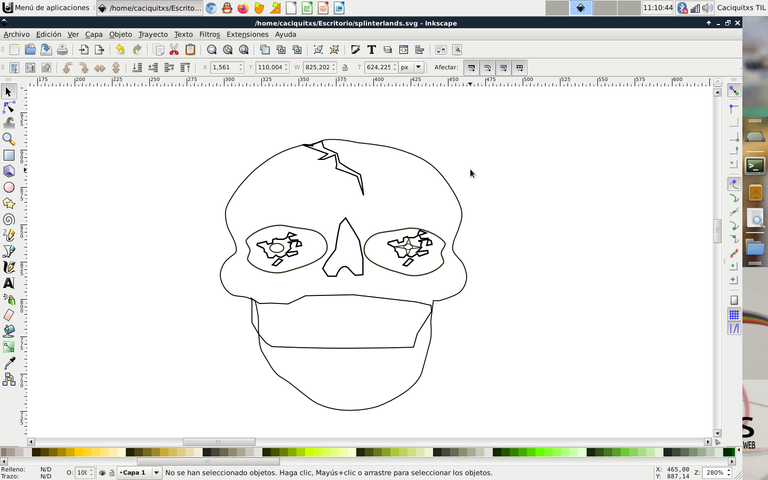
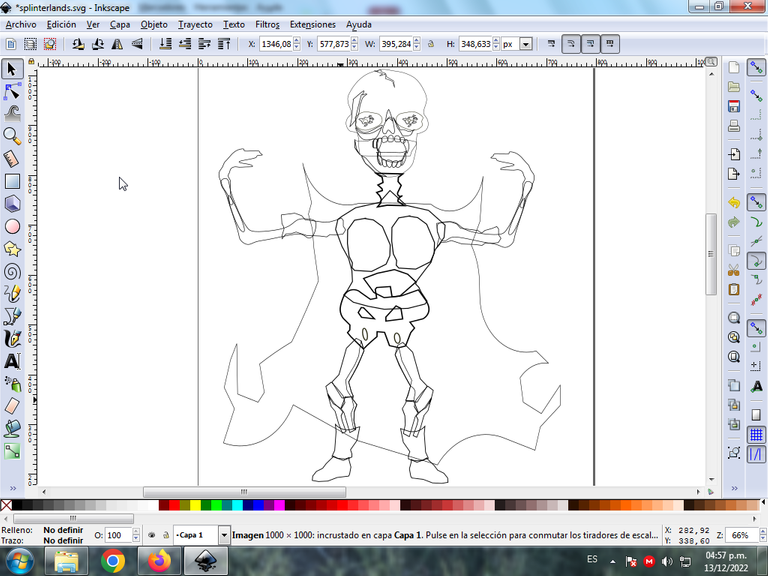
Inicié el boceto utilizando la herramienta de curvas Bézier, en este caso se selecciona la herramienta de crear trayecto Bspline, para que están vayan quedando en forma de curvas e ir adaptándolas. Se realiza el trazo de la cara en forma de carabela, luego se dibujaron ambos ojo con figuras ovaladas desde la opción de crear círculos, el ojo además presenta como una pequeña estrella y en ambo lados como un pequeño mapa.
Paso 2:
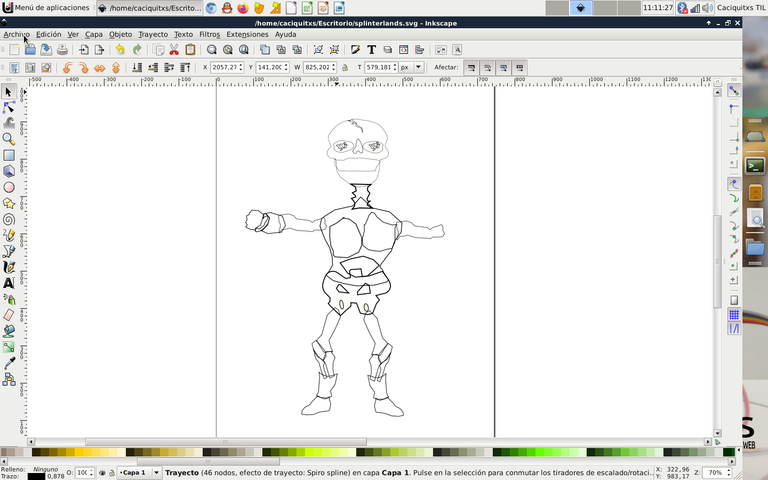
Seguidamente con la misma herramienta, dibujé el cuerpo, parte de los brazos, piernas y el pecho se colocó como un armazón que protege a esta criatura.
Paso 3:
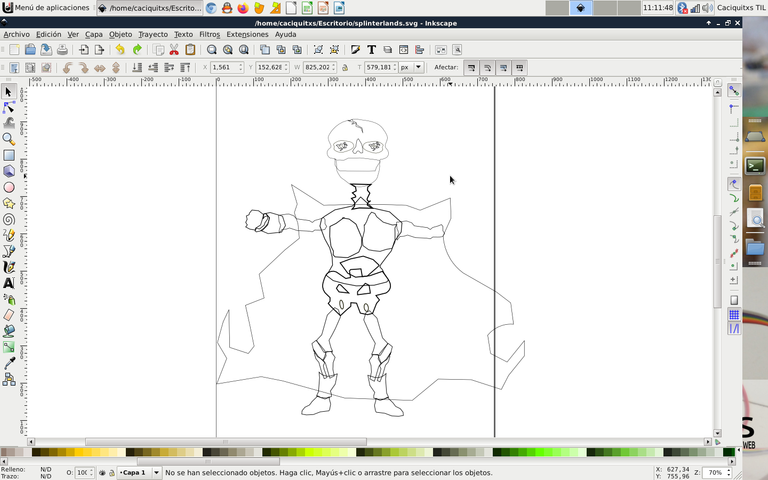
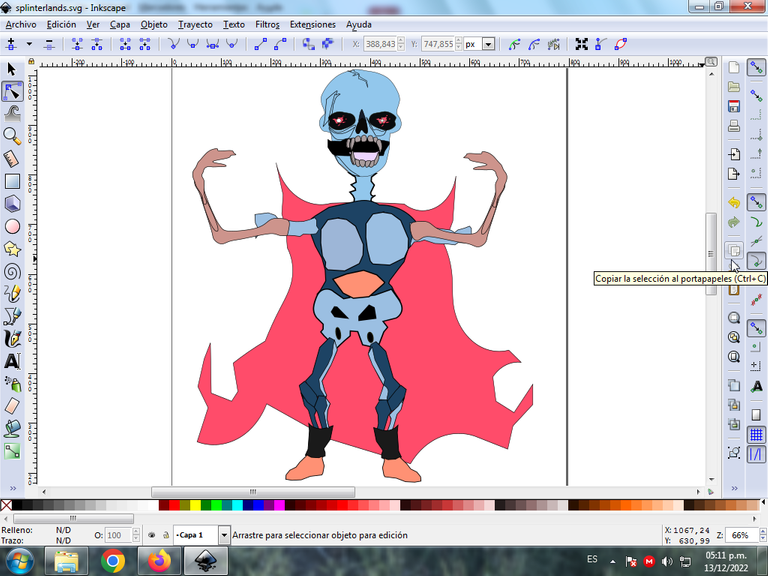
En la parte posterior, dibujé una capa, como si este personaje fuera a volar como una especie de bruja que acaba con todo lo encuentre por delante de él.
Paso 4:
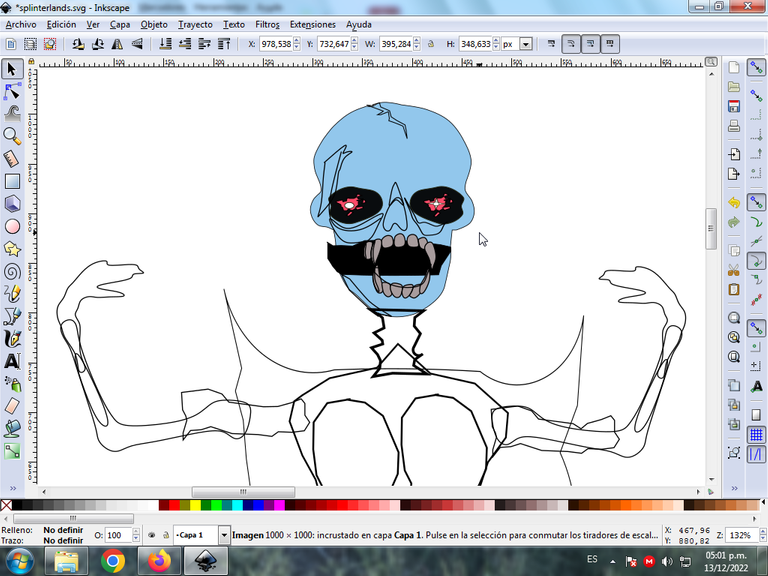
Dentro de la boca dibujo algunos dientes y colmillos, realicé varias forma encima del rosto para darle una mayor efecto al personaje, así mismo elimina una parte del brazo y lo convertí como una si fuese una garras esqueléticas.
Paso 5:
Ahora comienzo a pintar el rostro de la figura, primero que nada seleccionamos la figura que vamos a colorear y en la parte inferior tenemos la paleta de colores, donde escogemos el color que tendrá la imagen seleccionada, para ello buscamos un color azul claro, los dientes de color gris, ojo color negro, y la figura que está dentro similar a un mapa en fucsia, así voy dándole colorido a este personaje.
Paso 6:
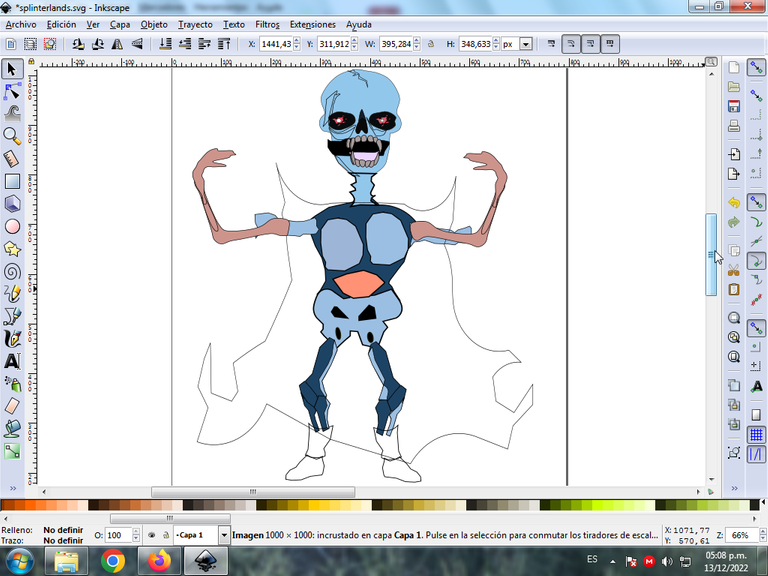
Después continué con el resto del cuerpo, aquí pareciera que estuviese como levantando una pesas. Utilicé un color azul más claro en algunas partes y un color marrón claro en los brazos esqueléticos combinado con un color naranja claro. Se pinto también la capa que está en la parte posterior.
Paso 7:
Ahora continuo pintando las formas de la cara para darle un mejor acabado al rostro esquelético. Esta forma procedemos a borrar los bordes de cada una, dentro de la barra de menú Objeto en rellenos y bordes, en la pestaña de color de trazo hacemos clic en la X y de esta manera se eliminan los bordes.
Paso 8:
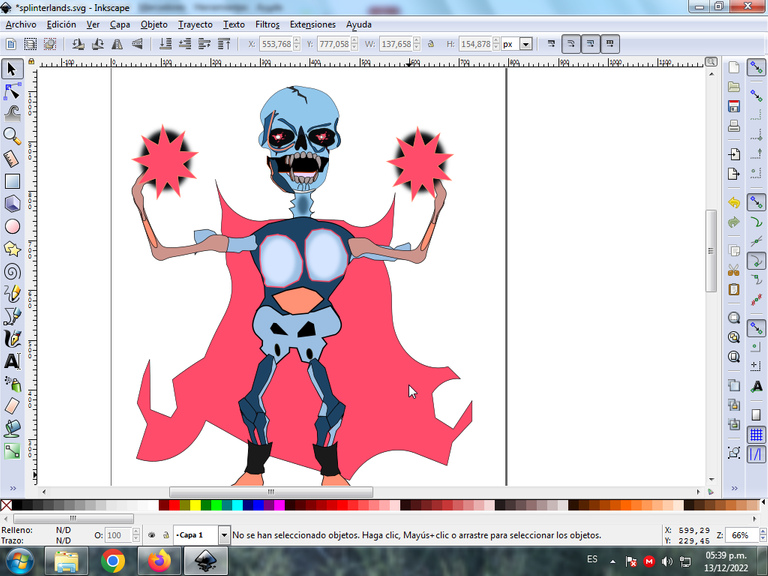
En ambos lados dibujé un círculo y una estrella que es levantada por las manos, para no dejarla de esta forma levantadas sin nada y las pinté del mismo color de los ojos.
Paso 9:
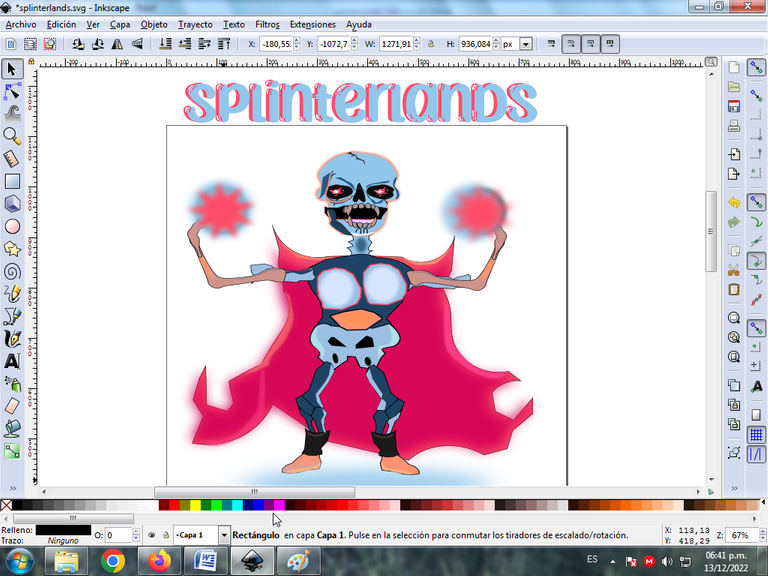
Se escribió en la parte posterior, la palabra Splinterlands, con el mismo color del rostro y el fondo fucsia. Se realizan varios trazos encima de la capa y en las botas para darle un mayor efecto al personaje, además de trazar una figura ovalada y se aplica un pequeño degradado y desenfoque de 16% para darle un mejor efecto.
Paso 10:
Se insertó un fondo color negro para destacar mejor la ilustración.
Imagen de Referencia Fuente
Espero que les haya gustado, si deseas participar en este concurso, aquí te dejo las bases.
English
Greetings friends from Hive, I haven't drawn for a long time, today I present to you an illustration of a character from Splinterlands, called Hungry Skull, which was made with the Inskcape vector program. Here I show you the process:
Step 1:
I started the sketch using the Bézier curves tool, in this case the tool to create the Bspline path is selected, so that they remain in the form of curves and adapt them. The outline of the face is made in the shape of a caravel, then both eyes were drawn with oval figures from the create circle option, the eye also presents as a small star and on both sides as a small map.
Step 2:
Next with the same tool, I drew the body, part of the arms, legs and the chest was placed as a frame that protects this creature.
Step 3:
On the back, I drew a cape, as if this character was going to fly like some kind of witch that destroys everything in front of him.
Step 4:
Inside the mouth I draw some teeth and fangs, I made several shapes on top of the face to give the character a greater effect, likewise I removed a part of the arm and turned it into a skeletal claw.
Step 5:
Now I begin to paint the face of the figure, first of all we select the figure that we are going to color and in the lower part we have the color palette, where we choose the color that the selected image will have, for this we look for a light blue color, the gray teeth, black eyes, and the figure that is inside similar to a map in fuchsia, so I am giving color to this character.
Step 6:
Then I continued with the rest of the body, here it seems that I was lifting a weight. I used a lighter blue color on some parts and a light brown color on the skeletal arms combined with a light orange color. The cape on the back was also painted.
Step 7:
Now I continue painting the shapes of the face to give a better finish to the skeletal face. In this way we proceed to delete the borders of each one, within the Object menu bar in fills and borders, in the stroke color tab we click on the X and in this way the borders are eliminated.
Step 8:
On both sides I drew a circle and a star that is raised by the hands, so as not to leave it raised like this with nothing and I painted them the same color as the eyes.
Step 9:
The word Splinterlands was written on the back, with the same color as the face and the fuchsia background. Several strokes are made on top of the cape and on the boots to give the character a greater effect, in addition to drawing an oval figure and a small gradient and blur of 16% are applied to give it a better effect.
Step 10:
A black background was inserted to better highlight the illustration.
Reference Image Source
I hope you liked it, if you want to participate in this contest, here are the rules.

Vote la-colmena for witness By @ylich

This post has been manually curated by @steemflow from Indiaunited community. Join us on our Discord Server.
Do you know that you can earn a passive income by delegating to @indiaunited. We share 100 % of the curation rewards with the delegators.
Here are some handy links for delegations: 100HP, 250HP, 500HP, 1000HP.
Read our latest announcement post to get more information.
Please contribute to the community by upvoting this comment and posts made by @indiaunited.
Greetings friends thank you very much for evaluating my publication
https://twitter.com/491703210/status/1602813081649823744
The rewards earned on this comment will go directly to the people( @cetb2008 ) sharing the post on Twitter as long as they are registered with @poshtoken. Sign up at https://hiveposh.com.
Jejej amigo me encantó!! No sabía que dibujabas también!! Me encanta el arte digital! Muy original tu dibujo! A por más!
Hola amiga si ja ja gracias por comentar en mi blog.