Splinterlands Art Contest 256 - GIANT SCORPION FAN ART SCULPTURE
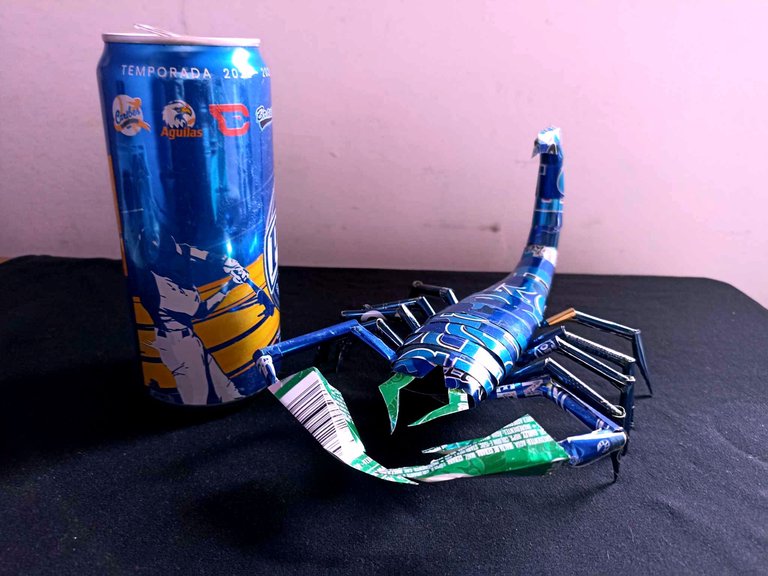
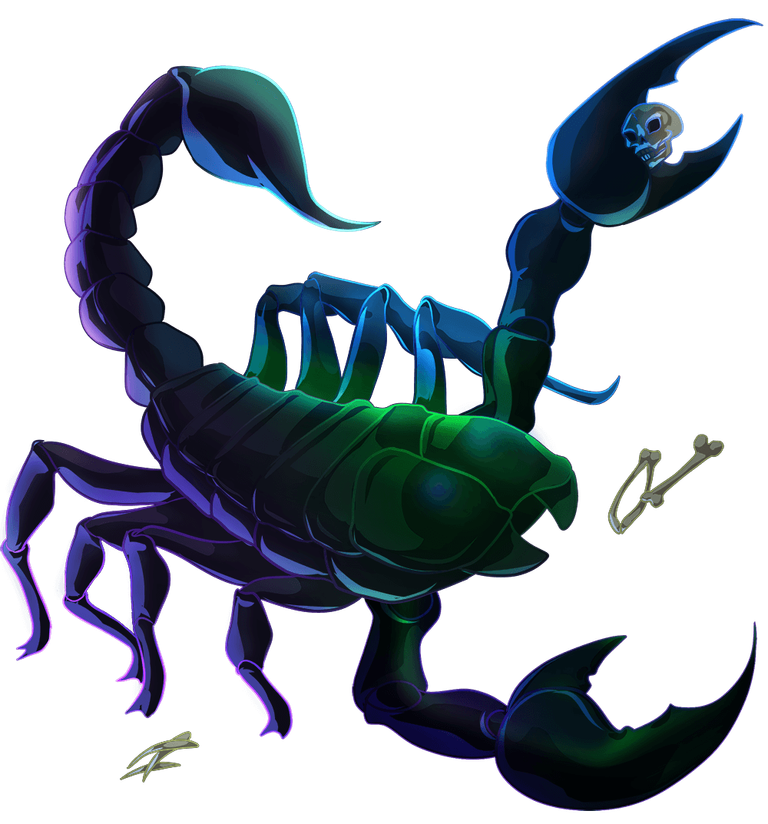
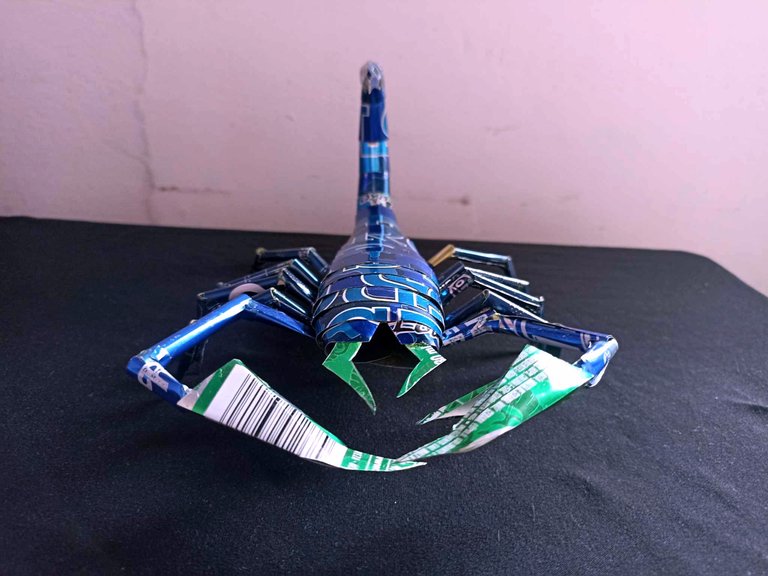
Hello dear friends, I hope you are doing well, this time I want to present to you my latest work, since I was a little withdrawn from crafts. This week my participation in the Splinterlands 256 contest my contribution is a handmade sculpture of the GIAN SCORPION letter which has a design that I think is great. I have made my sculpture with recycled materials, such as aluminum soda cans, which is a material that can be used a lot, the model is made without a support template, rather than measurements made by me and based on images of real scorpions to try to give it realism even if it was with this material. The figure measures 20 centimeters high by 10 centimeters wide by 10 centimeters high in the tail, try to make it very giant hehehe, without further ado I will explain the step by step below.
Hola queridos amigos, espero que se encuentren muy bien, en esta oportunidad quiero presentar a ustedes mi último trabajo, ya que me encontraba un poco retirado de las manualidades. En esta semana mi participación en el concurso 256 de Splinterlands mi aporte se trata de una escultura hecha a mano de la carta GIAN SCORPION el cual tiene un diseño que me parece genial. Mi escultura la he hecho con materiales de reciclaje, como por ejemplo latas de aluminios de soda el cual es un material que se puede aprovechar mucho, el modelo está realizado sin una plantilla de apoyo, más que medidas hechas por mi y basándome en imágenes de escorpiones reales para tratar de darle realismo aunque fuera con este material. La figura mide 20 centímetros de alto por 10 centímetros de ancho por 10 centímetros de alto en la cola, trate de hacerlo bien gigante jejeje, sin más a que hacer referencia les explico a continuación el paso a paso.

 |  | |
|---|---|---|
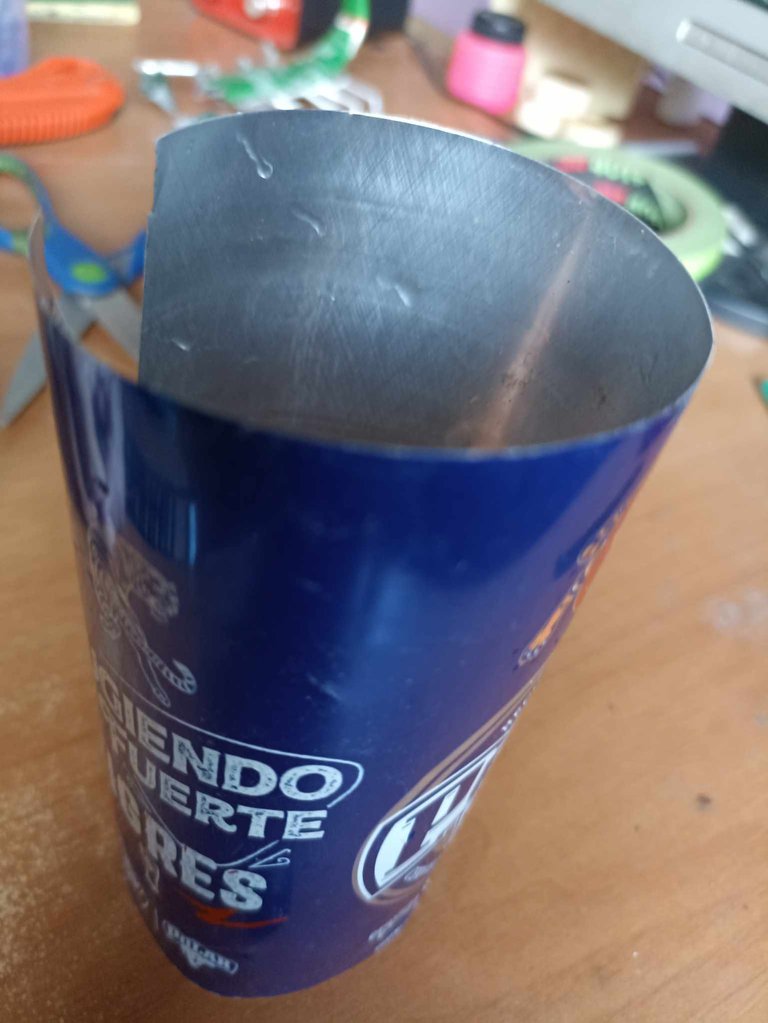 |  |
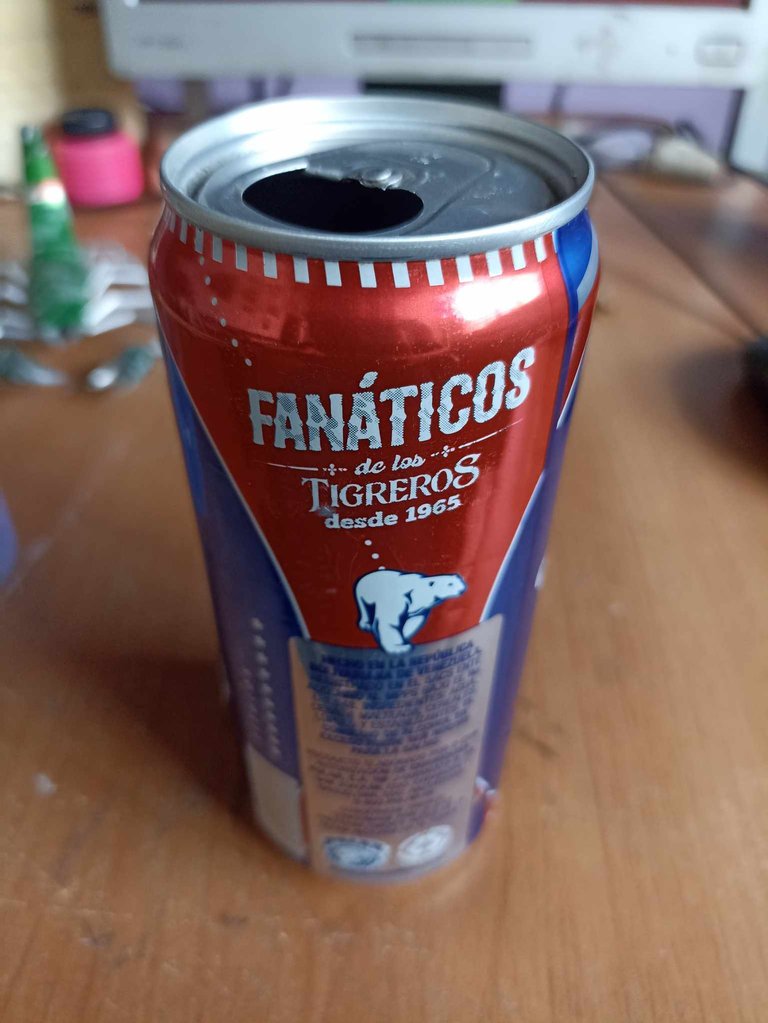
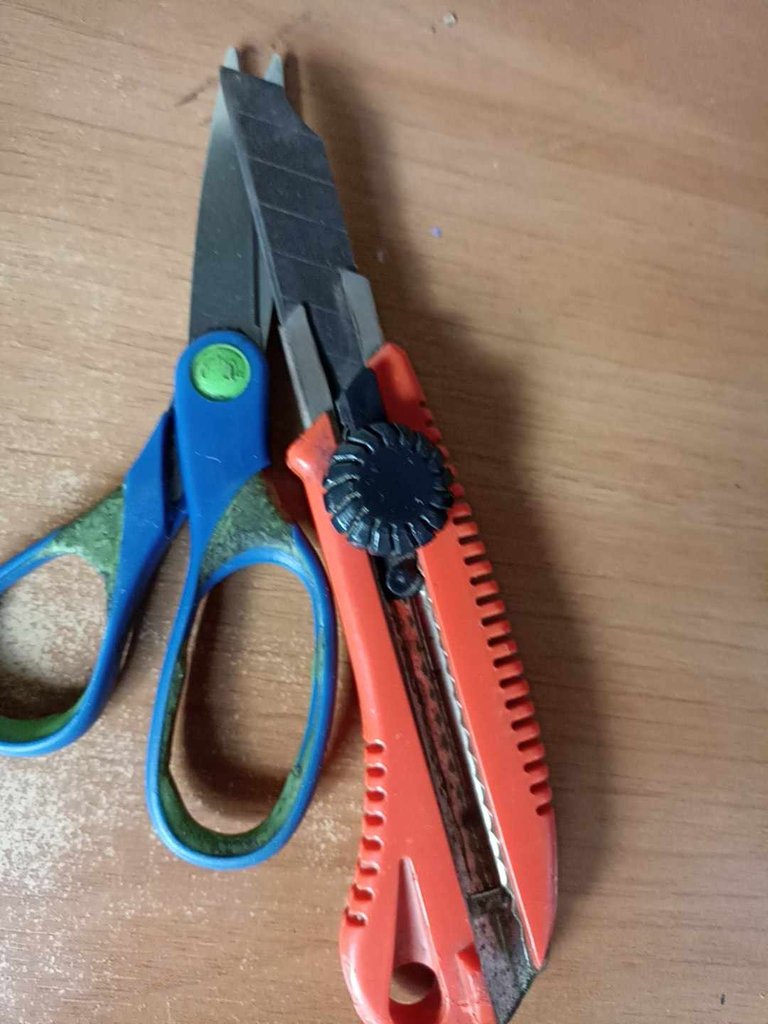
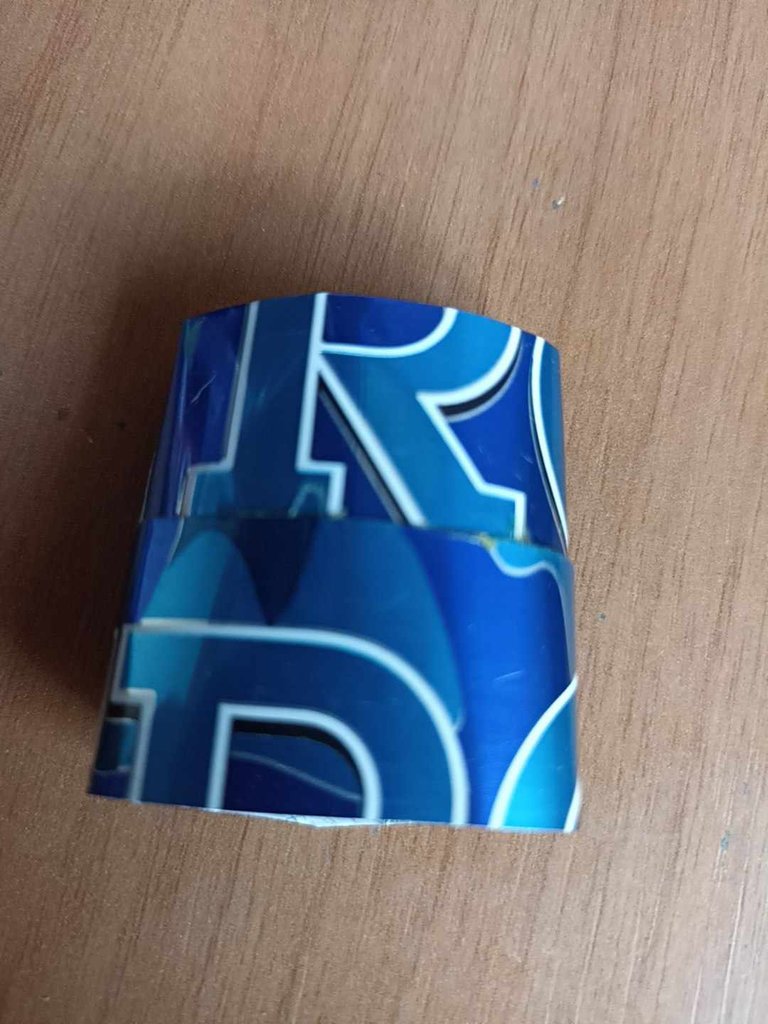
As you can see I used soda cans because aluminum is great for making sculptures, it's like paper but more resistant, the only point against it is that you have to be very careful since it's very sharp, so when using tools like Scissors and knives must be cut carefully so as not to hurt your hands. By cutting the can it can be stretched and become a sheet on which you can make lines and then take out the shapes and patterns.
Como pueden observar utilicé latas de soda porque el aluminio es genial para hacer escultura, es como un papel pero más resistente, el único punto en contra es que se debe tener mucho cuidado ya que es muy filoso, de manera que al usar las herramientas como tijeras y navajas hay que cortar con cuidado para no herirse las manos. Al cortar la lata se puede estirar y convertirse en una lámina sobre la cual se pueden hacer trazos para luego sacar las formas y patrones.
 |  | |
|---|---|---|
 |  |
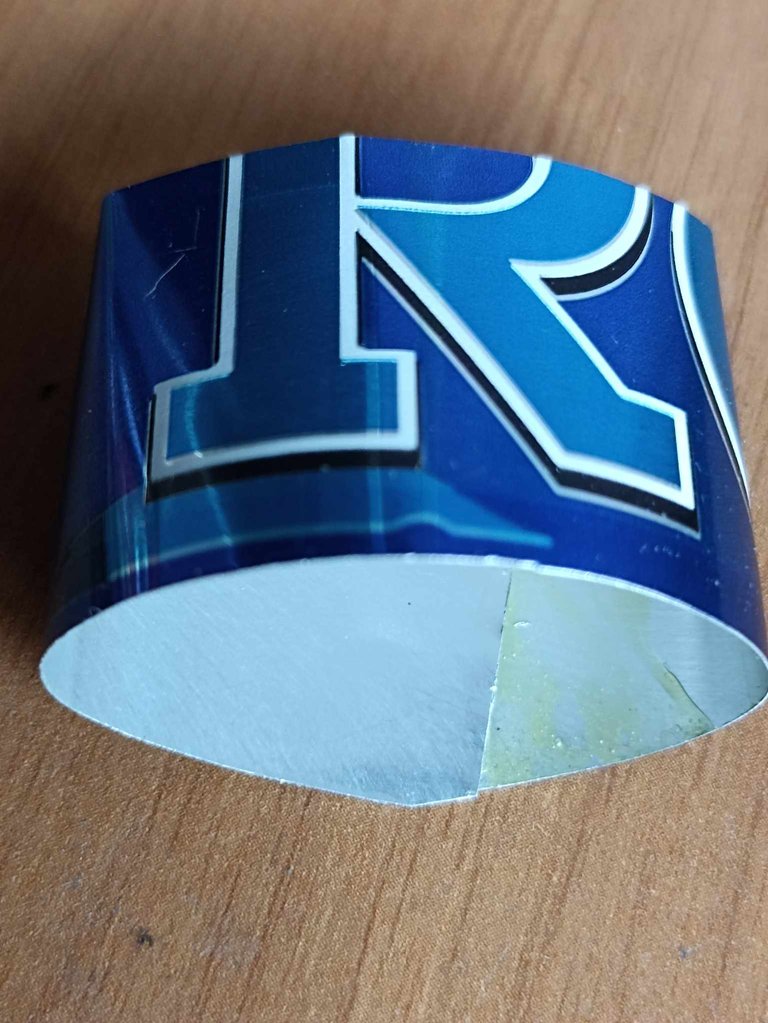
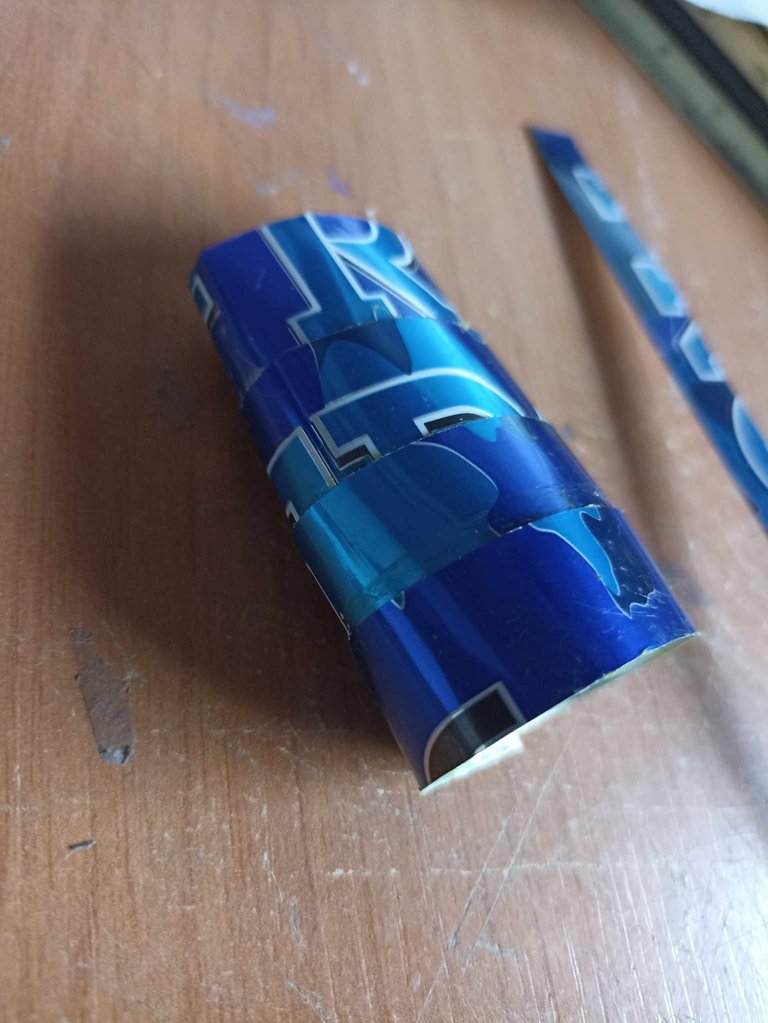
I start by making the body first, the method I follow to do it is as follows: I cut the aluminum sheet into thin strips of different sizes, for example, for the side of the head I cut them to a thickness of 1.5 centimeters and long 9 centimeters. I turn each strip into an oval-shaped ring so that I can then join one by one, and in the middle part of the body the strips are cut to a greater thickness, 2.5 centimeters, this so that it can better support the tail on which the entire weight of the sculpture falls.
Comienzo haciendo en primer lugar el cuerpo, el método que sigo para hacerlo es el siguiente: corto la lámina de aluminio en finas tiras de distintas medidas, por ejemplo, para el lado de la cabeza las corto de un grosor de 1,5 centímetros y de largo de 9 centímetros. Cada tira la convierto en un anillo con forma de óvalo para así luego ir uniendo uno por uno, ya en la parte media del cuerpo las tiras las corto de un grosor más grande, de 2,5 centímetros, esto para que pueda sostener mejor la cola sobre la cual recae todo el peso de la escultura.
 |  | |
|---|---|---|
 |  |
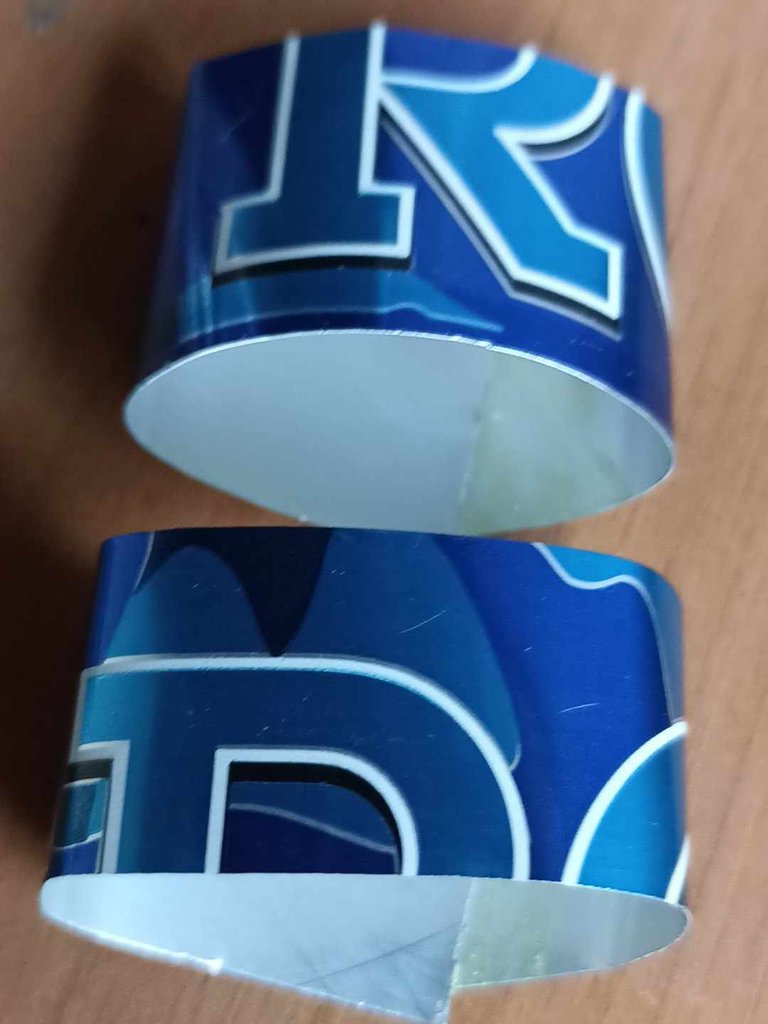
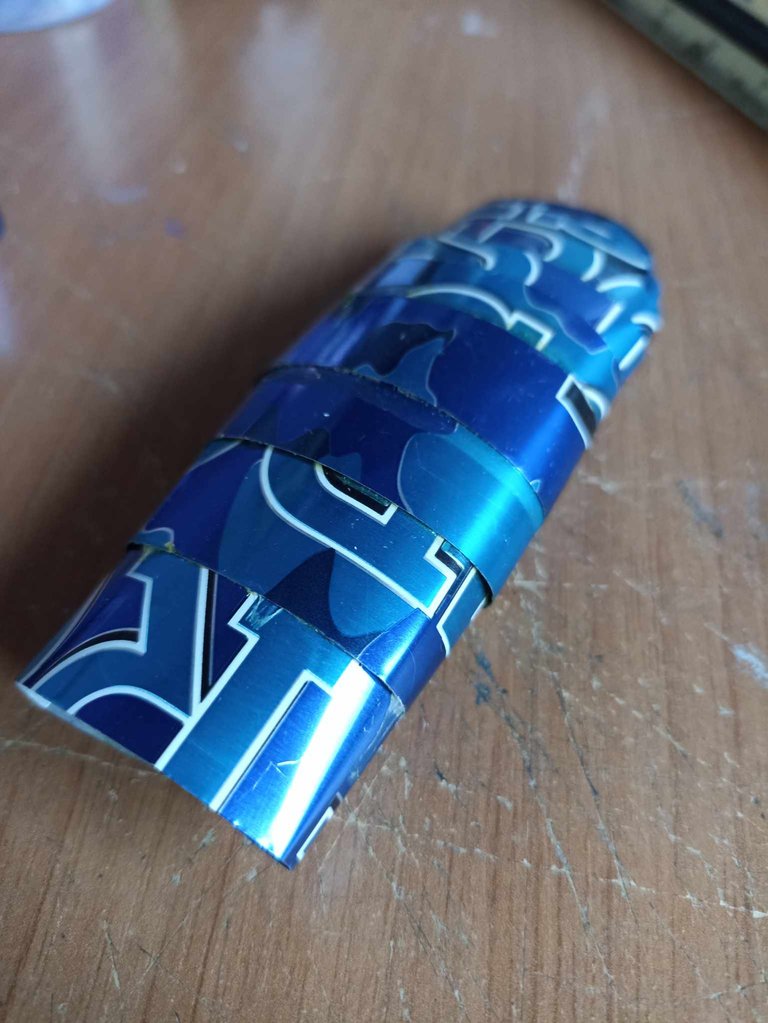
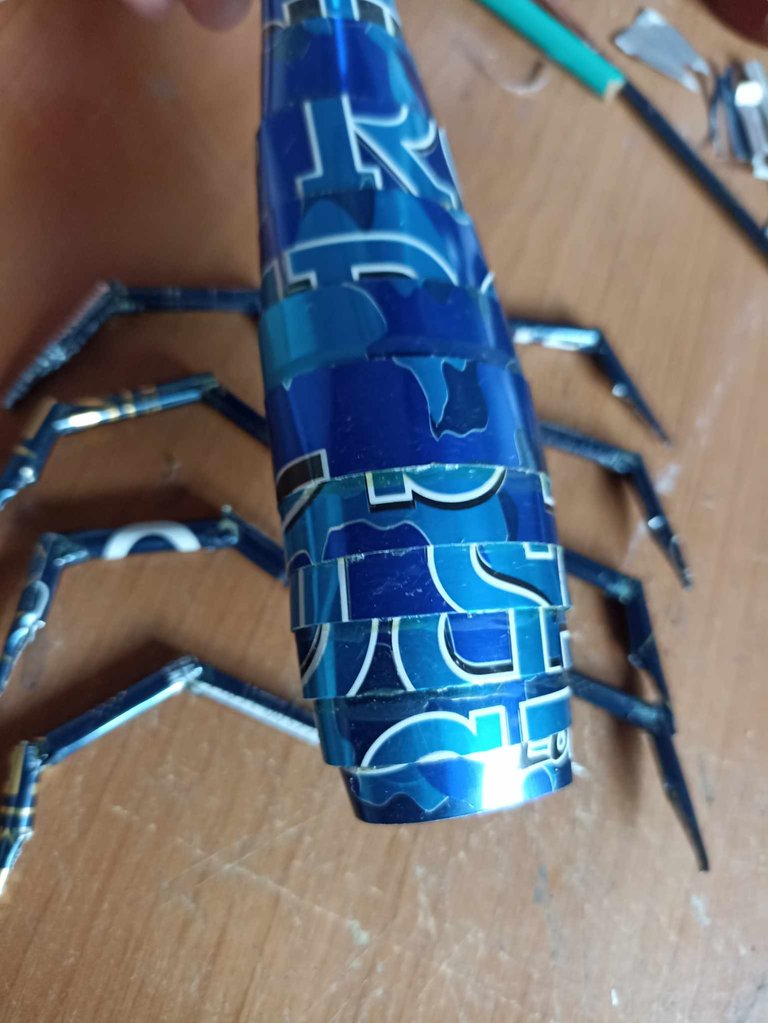
I cut 18 strips in total to make oval rings from the head to the stinger, as I said before the rings that go in the central part of the body are less thick, in this case 1.5 centimeters and the process is the same to join them . So that each ring is fixed with the other, glue is placed on the inside of the ring and on the other ring glue is placed on the outside, then I hold it with pliers so that the joining process is better.
Corté 18 tiras en total para hacer anillos ovalados desde la cabeza hasta el aguijón, como dije antes los anillos que van en la parte central del cuerpo tienen un grosor menor, en este caso de 1,5 centímetros y el proceso es el mismo para unirlos. Para que cada anillo quede fijado con el otro, se coloca pegamento en la parte interior del anillo y en el otro anillo se coloca pegamento en la parte exterior, luego lo sujeto con unas pinzas para que el proceso de unión quede mejor.
 |  | |
|---|---|---|
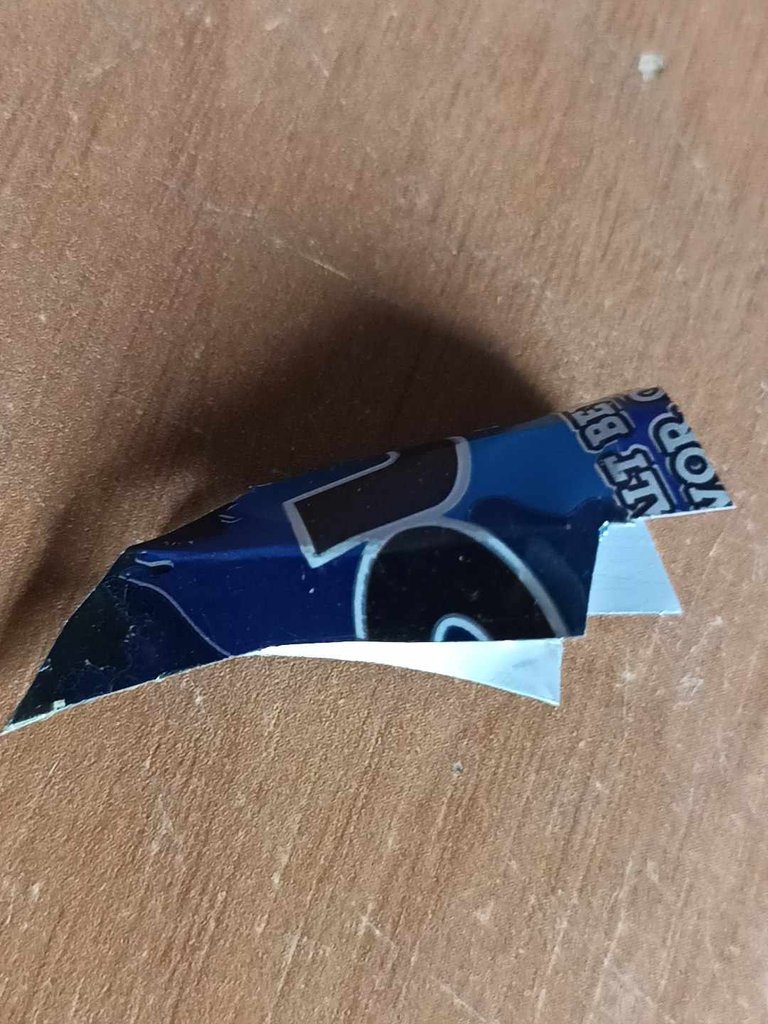 | 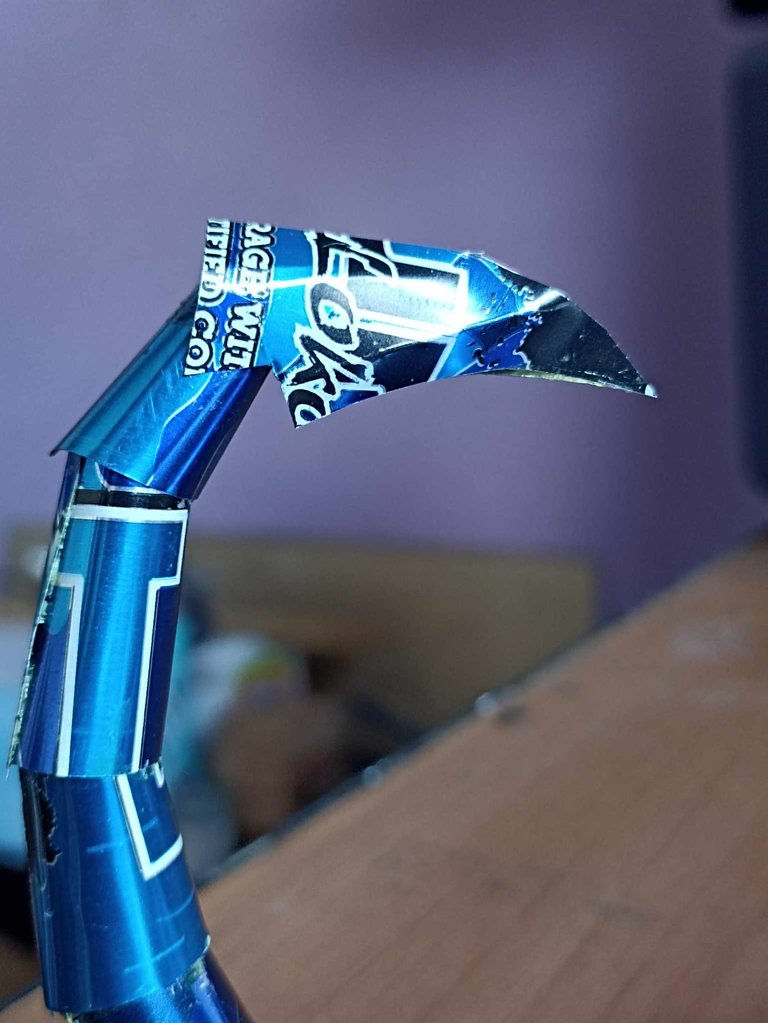 |
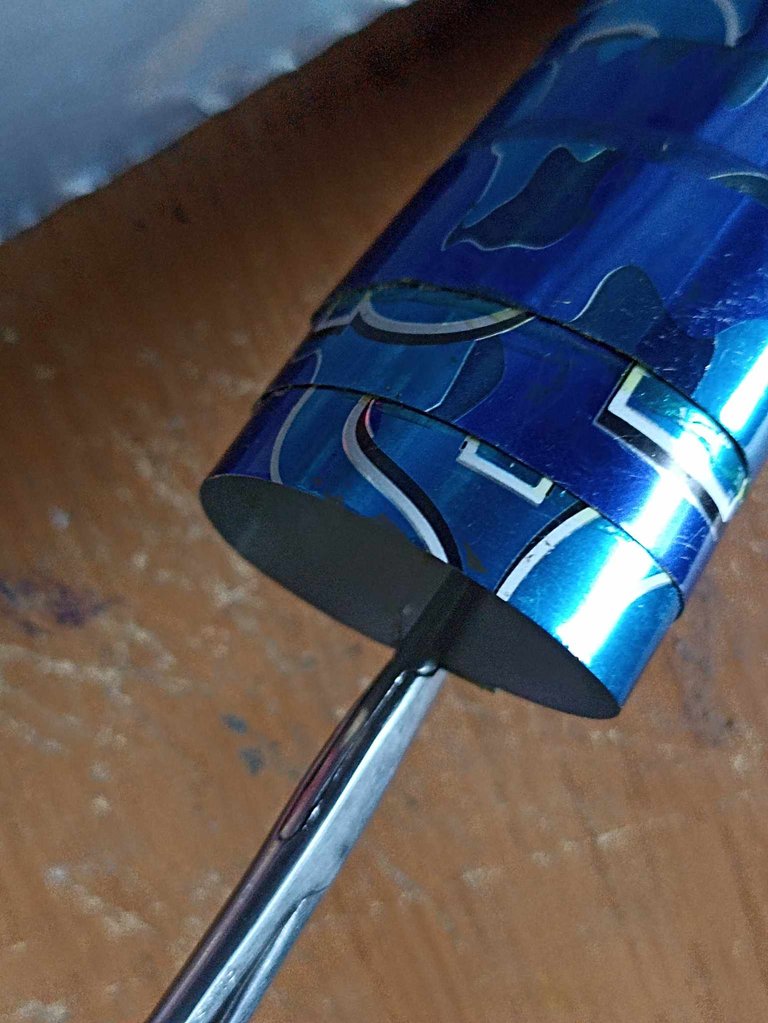
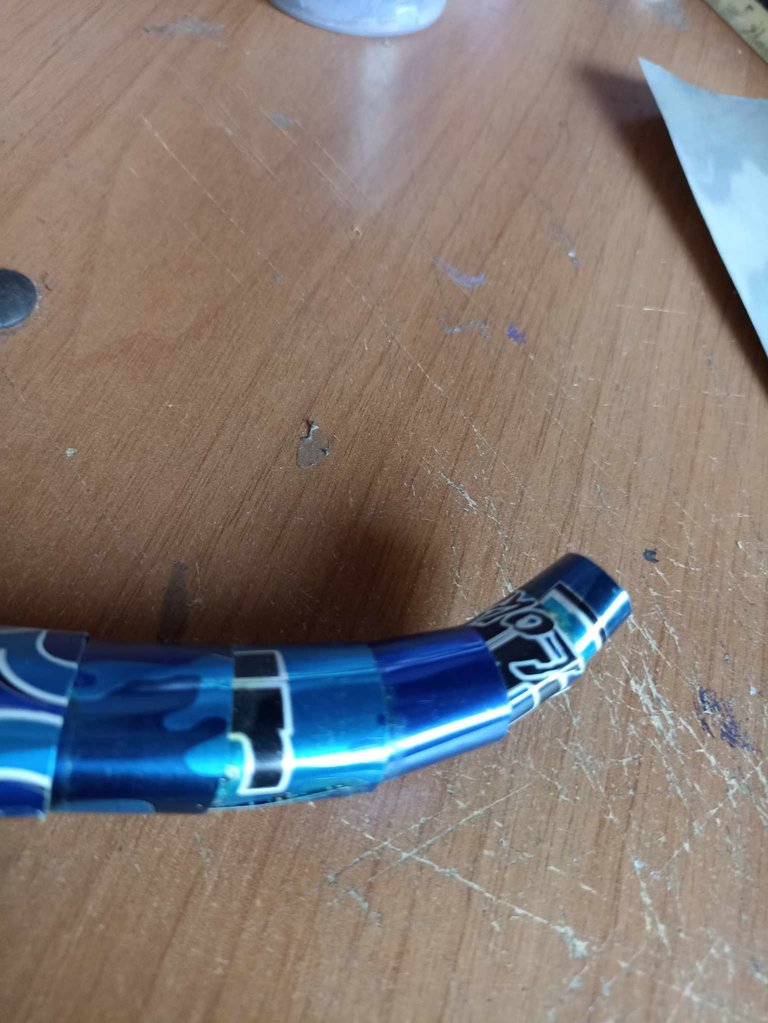
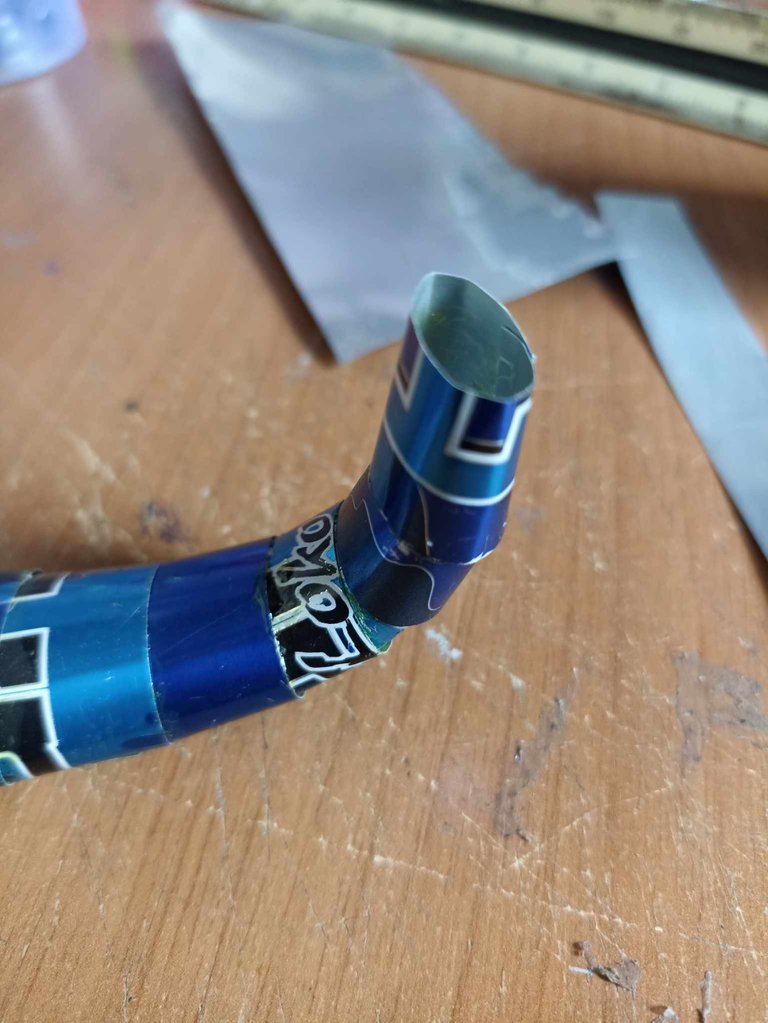
Then I had what I consider to be the most difficult part, which was to make the curve of the body for the tail, here I had to reduce the size of the strips to reduce the size of the body and for the tail to come out. It was also a bit complicated to make that curve because it was very difficult to place the glue, so I had to do it little by little and marking the place where the glue was going very well so that it was well adjusted and did not open later. Finally I made the stinger that I made in the shape of a triangle with some parts cut at the tip so that it would be sharp.
Luego me tocó lo que considero la parte más dificil, que fue hacer la curva del cuerpo para la cola, aquí tuve que reducir el tamaño de las tiras para ir reduciendo el tamaño del cuerpo y que fuera saliendo la cola. También fue un poco complicado hacer esa curva porque era muy dificil colocar el pegamento, así que tuve que hacerlo poco a poco y marcando muy bien el lugar donde iba el pegamento para que quedara bien ajustado y no se abriera luego. Por último hice el aguijón que lo hice en forma de un triangulo con algunas partes cortadas en la punta para que quedara filoso.
 |  |  |
|---|---|---|
 |  | 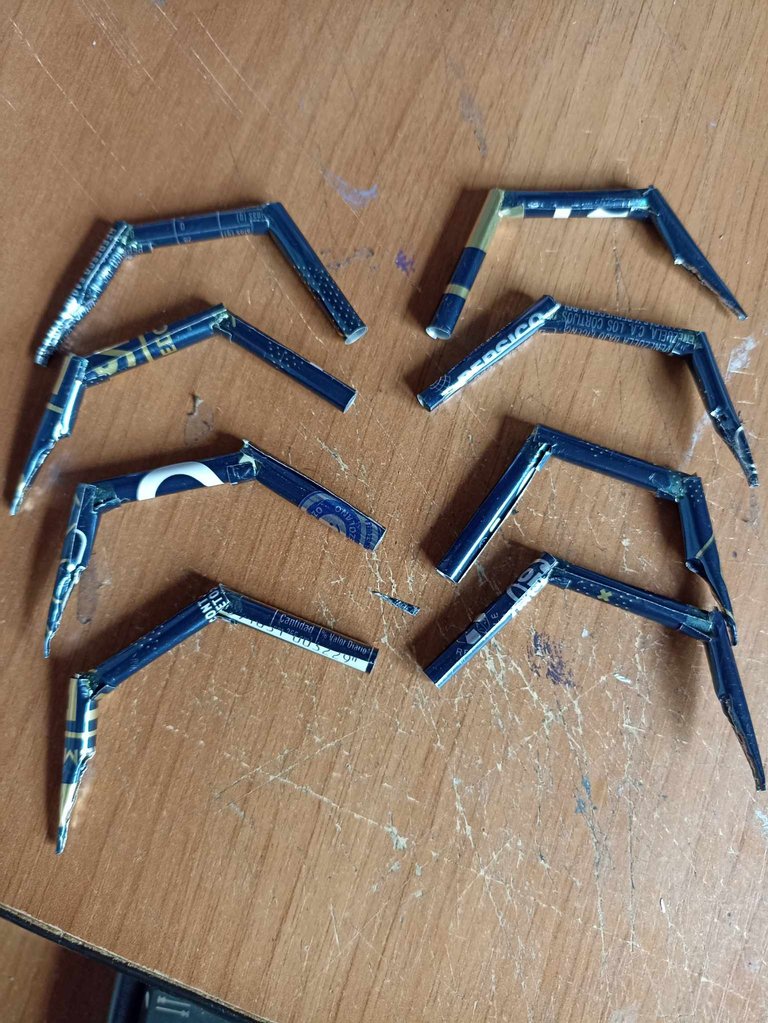 |
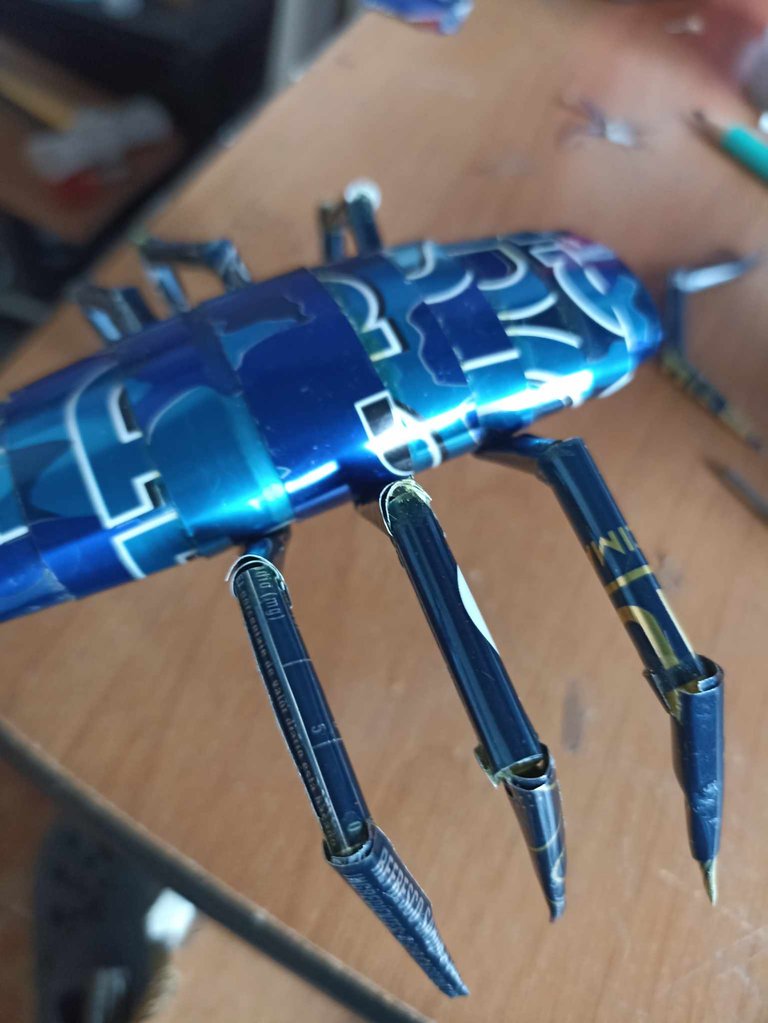
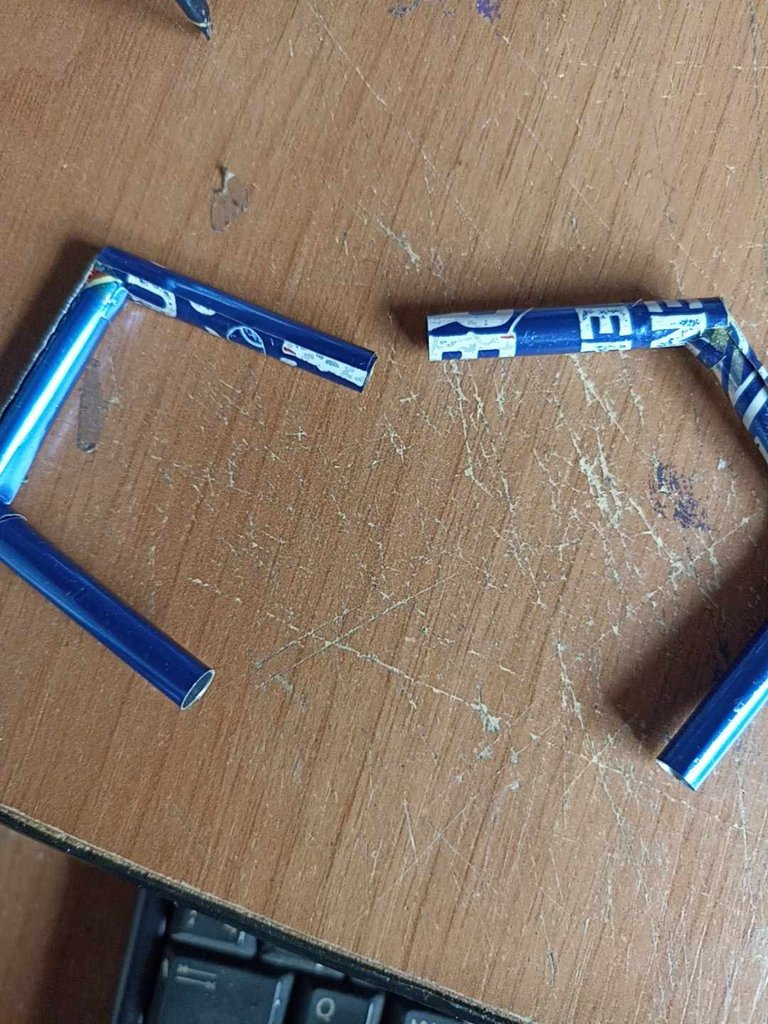
The next step was to make the limbs, for that I cut 24 pieces of aluminum foil that measure 3 centimeters long by 2.5 centimeters wide. With each of the pieces you made small tubes which I joined together, I made the ends with three divisions, which for a total of 8 ends needed 24 pieces. Then I joined them together and to differentiate them, in the part where the scorpion will rest I made some small cuts that I then squeezed with a pair of tweezers so that it would be in the shape of claws.
El siguiente paso fue hacer las extremidades, corté para eso 24 retazos de lámina de aluminio que miden 3 dentímetros de largo por 2,5 centímetros de ancho. Con cada uno de los retazos hices pequelos tubos los cuales uní entre ellos, hice las extremidades con tres divisiones lo que para un total de 8 extremidades necesitaba 24 retazos. Luego los uní entre ellos y para diferenciarlos, en la parte donde se apoyará el escorpión hice unos pequeños cortes que luego apreté con unas pinzas para que quedara en forma de garras.
 |  | |
|---|---|---|
 | 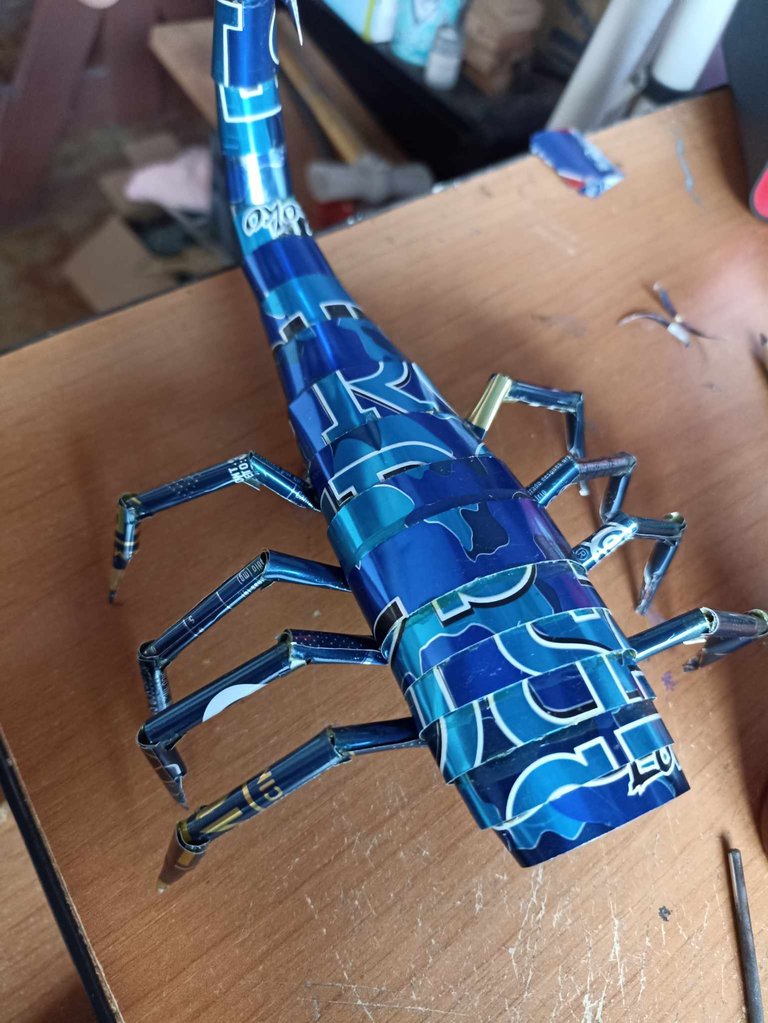 |
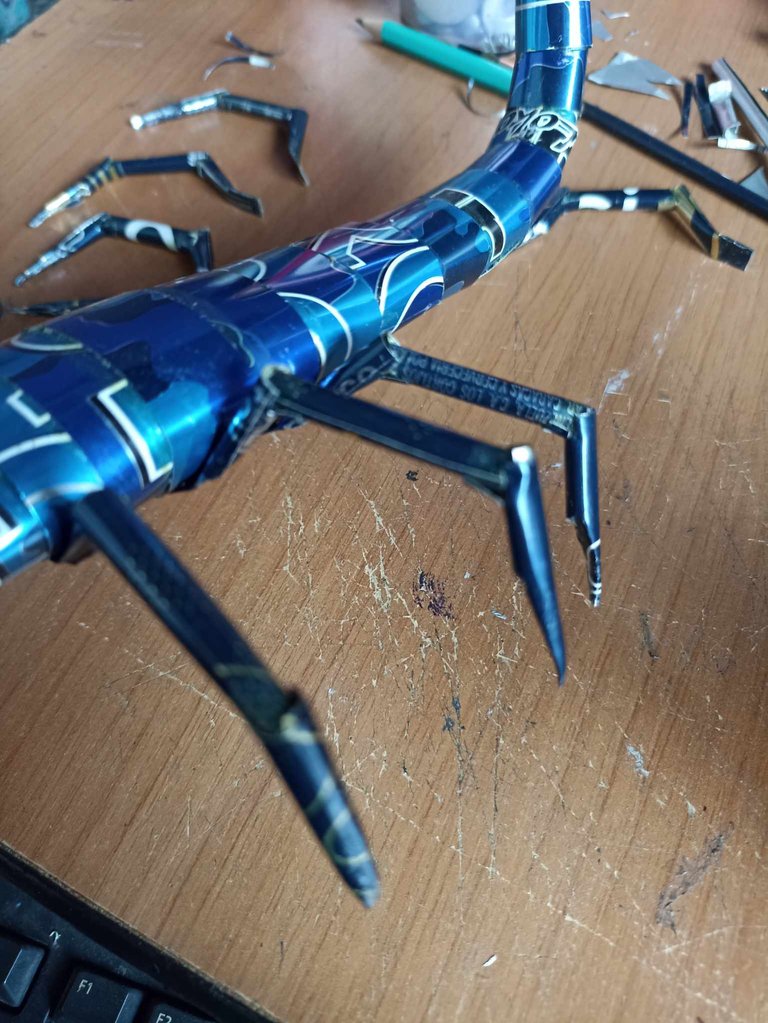
Once when all the extremities are ready, for the lower part of the body that I did before, I was marking one by one the place where each extremity will go. Then I placed glue in each marked area and I was fixing each of the extremities until it was well adjusted.
Una vez al tener listas todas las extremidades, por la parte inferior del cuerpo que hice antes fui marcando una a una el lugar donde irá cada extremidad. Despues coloqué pegamento en cada zona marcada y fui fijando cada una de las extremidades hasta que quedara bien ajustada.
 |  | |
|---|---|---|
 |  |
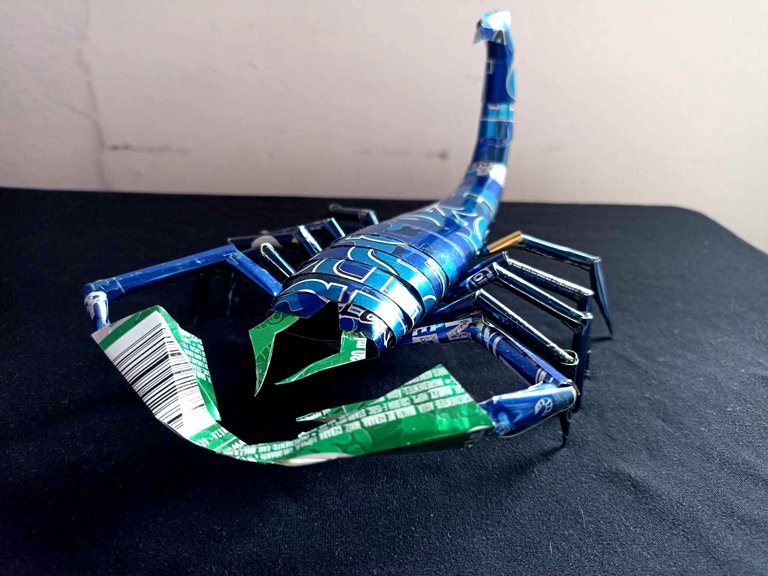
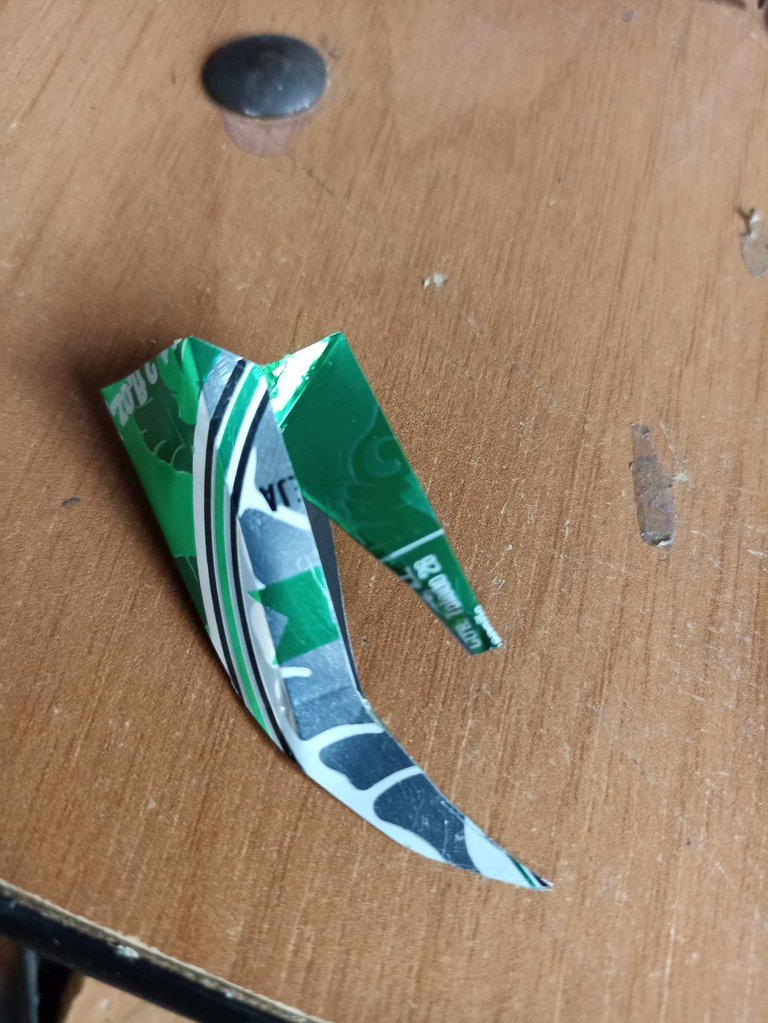
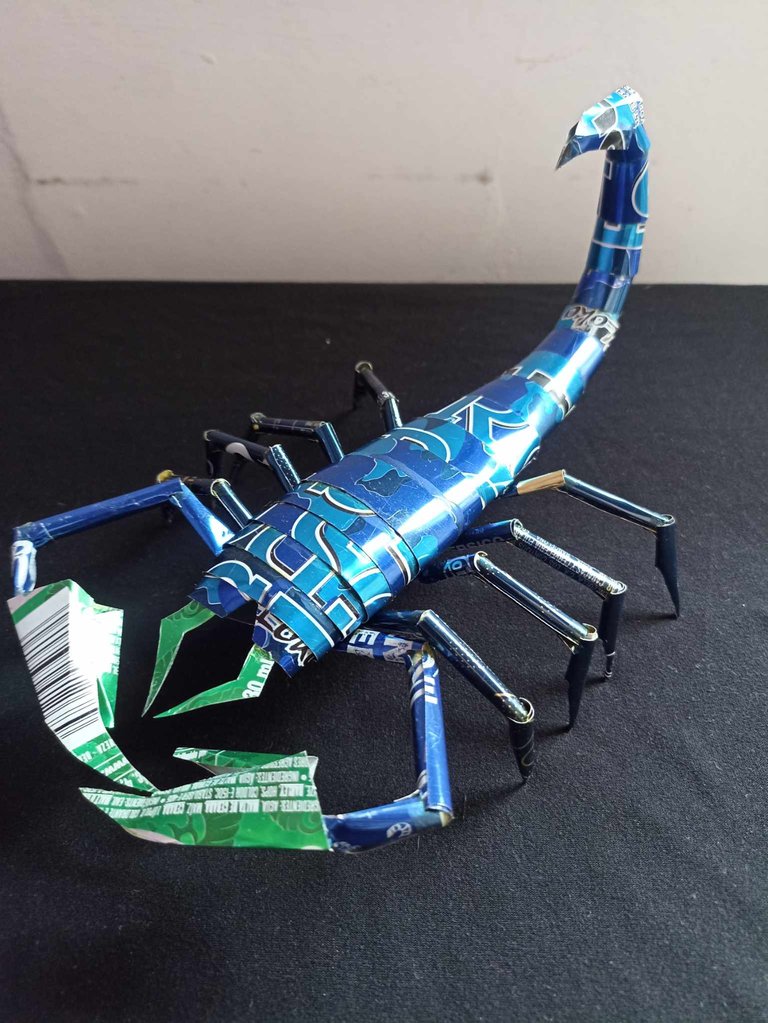
To finish, I made some tongs, I tried to make them look great and threatening as in the letter, so I took aluminum of another color, in this case green, to preserve the essence of the character a bit, so I also made the small horns that protrude in green, in this way my sculpture of Giant Scorpion was finished.
Para finalizar hice unas tenazas, procu´re que me quedaran bien gigantes y amenzadoras como en la carta, así que tomé aluminio de otro color, en este caso verde, para conservar un poco la escencia del personaje, así también hice en la cabeza los pequeños cuernos que sobrsalen de color verde, de esta manera quedó finalizada mi escultura de Giant Scorpion

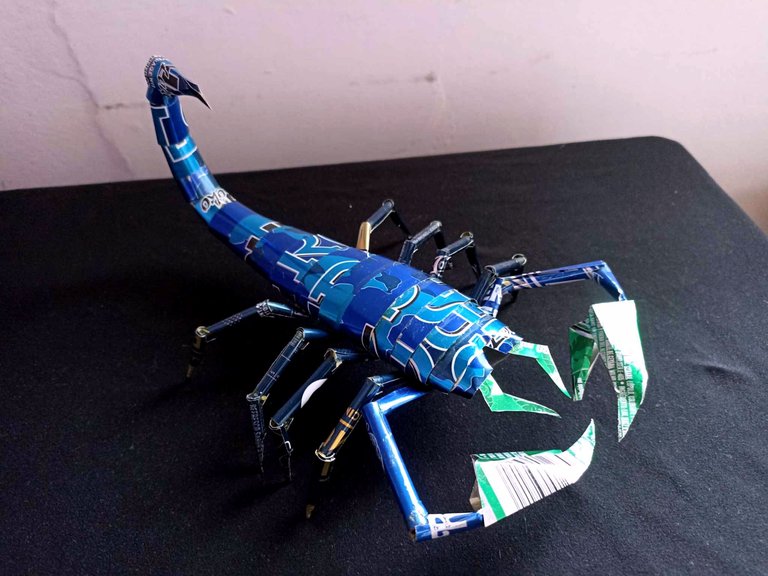

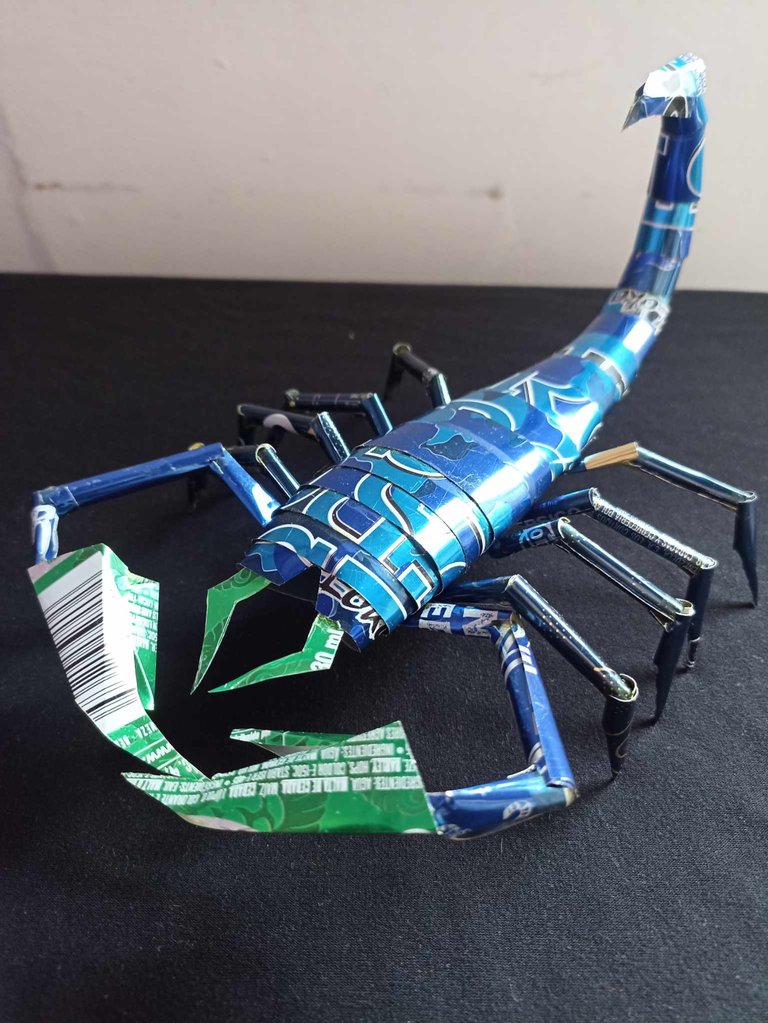
This is how it was finished, I made this sculpture very carefully, I hadn't worked with these materials for a while and sometimes I feel like I forget things hehe, but it turned out well in that I didn't injure my hands. I really liked this card because it has various colors, I couldn't find purple aluminum to make the contrast look better, but I think this blue suits it well. This has been my participation of the week, I hope you liked it, don't forget to leave your comments to know how you liked it. I say goodbye until a new opportunity!
Así quedó finalizado, hice esta escultura con mucho cuidado, tenía rato que no trabajaba con estos materiales y a veces siento que olvido cosas jeje, pero salió bien en cuanto a que no me hice alguna herida en las manos. Me gustó mucho esta carta porque tiene varios colores, no pude encontrar aluminio de color púrpura para que el contraste quedara mejor, pero este azul creo que le va bien. Esta ha sido mi participación de la semana, espero que les haya gustado, no olviden dejar sus comentarios para saber que tal les ha parecido. Me despido hasta una nueva oportunidad!
Un interesante y minucioso trabajo manual. El hecho de que utilices materiales de reciclaje para hacer tu obra es digno de elogiar. Bien por ti y por el planeta. Saludos, @fixie
Muchas gracias por su apoyo. Este material, utilizándolo con mucho cuidado y paciencia se puede hacer de todo, es muy versátil, además de que se le da una segunda oportunidad y así se cuida más el planeta!
Woooouuu, amigo me alegra verte por aquí con este tipo de trabajo con aluminio ya lo extrañaba, te quedo mega genial ese escorpión. La mejor de las suertes en el concurso @fixie ✨
!DIY
Poco a poco ya voy retomando el camino jejej había tropezado pero ya me levante de nuevo.. <3
You can query your personal balance by
!DIYSTATSSaludos amigos, muy agradecido por su apoyo constante!
Saludos amigos, muy agradecido por su apoyo constante!
Great work from recycled materials, a magnificent result. I congratulate you. Best of luck. Thanks for sharing in our community // Grandioso trabajo a partir de Materiales reciclados, un resultado magnifico. Te felicito. Mucha suerte. Gracias por compartir en nuestra comunidad
For me it is always a pleasure to be able to share my creations in this great community. Thank you very much for your support!
¡Tu creatividad es una cosa bárbara! quedo espectacular tu escorpión, mucha suerte en el concurso
Muchas gracias, me alegra que te haya gustado. Tenía rato sin hacer algo así, de manera que me siento muy complacido por como quedó el resultado
¡Felicidades! Esta publicación obtuvo upvote y fue compartido por @la-colmena, un proyecto de Curación Manual para la comunidad hispana de Hive que cuenta con el respaldo de @curie.
Si te gusta el trabajo que hacemos, te invitamos a darle tu voto a este comentario y a votar como testigo por La Colmena.
Si quieres saber más sobre nuestro proyecto, te invitamos a acompañarnos en nuestro servidor de Discord.
Muy agradecido con el equipo de @la-colmena por apoyarme. Saludos!
wow that's amazing you have a great talent dude.
I'm glad you liked how it turned out, I tried to make it very similar to the original design of the letter.
Para estar retirado de las manualidades te ha quedado increíble, admiro tu paciencia, ¡muchas felicidades!, de verdad que es un trabajo impresionante :D
Si retirado a medias jaja, por problemas personales y porque también no tenía materiales, pero he podido conseguir para hacer algunas cosas, y esta es la primera de varias.. Muchas gracias por comentar!
this is talent at its finest , lovely work here @fixie
Thank you brot!!🤘
Bien que le ha quedado, tiene usted muy buena habilidad para recrear estas maquetas. Le felicito por este buen trabajo que nos comparte.
Muchas gracias, y se vendrán mas!
¡Que espectacular! 😍 Siempre me impresiona las figuras que logras realizar con aluminio ¡Eres un gran artista! 💚
jejeje hola señorita. Los insectos siempre me salen muy bien, aunque siempre tienen muchas partes que cortar para poder hacerlos. Este escorpión quedo gigante y amanezador!
Thanks for sharing! - castleberry#6859

Thank you master!