Splinterlands Art Contest 263 - MANTOID SULPTURE FAN ART [ENG-ESP]
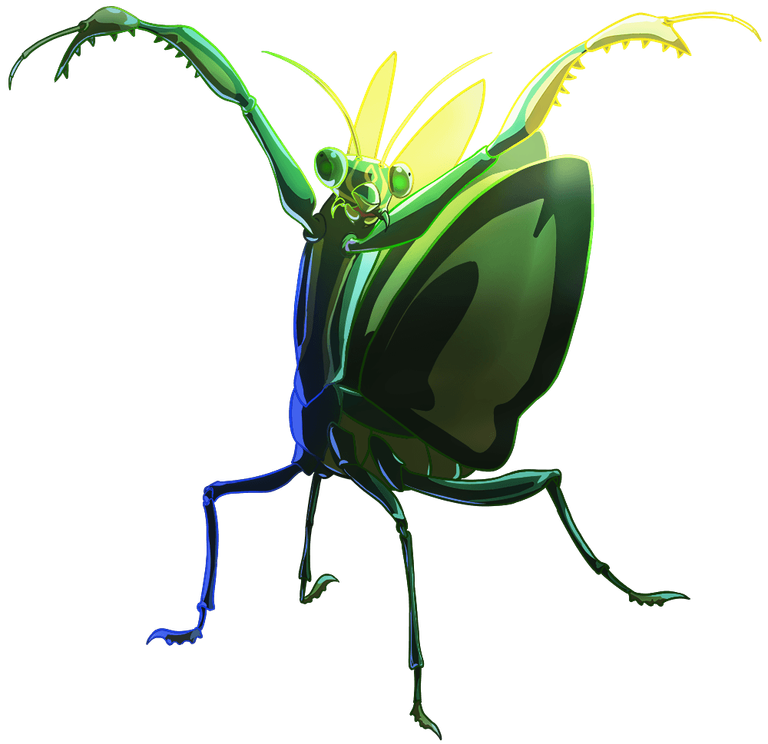
Hello dear friends, I hope you are well, last week I participated in the Splinterlads contest with a drawing, so this week for the 263rd contest I come to participate with a new sculpture, this time it is the Mantoid card When I was starting my life in Hive this was one of the first cards I chose to make fan art, at that time it was not as good as it is now, so to demonstrate how my skills increased I bring you this sculpture that looks very realistic , hope you like.
Hola queridos amigos, espero que se encuentren muy bien, la semana pasada participé en el concurso de Splinterlads con un dibujo, así que esta semana para el concurso número 263 vengo con a participar con una nueva escultura, esta vez se trata de la carta Mantoid, cuando estaba comenzando mi vida en Hive esta fue una de las primeras cartas que elegí para hacer un fan art, en aquella oportunidad no era tan bueno como ahora, así que para demostrar como aumentaron mis habilidades les traigo esta escultura que se ve muy realista, espero que les guste.

 |  | |
|---|---|---|
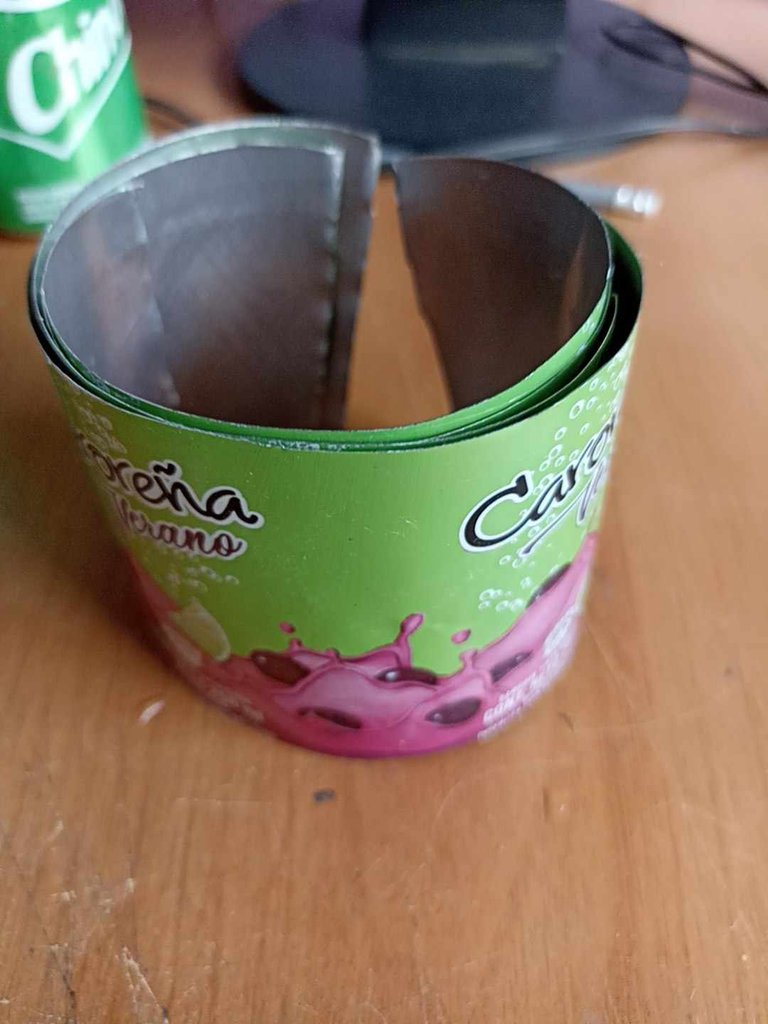 | 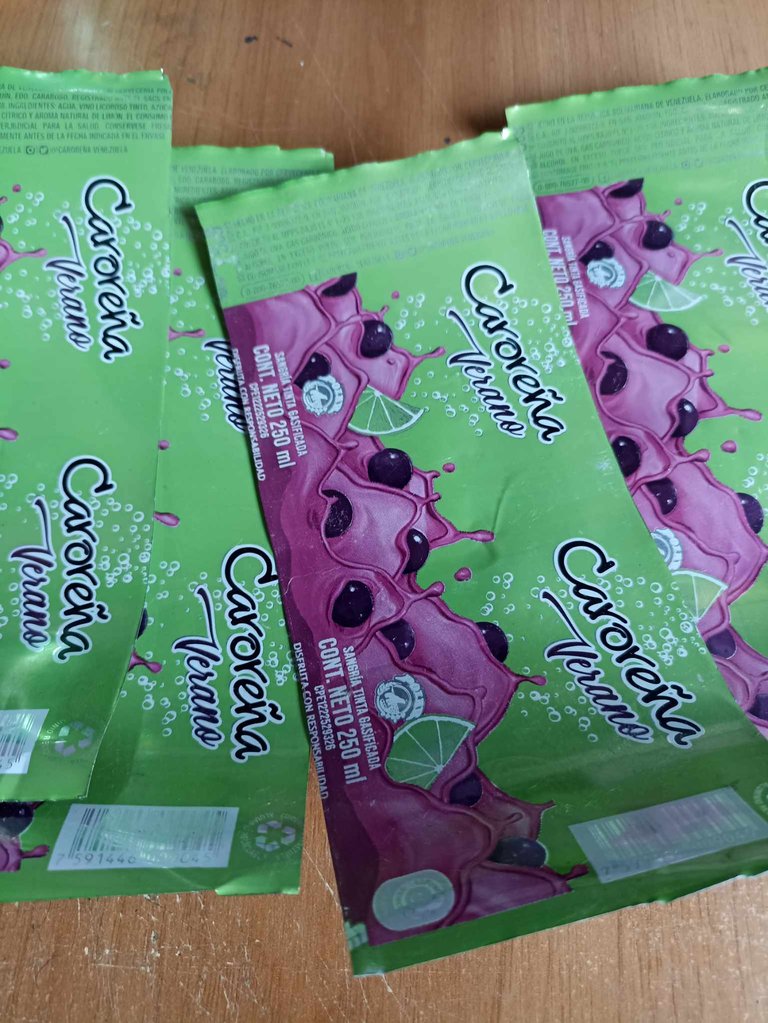 |
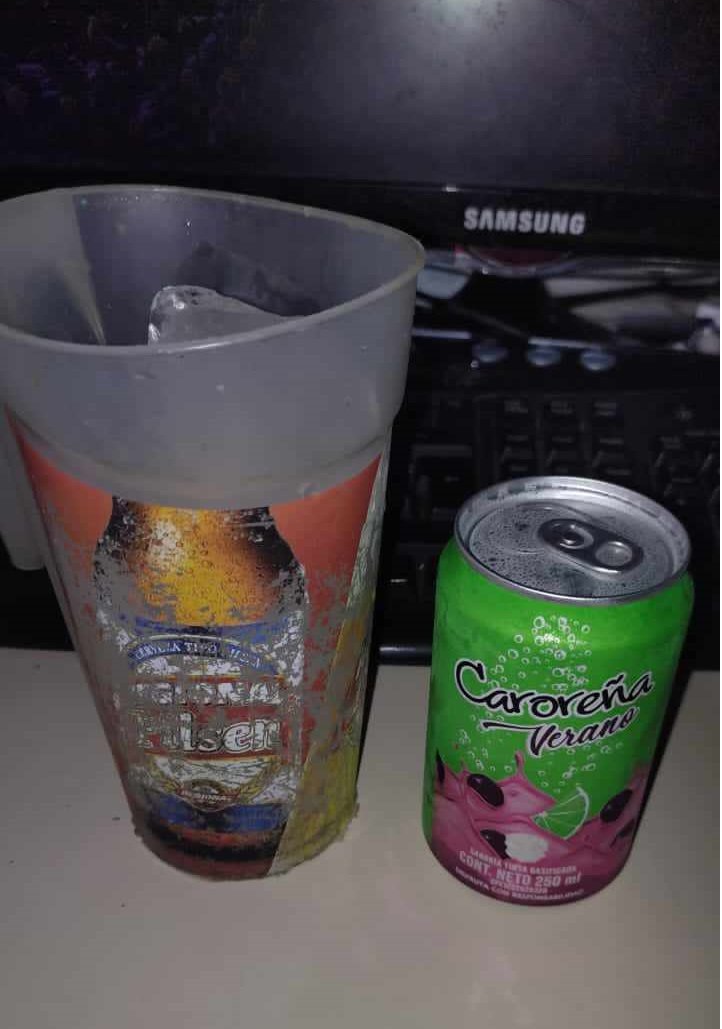
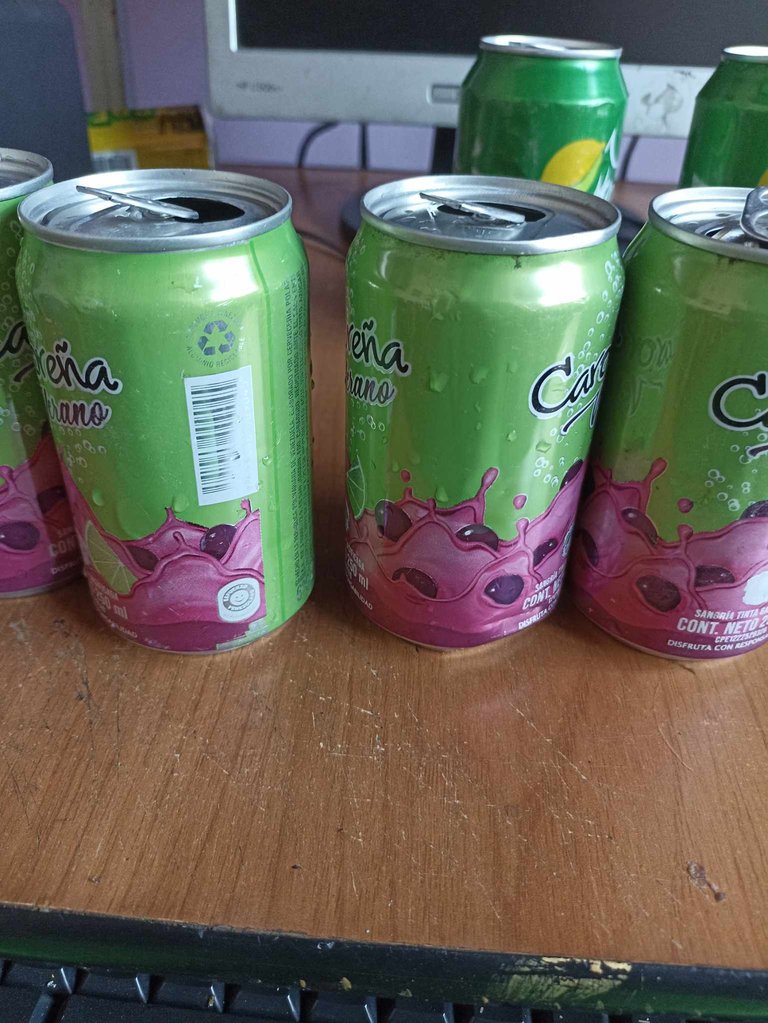
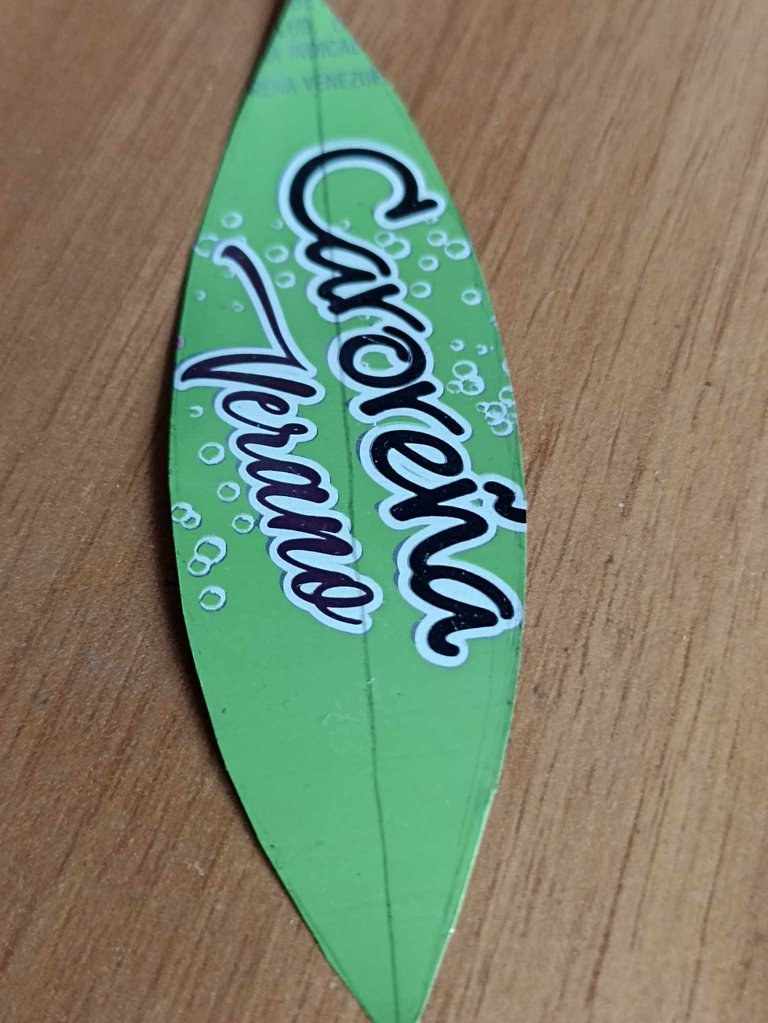
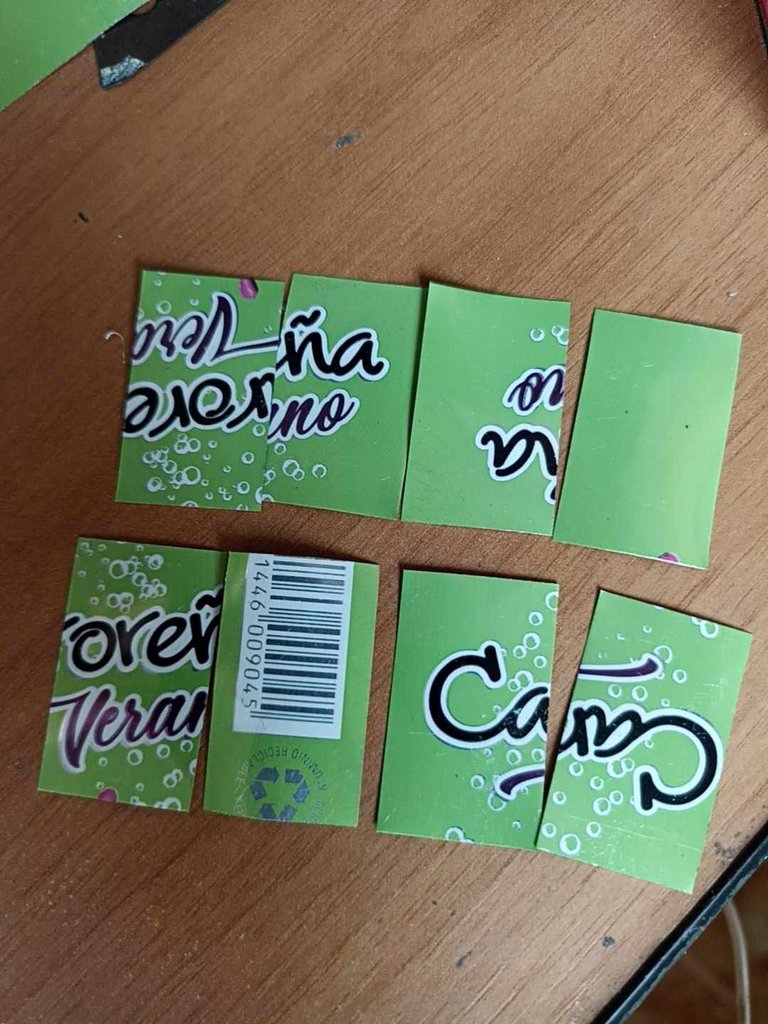
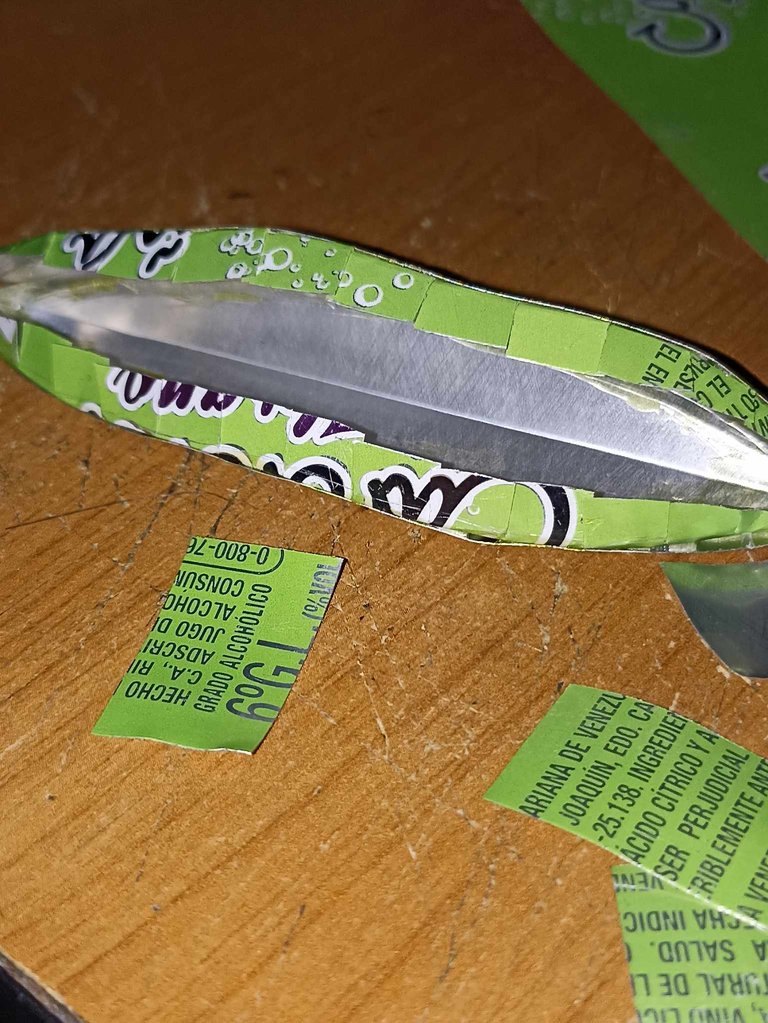
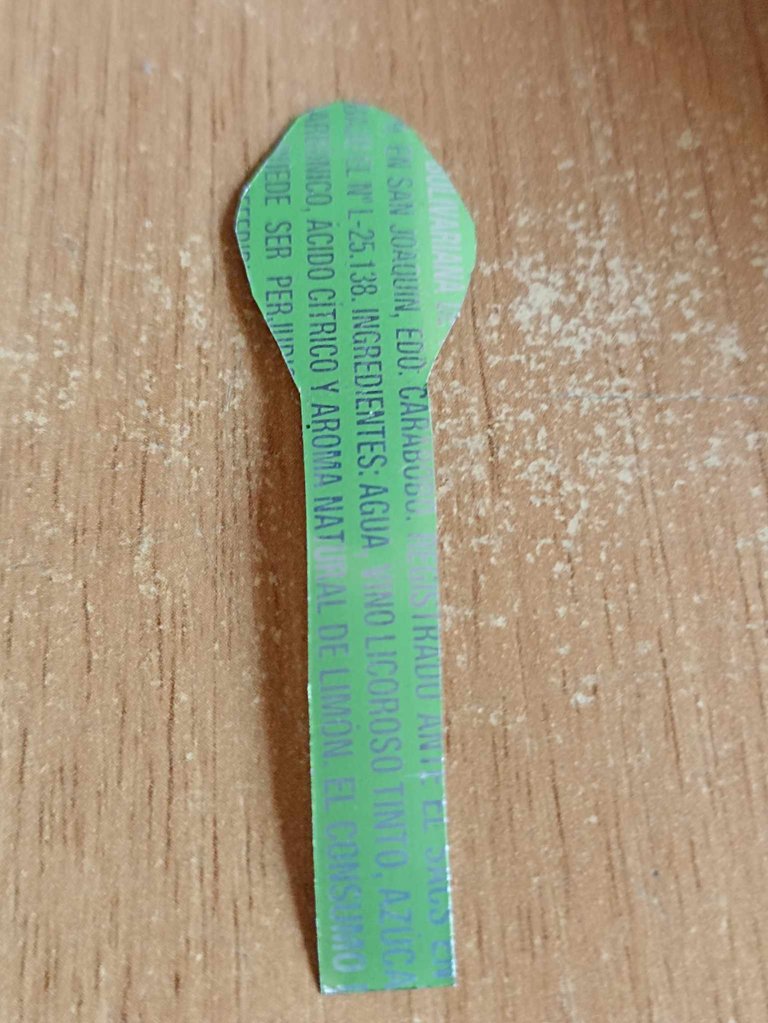
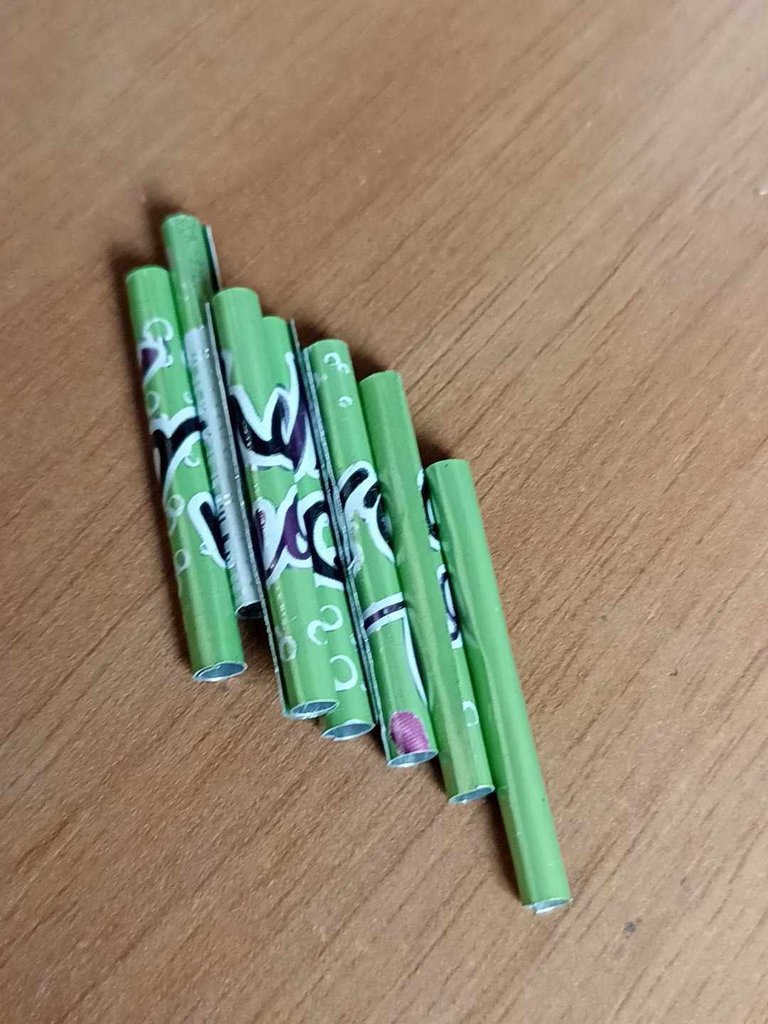
Well, I tell you that for this job I had to sacrifice myself, so I drank several cans of sangria, something that cost me a lot hahaha but that I did with great pleasure. After taking them, I cleaned them so I could use them, cut them with scissors and finally turned them into thin aluminum sheets so I could make Mantoid part by part.
Bueno, les cuento que para este trabajo tuve que sacrificarme, así que me tomé varias latas de sangría, algo que me costó mucho jajaja pero que hice con mucho gusto. Después de haberlas tomado las limpié para poder usarlas, las corté con tijeras y por último las convertí en finas láminas de aluminio para poder hacer a Mantoid parte por parte.
 |  |  |
|---|---|---|
 |  |  |
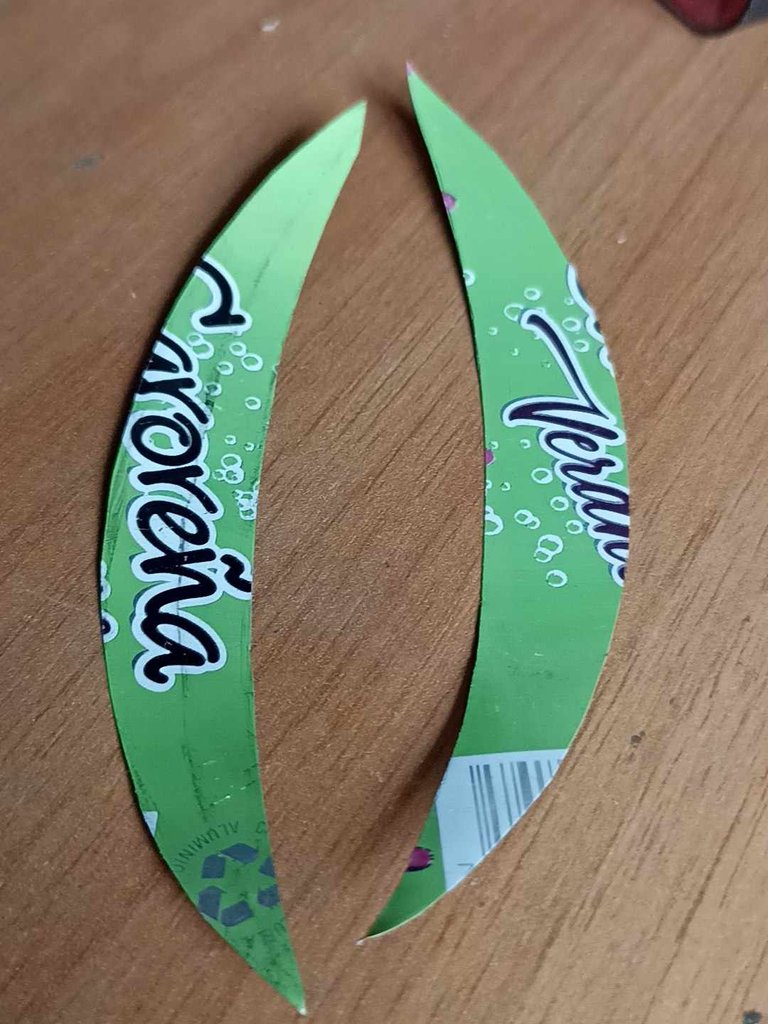
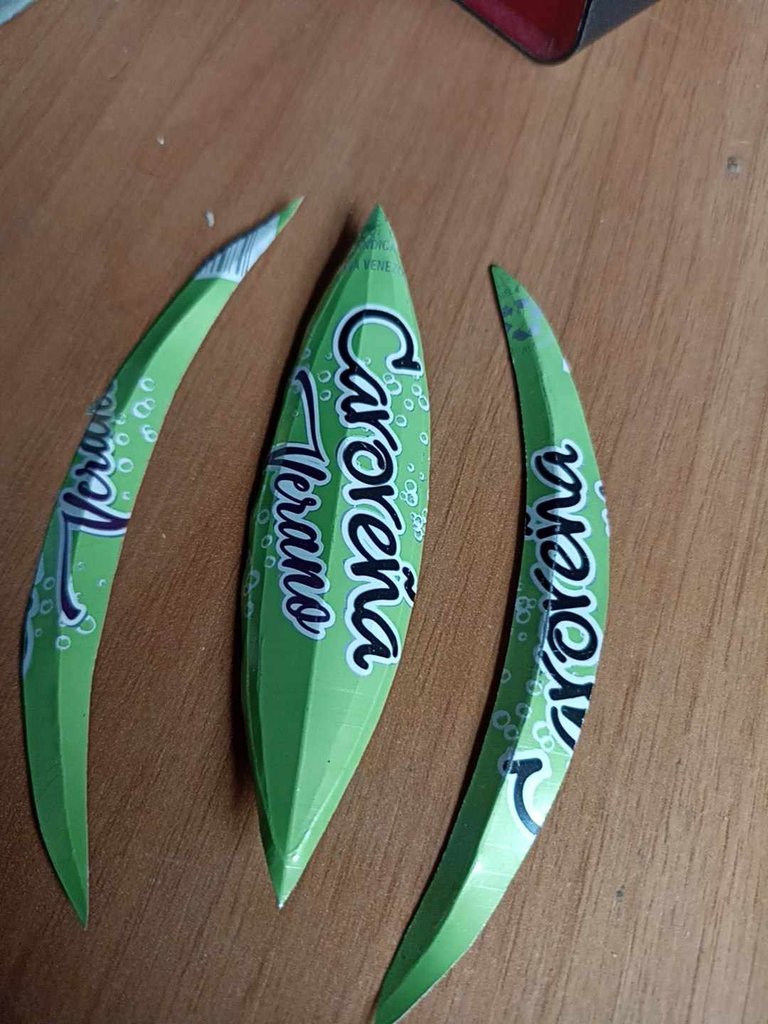
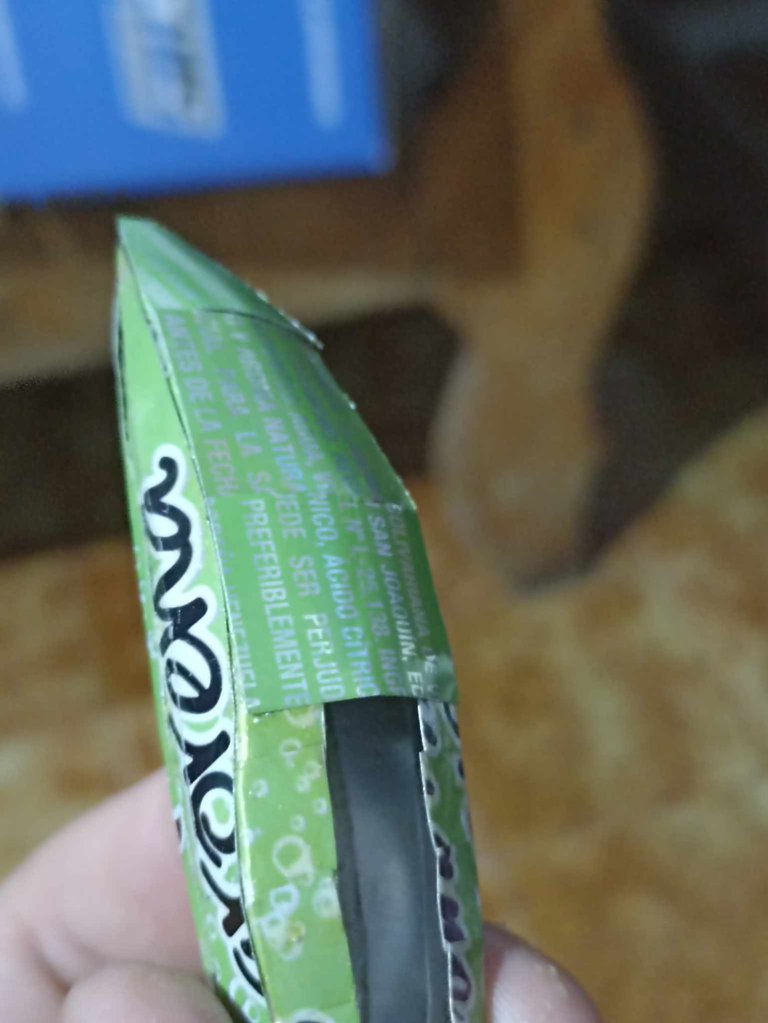
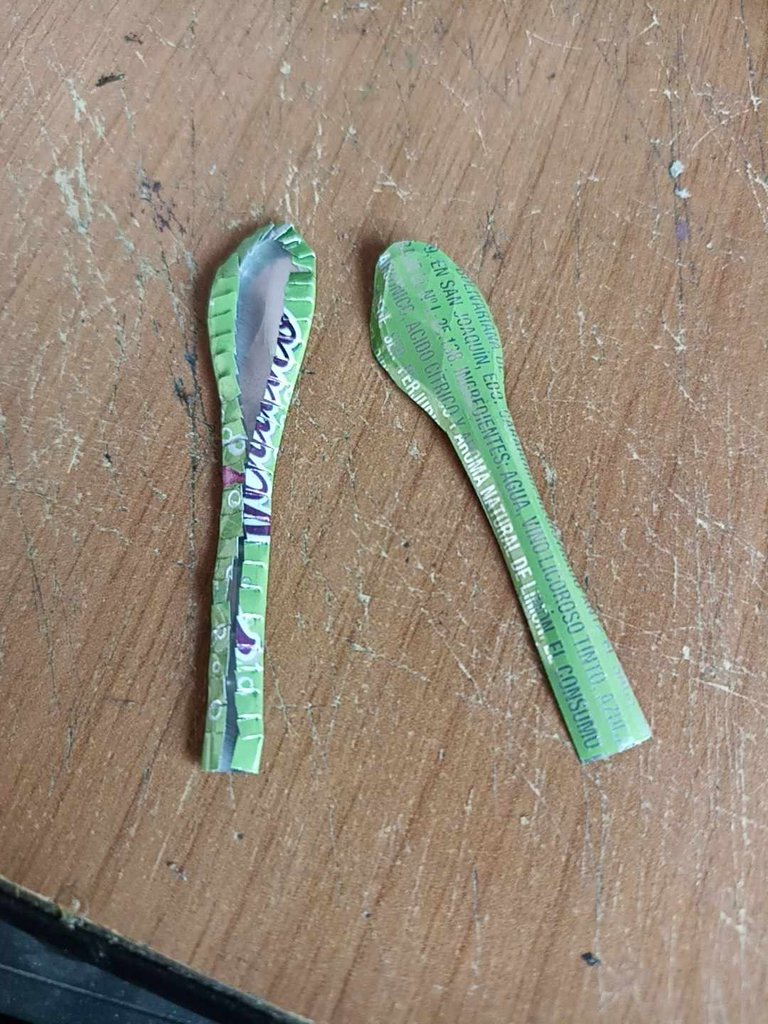
I started with the largest part of Mantoid's body, I cut a central piece in the shape of a leaf and 4 more pieces around it that are smaller, with a pen I shape it by passing a line down the middle, in the same way I shape the larger pieces. little. Once this process is finished, I begin to join them one by one using glue.
Comencé con la parte más grande del cuerpo de Mantoid, corté una pieza central en forma de hoja y 4 piezas más alrededor que son más pequeñas, con un bolígrafo la moldeo pasando una linea por la mitad, de la mista forma voy moldeando las piezas mas pequeñas. Una vez terminado este proceso comienzo a unirlas una por una utilizando pegamento.
 |  | |
|---|---|---|
 | 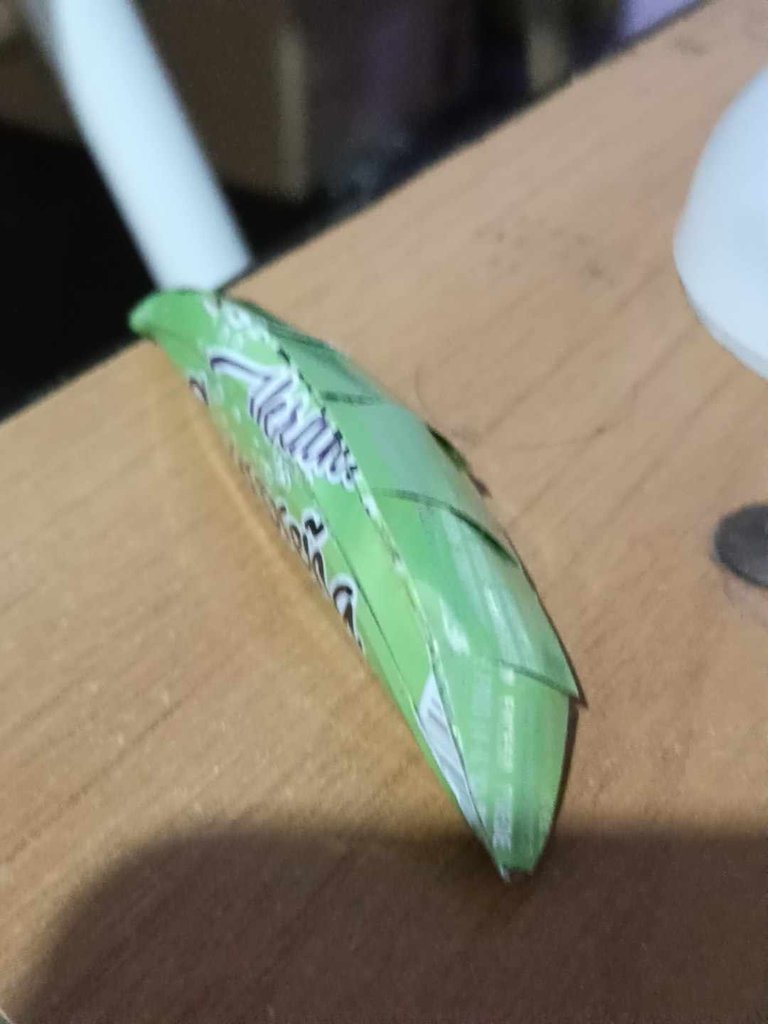 |
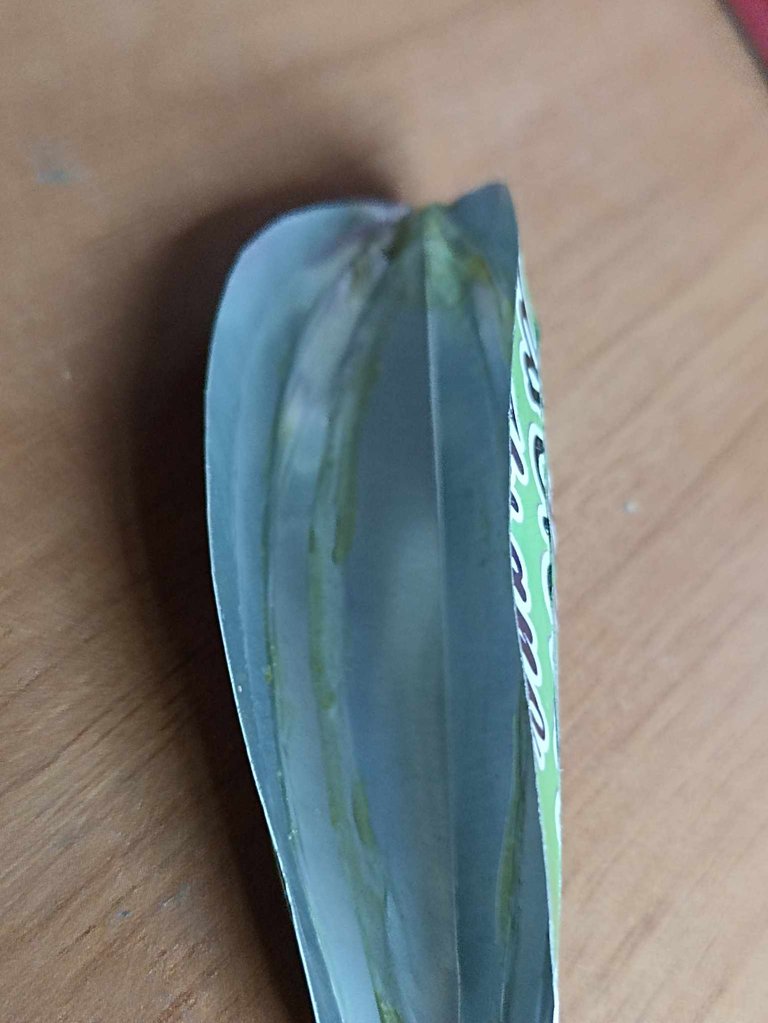
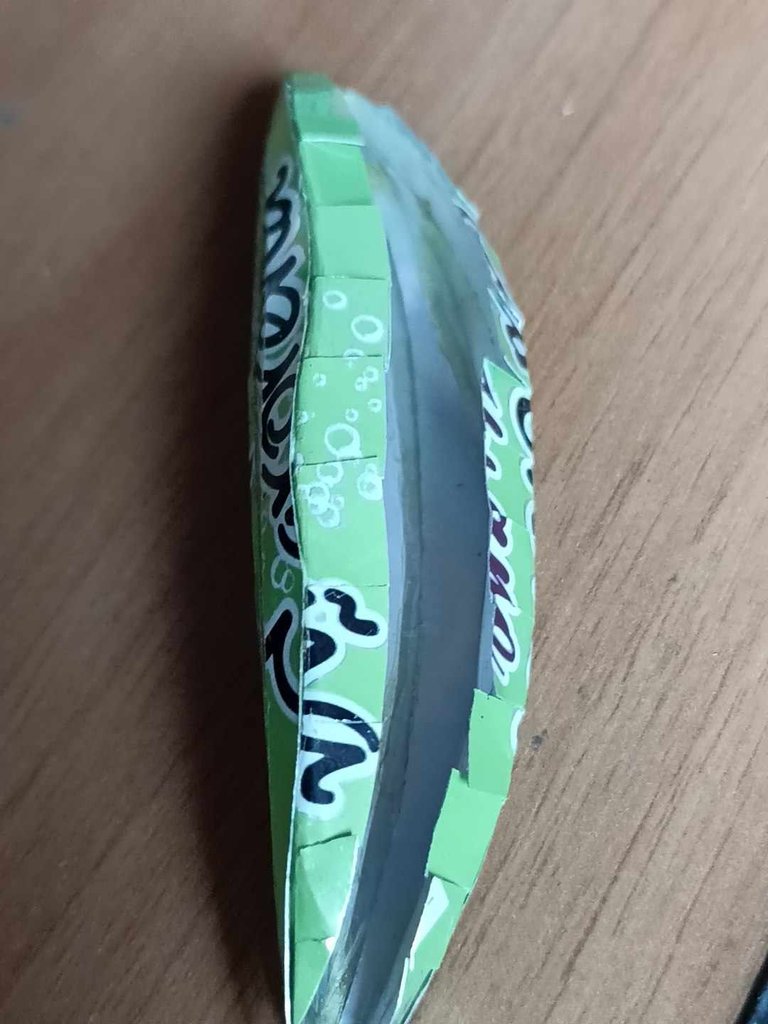
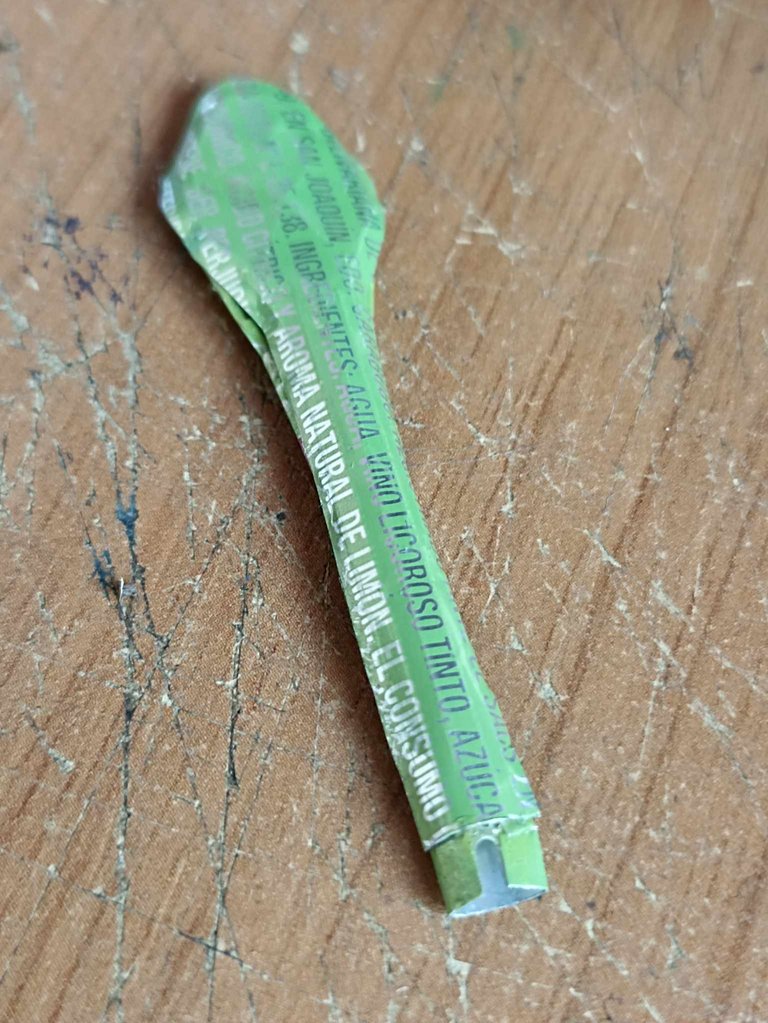
Then, with small pieces of the same can I seal the entire bottom part, so it looks very realistic when making each of the divisions. This way I place them with glue one by one until completely finished.
Luego, con pequeños trozos de la misma lata voy sellando toda la parte de abajo, así va quedando de una forma muy realista al hacer cada una de las divisiones.Así las voy colocando con pegamento una a una hasta terminar por completo.
 |  | |
|---|---|---|
 | 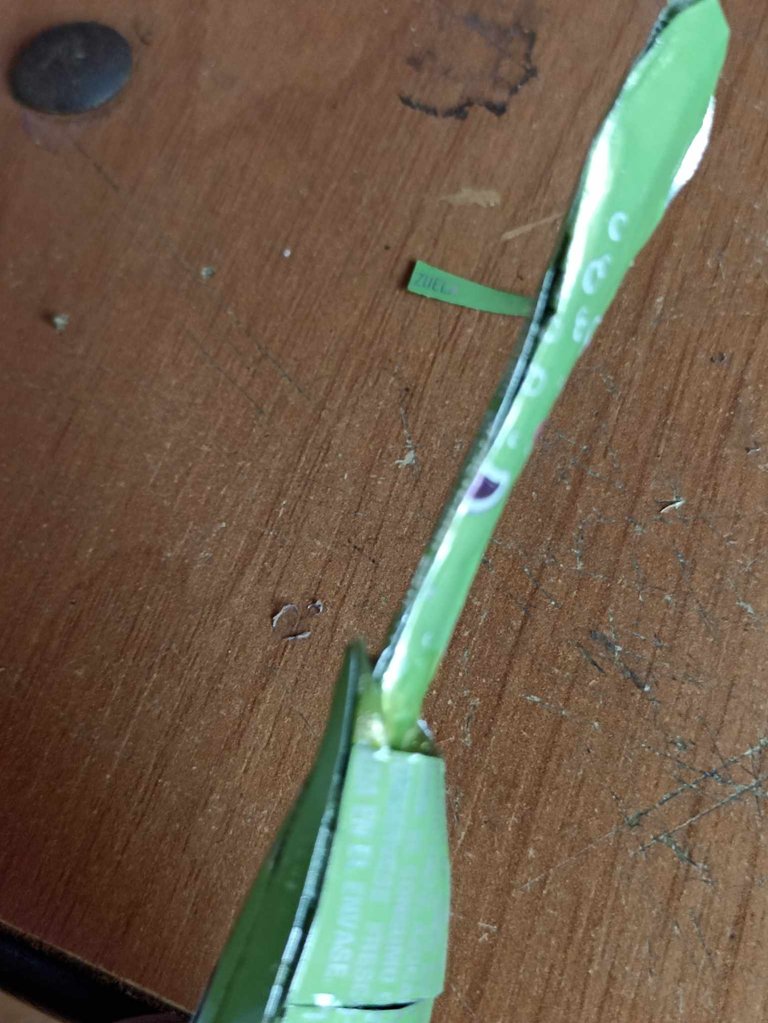 |
To finish with the body, which would be the trunk, I made two figures in the form of a palette, one larger than the other, the objective of making a larger one is to use the leftover to cut it and then make tabs to be able to join one with other. When we finish this part we can join it to the piece we made before, and then only the limbs and the head would be missing.
Para terminar con el cuerpo, que vendría siendo el tronco, realizo dos figuras en furma de paleta, una mas grande que la otra, el objetivo de hacer una más grande, es utilizar el sobrando para cortarlo y luego hacer pestañas para poder unir una con otra. Al terminar esta parte podemos unirla hacia la pieza que hicimos antes, y así solo faltarían las extremidades y la cabeza.
 |  |  |
|---|---|---|
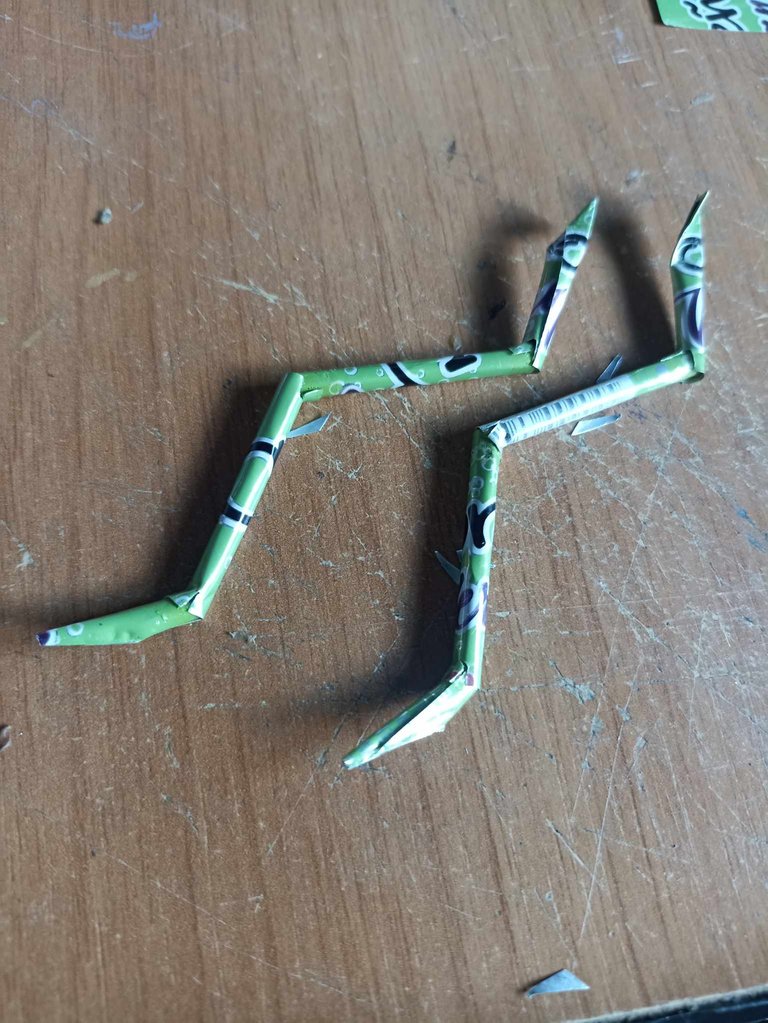 | 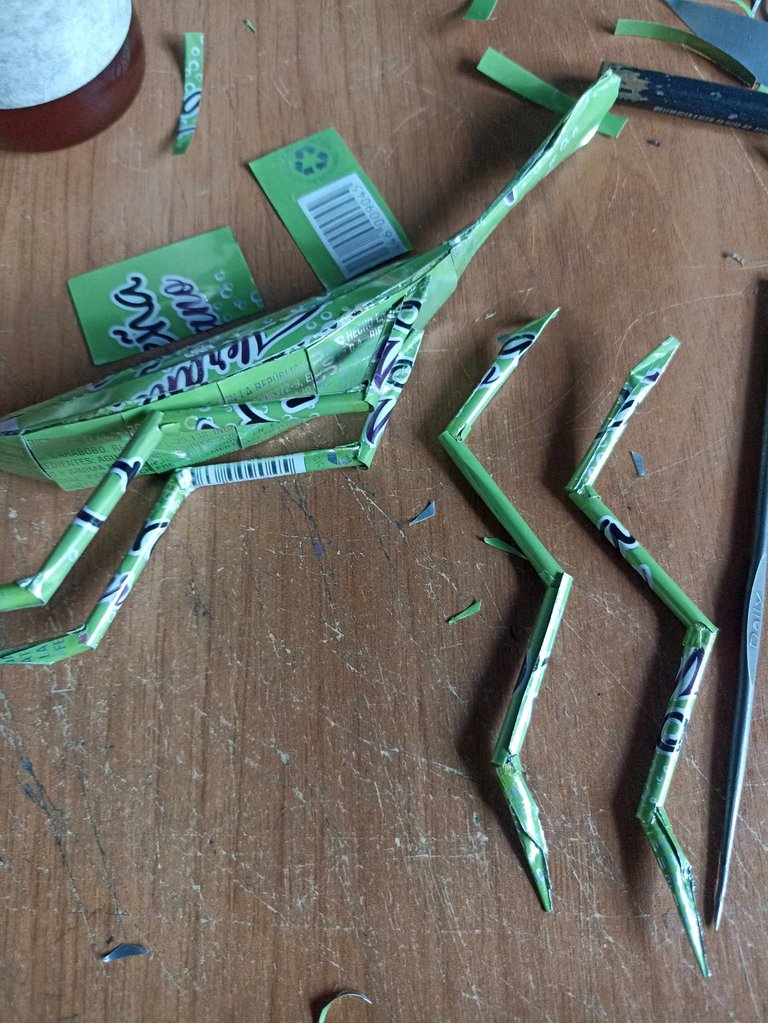 |  |
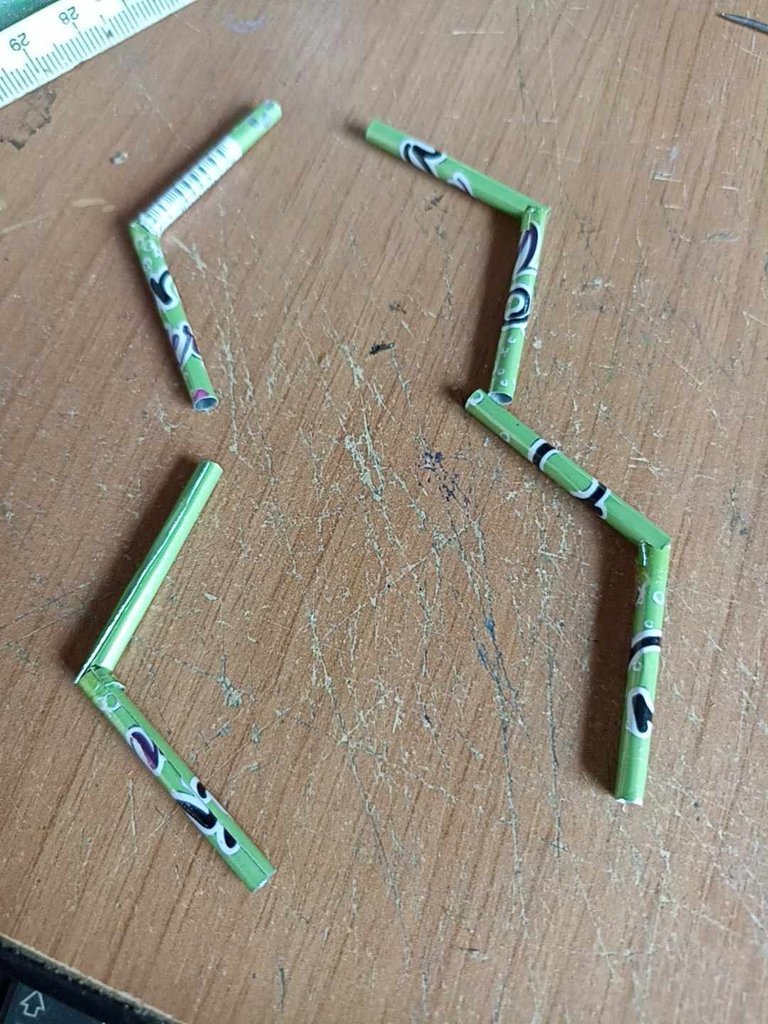
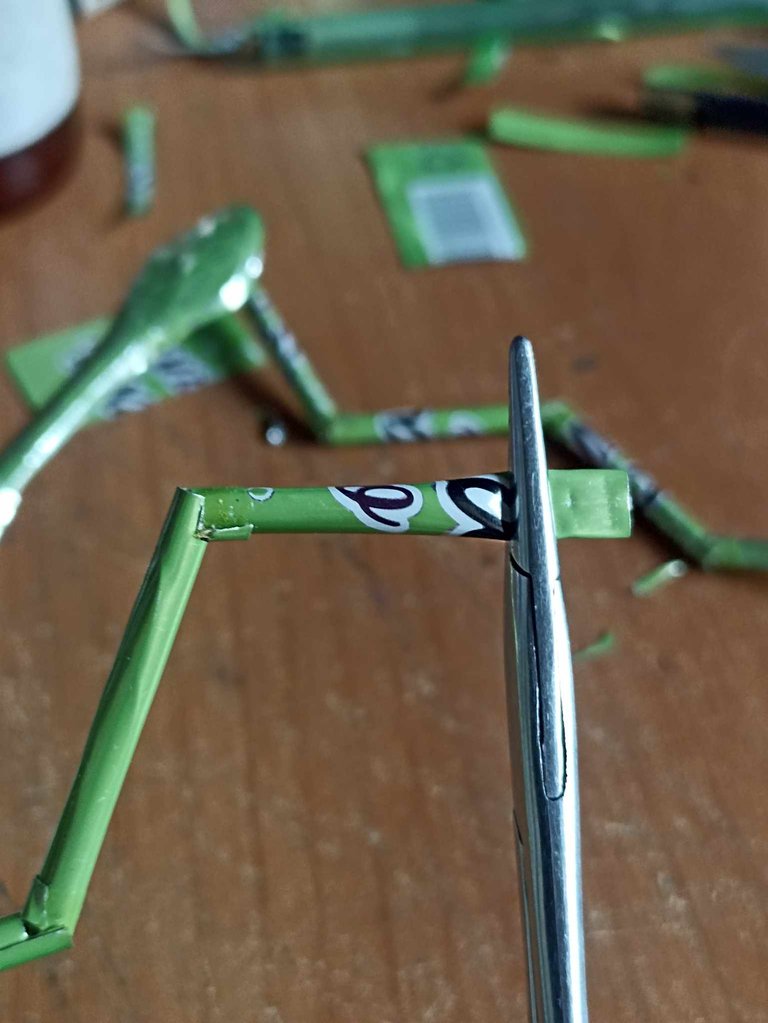
Next I begin to make the limbs, I have already done this process before when I had to make other insects. Small tubes 3 centimeters high are made by molding them so that one can fit inside the other. Then I make a small opening at each end where I put glue to join each of the tubes. I make the final art with smaller tubes that I cut a little with the tweezers so that they are pointed. Once the limbs are ready, I put them on one by one with glue, first I start with the rear limbs and then with the front limbs.
Seguidamente comienzo a realizar las extremidades, este proceso ya lo he hecho antes cuando me ha tocado hacer otros insectos. Se hacen pequeños tubos de 3 centímetros de alto moldeandolos de forma que uno pueda caber dentro del otro. Después hago una pequeña abertura en cada extremo donde pongo pegamento para unir cada uno de los tubos. La arte final las hago con tubos más pequeños que corto un poco con la pinza para que queden puntiagudo. Una vez listas las extremidades las voy poniendo una a una con pegamento, primero comienzo con las extremidades traseras y después con las delanteras.
 |  |  |
|---|---|---|
 | 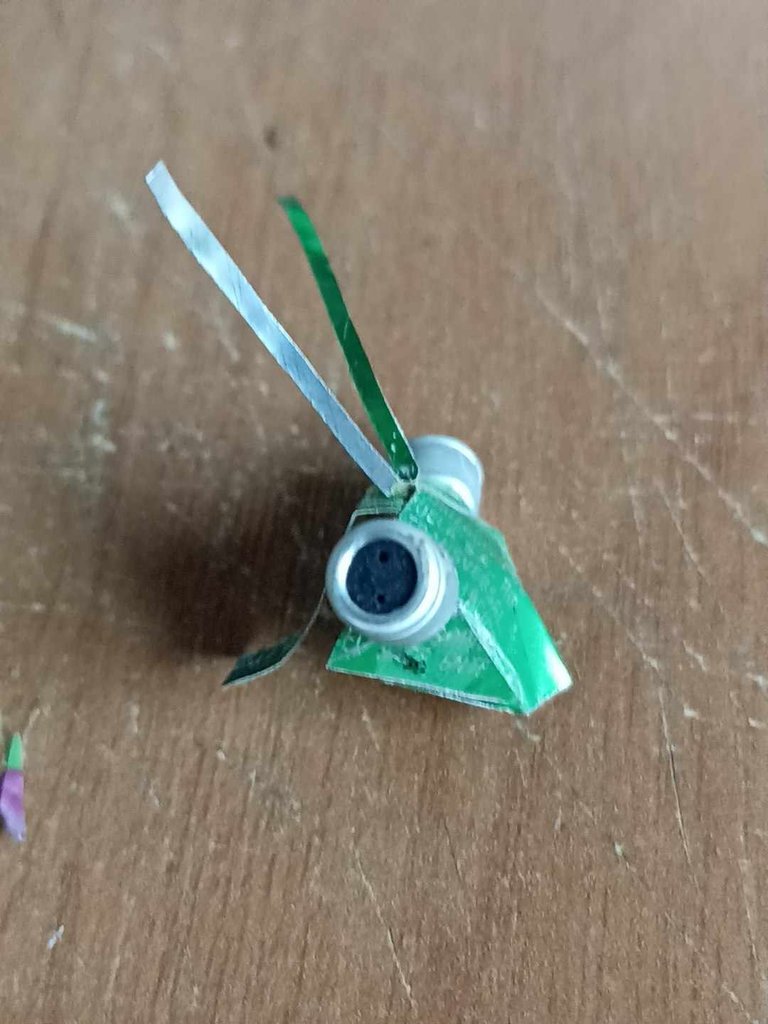 | 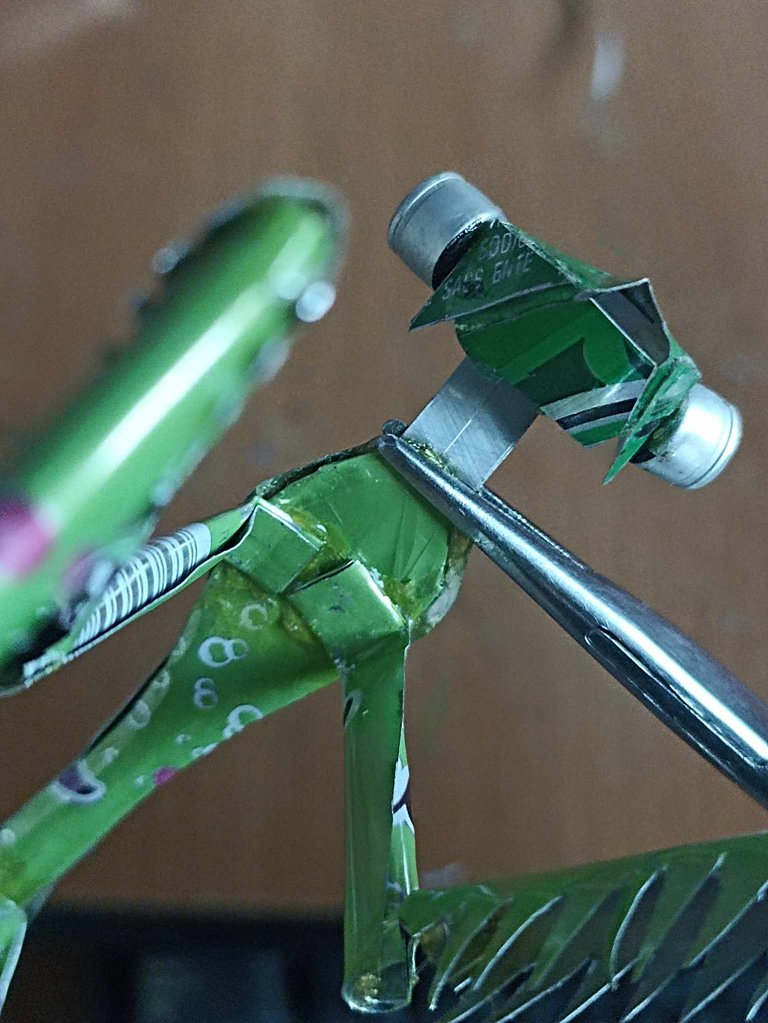 |
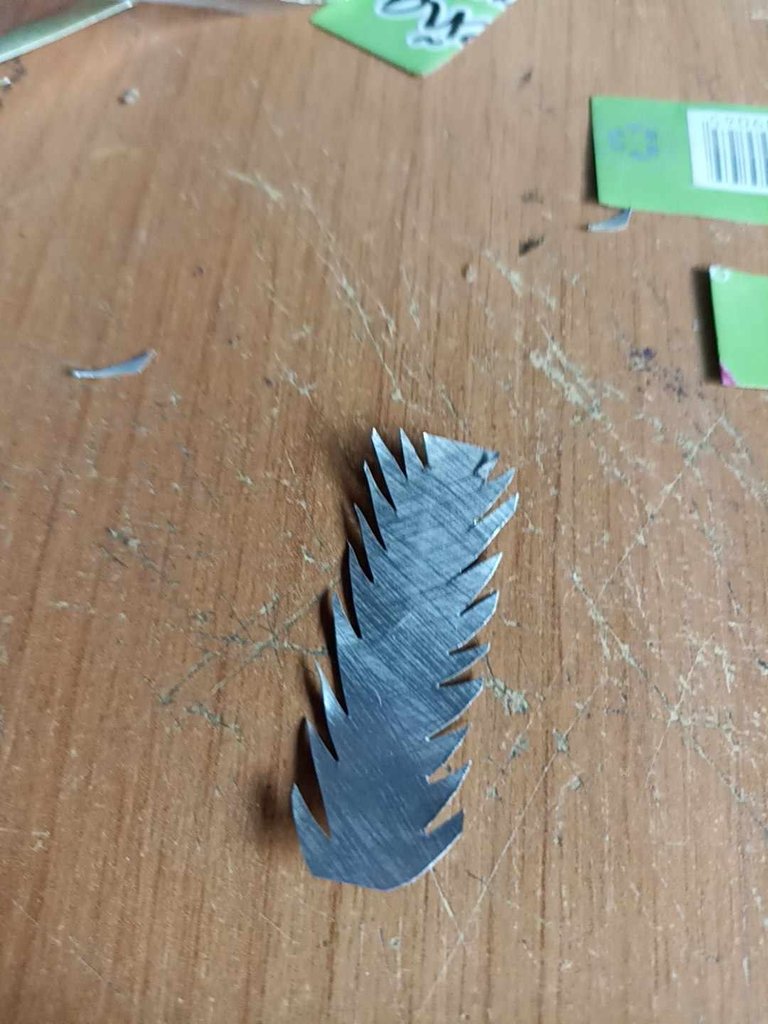
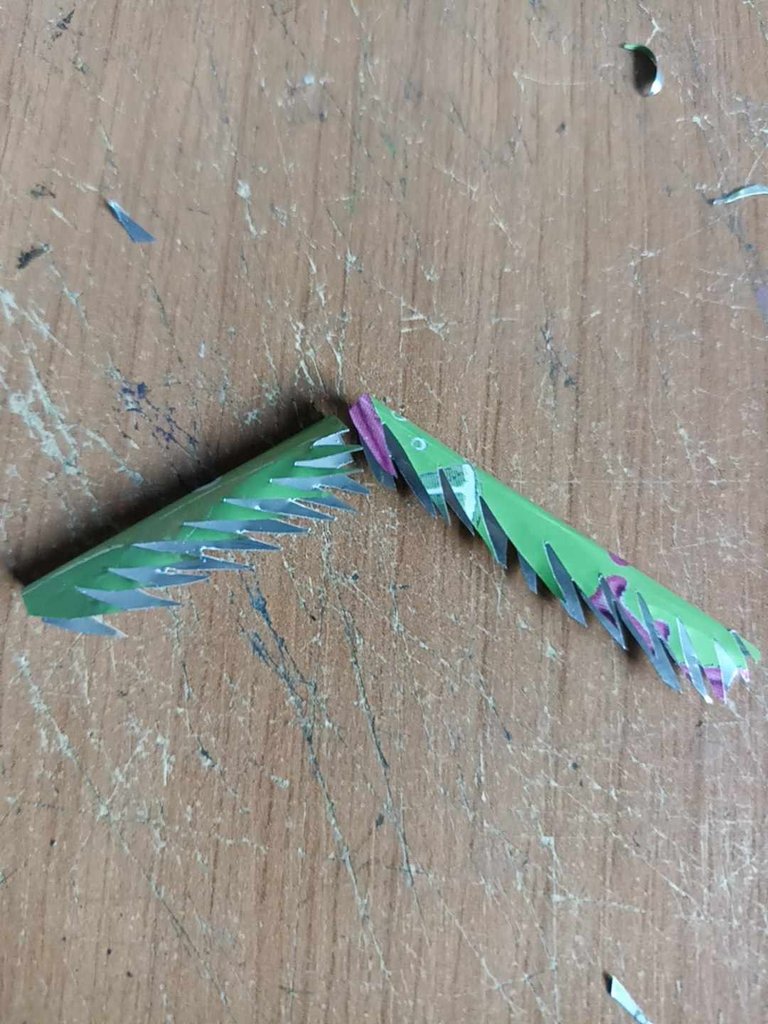
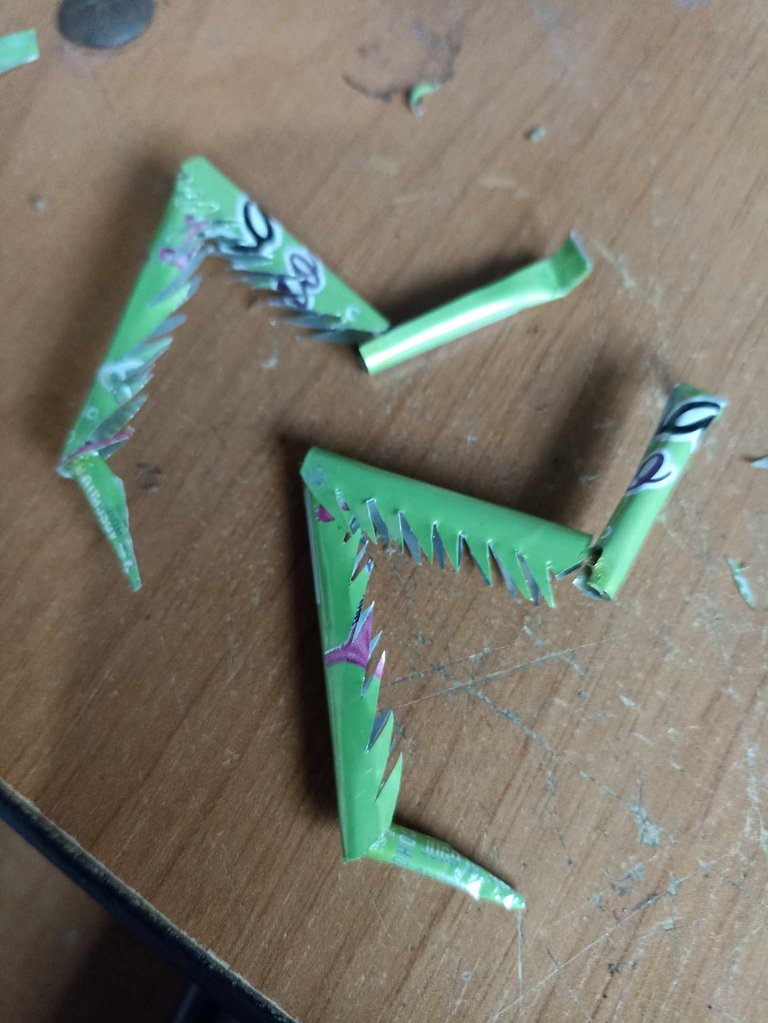
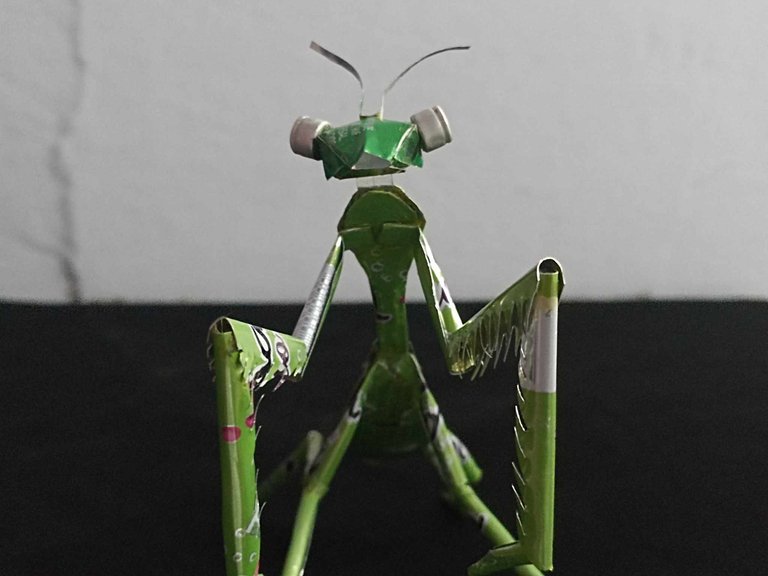
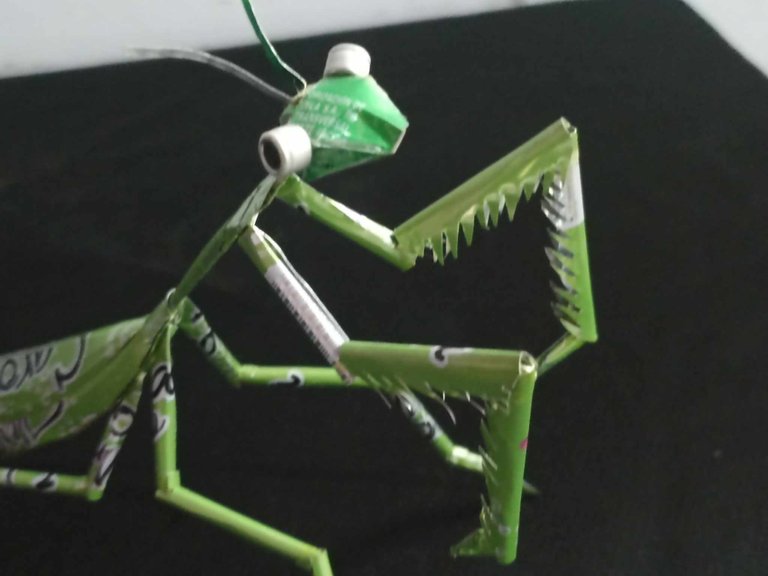
The next step is to make the most dangerous limbs in nature, I don't think any creature has tools as powerful as the limbs of a praying mantis, everything they catch they don't let go of, it is the most ferocious predator, its appetite knows no limits . Here I put a lot of emphasis on the details because I wanted them to look very realistic so I made a lot of scales, it is done in the same way as the previous ones only those details are added in the shape of a saw. Then I glue them on the corresponding part, lastly I make the head, which I adhere to the end of the body with glue.
El siguiente paso es hacer las extremidades más peligrosas de la naturaleza, no creo que alguna criatura tenga unas herramientas tan poderosas como las extremidades de una mantis religiosa, todo lo que atrapan no lo sueltan, es el depredador mas feroz, su apetito no conoce límites. Aquí puse mucho énfasis en los detalles porque deseaba que luciaran muy realistas así que le hice muchas escamas, se hace de la misma forma que las anteriores solo que se le agregan esos detalles en forma de sierra. Después las pego en la parte que le corresponde, por último hago la cabeza, la cueal adhiero al extremo del cuerpo con pegamento.
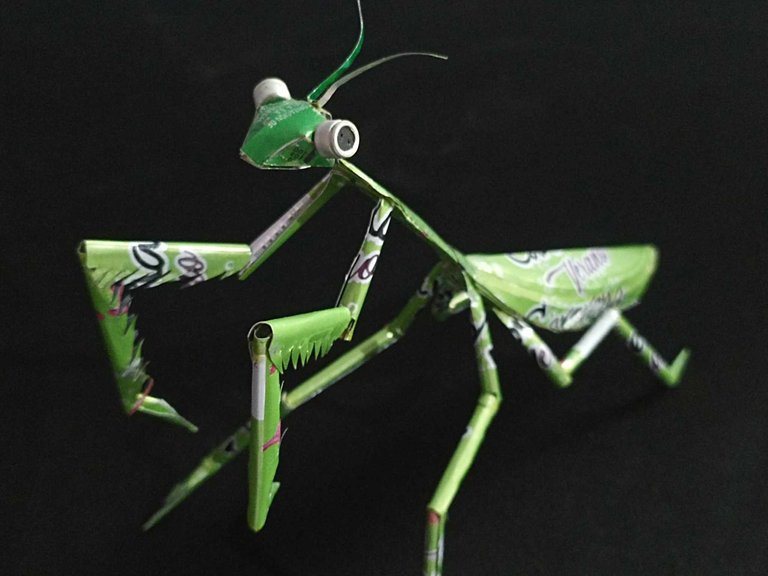
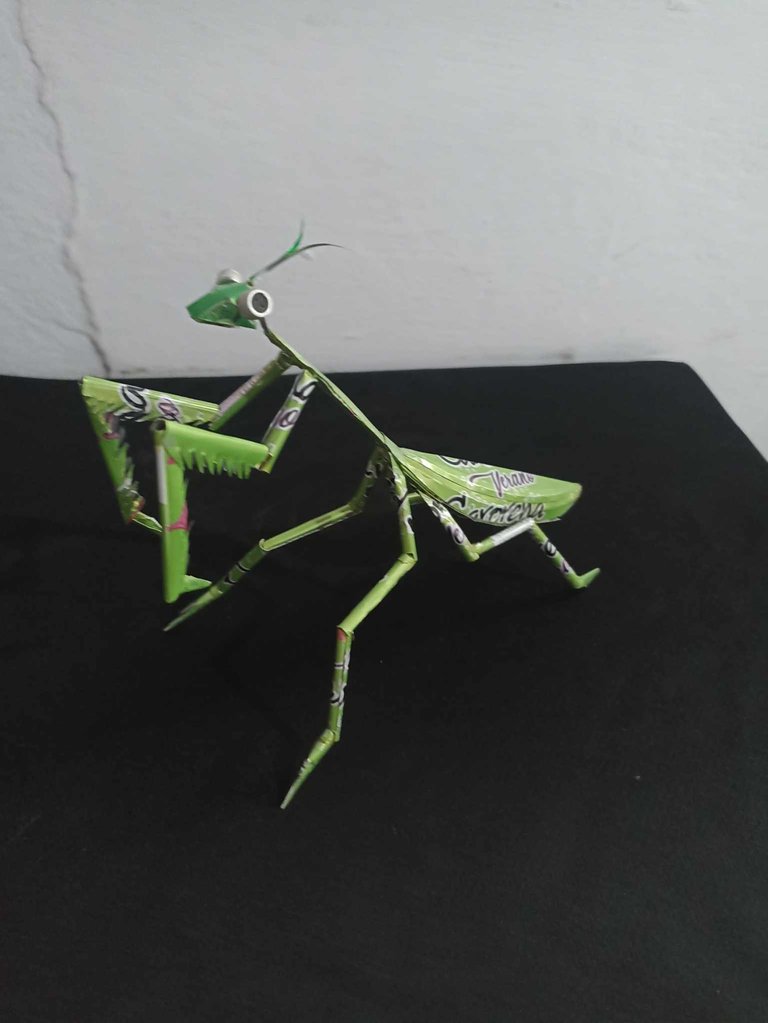
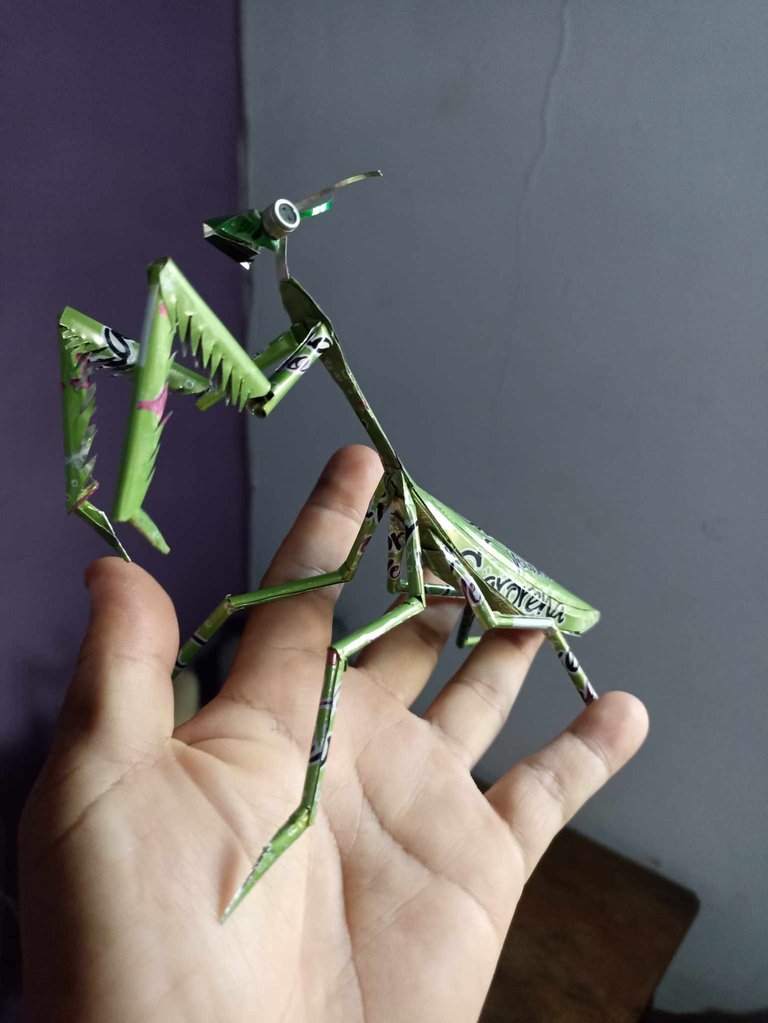
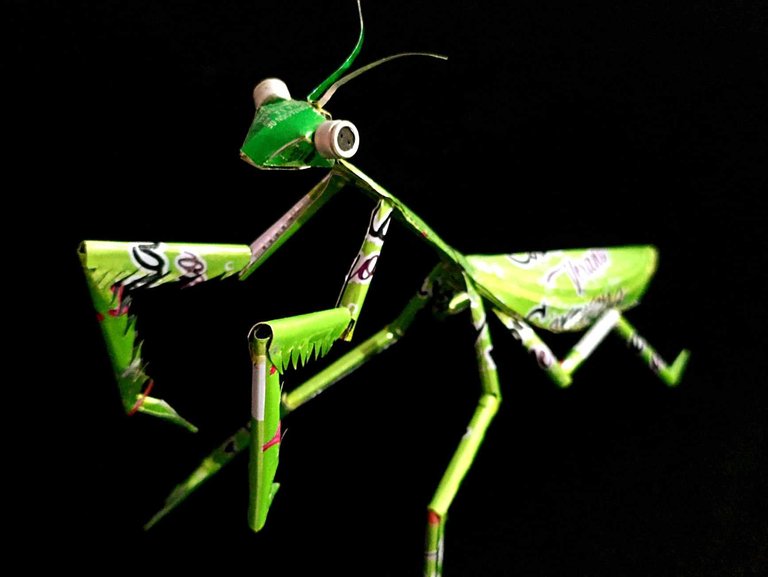
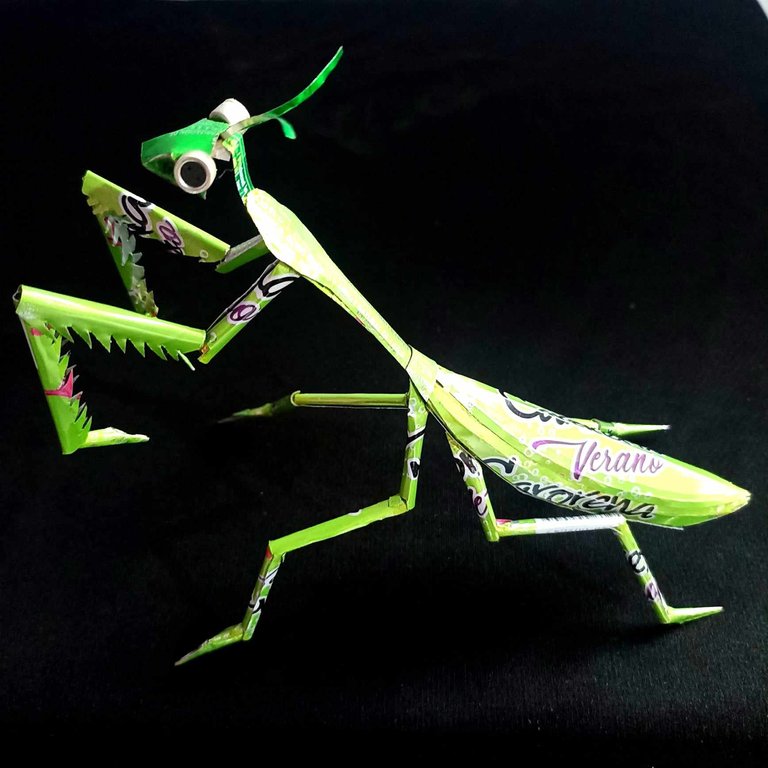
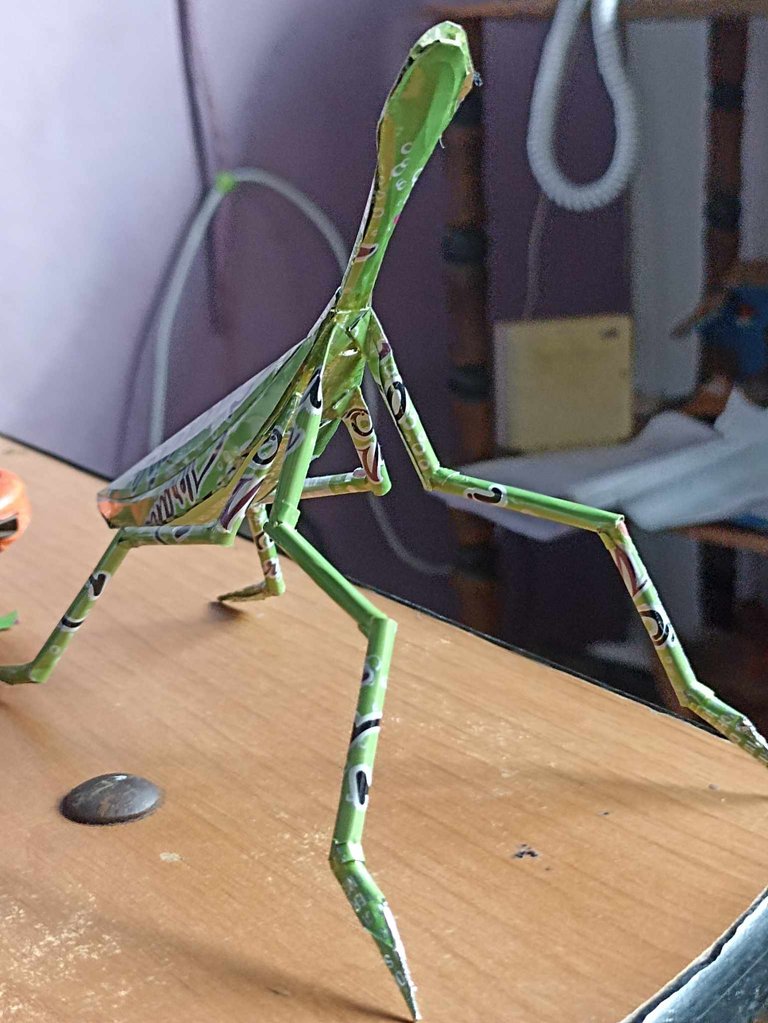
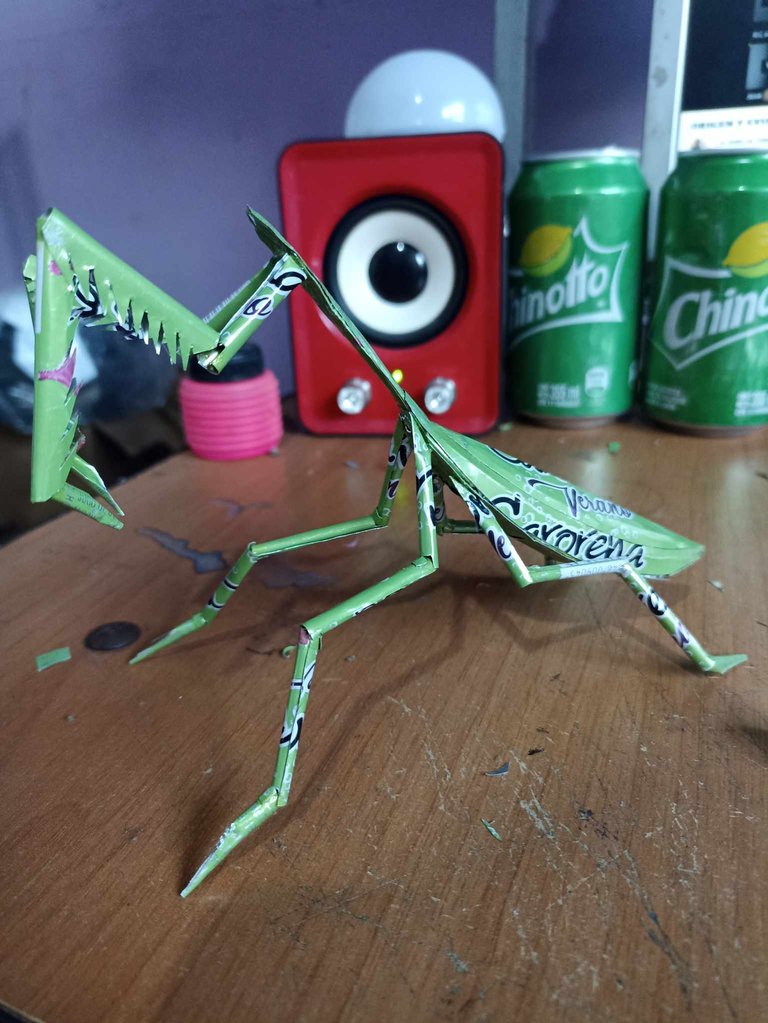
This is how this small sculpture of the Mantoid card turned out, it came out a little big to be realistic, but I think each of the parts looks very threatening. Something I would like to do with each sculpture is give it movement, but it is something I still don't know how to do, but while I discover it I will continue sharing my creations with you. For now I say goodbye until a new opportunity to share. See you soon!
Así quedo esta pequeña escultura de la carta Mantoid, me salió un poco grande para ser realistas, pero creo que cada una de las partes luce muy amanezadora. Algo que me gustaría hacer con cada escultura es darle movimiento, pero es algo que aun no se como hacer, pero mientras lo descubro seguiré compartiendo mis creaciones con ustedes. Por ahora me despido hasta una nueva oportunidad de porde compartir. Hasta pronto!
Te quedo muy realista amigo, me gusta tu creatividad y los materiales utilizados eres un gran artista, mucha suerte en el concurso.
Hola querida amiga, me alegra mucho que te haya gustado como quedó el resultado. Con este material se puede hacer de todo pero usándolo con mucho cuidado. Que tengas un feliz día!
Congratulations, your post has been upvoted by @dsc-r2cornell, which is the curating account for @R2cornell's Discord Community.
Enhorabuena, su "post" ha sido "up-voted" por @dsc-r2cornell, que es la "cuenta curating" de la Comunidad de la Discordia de @R2cornell.
supe agradecido por recibir su apoyo!
you are very creative man !!! is amazing creation
Thank you brother, my collection of figures is growing little by little
it's really amazing to turn ordinary objects even trash into cool works of art, keep it up brother it's really amazing :)
From Venezuela, our witness drives decentralization and the adoption of Web3 technology, creating opportunities for the local community and contributing to the global ecosystem. // Desde Venezuela, nuestro testigo impulsa la descentralización y la adopción de la tecnología Web3, generando oportunidades para la comunidad local y contribuyendo al ecosistema global.
Sigue, contacta y se parte del testigo en: // Follow, contact and be part of the witness in:
Hola amigos de @hispapro muchas gracias por su apoyo!
Te quedó increíble, se ve realmente increíble, te felicito
Muchas gracias ☺️
Genial amigo querido. Mucha suerte en el concurso...
!DIY
Awesome work as you usually share. Great job. Best wishes // Un trabajo impresionante como el que acostumbras a compartir. Gran trabajo. Éxitos
You can query your personal balance by
!DIYSTATSNo habia visto el nombre de usuario, y ya sabia que eras tu. Grandioso trabajo!
Felicidades y espero ver más.
hoooola, muchas gracias por ese detalle. ME hace sentir bien que mi trabajo sea reconocido a simple vista!
Hermoso trabajo. Me encanta ver manualidades con ese material.
Muchas gracias, me alegra que le haya gustado!
Wonderful, what an incredible gift you have, a true work of art, I really liked your excellent creativity.
I am very grateful for your comment and for your support, I am glad you liked it. I will continue sharing more creations!
Wow, quedó preciosa y los colores del material le quedan como anillo al dedo ✨
Felicitaciones
Así es, mucha suerte tuve de encontrar justo ese color
Amigo, que el personaje le ha quedado bastante genial, le felicito por su buen trabajo.
Hermosuraa!!! Es en realidad muy realista, gran trabajo @fixie! Mucho éxito fn esta ronda! 🤩
Muchas muchas gracias por esos buenos deseos!