FanArt: Cornealus
Arte Digital | Digital Art
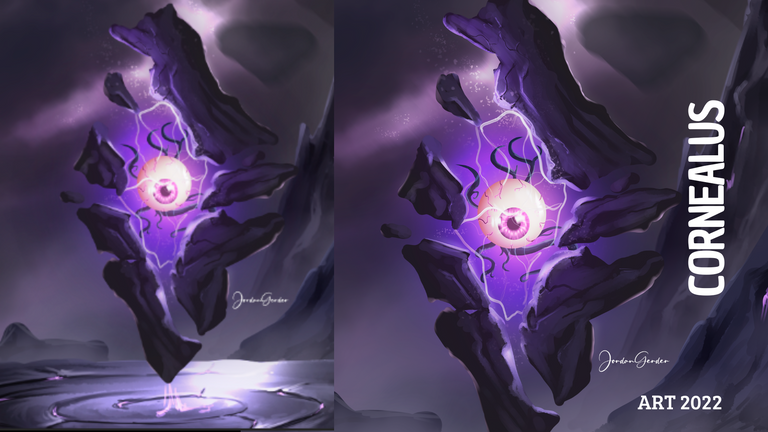
Greetings dear community, welcome once again to a new art process. I present a fanart design for the art contest made by splinterlands, I spent a long time thinking about how I would draw this character, because its design is somewhat simple but I wanted it to look much more elaborate, thinking a little I wanted to create a scene where The very small is still the protagonist, I think the idea has fit perfectly, I was very convinced with the result, what do you think? Come join me to see the creation process......
¡Espero te guste! | I hope you like!
Presentación del diseño | Desing presentación
Materiales | Materials
- Mini laptop
- Tableta Huion H950P
- Programa Adobe Photoshop 2019
- Mini laptop
- Huion H950P tablet
- Adobe Photoshop 2019 program
❍﹏﹏﹏﹏﹏﹏﹏﹏﹏﹏﹏﹏﹏﹏﹏﹏﹏❍
Proceso | Process
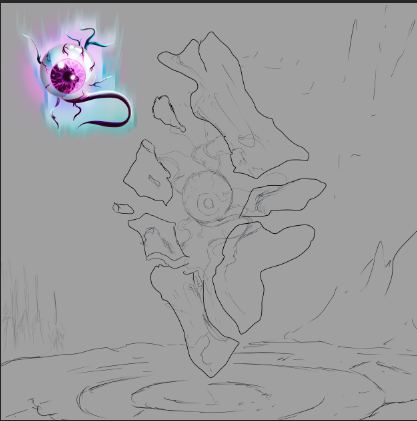
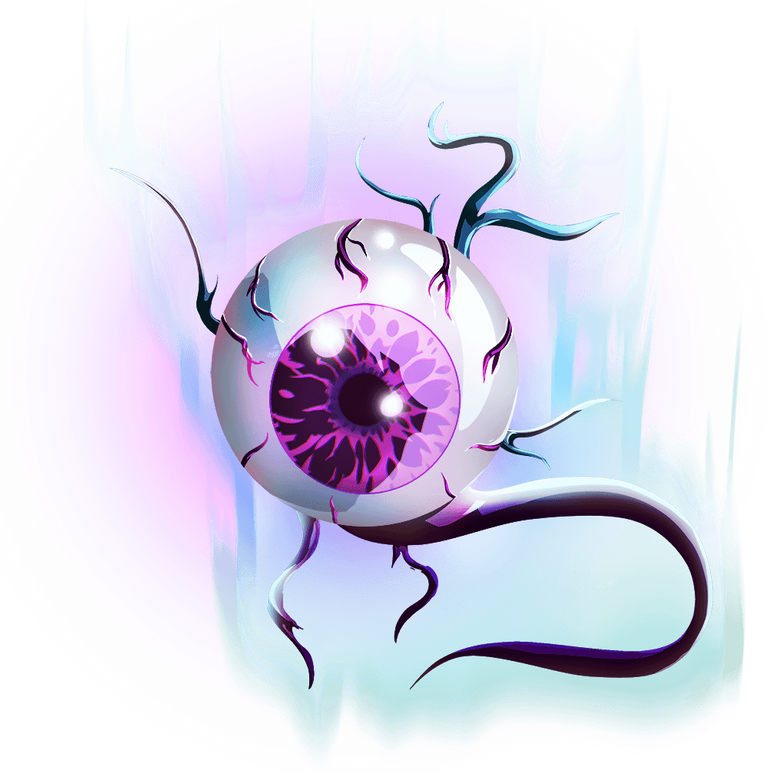
El primer paso para esta creacion, fue idear todas la escena, tenia el personaje de inspiracion en un extremo para captar todas las partes mas visibles del personaje:
The first step for this creation was to devise all the scene, I had the character of inspiration at one end to capture all the most visible parts of the character:

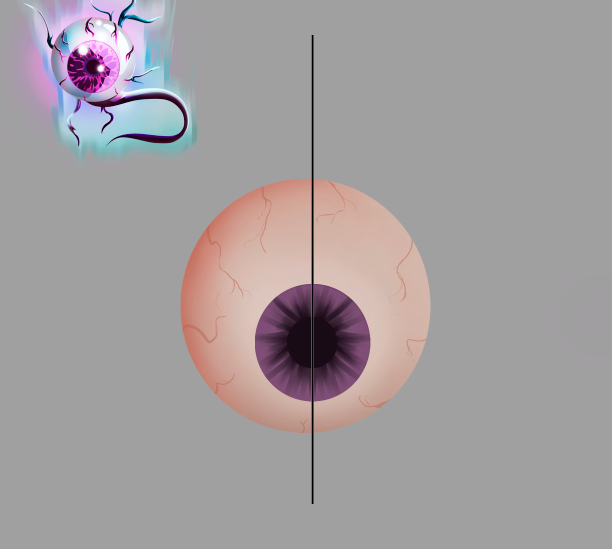
Con la herramienta bote de pintura agregue color base al circulo mas grande y con un pincel difuso aplique algunas sombras en tonalidad rojiza, seguidamente agregue algunas venas y y los colores base en su iris y pupila:
With the paint bucket tool add base color to the larger circle and with a soft brush apply some shadows in a reddish hue, then add some veins and the base colors on her iris and pupil:

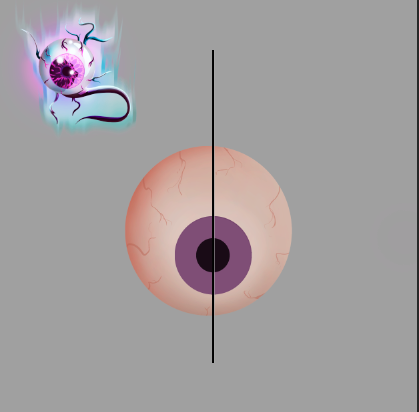
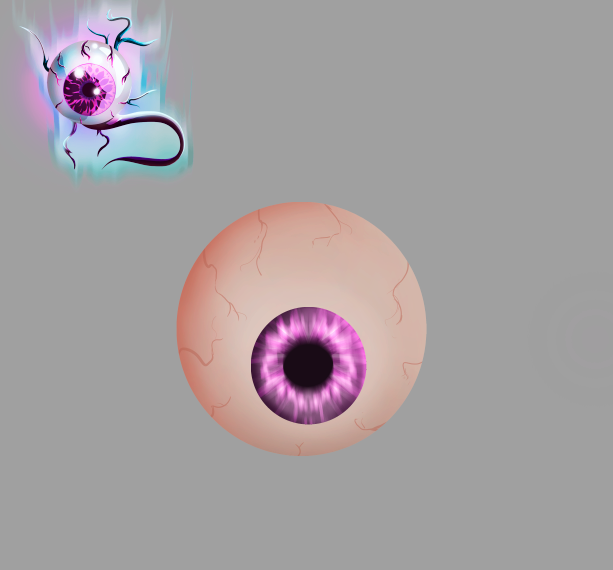
Para detallar el iris use la herramienta de semetria mientras iba aplicando lineas de un lado la simetria lo duplicaba en el lado contrario, me funciono de maravillas, segui detallando todo el ojo aplicando brillos para dar una mejor vista:
To detail the iris, I used the symmetry tool while I was applying lines on one side, the symmetry duplicated it on the opposite side, it worked wonders for me, I continued detailing the entire eye applying shine to give a better view:
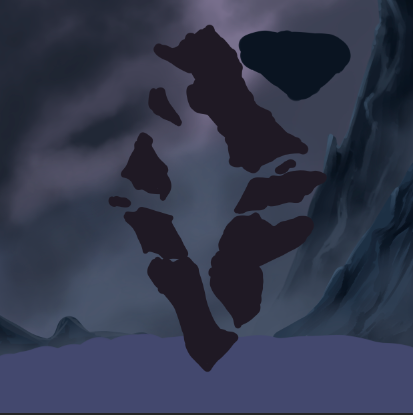
Despues de haber detallado la cornea, emepce a detallar lo que seria el fondo, queria que se viera como una recarga electrica, agregue colores bases sobre las rocas y con la herramienta dedo mezcle los colores, me gusta el efecto que esta herramienta dejo sobre cada una de las rocas:
After having detailed the cornea, I began to detail what would be the background, I wanted it to look like an electrical recharge, I added base colors on the rocks and with the finger tool I mixed the colors, I like the effect that this tool left on each one of the rocks:
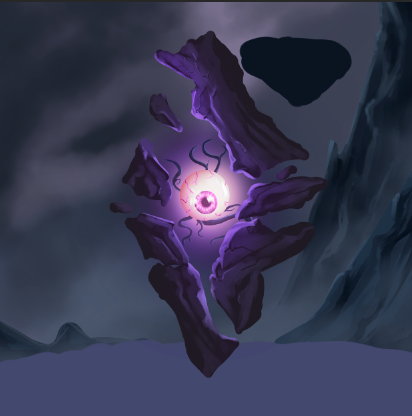
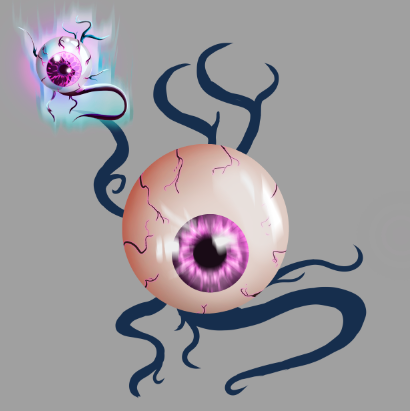
Para finalizar agregue efectos de magia en el resto de la escena, el fondo es realmente magico. este ha sido todo el proceso de creacion, a continuacion el resultado final :
Finally add magic effects in the rest of the scene, the background is really magical. This has been the entire creation process, then the final result:

Obtuvimos un resultado increible disfrute mucho del proceso de creacion. Espero les haya gustado lo he elaborado con cariño para todos los espectadores que visitan esta publicacion, nos vemos en la próxima 😍
We got an incredible result, I really enjoyed the creation process. I hope you liked it, I have elaborated it with love for all the viewers who visit this publication, see you in the next one 😍
Art inspired by @splinterlands
¿Cómo pintar la piel en Photoshop? (piel difusa) | How to paint skin in Photoshop? (fuzzy skin)

Presentación del diseño | Desing presentación
Materiales | Materials
- Mini laptop
- Tableta Huion H950P
- Programa Adobe Photoshop 2019
- Mini laptop
- Huion H950P tablet
- Adobe Photoshop 2019 program
Proceso | Process
The first step for this creation was to devise all the scene, I had the character of inspiration at one end to capture all the most visible parts of the character:
With the paint bucket tool add base color to the larger circle and with a soft brush apply some shadows in a reddish hue, then add some veins and the base colors on her iris and pupil:
To detail the iris, I used the symmetry tool while I was applying lines on one side, the symmetry duplicated it on the opposite side, it worked wonders for me, I continued detailing the entire eye applying shine to give a better view:
After having detailed the cornea, I began to detail what would be the background, I wanted it to look like an electrical recharge, I added base colors on the rocks and with the finger tool I mixed the colors, I like the effect that this tool left on each one of the rocks:
Finally add magic effects in the rest of the scene, the background is really magical. This has been the entire creation process, then the final result:
We got an incredible result, I really enjoyed the creation process. I hope you liked it, I have elaborated it with love for all the viewers who visit this publication, see you in the next one 😍
Art inspired by @splinterlands
¿Cómo pintar la piel en Photoshop? (piel difusa) | How to paint skin in Photoshop? (fuzzy skin)
!LUV
@jordangerder, @bilpcoinbpc(1/3) sent you LUV. wallet | market | tools | discord | community | <>< daily
HiveWiki
HiveBuzz.me NFT for Peace
Esta genial! me gusta el efecto de los rayos
Muchas gracias ❤️
Thank you for sharing this post on HIVE!
Your content got selected by our fellow curator desro & you just received a little thank you upvote from us for your great work! Your post will be featured in one of our recurring compilations which are aiming to offer you a stage to widen your audience within the DIY scene of Hive. Next time make sure to post / cross-post your creation within the DIYHub community on HIVE and you will receive a higher upvote ;) Stay creative & HIVE ON!
Please vote for our hive witness <3
Thanks for sharing! - castleberry#6859

Thank you so much❤️
https://twitter.com/1273270268627214336/status/1603076098379710465
The rewards earned on this comment will go directly to the people( @nftshowroom ) sharing the post on Twitter as long as they are registered with @poshtoken. Sign up at https://hiveposh.com.