Cannon Fodder Cards
Good day Splinterlands player. This would be my first splinterlands post. As now, I’ve past 1,000 battles, and I would like to share my thought and analysis on card selection and formation used on my past battle journal. Currently I battle at Bronze League since I only have limited card collections. I would start my first post today with focus on what I called Cannon Fodder cards.
Low-mana battle could be a very tricky battle. I have for some time focus on high-damage card (also boosted by summoner with damage buff ability) just to deal some instant-kill, but in the end my formation crumbling because high-damage cards are too fragile. To protect your high-damage cards you need tanker, but that means a lot of mana investment. Place your tanker in the front row, and “sneak” ability might crumble your back row; place tanker in the back row, and “opportunity” ability strike down from the front. This this kind of battle requires You to find balance between spreading the formation on low mana card or focusing the formation on only one or two medium mana cards (and also decide whether the medium mana card focus on high health or high damage output).
And here where Cannon Fodder cards plays an important role. Cannon Fodder cards is expendable cards with low health and low mana cost (which would be card with zero or one mana cost), which means:
- Any excess damage from high-damage cards would be go wasted just to kill the cards.
- When the cards destroyed, you only lost one or even zero mana.
- You can place protection on various position along the formation.
It’s a cheap sacrifice!!
Cannon Fodder cards play important roles as a filler in a loose formation, with various positions such as:
• Front row, to absorb any incoming shock damage from high-damage front-row melee. Thus, protecting your main front-row melee card, and allow your melee to make follow-up attack.
• Middle Row, to divert attack from cards with “opportunity” or “snipe” ability. Thus, giving your most important low health – high damage better survivability.
• Back Row, of course to protect against cards with “sneak” ability.
But remember Cannon Fodder cards only good for delay damage from reaching your main card, you still need to your most effective high damage output cards.
Ideally in low-mana battle, I would use one tanker cards (high armor & health) cards, accompanied with high-damage output cards, and then around two to three Cannon Fodders cards. Considering zero mana cards are usually Legendary cards (thus quite difficult to get), at least then you would need around two to three mana spares from your main formation.
Severeal of my favourite cannon fodder card used in low-mana battle:
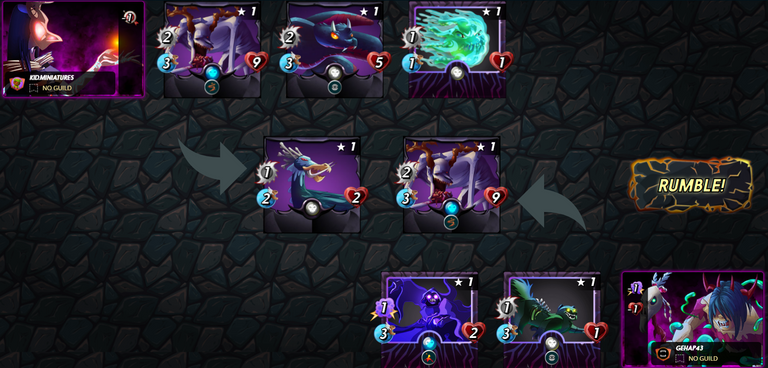
- Dark Splinter with Carrion Shade, Cursed Windeku, Silent Sha-vi, and Cursed Slimeball.
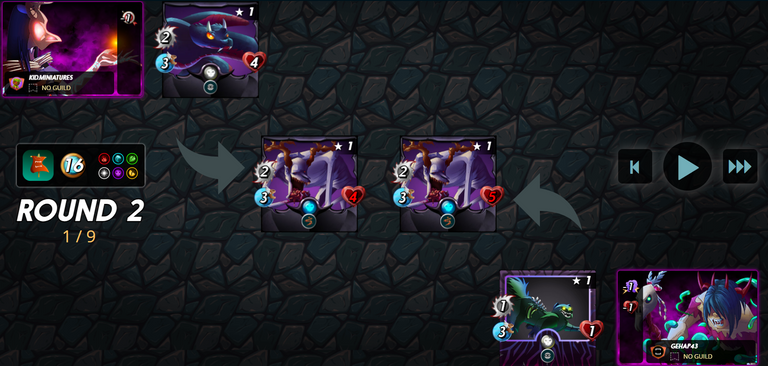
Cursed Windeku would be mostly seen in low-mana battle. It is a very strong card for the front row, thus Undead Badge or Silent Sha-vi would be a great company to support attack on the backrow. The carrion share in the front row destroyed by the Windeku, this give my Windeku intiative to strike first on opponent’s Windeku. But since they return equal damage using “Thorn” abilities, it cause no difference. Meanwhile cursed slimeball might not be needed cause Sha-vi already powerful enough with 5 Health. The Death Elemental might have a better chance to help destroy my Windeku, if only there’s one or two cannon fodder units to protect it backrow.
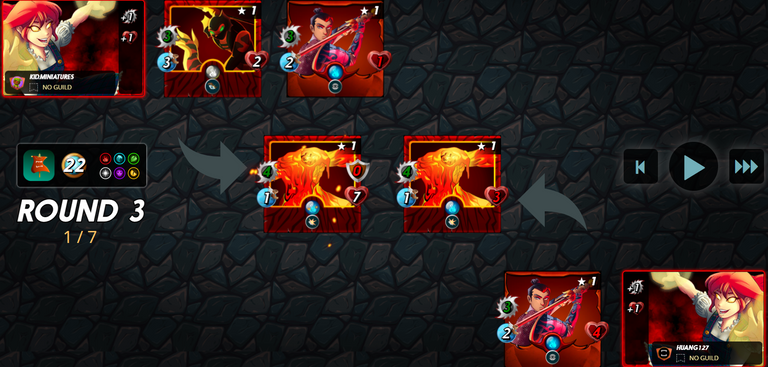
- Fire Splinter with Radiated Scorcher, Chaos Agent, Living Lava, Serpentine Spy, and Tenyii Striker.
Chaos Agent become shield for the Sepentine Spy. This give advantage for my serpentine spy to attack back on the Scavo Hireling; and then luckly I got the initiative to strike the Serpentine Spy first in the Round 2.

Congratulations @kid.miniatures! You have completed the following achievement on the Hive blockchain and have been rewarded with new badge(s):
Your next target is to reach 50 upvotes.
You can view your badges on your board and compare yourself to others in the Ranking
If you no longer want to receive notifications, reply to this comment with the word
STOPCheck out the last post from @hivebuzz:
Support the HiveBuzz project. Vote for our proposal!