Ice Pixie Fanart

Edited in Canva Pro.

Sources and Materials
Below are the materials I used in this art.
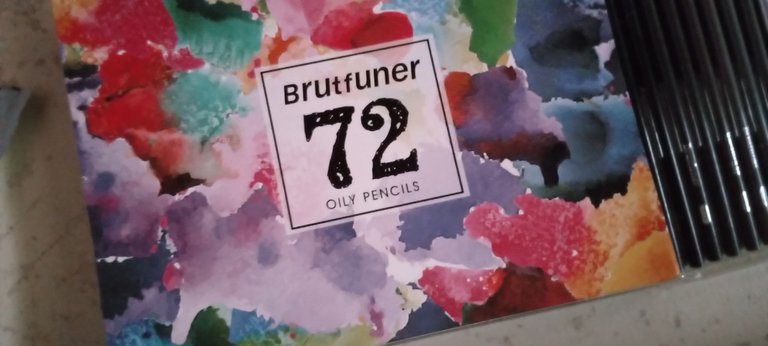
Photo taken using Tecno Spark Go.
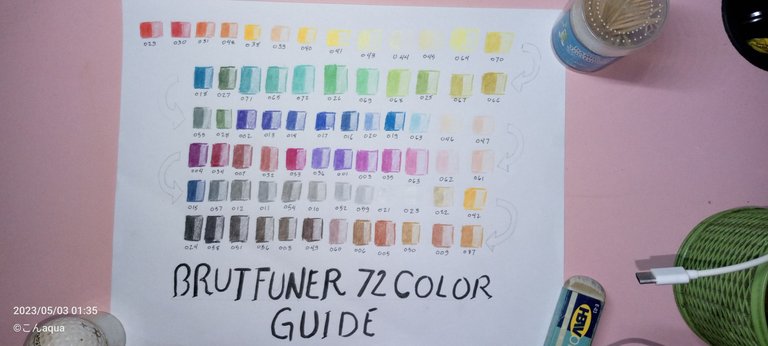
Photo taken using Tecno Spark Go.
𝕴𝖓𝖙𝖗𝖔𝖉𝖚𝖈𝖙𝖎𝖔𝖓
Thanks to @splinterlands, I was able to save up for a new and better colored pencil. The one I will be using today and further is a brand called, "Brutfuner". It's not as expensive as Faber Castell but still a better one than my old one.
Photo taken using Tecno Spark Go.
I found this at Shopee for around $8 for a 72 color Oily Colored Pencil. The store owner also has a youtube channel in which she promoted the same product. The name of the creator/seller is Genelyn Sandaga. If you can see the youtube or shopee store, I suggest you check it out.
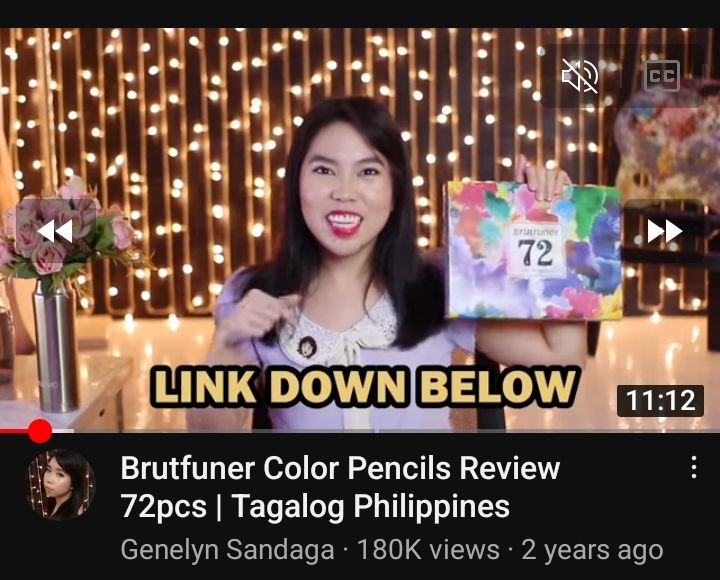
Photo from youtube.com
The colors will be provided at the end of each parts and will always be arranged from darkest to lightest.
Use the color codes at the source segment for a closer guide.
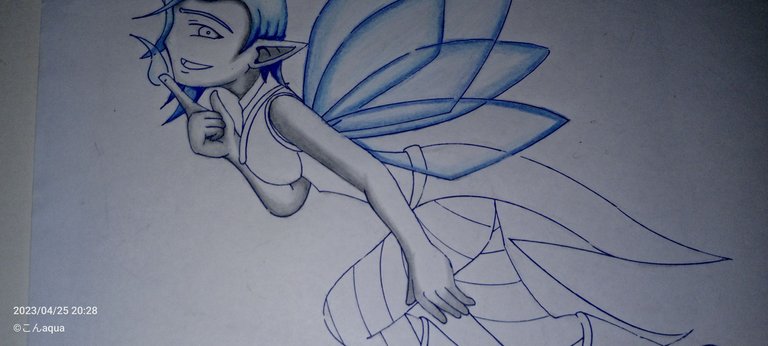
Step 1 Draft
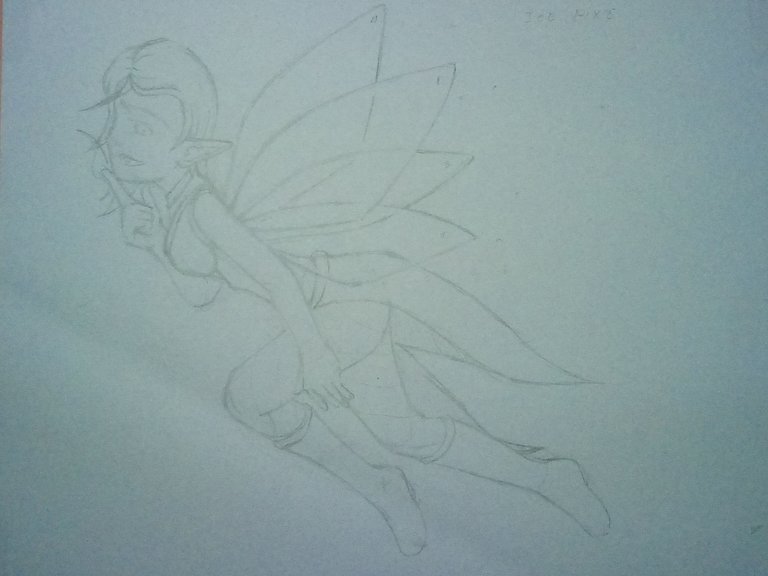
I would admit that I was not planning Ice Pixie to be mature. However, I did like how it came out so I continued doing it. I used a Mongol #2 pencil for the draft.
Step 2 Ink
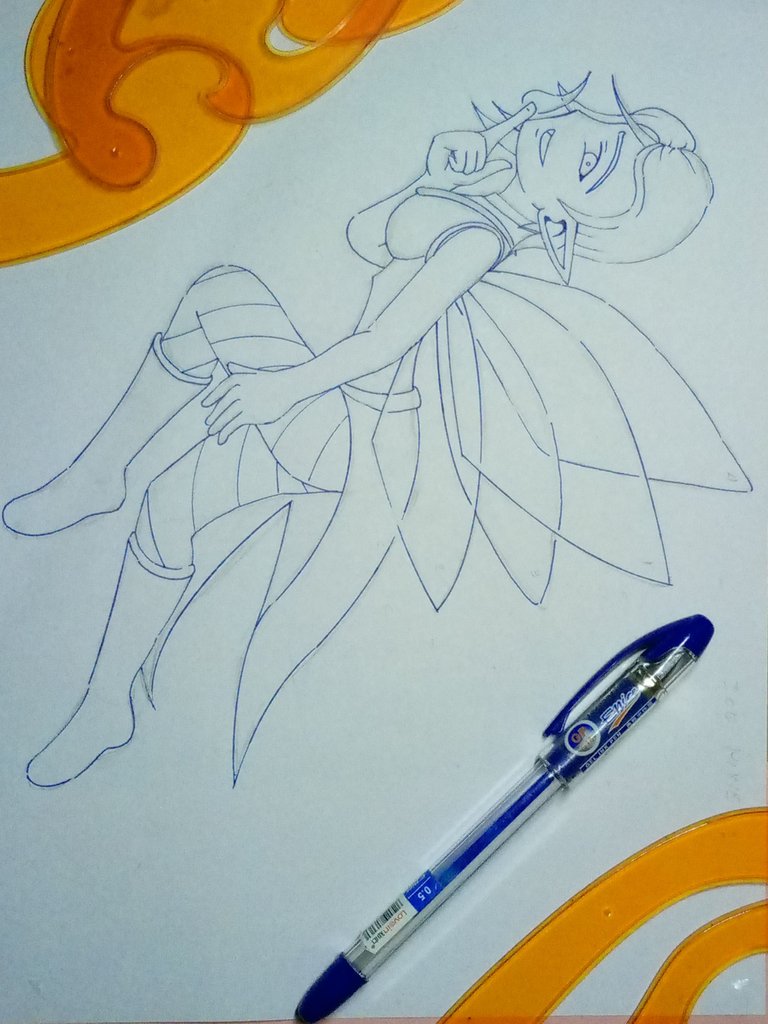
I used a blue Gel Pen for the ink since Ice Pixie's colors are on the bluish side. I think it would be better for a blue ink than a black ink but we'll see if I were correct.
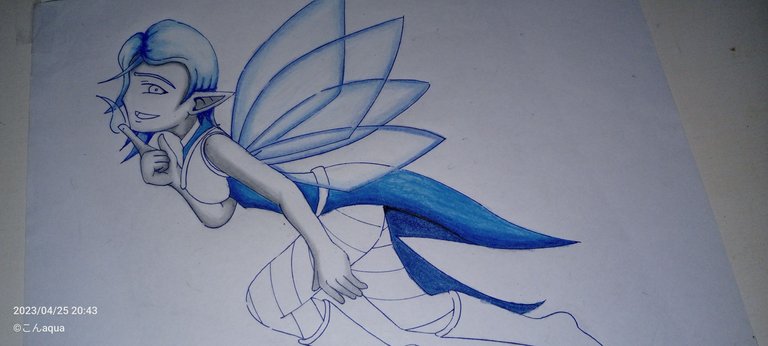
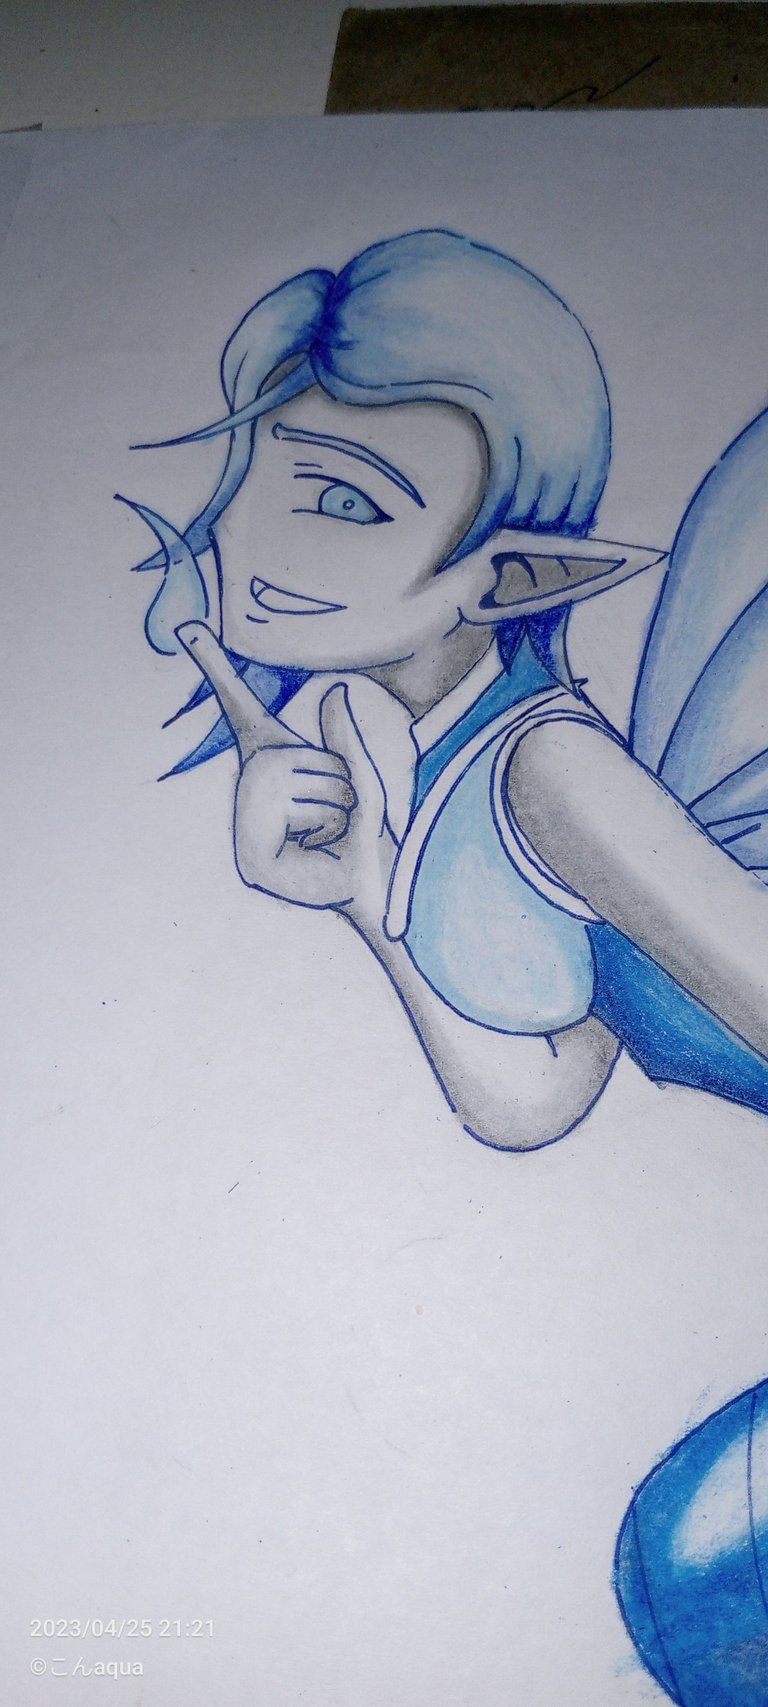
Step 3 Hair Colored
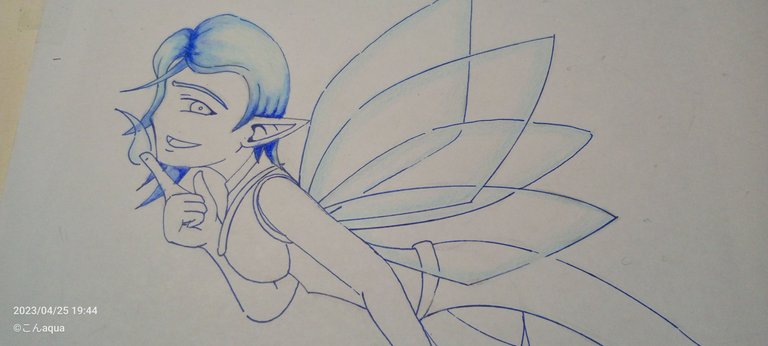
I used three shades of blue for the hair for the shadows, lighter shadows and base color. The colors used are on coded below, respectively.
The colors used in this part are:
017, 020, 053
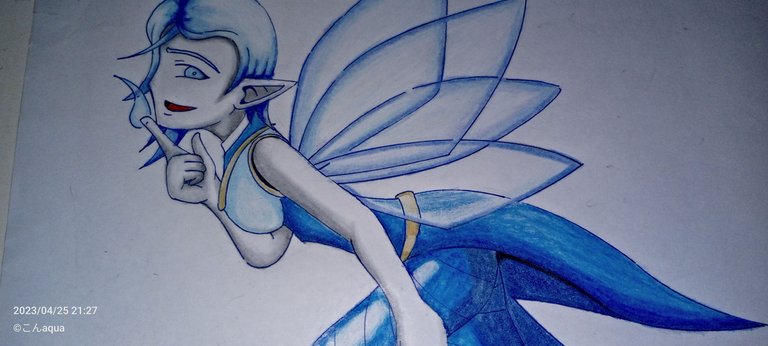
Step 4 Colored Wings
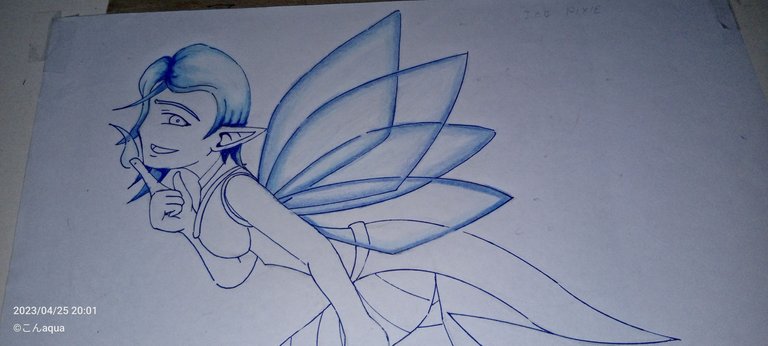
I want the wings to be somewhat see through. In order for this to be true, I only colored the edges, kind of like highlighted them. The darker color first, then the lighter one, and then another dash of darker one in order to blend the color.
The colors used in this part are:
020, 053
Step 5 Colored Skin
The skin on the original art is a blend of white and grays. I tried to mimic that in this art and this is how it went.
The colors used in this part are:
011, 021
Step 6 Outer Shirt
I used a hard pressure on the blue part and a light pressure on the light blue. Then, I used the white colored pencil to blend the lighter part.
The colors used in this part are:
016, 019, 023 (White)
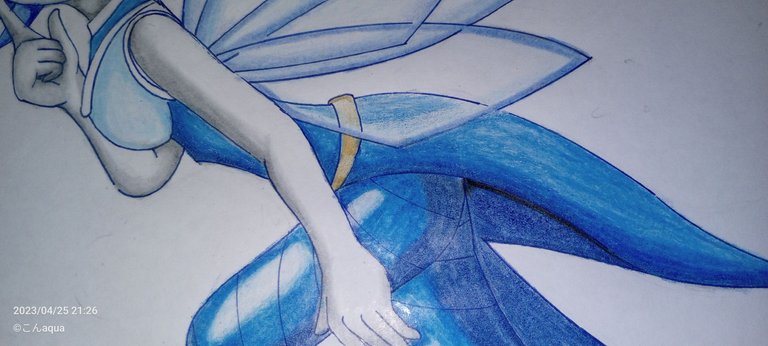
Step 7 Colored Leggings
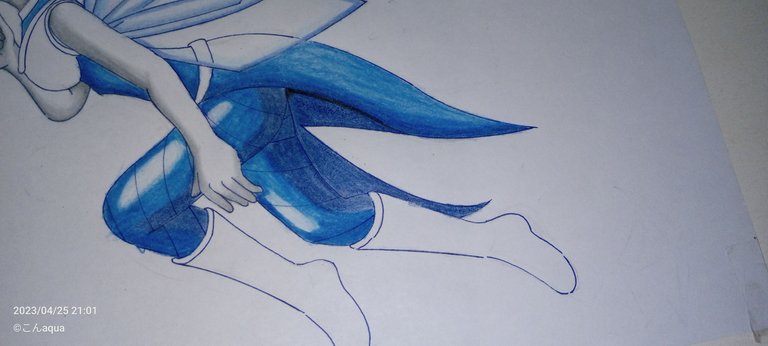
Same with the step 6, but I also intentionally did not color some parts to show a highlight. I think it went good.
The colors used in this part are:
018, 019, 023 (White)
Step 8 Colored Boots

The boots is of violet in shade. I used one color only but a hard pressure and light pressure to make it the shadow and base color, respectively.
The pink-ish is for the upper part using two colors for the shadow and base color.
The colors used in this part are:
003, 035, 017 (Violet)
Step 9 Inner Shirt Colored
The easiest part. Only one color and the sides was the only one colored in order to make an illusion of base and highlights.
The colors used in this part are:
053
Step 10 Mouth Colored
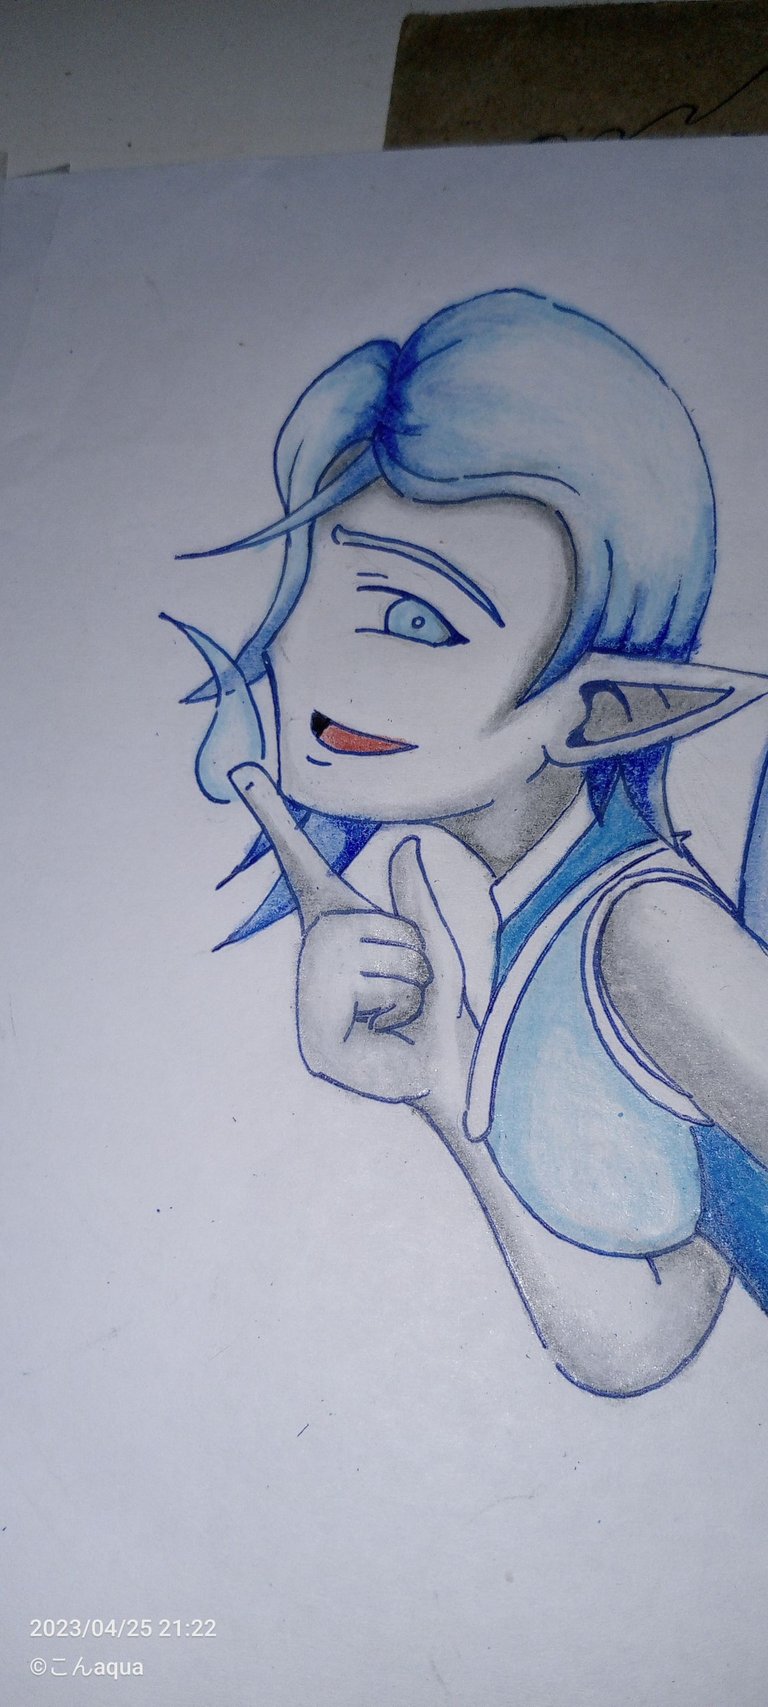
The mouth was too off, so I added a red color for it, and then using the black gel pen, added some shade for darker part.
The colors used in this part are:
032
Step 11 Shirt Through Wings
At first, I was planning to not do any colors on it but it looked too out of place so I decided to simply do a lighter shade of the three colors instead.
The colors used in this part are:
016, 019, 022
Step 12 Lining Colored
I used a gold color for this lining and a lighter and harder pressure in order to do a base and shadow colors.
The colors used in this part are:
022

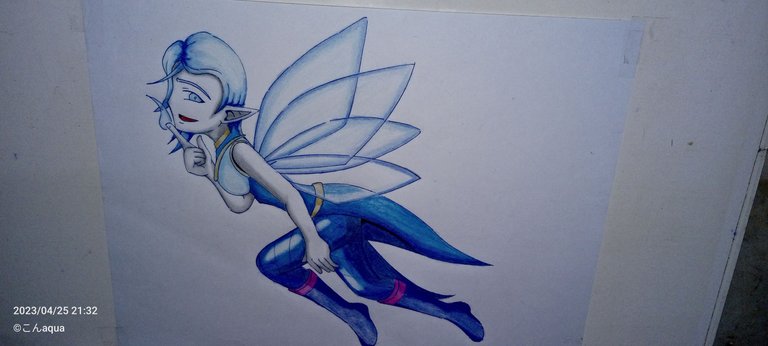
This is the final output of the fanart. Unfortunately, this is the best angle that I can do. The Brutfuner that I used is not just a Colored Pencil but an Oily Colored Pencil which is easier to blend than a normal one. However, the disadvantage is that there is a bit of glare or reflection on the art because of the oil in the pencils.
To counter this for the next time, I would be looking on different types of papers as it may have better effect in combination with phone cameras. So, look forward to a better one in the future.

- This post is an entry for Splinterland's Art Contest.
- Other sources that I do not own are cited under their respective photos. Photos and drawings without cited sources are mine and made for this post.
- Animated Banners and Dividers are edited in Canva Pro.
- Some of the fonts used are from instafonts.io
If you're interested in playing the game, support me by registering using my referral link here
ᕼᗩᐯE ᖴᑌᑎ ᗪᖇᗩᗯIᑎG!
Thanks for sharing! - castleberry#6859
