Naga Warrior (Fan art)
Edited in Canva Pro.

Sources and Materials
Below are the materials I used in this art.
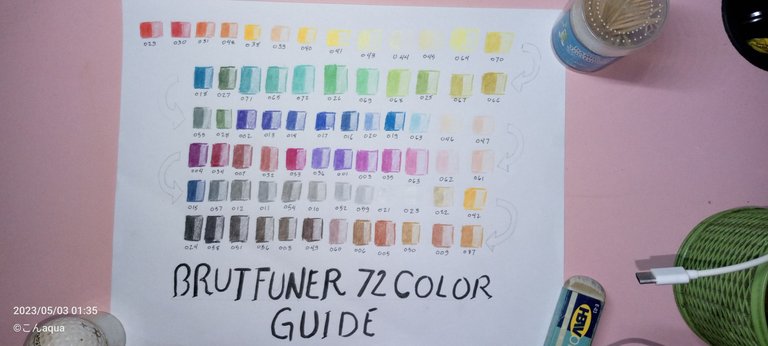
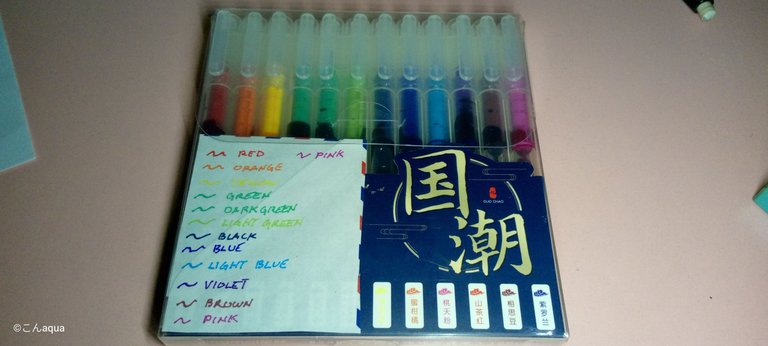
Photo taken using Tecno Spark Go.
𝕴𝖓𝖙𝖗𝖔𝖉𝖚𝖈𝖙𝖎𝖔𝖓
Splinterlands just announced its 5th year anniversary and many don't know, this means the Alpha and Beta cards are also the same age.
Naga Warrior is one of the Alpha and Beta cards. While the art doesn't look bad, it also looks pretty outdated compared to the recent Chaos Legion ones.
With this, I want to give Naga Warrior an updated look. Instead of simply modifying it, I decided to change the perspective and change the eyes while also adding my own personal style. Other parts, I kept it the same and used the main art as a reference.
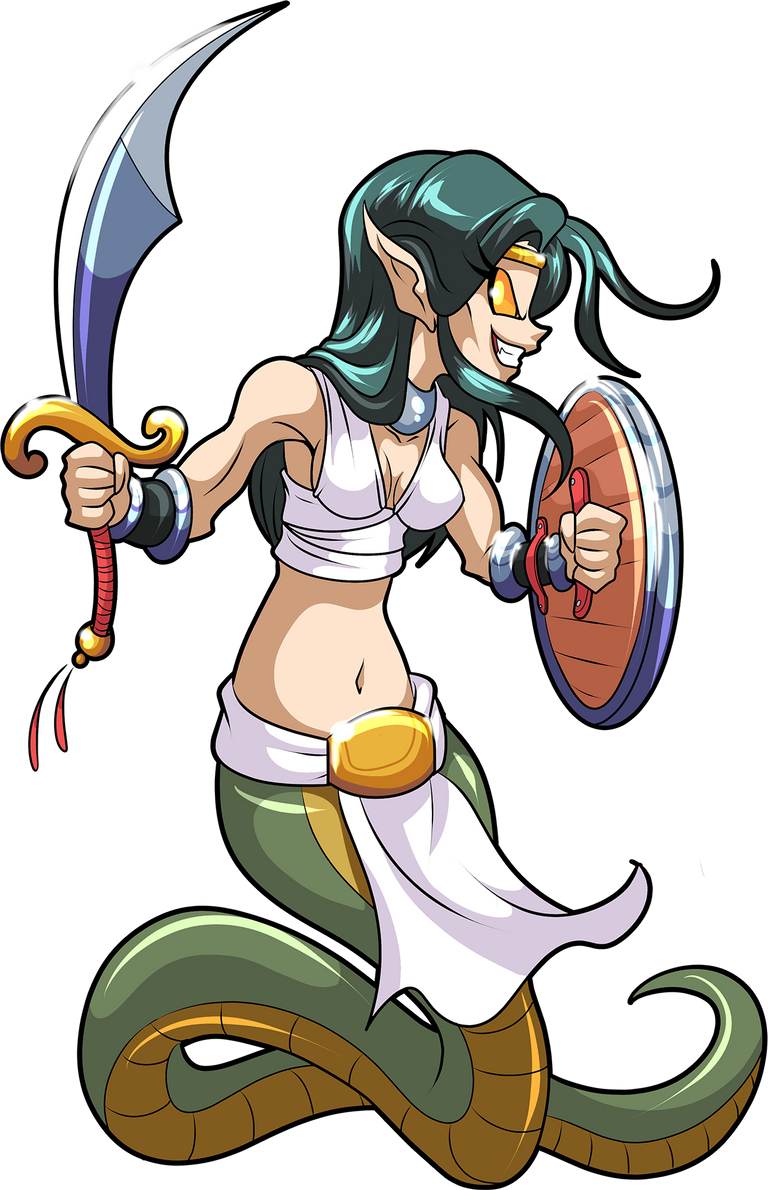
Photo from Splinterlands
Step 1 Draft

Photo taken using Tecno Spark Go.
Since Naga Warrior is a water Splinter, I decided to add some water particles behind her and later, add more blue on the background to create some kind of a torrent.
My image is something like a whirlpool at the background sucking you in.
Step 2 Inking
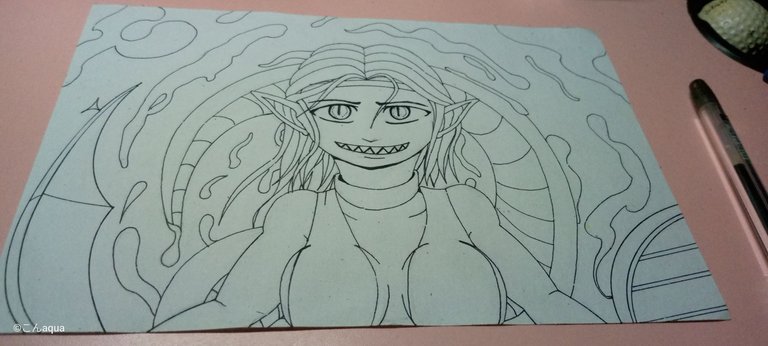
Photo taken using Tecno Spark Go.
I also changed the eyes and gave her a kind of eerie smile. In Philippines, we have our own version of Sirens called "Sirena." They lure their victims with their voice but are actually creepy and ugly in person. So, I added these spiky teeth. The anime "Soul Eater" also added to the idea and used it for a better reference.
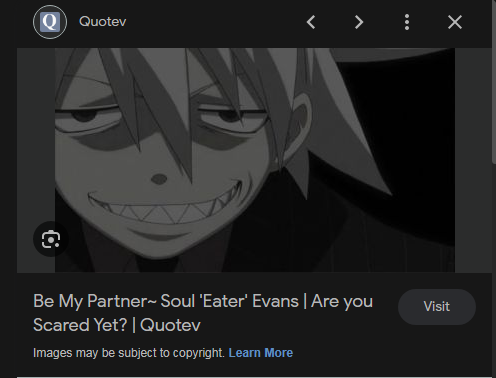
Photo from Quora as a result of Google Search.
For the eyes, since Naga Warrior is part reptile, I used a certain character in Naruto as reference. The antagonist and one of the legendary sennins, Orochimaru.
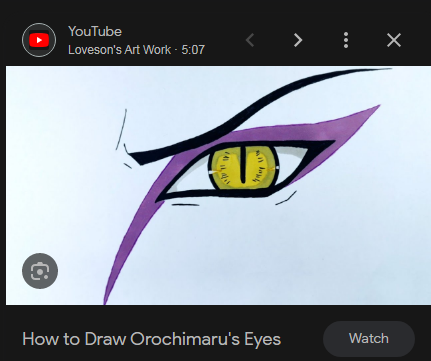
Photo from Loveson's Youtube video as a result of Google Search.
Actually, I didn't use the original Orochimaru eyes but a drawing I found in Google. Reason is that doing the cat-eye pupil will make the pupil larger which makes the eyes look smaller. So, I added the drawing one instead.
Step 3 Colored Inking
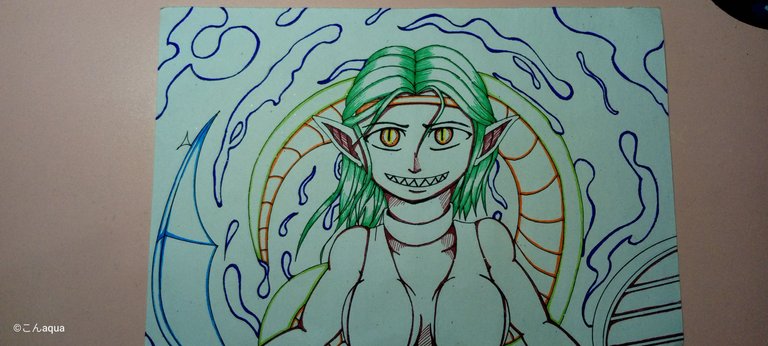
Photo taken using Tecno Spark Go.
Just like my last entry, I added this extra step which kind of gives you an idea of how the finish product would look like.
I also used a Brown Gel pen in here for the skin that would serve as a shadow for the next step.
I tried to add as much detail as possible on this part. I learned that if I used a darker colored pencil, I can overlap the gel pen and change it if needed.
Step 4 Skin and Eyes
Photo taken using Tecno Spark Go.
Skin
For the skin, I used the same combination of colors as always but also added a brown one to try and complement for the brown gel pen. One funny thing is that the brown colored pencil actually looks better when in picture. I don't know why but it looks weird in person but in camera or picture, that looks quite good.
Colors Used: 008, 061, 047
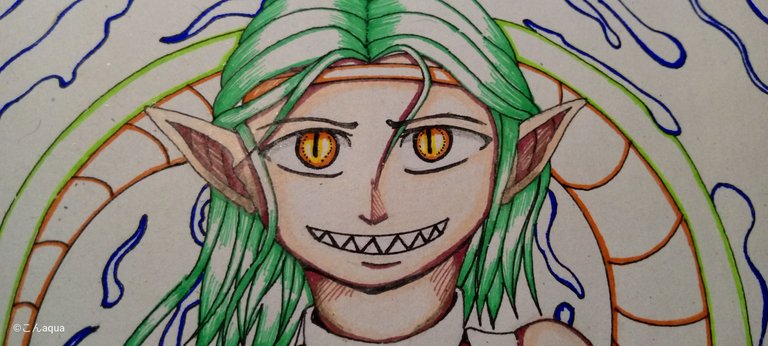
Photo taken using Tecno Spark Go.
Eyes
The eyes were almost complete starting Step 3. This step is simply adding more details. I added a pencil shade about half of the white of the eyes. And then, along that imaginary line, I used the orange gel pen to color in the top part of the eyes. I added a yellow one on the surrounding area of the orange to reduce the whites inside the eyes.
Colors Used: Gel pen orange, Gel pen yellow, pencil for shading.
Step 5 Hair Colored
Photo taken using Tecno Spark Go.
Just like the eyes, unintentionally, the hair was almost finished when I did the step 3.
However, I just added a lighter shade to decrease the whites and darker colors to emphasize the back parts of the hair. This would give depth to the hair by adding more dimensions to it.
Colors Used: 068, Gel Pen Green.
Step 6 Tail Colored
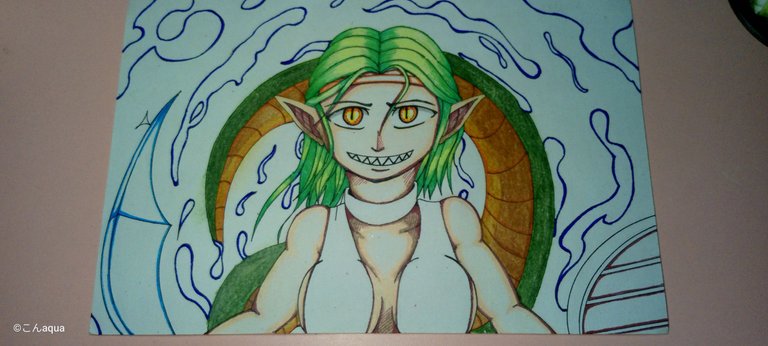
Photo taken using Tecno Spark Go.
After increasing the brightness of my screen, I noticed that the original color are actually paler. It used a grayish green for the outer part and darker orange for the inner part. I don't have those colors so, I decided to change it a bit which would look quite good still and looks snakey like.
I used two shades of green for the outer part and two shades of dark orange for the inner part. If I do saw my mistake early, I would've used a brown colored gel pen for the inner instead of orange. However, since the brown is darker, I was able to overlap the colors and still make it work.
Colors Used: 027, 028 for the green parts | 006, 050 for the brown parts
Step 7 Clothes and Accessories (Headband, Clothes, Choker)
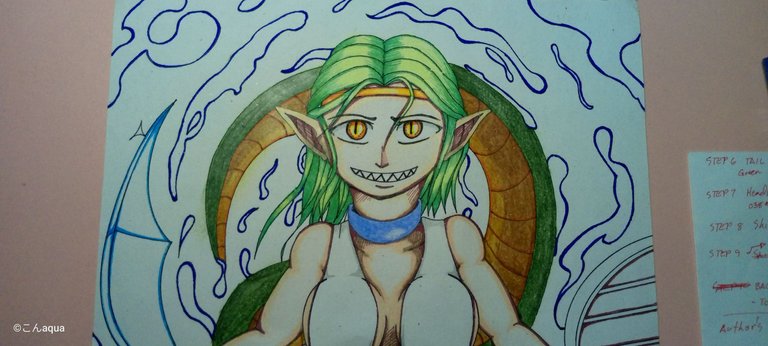
Photo taken using Tecno Spark Go.
Headband
The headband is kind of a gold circlet on her head. I wanted to use yellow but I feel it would be out of place seeing how light the Yellow Brutfuner Colored Pencil is. So, I decided to make it orange-y while adding a darker shade of yellow here and there.
Colors Used: 038
Clothes
Naga Warrior's clothes are like those you see in old Egypt. It's like a piece of cloth rather than an actual clothes. Since the color of the cloth is white, I just used a pencil to shade the shadow parts making the white stand out.
Colors Used: Pencil
Choker
The choker is gray in color. I used multiple shades of gray in order to create a color illusion that it is 3d. You need to use at least 3 shades or colors on circular or spherical objects to make it look spherical. Otherwise, using less colors will make it flat.
Colors Used: 020 (blue)
Step 8 Shield and Sword
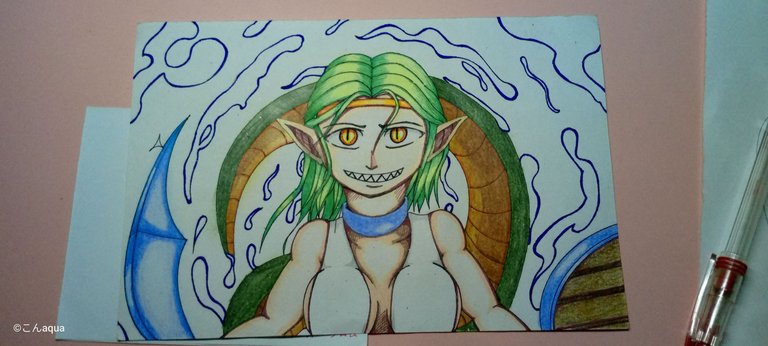
Photo taken using Tecno Spark Go.
Sword
The Sword is bluish in color in the original with some white parts for the shine. I followed the same concept to reach in these colors.
Colors Used: 020 (blue)
Shield
The shield has two main colors, gray for the steel part surrounding the circular area, and brown in the middle. The shield reminds me of a top of a barrel so I colored it as such.
Colors Used: 049, 050 for brown
Step 9 Background Torrent and Water Effect
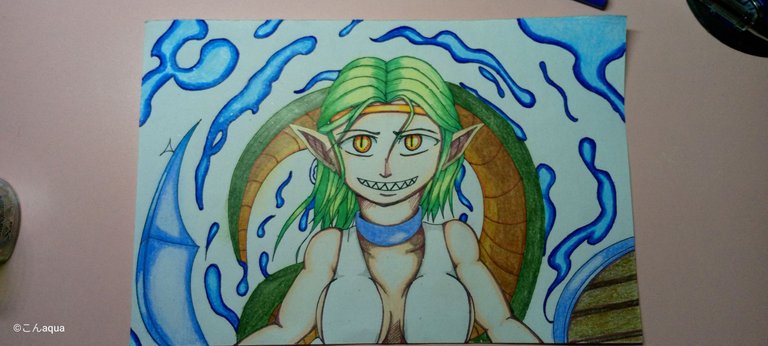
Photo taken using Tecno Spark Go.
Water Effects
The water particles have the same style as my fire one but more smooth edges. I used blue shades to make it 3d-ish since the water is always circular or spherical in nature.
Colors Used: 019, 053 for blue
Backround Torrent
Since the theme is water and I don't want to make it too dark, I used different shades of light blue to make it look like a torrent or whirlpool. I didn't use any reference here but rather just mash up the different shades in a circular pattern until it gets to the design I want.
Colors Used: 019, 053 for blue | 017 for violet
Step 10 Re-Ink

Photo taken using Tecno Spark Go.
Just like in my last art, I realized that the black ink lightens when a colored pencil was put on top, intentionally or not. I added this step to re-ink those parts. Some of this may not look different in photo but in reality, you can see the changes very clear.

From this article onwards, I thought of a good idea on how to use this section. On Author's Notes, I will tell you my own opinion about my art and things I think I need to improve. If you have any suggestions, you can leave it in the comment section.
While my color combinations are starting to improve ever since I made everything more simpler due to my target art style, I think I need to improve my lines, more specifically, the hair. The hair looks okay but it doesn't look natural. I also need to learn how to separate the hair into foreground, middle and background to add depth. Adding depth to the hair makes it also easier to decide the colors in the future.
The hair is probably the one I needed to fix the most as it is one of the main focus of my art style.
Fun fact: I seem to struggle on the hair the simpler they are. If you check my other works related to Silvershield Bard, the hair looks complicated but cleaner but in here, the hair is simply straight and yet, it looks unnatural.

- This post is an entry for Splinterland's Art Contest.
- Other sources that I do not own are cited under their respective photos. Photos and drawings without cited sources are mine and made for this post.
- Animated Banners and Dividers are edited in Canva Pro.
- Some of the fonts used are from instafonts.io
If you're interested in playing the game, support me by registering using my referral link here
ᕼᗩᐯE ᖴᑌᑎ ᗪᖇᗩᗯIᑎG!
Congratulations @konaqua! You have completed the following achievement on the Hive blockchain And have been rewarded with New badge(s)
Your next target is to reach 250 posts.
You can view your badges on your board and compare yourself to others in the Ranking
If you no longer want to receive notifications, reply to this comment with the word
STOPTo support your work, I also upvoted your post!
Check out our last posts:
Do you know you can win a Chaos Legion pack and many other things just by following some simple steps ?? Check out our Latest Daily Showcase and Participate our latest Giveaway. Thanks
Thanks for sharing! - castleberry#6859
