Nekomi, The Elden Cat
Background Cover by Rosie Sun on Unsplash
Edited in Canva.
Sources and Materials
Below are the materials I used in this art.


Introduction
I want to increase my repertoir by drawing non-humans. That being said, I want to make a unique one with the possibility of being turned into a card in the future. I'd like Splinterlands to have counter cards disabling some of the opponent's abilities while this card is alive. With the introduction of the Elden Cat, their presence allows the disability of any sneak abilities while adding a chance of being in dazed or sleep condition if it was hit. Sleep or dazed monsters are unable to take action for the turn and will only be removed if they take damage.
Lore
In the Northern woods of Makh'dul, on the west of Burning Lands, lies the feeding ground of the Elden Cats, furry little creatures that are treated almost like deities due to their hard to be captured nature.
Their massive ears allow them to pick up footsteps a mile away allowing them to be useful as guards against sneaking assassins and bandits. That said, due to their with and anatomy, it is almost impossible to capture these little felines. They are not hard to please and accept requests if you provide offering in terms of jewelries with no ill intent.
"Close your eyes and calm your hearts as these careful beings detect even the slightest of malice in your heartbeats," said the guide, "Anyone found guilty will be hypnotized and in an instant making you dazed and confused for a few days."
Step 1 Draft

Make 3 circles. First and second would have the same size while the third is bigger. The circles would be the head, toro and lower body respectively.
Put the facial features and for the legs, four triangular shape and four circles at the end form the paws.
Step 2 Full Draft

Tails are free form and can be added a any shape. Ears are from the top of the head to the middle allowing her to get bigger ears than normal. Add the jewelries and you have your base.
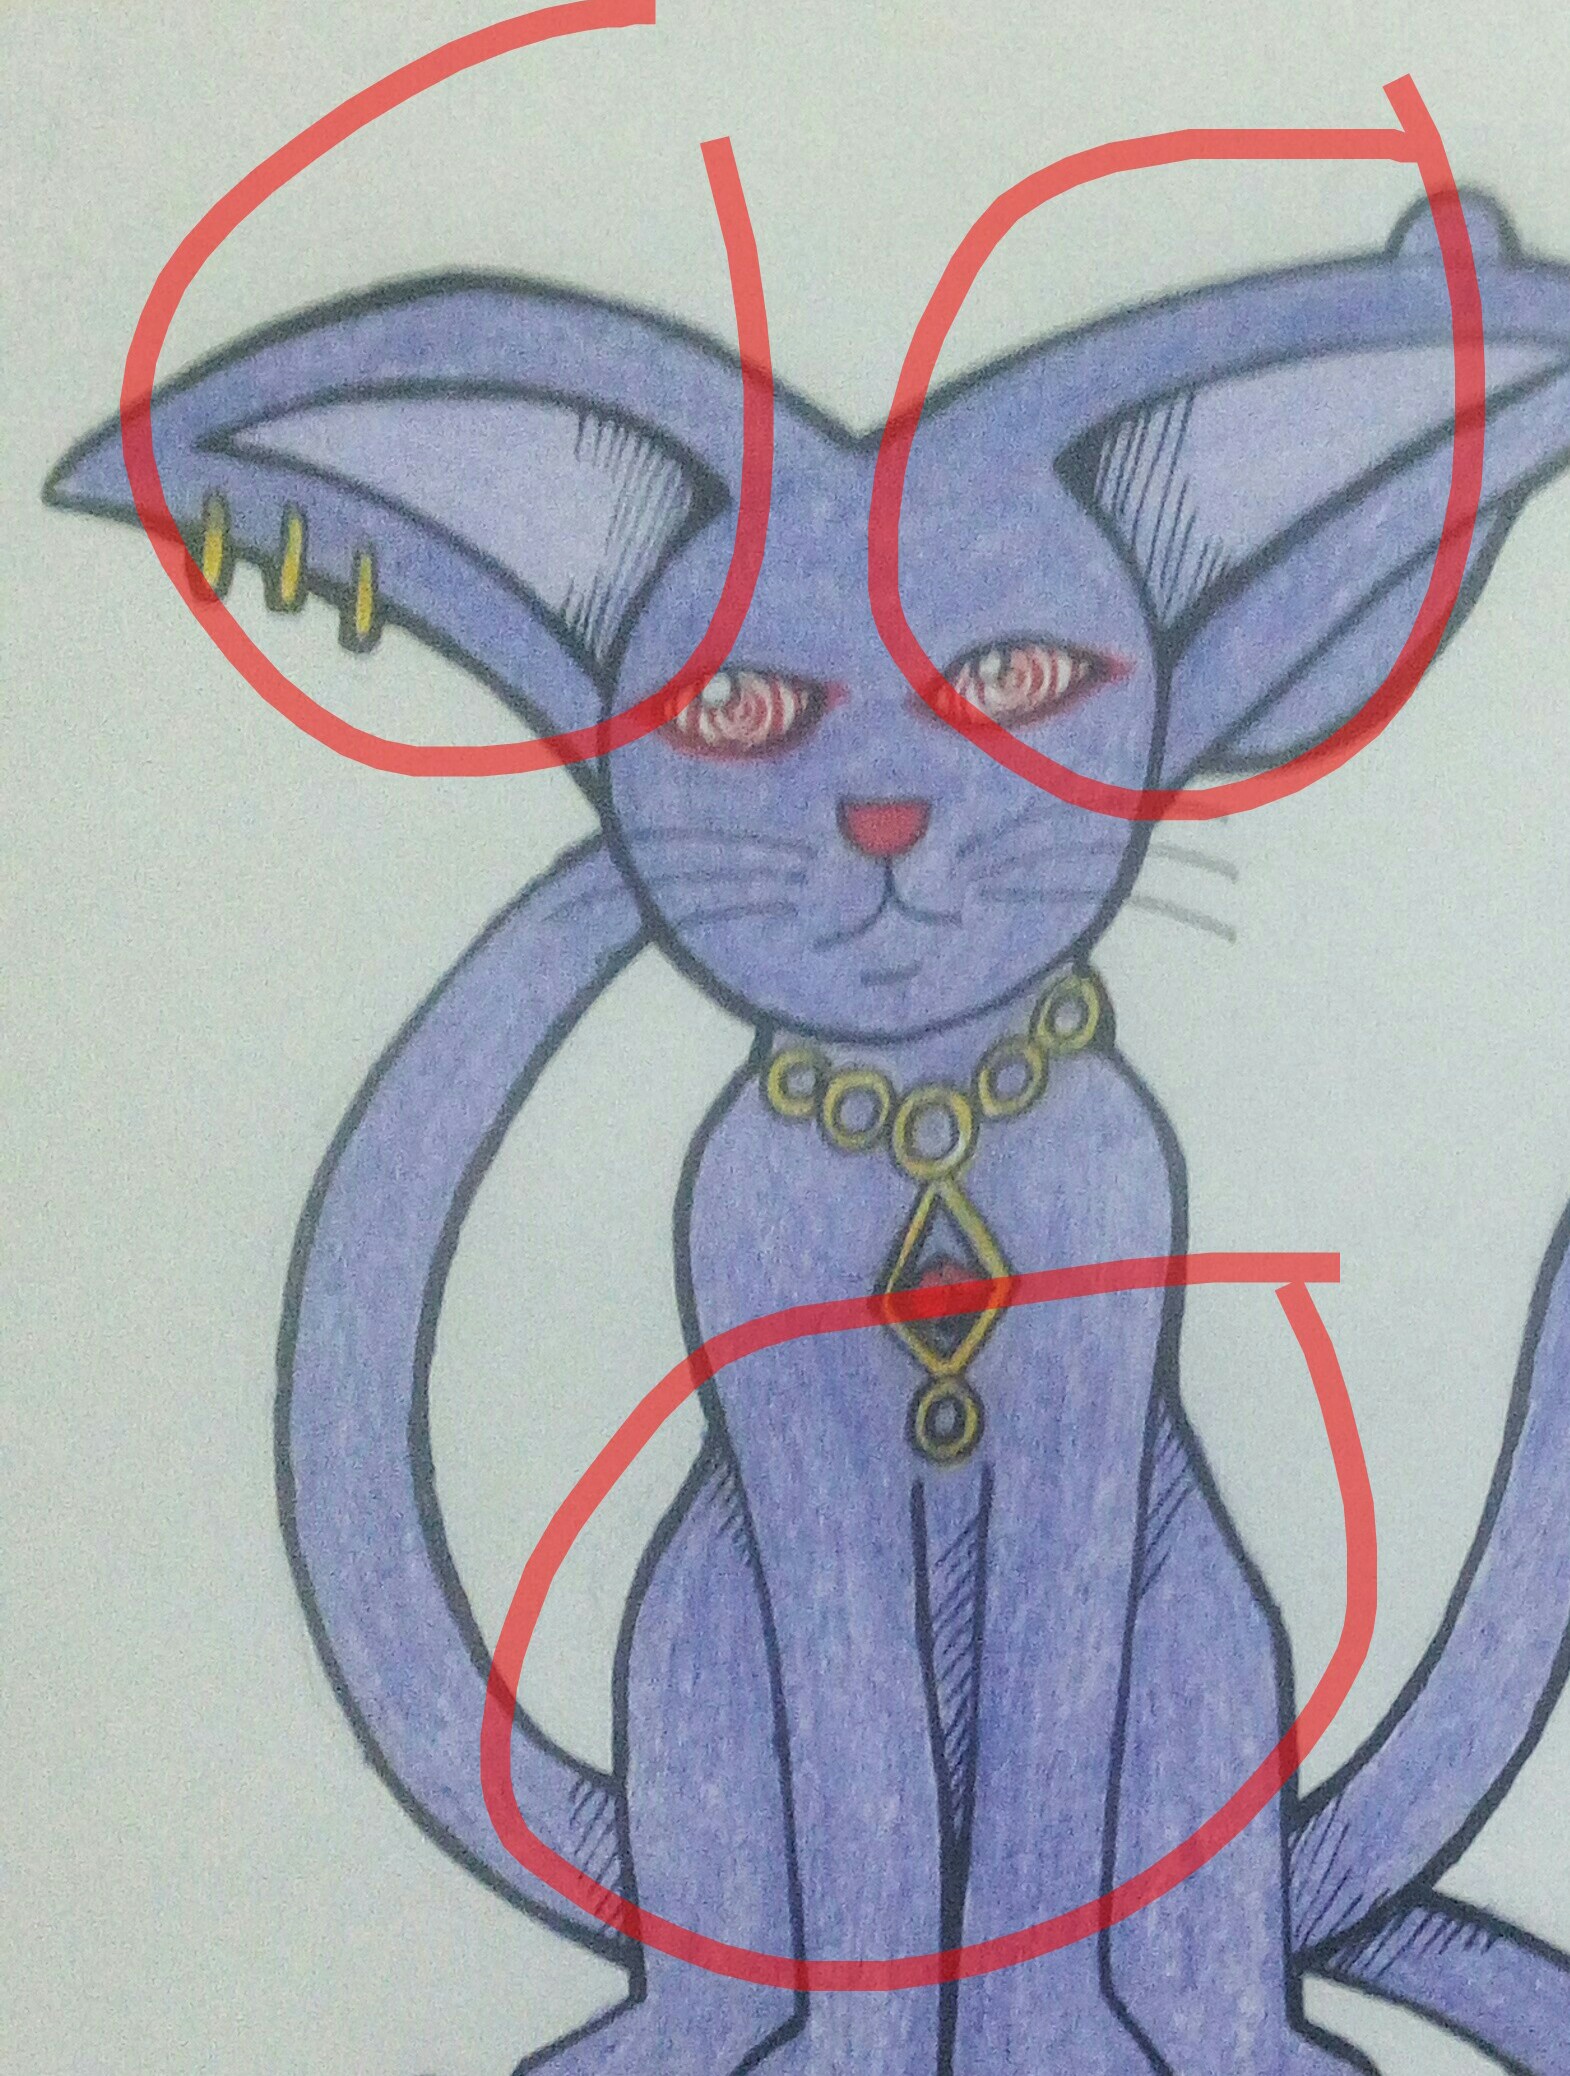
Step 3 Ink and Eyes
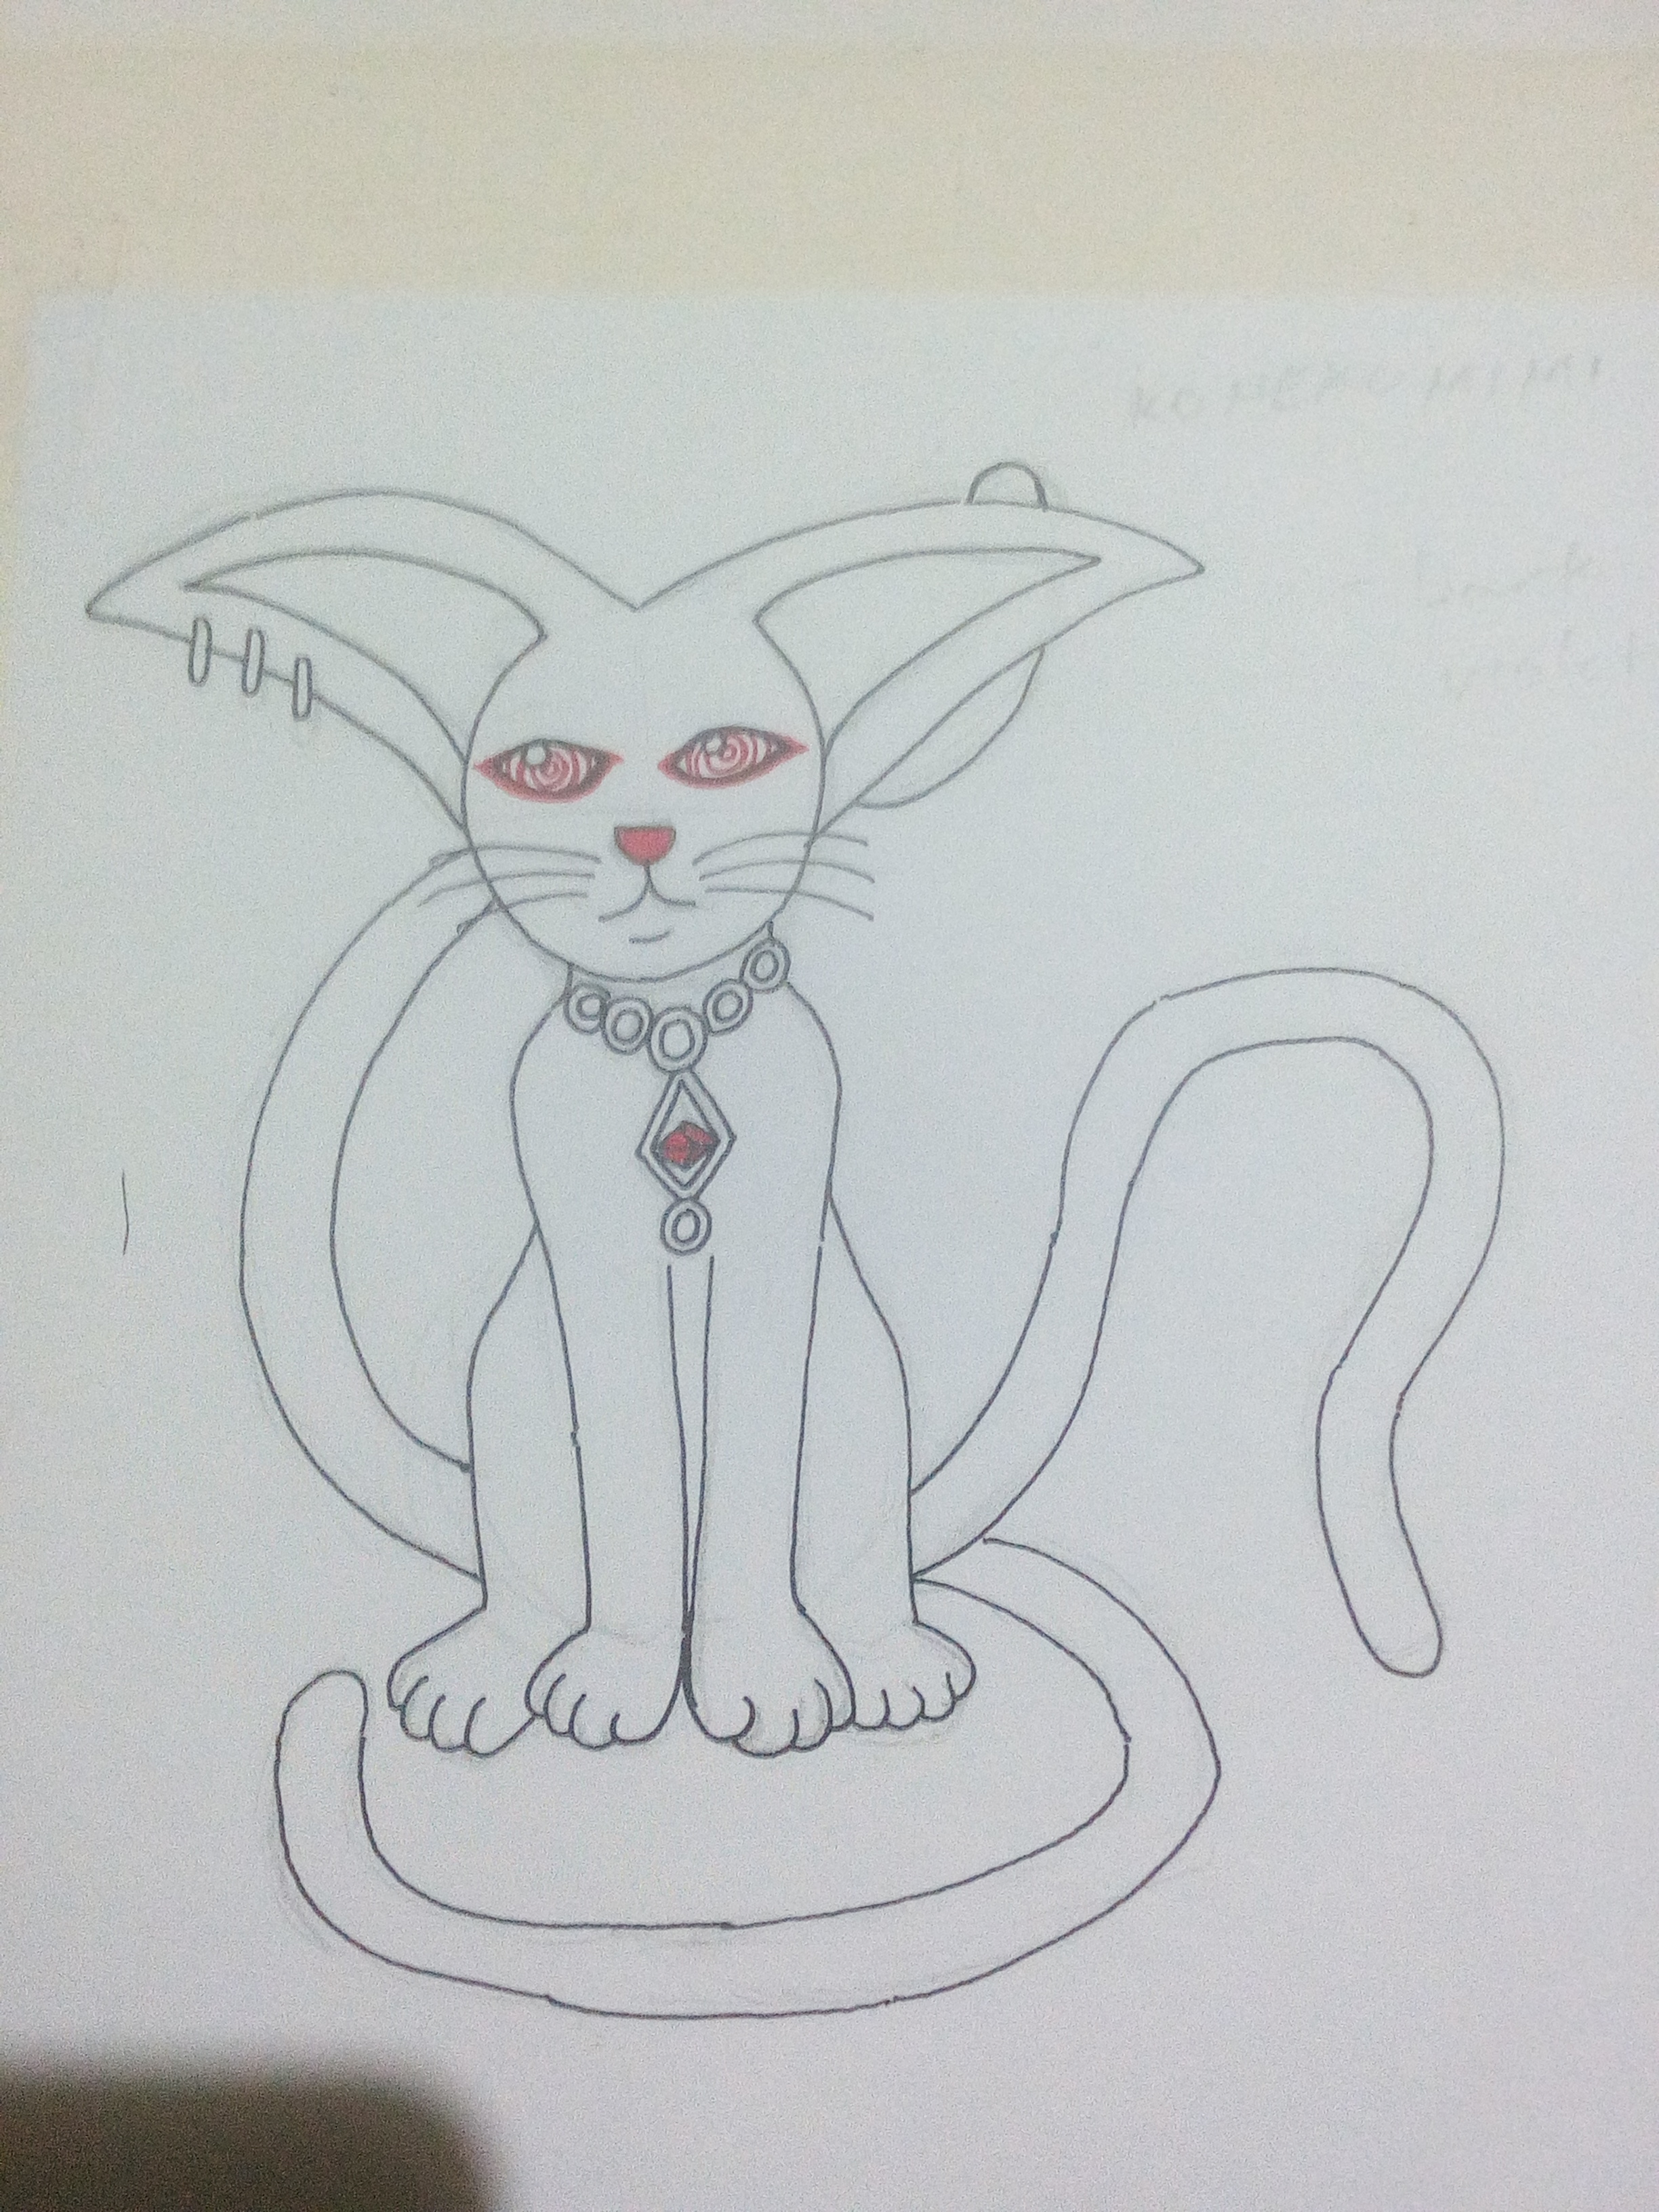
Using Dong-A Gel Pen Black, make an initial ink for the draft to solidify the lines.
I used Dong-A Fine Tech Red to make a highlight on the bottom part of the eyes. It's the same idea with Kaika Hanabi mask. For the main eyes, I added circles as you see with hypnotism.
I also colored the gemstone in her necklace with the same pen.
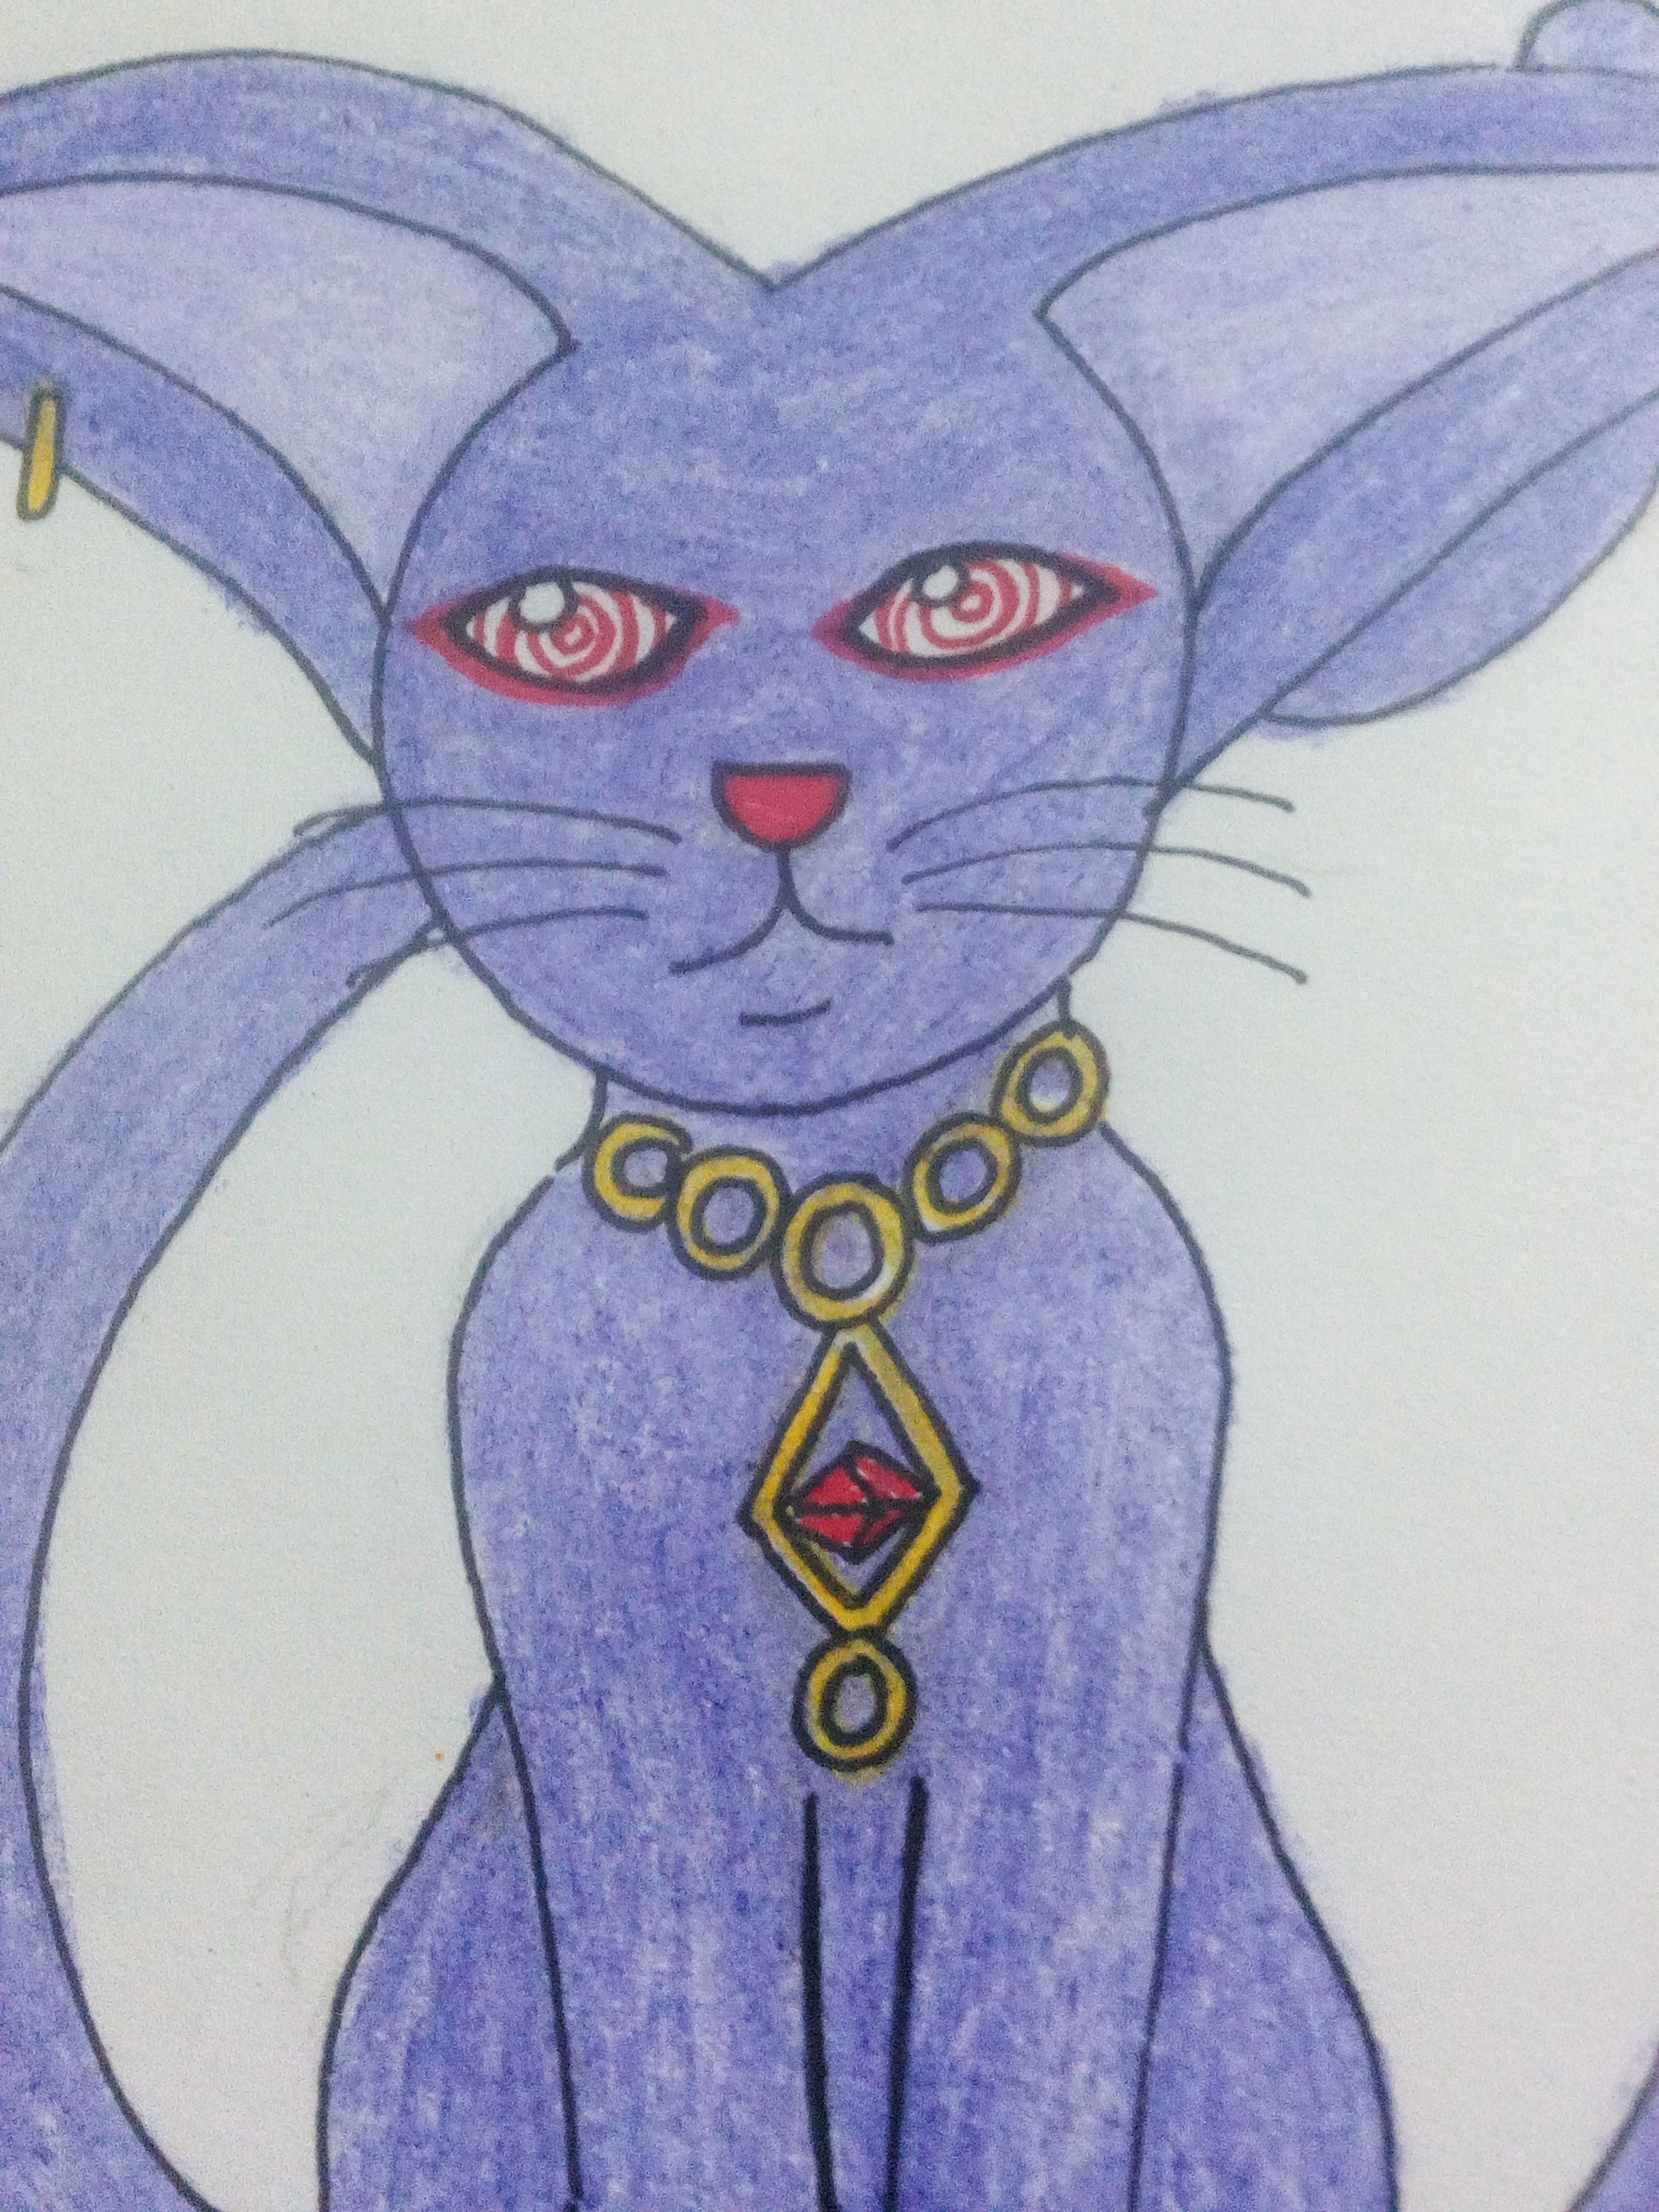
Step 4 Body Color
I want a dark colored fur but not a black one. Unfortunately, based on my limited range of colors, the choices would be blue and violet.
Since the ability is for neutralizing other's abilities, Death element is best and so, Violet has been decided. For the ornament, I picked gold and those 2 colors form the main character.
Step 5 Second Ink
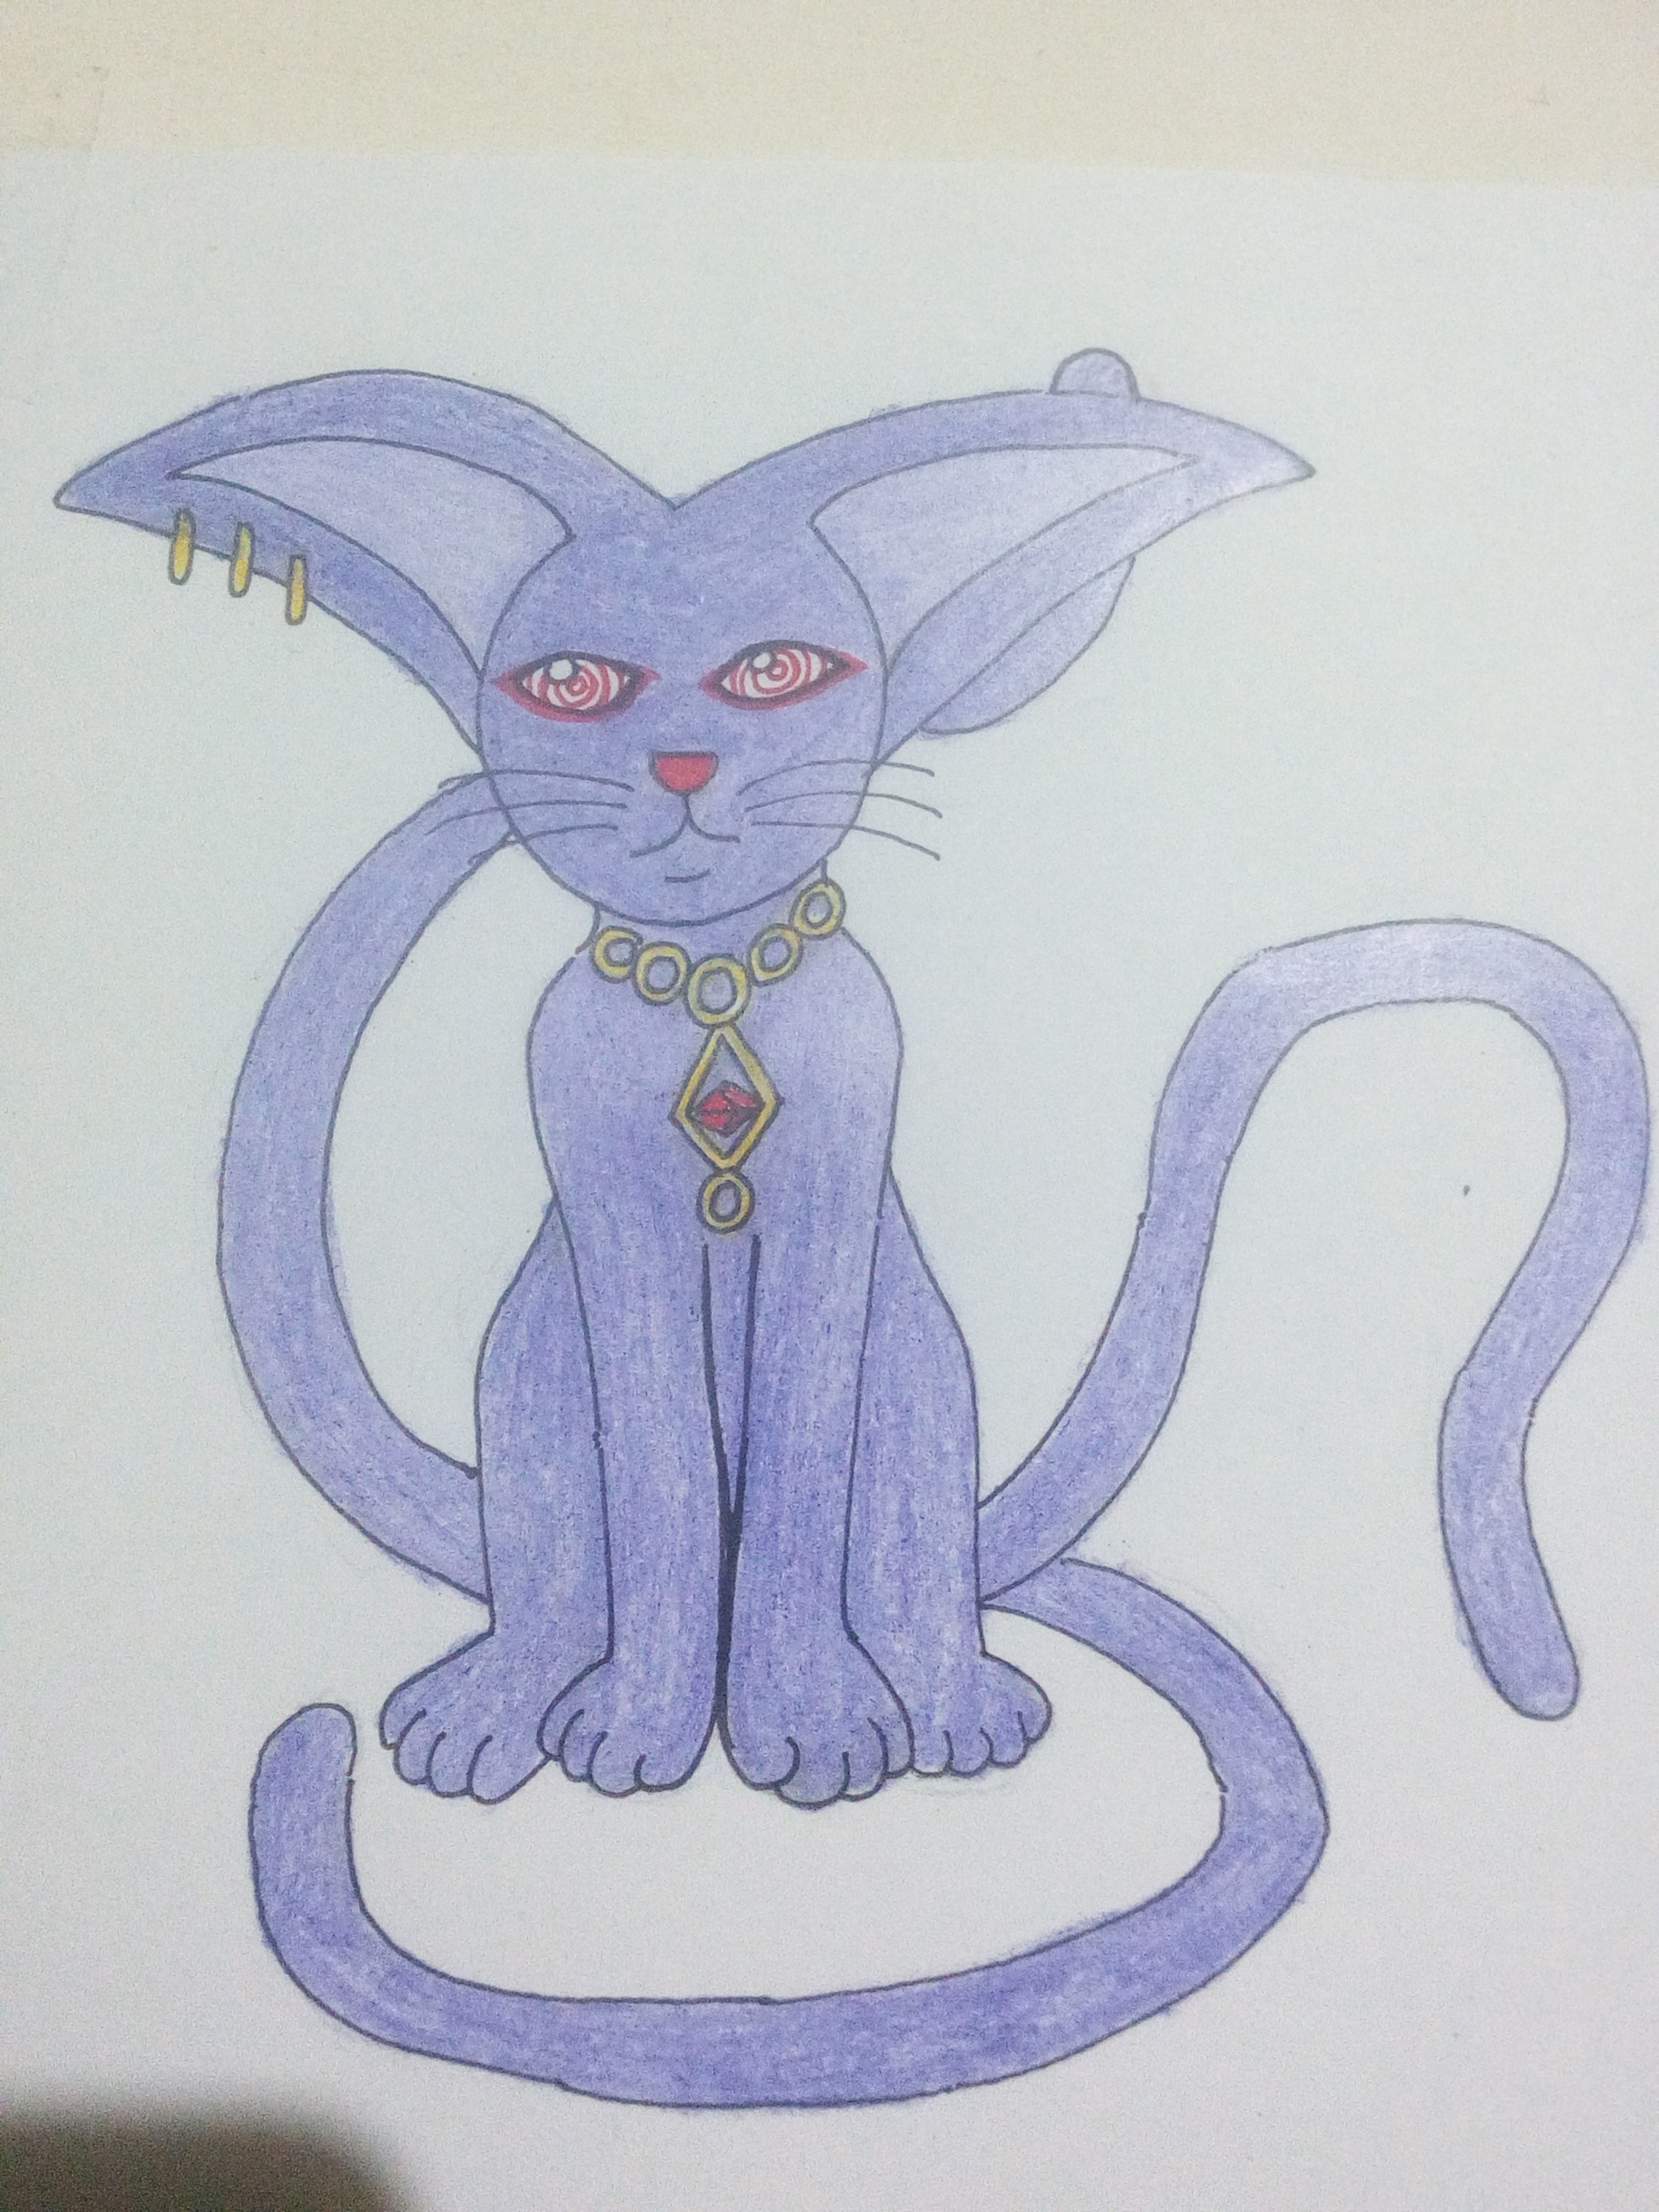
I added a second layer of ink on the first. This is to make the lines pop and not be buried with the dark color. I also did a few hatch on the ears and on the stomach and hind legs. Hatch is a drawing technique where you use lines of same intervals to make an illusion of a shadow. This allows me to add shadows over a dark colored area.
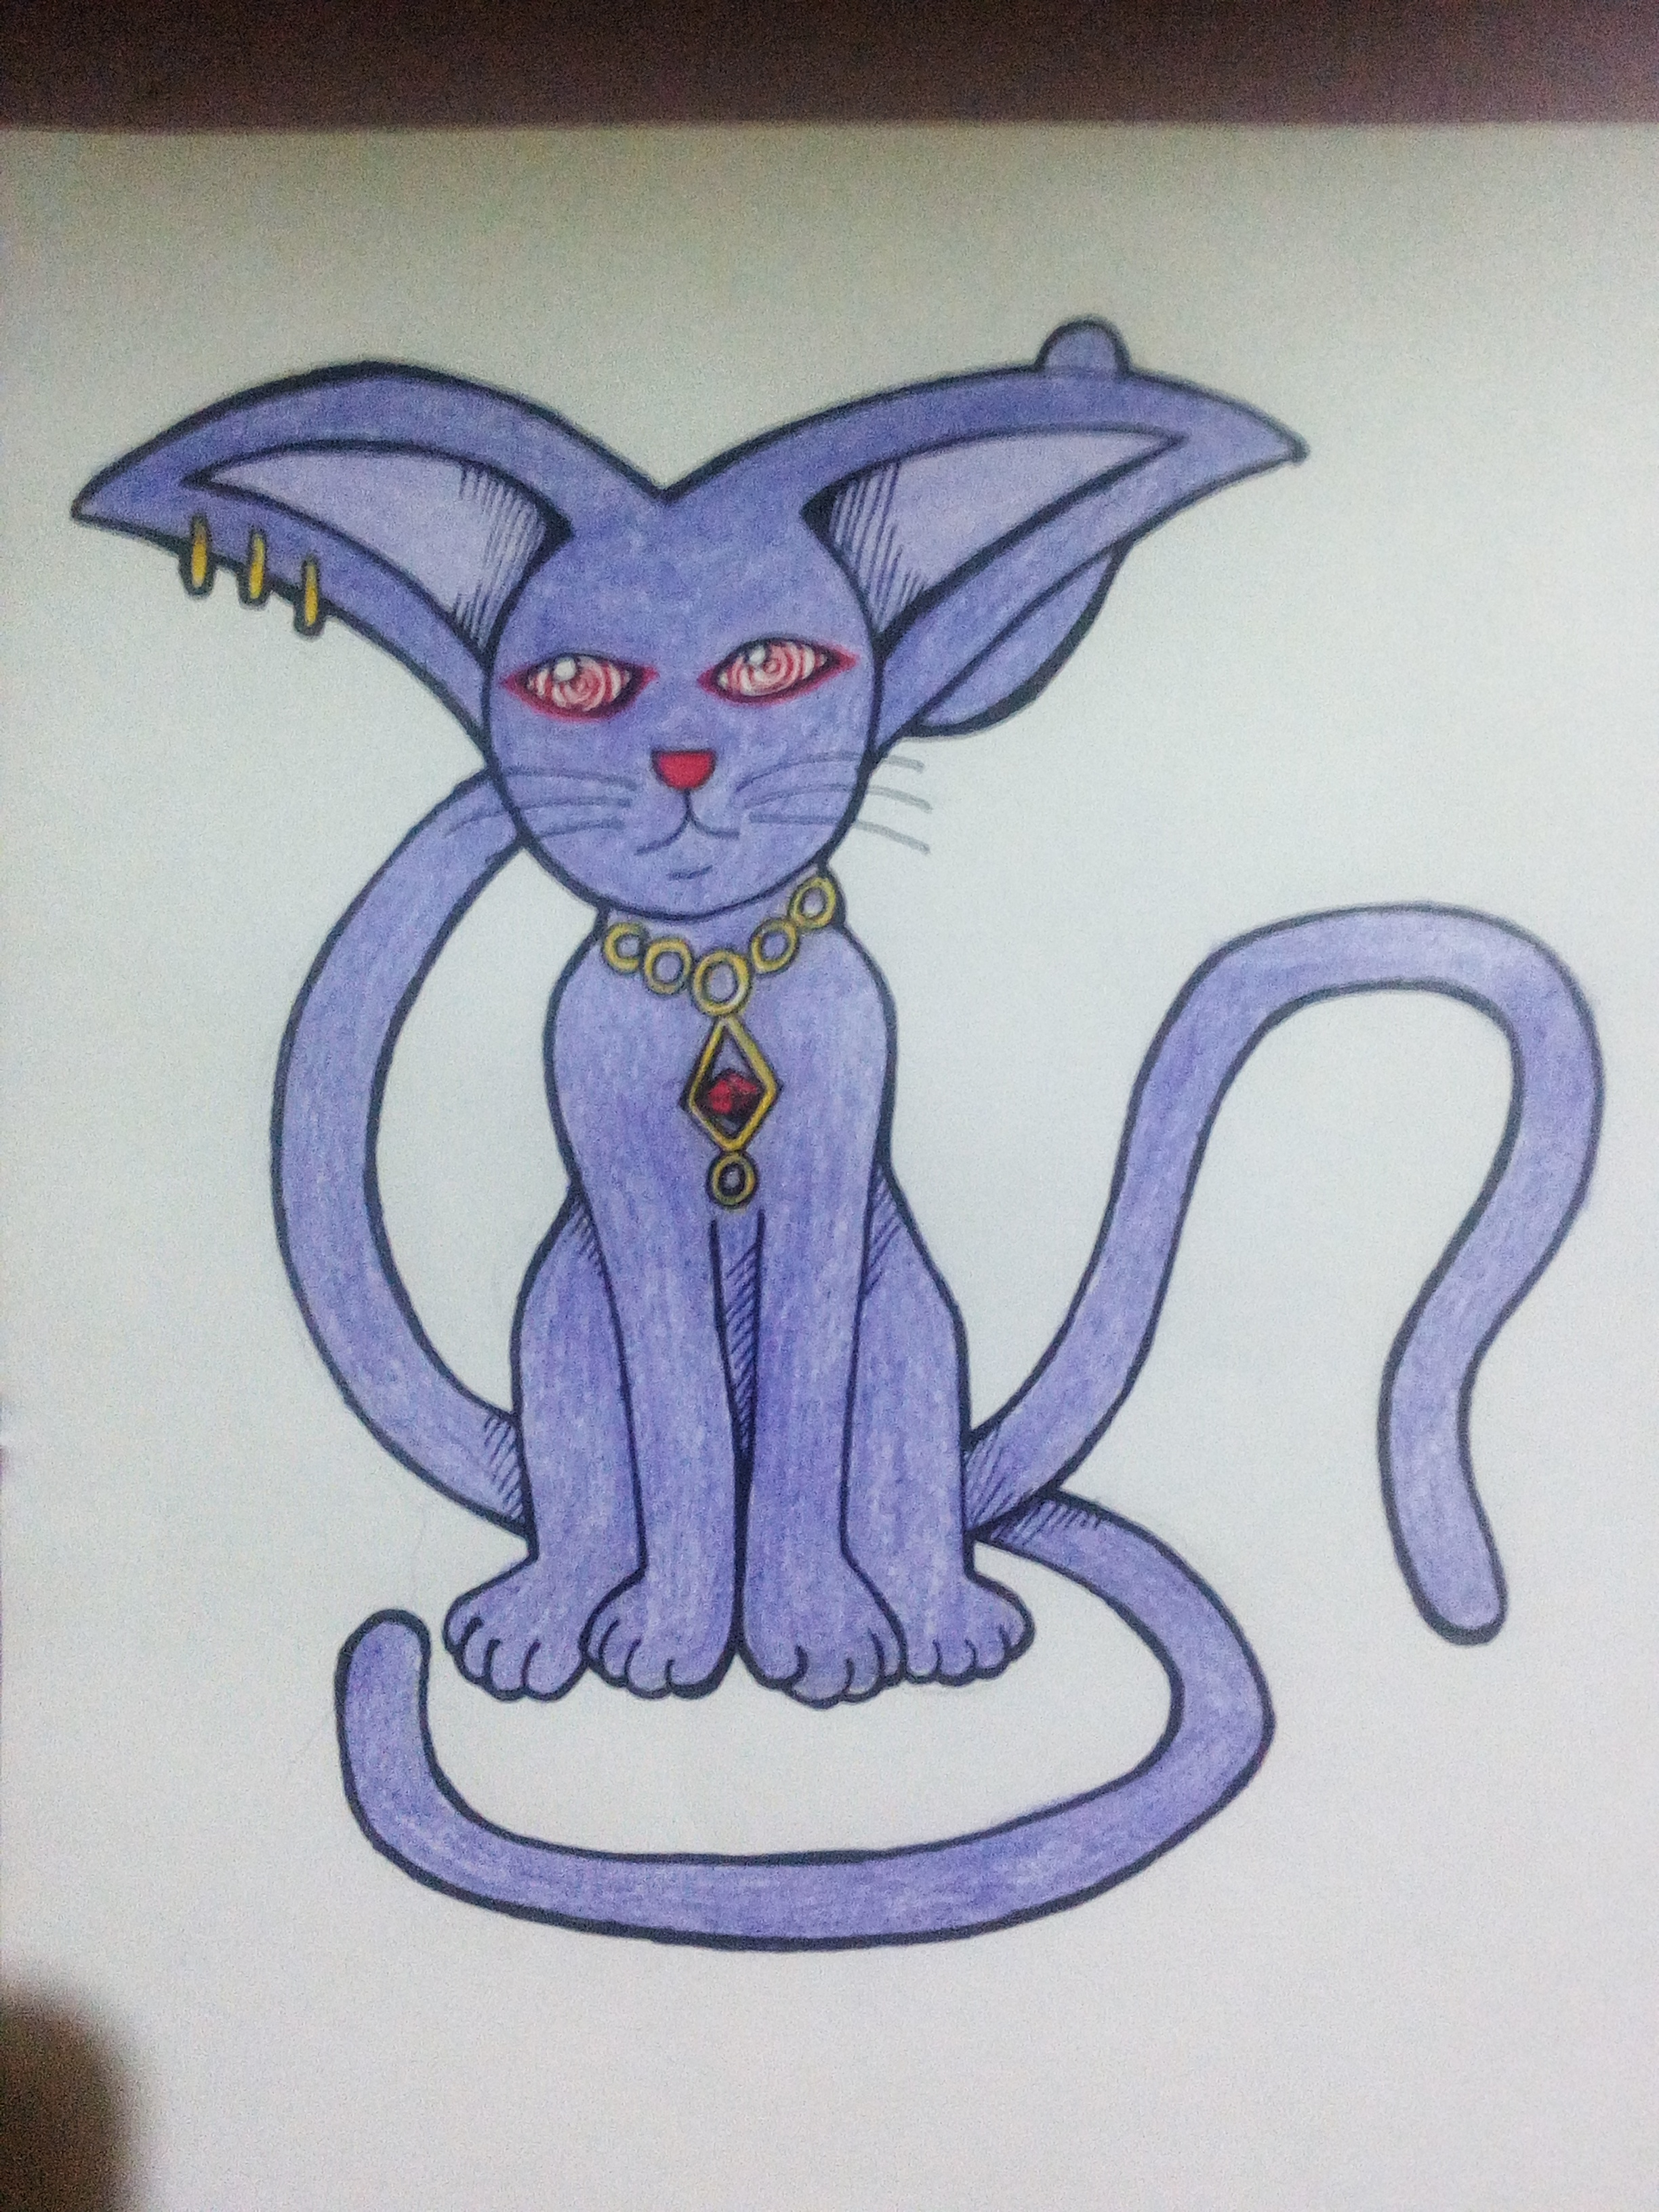
Here's the finished base.
Step 6 Background
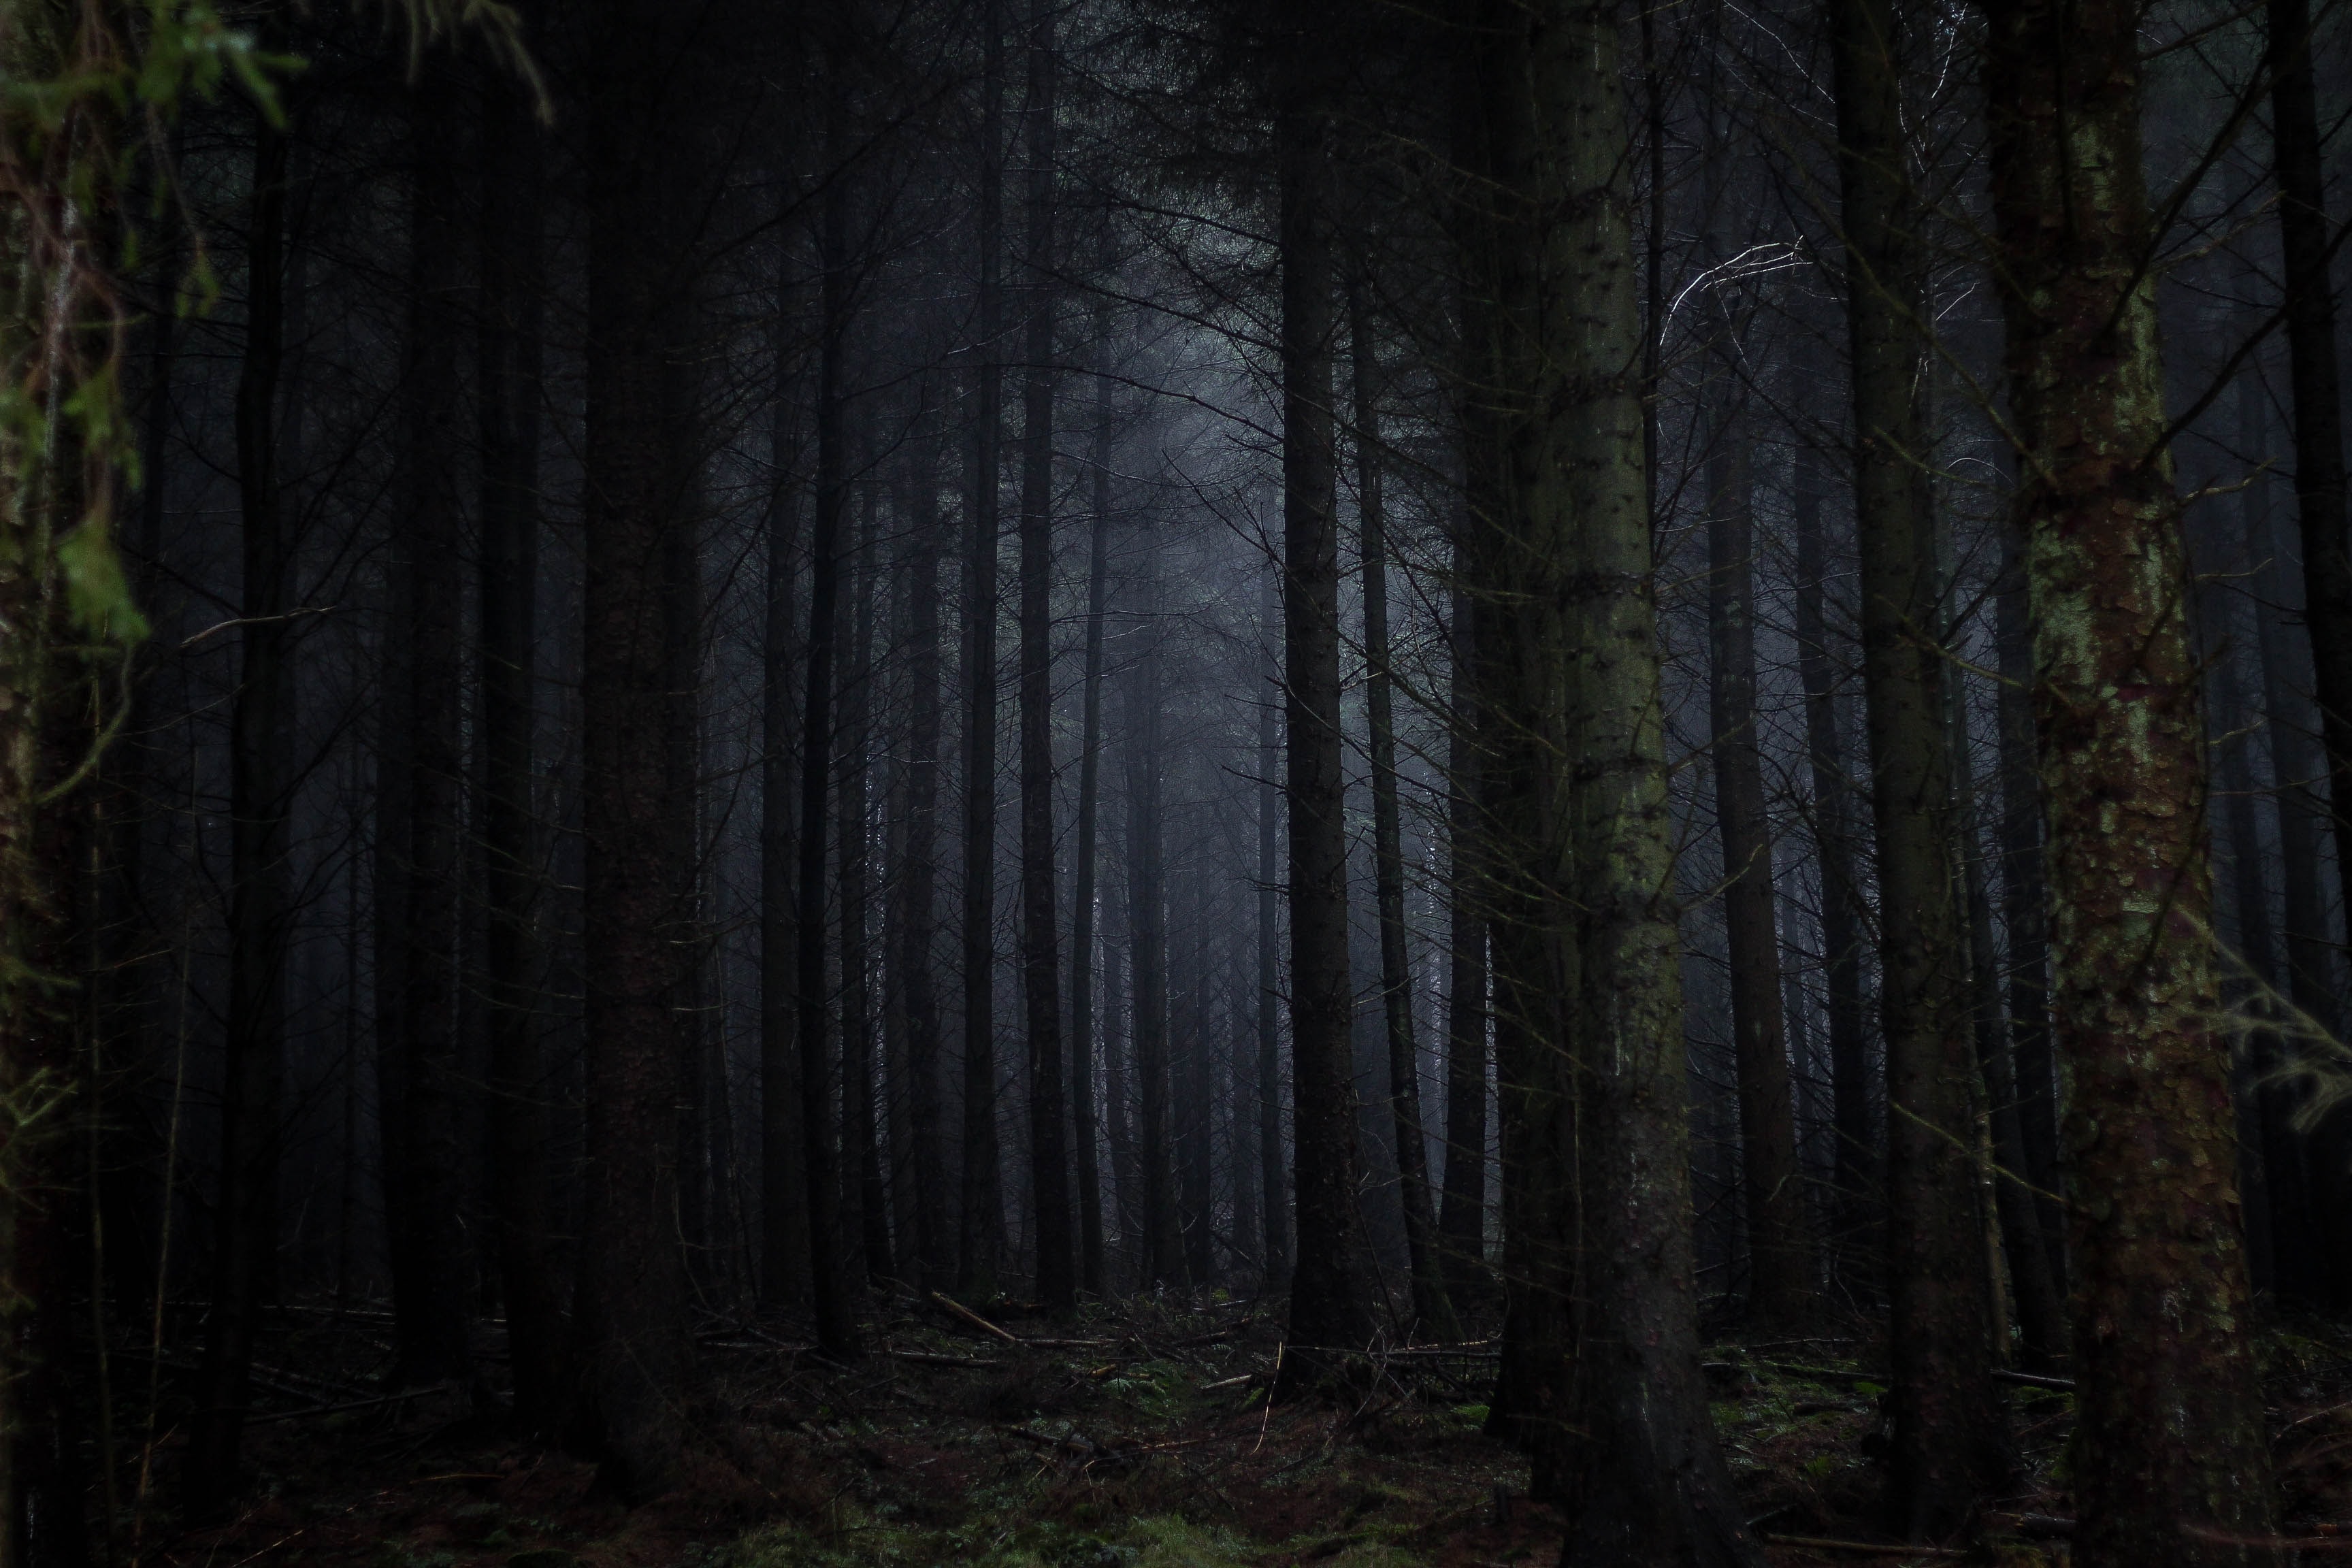
Background Cover by Rosie Sun on Unsplash
I'm ashamed to say that I kind of cheated by using what I found in Unsplash as the background. I tried to rack my brains out but I really can't think of any backgrounds and I don't want it to be just colored background. However, to balance it out, I will be making a little animation for it along with Canva.
I hope you like it.
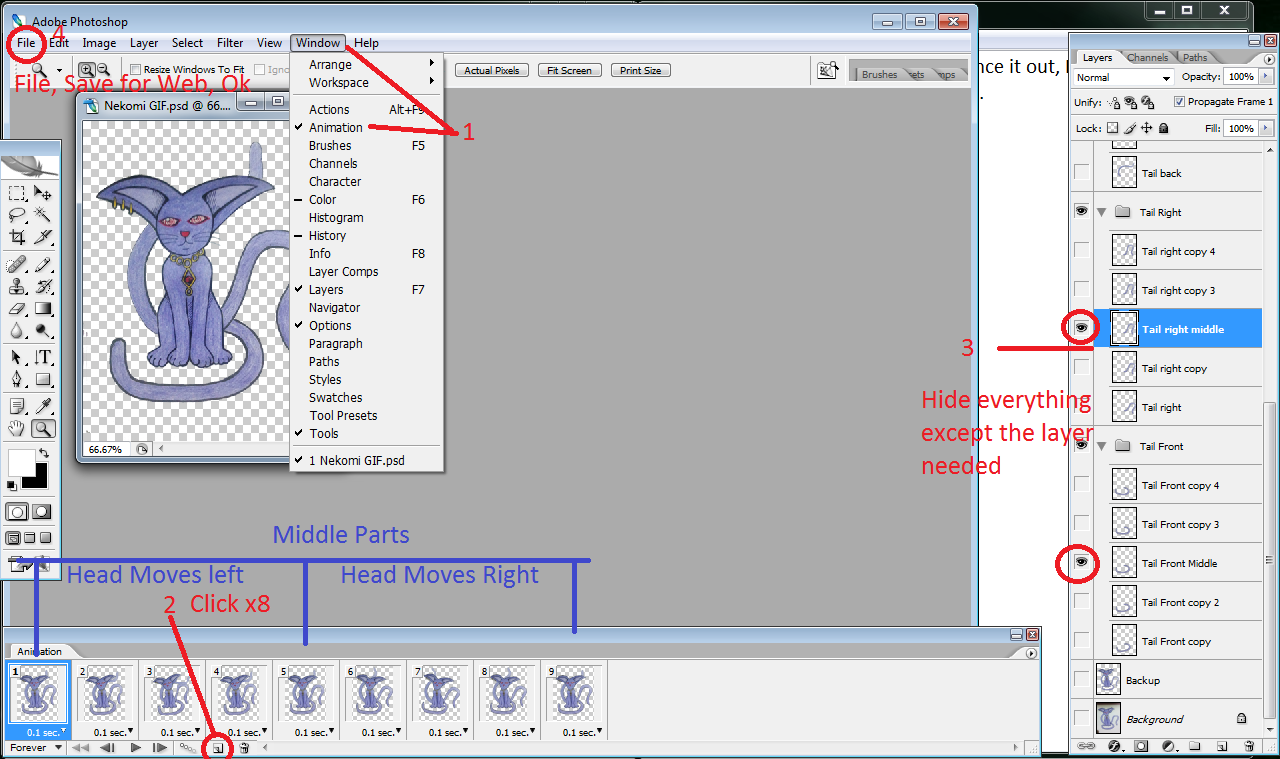
Bonus Content: GIF Animation
You can do simple gif animations in Photoshop. I am using Photoshop CS2 right now but can be done in CS2 and above for Photoshop. You only need to do a few steps and most of them are duplicate and edit.
Summary of the steps are in the photo below:
Step 1 Divide the Parts
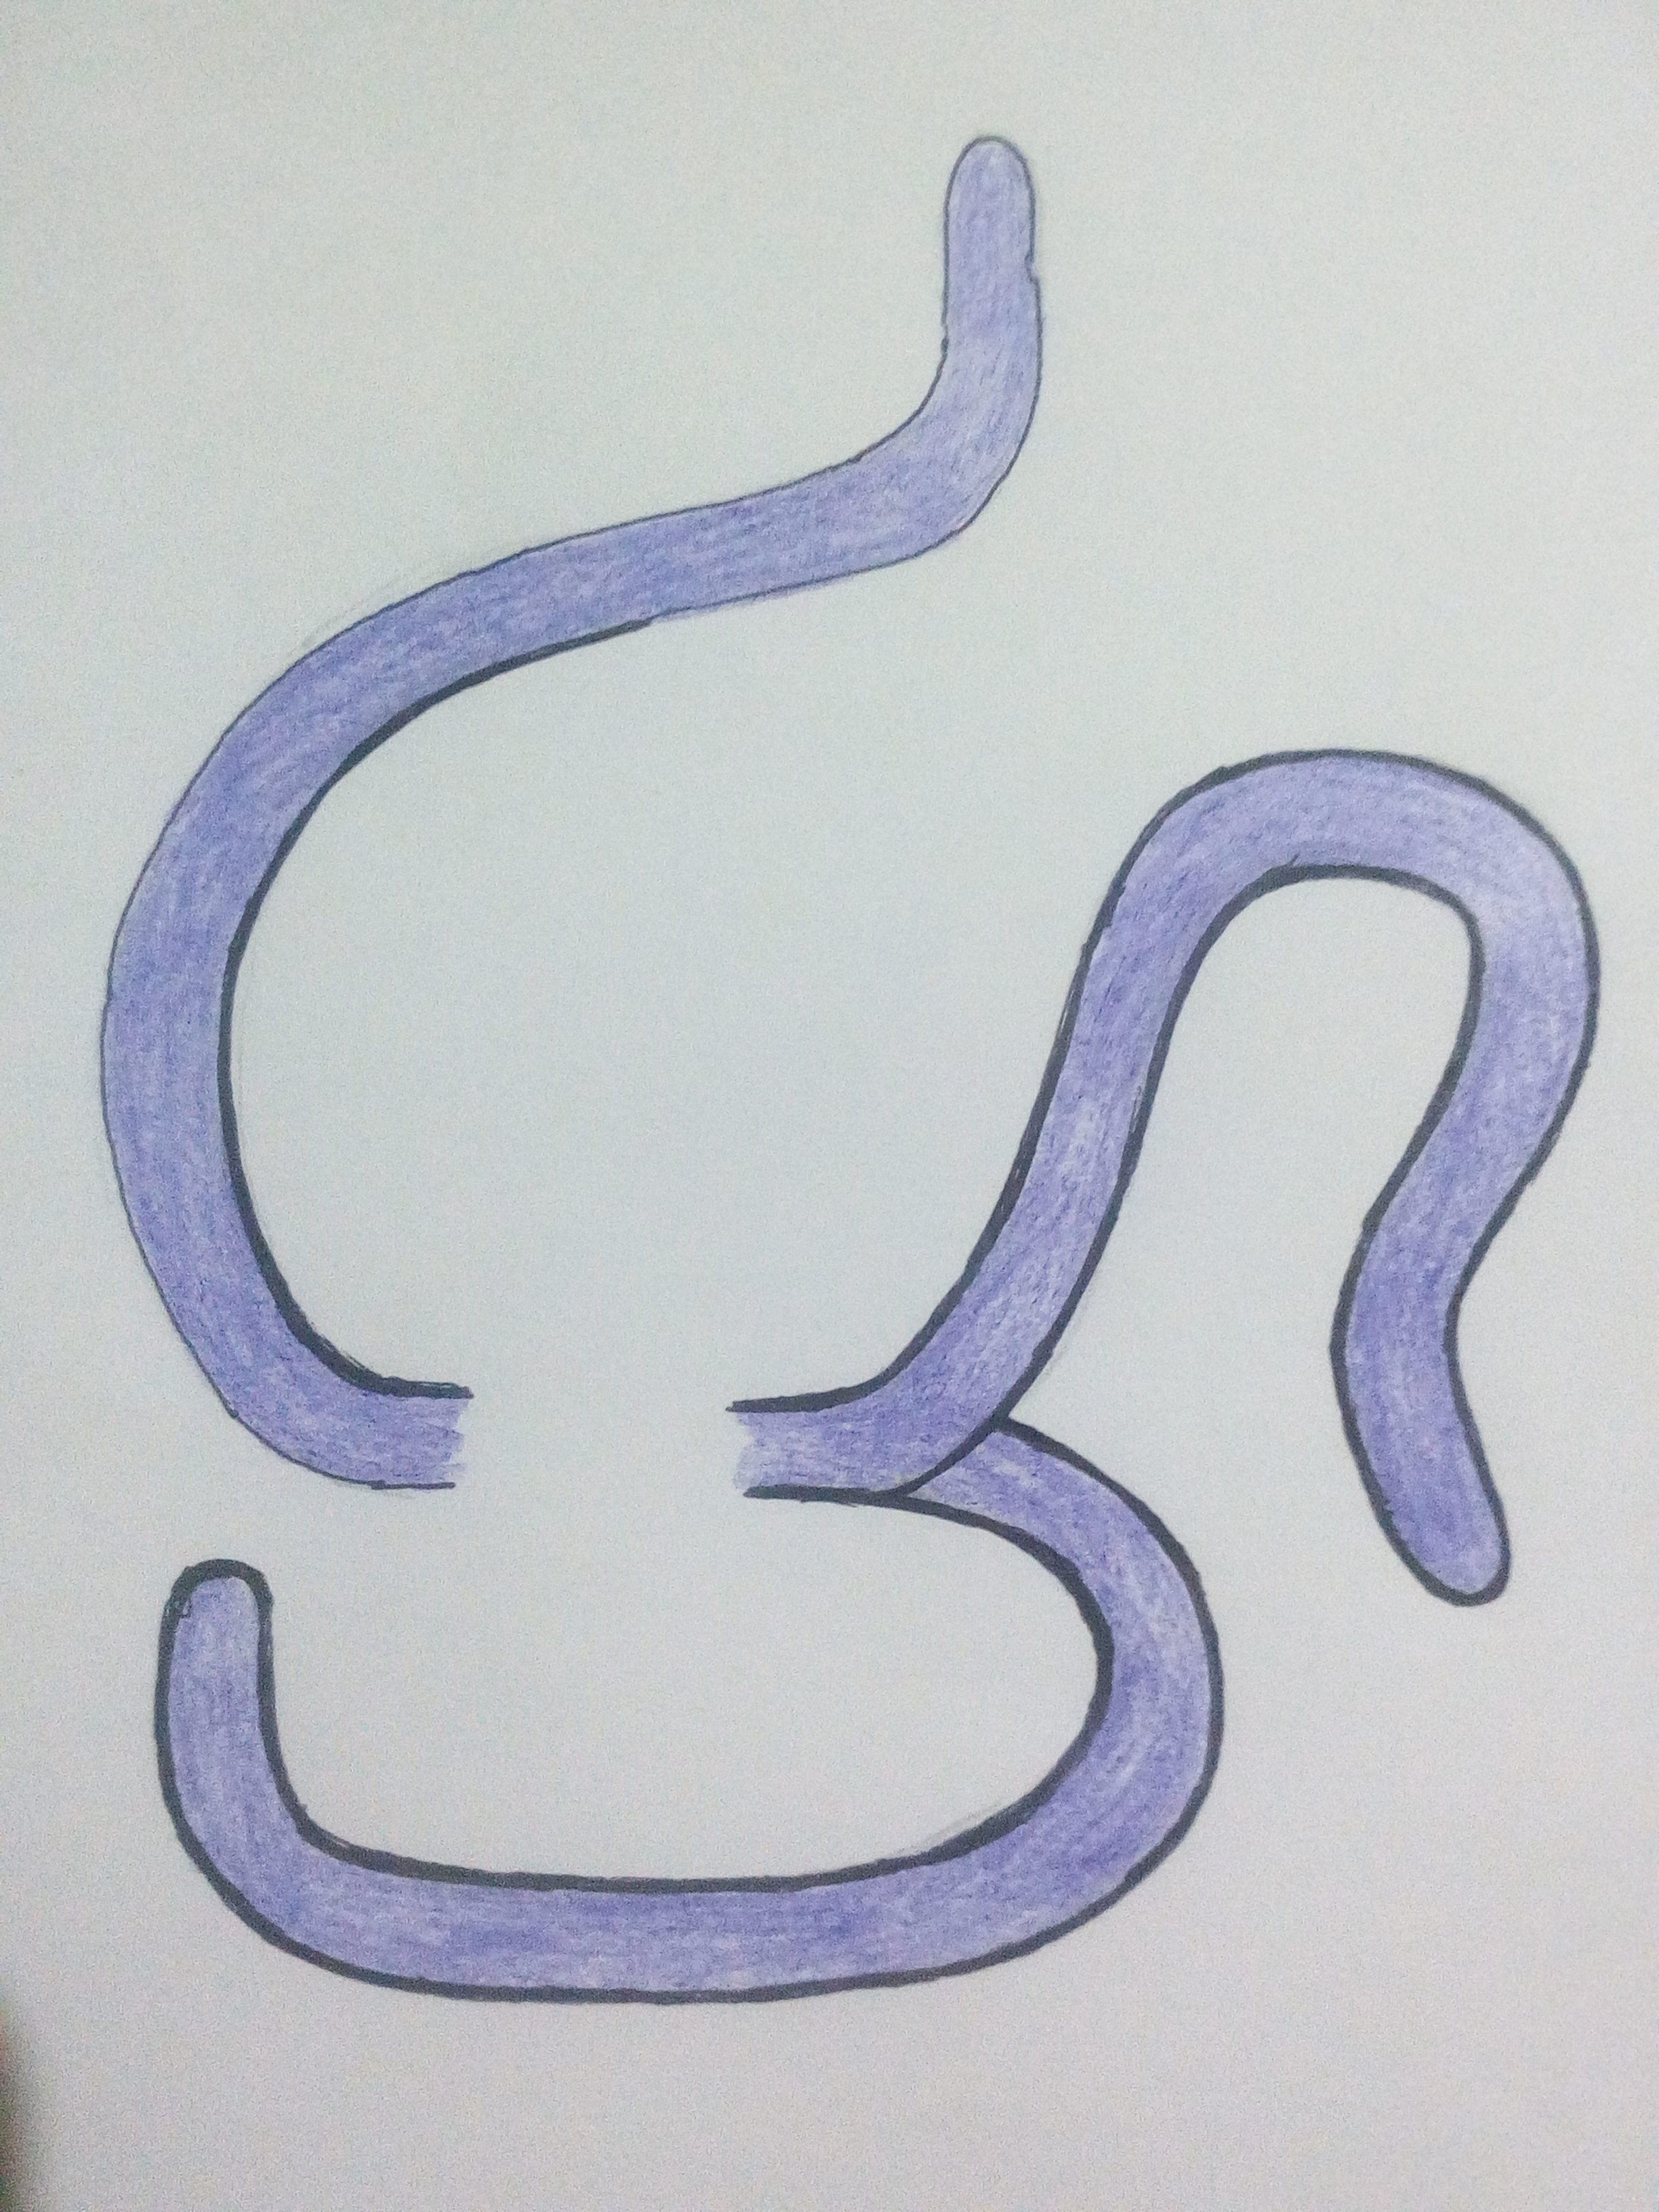
You need to either redraw the parts you want to do or cut and edit them and make them as new layer. In this, I had the tails redrawn, that's why they're a bit different in the original drawing, and the main head cut from the main drawing. Each tails are separated to make them move separately as well.
Step 2 Layering
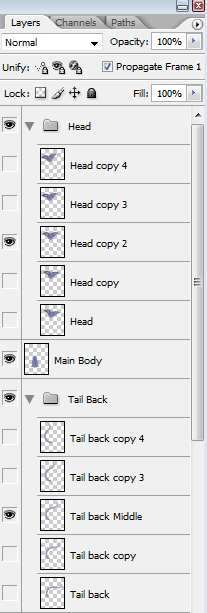
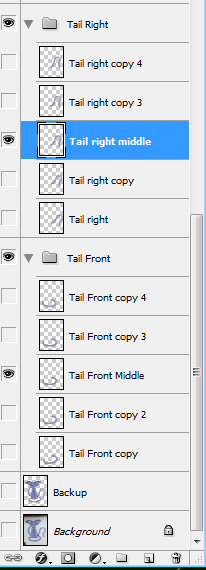
To make a higher quality animation, higher number of frames are required. When you hear the term, "30 FPS", that means, per second, there are 30 frames drawn. The lowest you can get for a "quality" animation is 24. The lower the frames, the faster the animation would look and the clunkier it gets.
I was originally planning a 24 fps one but I don't want to. tee-hee If I did, that means 24 frames for the head, 24 frames for each tail so there's 96 frames to be done. That's just painful.
Anyway...
I did a 5 Fps animation here. 2 frames to move to left, 2 frames to move to the right. The more frames and layers, the smoother it is. It would be duplicated layer with each slightly tilted more than the previous frame.
Another way to do it is the traditional way which means drawing the same figure 24 times with the slight modification. You only need to do 24 layers but needed to draw everything 24 times from top to bottom. This is what they do in anime but requires good mouse control or drawing tablet. I have neither.
For more information, search on youtube, "Flip Book animation." It is the same idea.
Step 3 Animating
To make things easier, first hide everything then unhide the base part or the same one as the initial drawing. Then moving 1 layer up moves slightly to the left and down moves slightly to the right.
Every animation frame, just unhide 1 layer up or down while hiding the previous layer. This makes your drawing gaining the illusion of moving. If the frame moves consecutively in a fast pace, your eyes deceive you and allows you to see a moving object.
This idea is the same as after image, where in if something moves really fast, like a car in front of you, you see vivid image of it as it passes by your eyes.
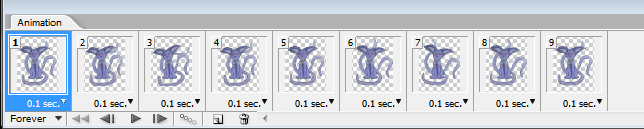
The animation window should slowly look something like this:
Step 3 Saving
Go to File, then Save for Web then Save. Once it's done, your drawing will be in 1 file with extension name, ".gif". You're now done with your Gif animation.
If in case Photoshop says that your memory is low enough to render, or you have insufficient memory and does not allow you to save, do the steps below:
- Press ctrl+A on keyboard or Select then Select all. This would Select the whole canvas.
- Go to Image, Image Size, then lower the size of the image.
- Once done, Press ctrl+D or Select, then Deselect.
- Try saving once again, (File, then Save, then Save for Web, then Save.)
The final animation should look close like this:
Author's Notes
For this week's art, I would agree that it is on the easy side. My main challenge is to make a non-human character with a coherent theme from the lore to its stats and abilities.
This is also only my 3rd time making a cat drawing and I am happy that it turned out good.
Disclaimer
- This post is an entry for Splinterland's art contest.
- Other sources that I do not own are cited under their respective photos. Photos and drawings without cited sources are mine and made for this post.
- Special Thanks to my tita for allowing me to borrow a laptop to make higher quality ones in the future.
If you're interested in playing the game, support me by registering using my referral link here

Have Fun Drawing!
View or trade
LOHtokens.@konaqua, You have received 1.0000 LOH for posting in Ladies of Hive. We believe that you should be rewarded for the time and effort spent in creating articles. The goal is to encourage token holders to accumulate and hodl LOH tokens over a long period of time.
Congratulations @konaqua! You have completed the following achievement on the Hive blockchain and have been rewarded with new badge(s):
Your next payout target is 1000 HP.
The unit is Hive Power equivalent because post and comment rewards can be split into HP and HBD
You can view your badges on your board and compare yourself to others in the Ranking
If you no longer want to receive notifications, reply to this comment with the word
STOPTo support your work, I also upvoted your post!
Check out the last post from @hivebuzz:
Support the HiveBuzz project. Vote for our proposal!
Very nicely done! I like it (I love kitties)! Thank you for sharing the process, and have a lovely day!
Have a lovely day as well
Thanks for laying out your steps in creating you work. @konaqua
No problem. I will make a better one soon. I just kinda rushed on this and didn't made the animation properly because it would take a long time, like around 72 frames for each part seems too taxing.
I just bit more than what I could chew this time. :)
Thanks for sharing! - castleberry#6859
