[ESP/ENG] Lava Spider - Splinterlands Social Media Challenge
Lava Spider! 🕸
¡Saludos comunidad de @splinterlands! Sean todos ustedes bienvenidos a mi nuevo post. Como su nombre lo indica en esta ocasión vengo a mostrarles mi participación al reto de Social Media correspondiente a esta semana. Por falta de tiempo no había podido presentarlo antes, por lo que espero aun no sea demasiado tarde para participar. Al igual que en mis participaciones previas he decidido realizar una ilustración para este reto, teniendo como personaje de referencia a Lava Spider. Dicho personaje me fue de mucha ayuda para seguir practicando y poder probar algunos pinceles nuevos dentro del programa, sin más que decir en esta breve intro, comencemos... ¡Espero mi trabajo sea de su agrado!
Greetings @splinterlands community! Welcome to my new post. As the name suggests, this time I'm here to show you my participation in this week's Social Media challenge. Due to lack of time I had not been able to submit it before, so I hope it is not too late to participate. As in my previous participations I have decided to make an illustration for this challenge, having as a reference character Lava Spider. This character was very helpful for me to keep practicing and to be able to try some new brushes within the program, without more to say in this brief intro, let's start... I hope you like my work!

Creative Process | Proceso Creativo✏️
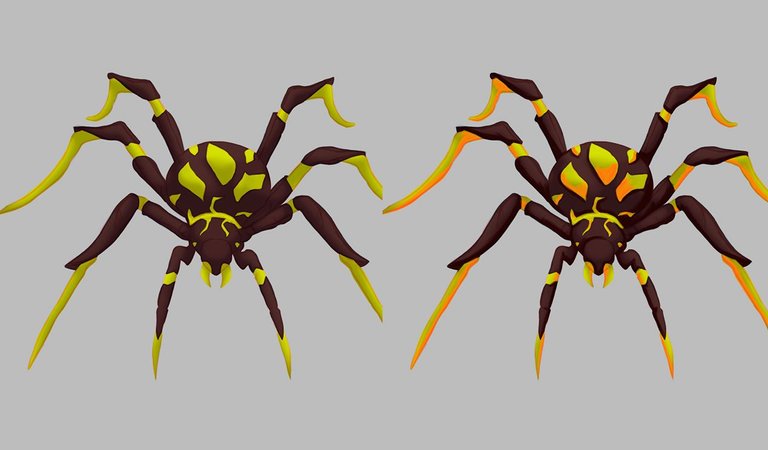
Muy bien, para realizar a este personaje les comento que antes de iniciar con el proceso, lo primero que hice fue armar un tablero de imágenes de referencias para poder guiarme y entender un poco mejor al animal. Teniendo esto claro, comencé realizando un esquema básico en el que poco a poco fui limpiando y dando la forma deseada al personaje de referencia, tratando de mantener una línea lo bastante limpia.
Very well, to make this character I would like to tell you that before starting the process, the first thing I did was to make a board of reference images to guide me and understand the animal a little better. Having this clear, I started by making a basic outline in which I gradually cleaned up and gave the desired shape to the reference character, trying to keep a clean enough line.
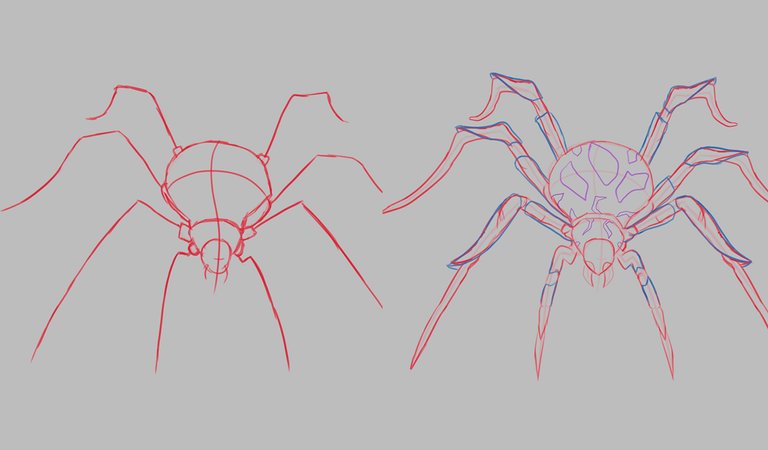
Terminado mi boceto con todos los elementos del personaje, aplique una capa base de color gris por toda la forma de mi boceto para posteriormente comenzar a aplicar los colores base que tendría la ilustración. Al tratarse de una paleta de color bastante limitada (solo 2 colores en total) me había hecho la idea de agregar más colores, pero al final quise seguir con la idea original de la referencia.
Once I finished my sketch with all the elements of the character, I applied a base layer of grey colour all over the shape of my sketch and then I started to apply the base colours that the illustration would have. As the colour palette was quite limited (only 2 colours in total) I had the idea of adding more colours, but in the end I wanted to stick with the original idea of the reference.
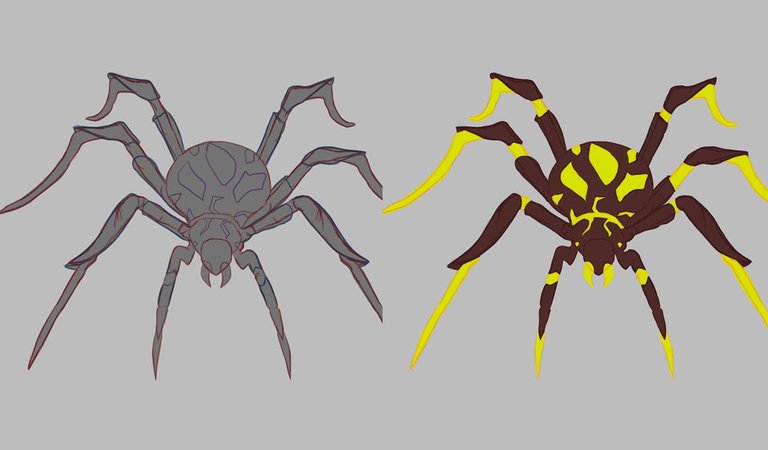
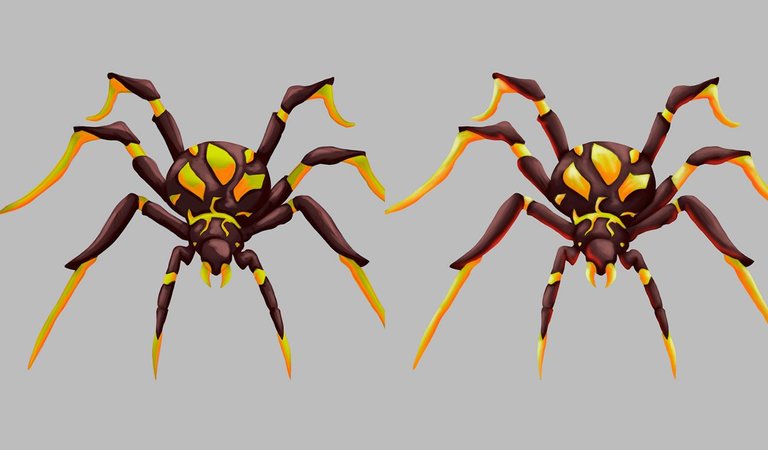
Aplicados los colores base comencé a trabajar en las luces y sombras del personaje. Iniciando con las sombras, estas las fui aplicando por niveles, desde un tono más general hasta el detalle. Como en este caso no quería tardarme tanto, aplique solo 2 niveles de sombras las cuales considero funcionan bastante bien y le dan el volumen necesario al personaje.
Once the base colours were applied, I started to work on the lights and shadows of the character. Starting with the shadows, I applied them in levels, from a more general tone to the detail. As in this case I didn't want to take so long, I applied only 2 levels of shadows which I consider work quite well and give the necessary volume to the character.
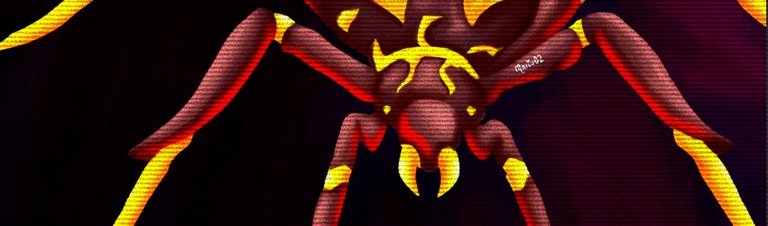
Finalmente como fase final, comencé a aplicar las luces en el personaje. Estas las trabajé por medio de manchas que una vez aplicadas poco a poco fui unificando con el tono base y las sombras, en este punto quité mi capa del boceto para tener una mejor visión sobre lo que estaba haciendo además de ya no necesitarlo. Una vez estaban mezclados todos los colores, aplique una luz de color rojo por toda la zona de sombras para crear un poco más de profundidad a la ilustración.
Finally, as a final phase, I started to apply the lights on the character. I worked on them by means of spots that once applied I gradually unified with the base tone and the shadows, at this point I removed my layer from the sketch to have a better view of what I was doing as well as not needing it anymore. Once all the colours were mixed, I applied a red light all over the shadows area to create a little more depth to the illustration.
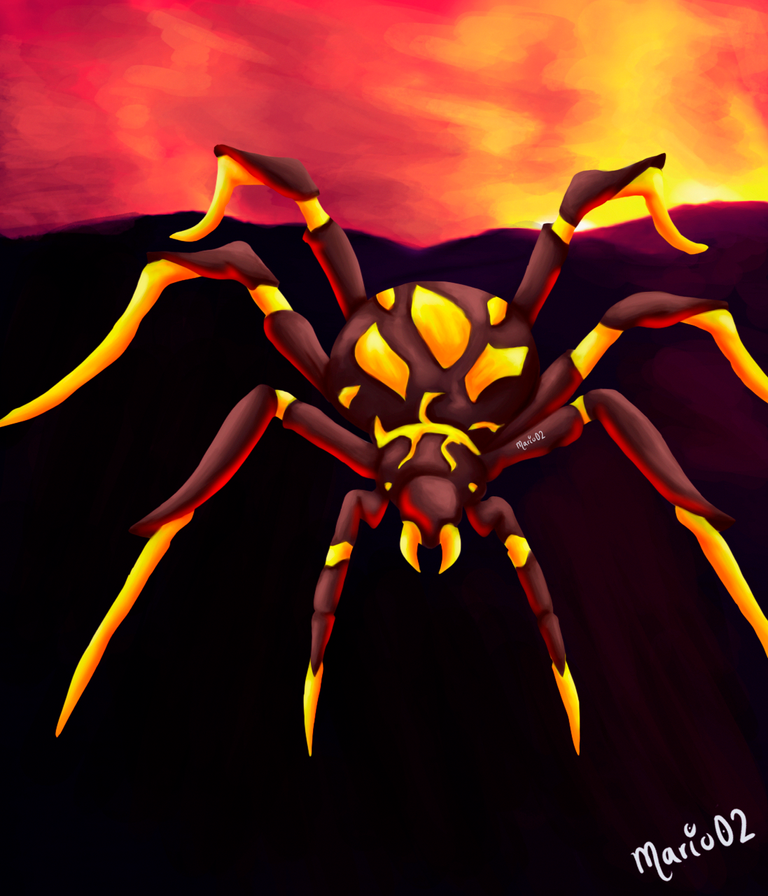
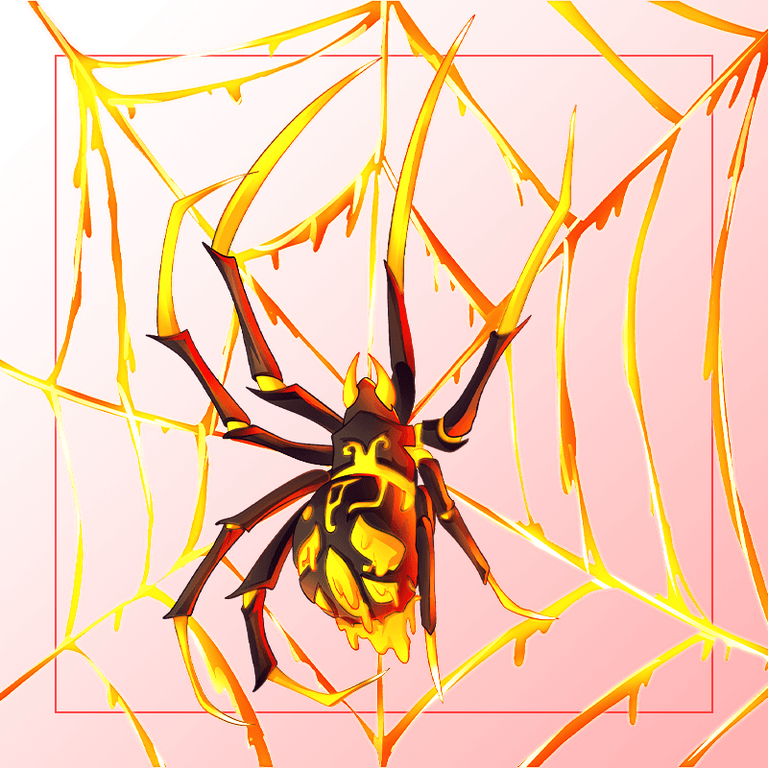
Para culminar, trabaje en un fondo una vez estaba listo el personaje. Para ello realice una especie de "Volcán en erupción" en el que mi personaje estaría saliendo justamente dentro de este. Ya como detalles finales trabaje un poco en los tonos de los colores, su saturación y la presentación de la ilustración.
To finish, I worked on a background once the character was ready. For this I made a kind of "erupting volcano" in which my character would be coming out just inside it. As final details I worked a bit on the colour tones, their saturation and the presentation of the illustration.
Final result of the Illustration | Resultado final de la ilustración
Tools Used | Herramientas Utilizadas:
- Photoshop CS6 Version
- PhotoMosh
- Tablet Huion H610 PRO V2
REFERENCE

The illustration and separators used in the post are my property.
Translated with DeepL (free versión)
Thank you for the support!
Thanks for sharing! - @alokkumar121

Fue una de mis primeras cartas, le ha quedado muy bien su diseño amigo.
Muchas gracias por pasarte por acá amigo!