AFRICAN CRAFT: DIY ANKARA DIARY//ARTESANÍA AFRICANA: DIARIO DIY ANKARA
Hello everyone, I trust y’all are doing great. I’m excited to participate in this community for the first time. Reading through other people's posts has, I must admit, motivated and inspired me to attempt some crafts.
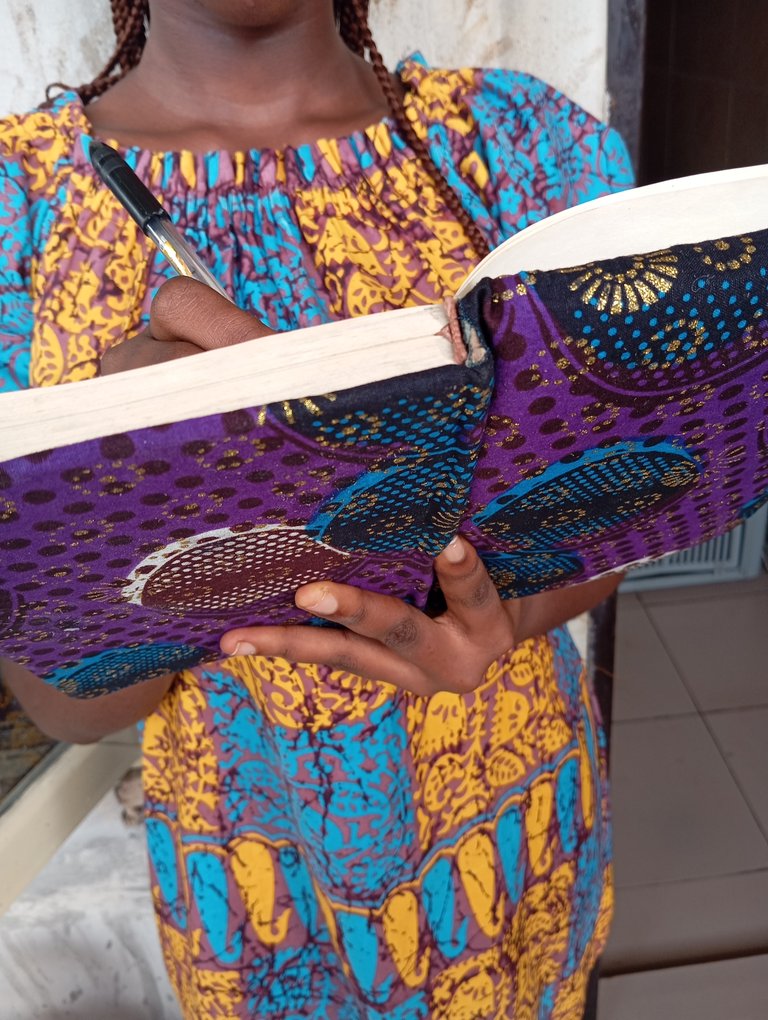
I love ankara, so after giving it some thought, I decided to create an ankara diary, which has always been one of my favorite crafts, and I just wanted a diary beyond the normal diaries I had.
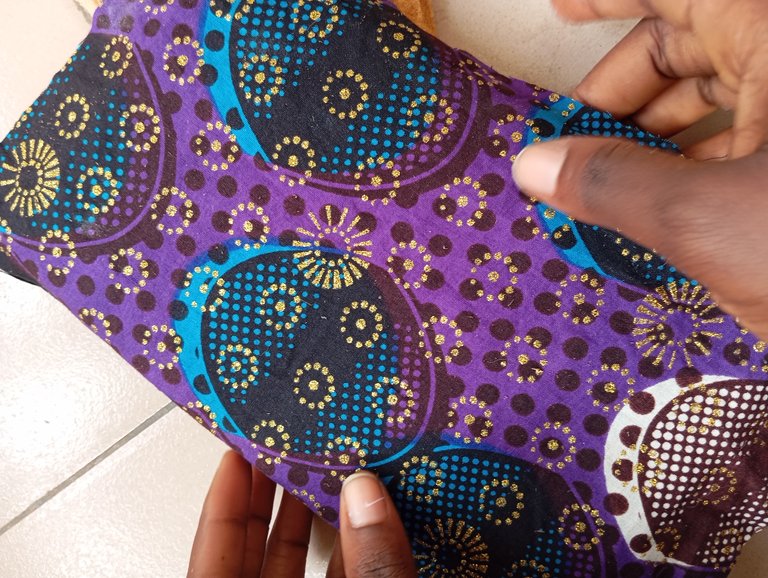
Ankara fabric is a form of vibrantly colored and patterned cloth that is popular in many African countries. It is also known as Dutch wax or African wax print. Its origins may be traced to Dutch merchants in the 19th century, and its history is extensive. Ankara fabric is utilized for many different things these days, such as crafts, apparel, and interior design.
Making a homemade Ankara notebook is a unique and entertaining way to use Ankara fabric.
You could wish to give your regular notebook a distinctive appearance if you use it often. You can ask a local tailor for clothes that they are not using, or you can use an old scarf. Any other attractive (and readily accessible) material will do.
And what if you have enough supplies and notebooks to construct more than one? Your loved ones will be delighted to purchase these fashionable books from you. Interesting business concept!
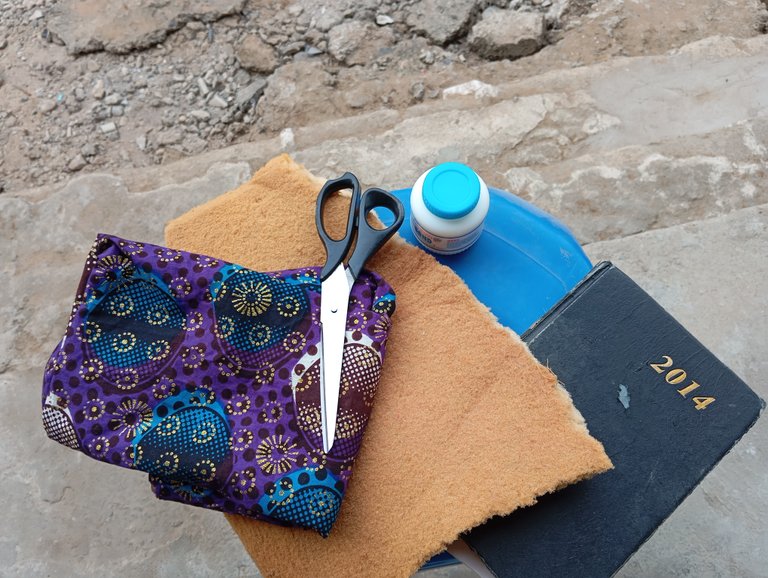
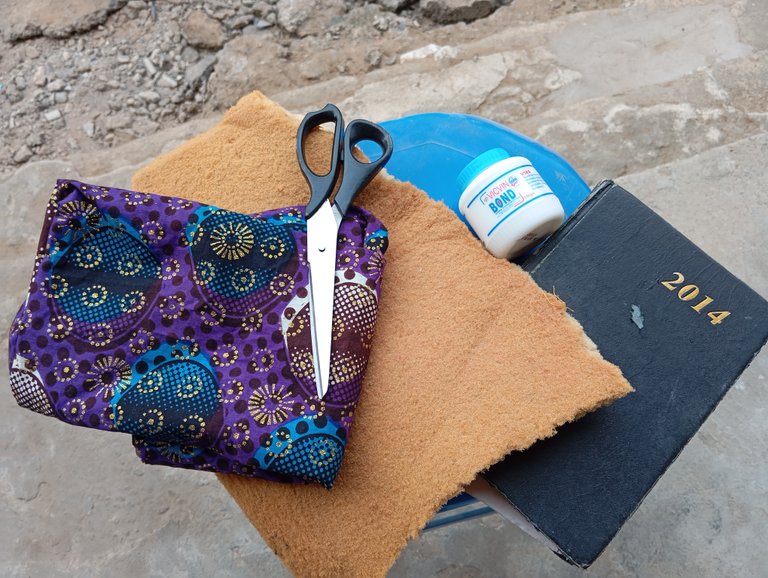
These are the items you require:
1.A piece of Ankara or another nice material
2.Scissors
3.Gum or glue
4.A notebook, diary or jotter.
Additionally i used foam so that my Ankara diary won’t be too flat.
Below are the steps i took to create this ankara diary:

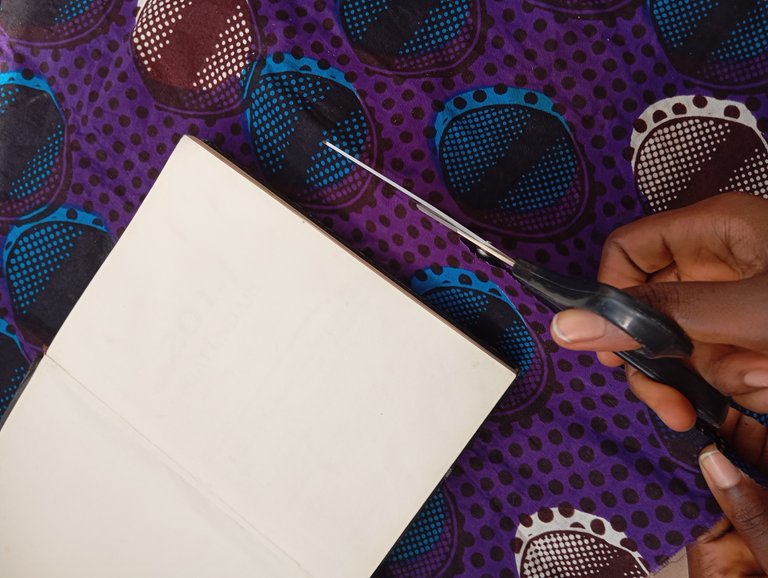

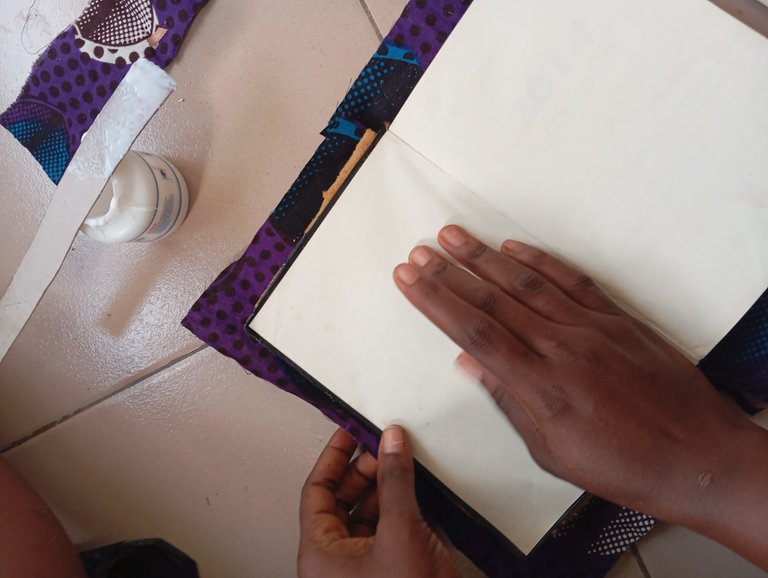
•First of all, i Open the cover of the book and place it on the material to trim out the size of the material i needed.
- I then had to cut a short strip of the material with the scissors so that it folds over the middle of the book as shown in the illustration below.


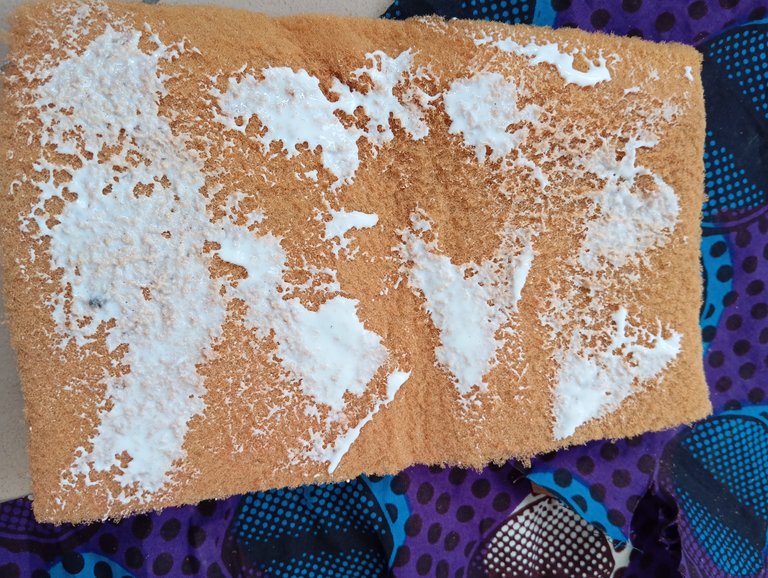
I placed the foam on the front cover to trim it to the exact size because I only intended to use it for that cover.
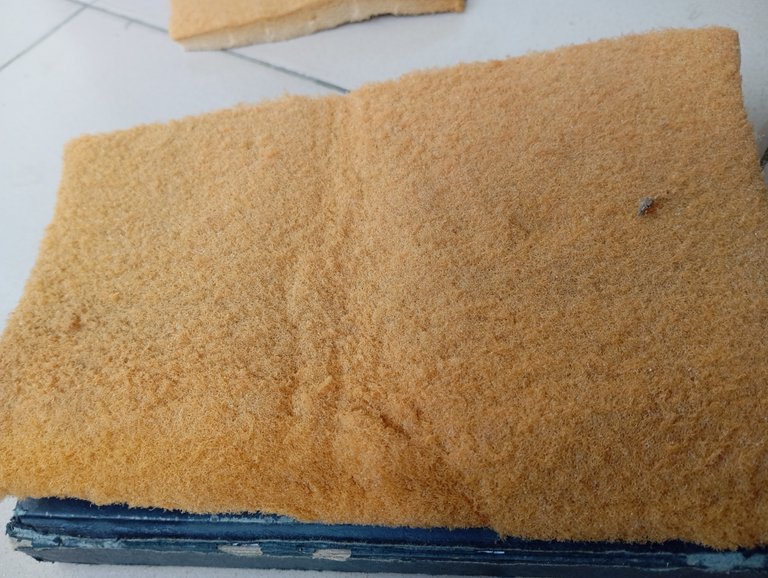
I gummed the foam after trimming in order to gum it onto the front cover.
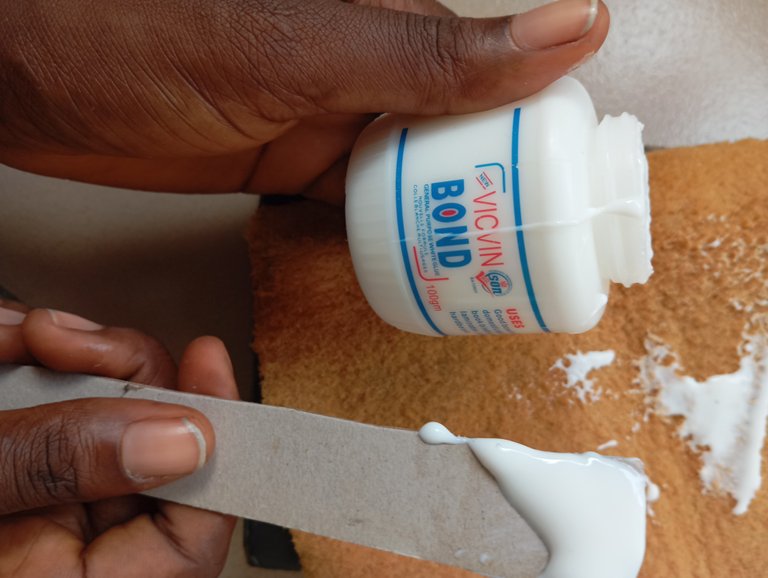
After finishing the application of the gum on the foam, I did the same to the diary's front cover.

I then gummed both of them together.
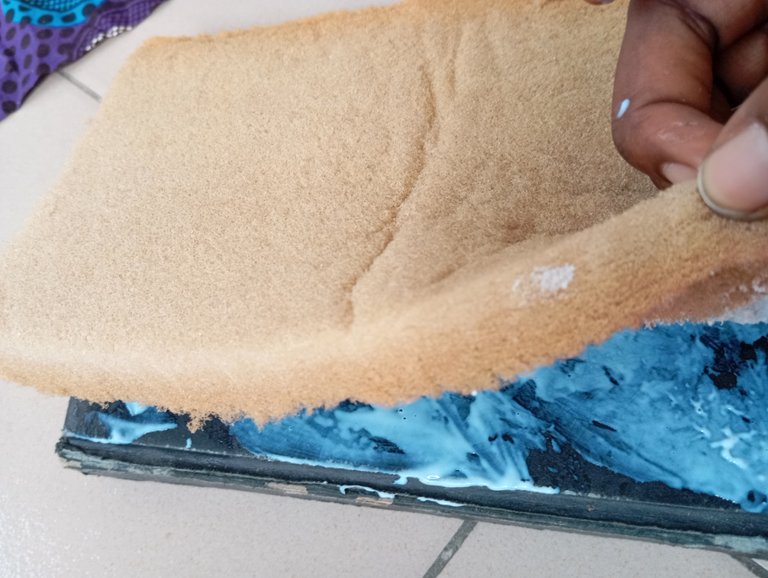
I also applied to the front part of the foam where i would gum my ankara material.

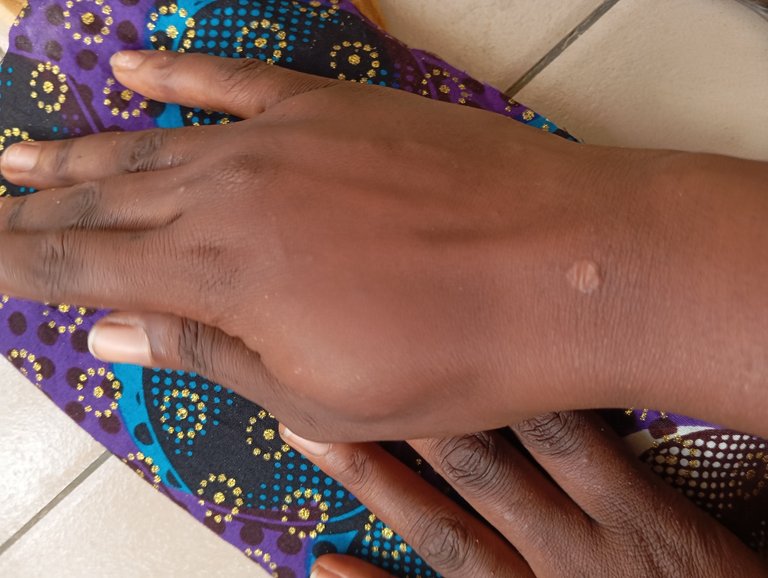
I Applied pressure to the Ankara so that it would stick to the foam.
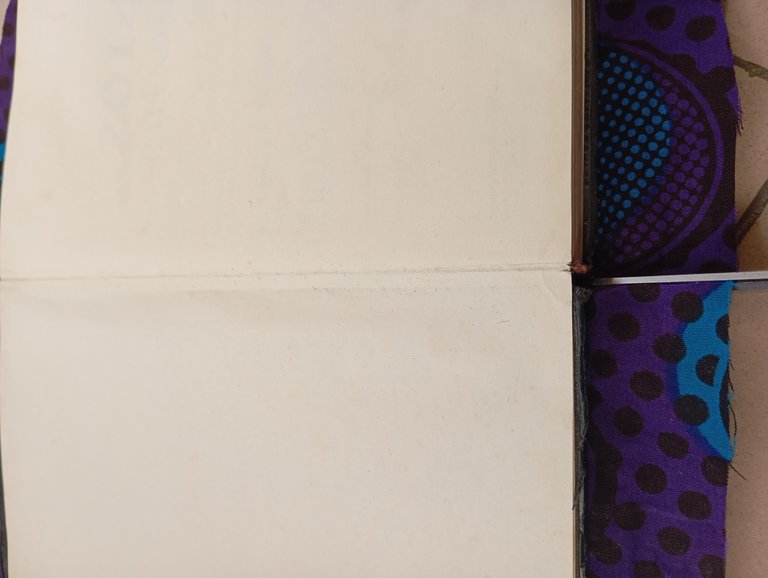
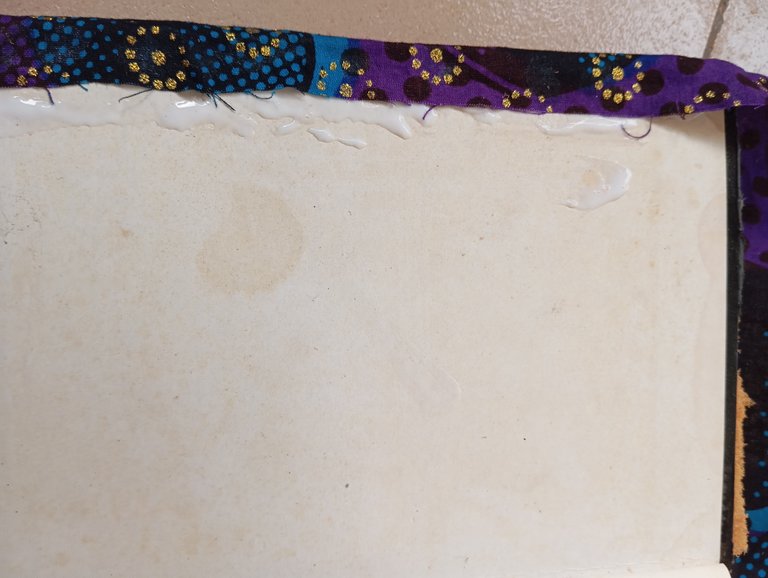
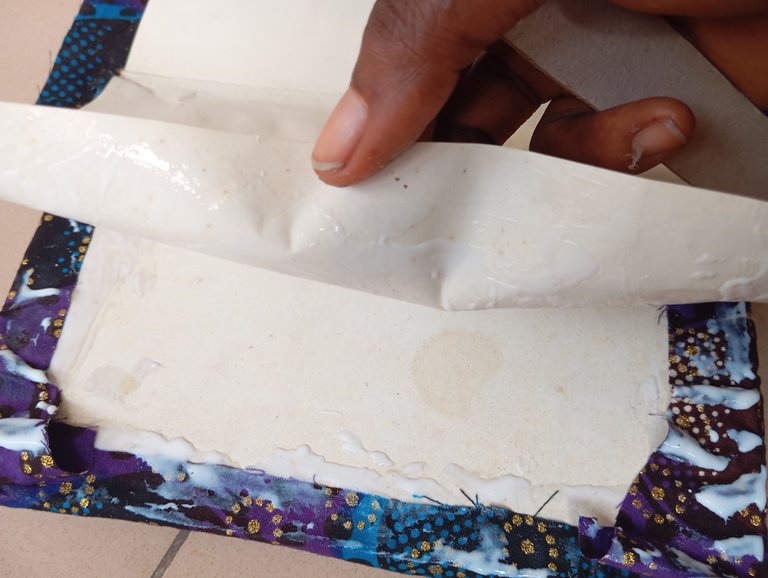
- I applied some gum inside the book cover. When i was doing this, i was careful enough not to put the gum all over the place. I Just glued it to the cover's edges so that the Ankara will stick when folded.

- To ensure that the material sticks to the book where gum has been put, fold it as shown below.

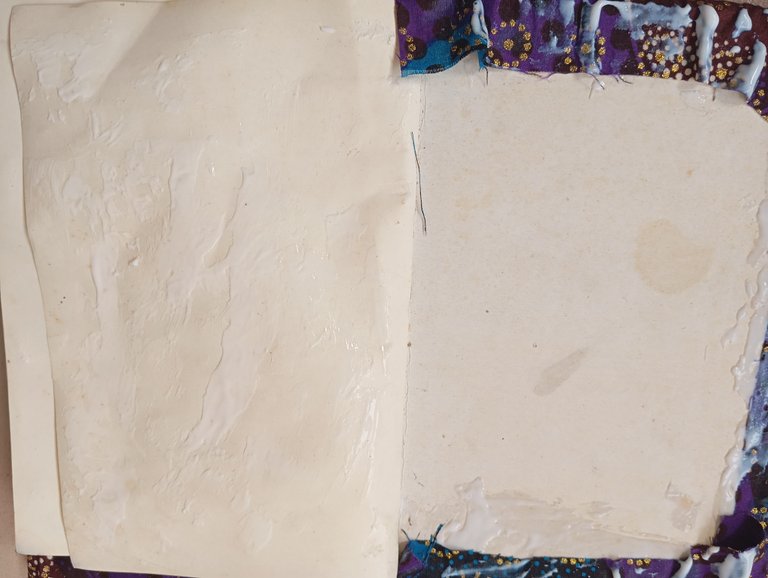
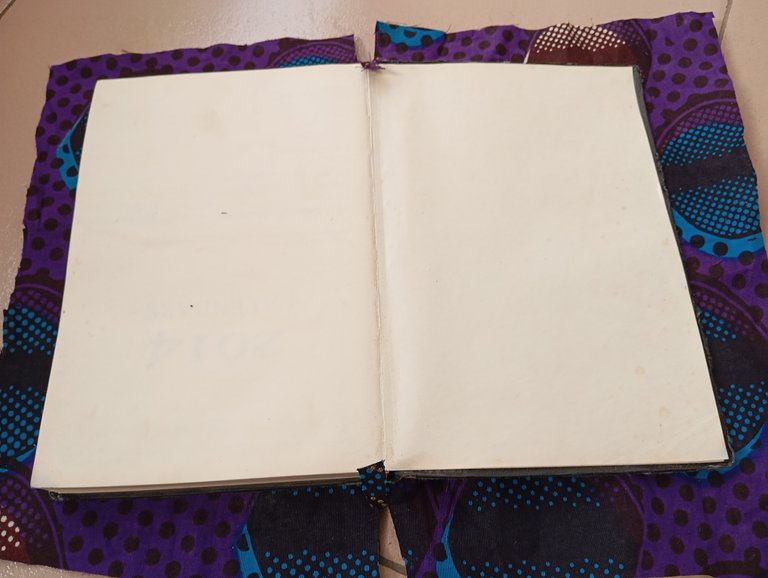
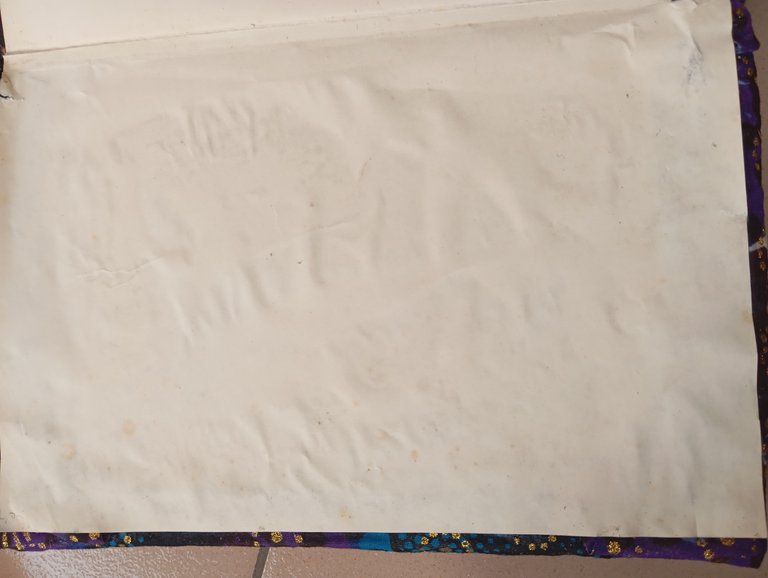
i had to trim two paper squares so that their edges are straight. I then attached the gum on one side to the inside of the front cover. It gave your Ankara a more polished look by covering its edges.
For the back cover, i didn't use a foam so i applied gum to the back cover of the book.

I had to press down the Ankara so it sticks to the outside of the book.

I repeated the same process i did for the front cover for the back cover. I applied some gum inside the book cover. When i was doing this, i was careful enough not to put the gum all over the place. I Just glued it to the cover's edges so that the Ankara will stick when folded.
To ensure that the material sticks to the book where gum has been put, fold it.
i had to use the second trimmed squares so that the edges are straight. I then attached the gum on one side to the inside of the back cover. It gave your Ankara a more polished look by covering its edges.


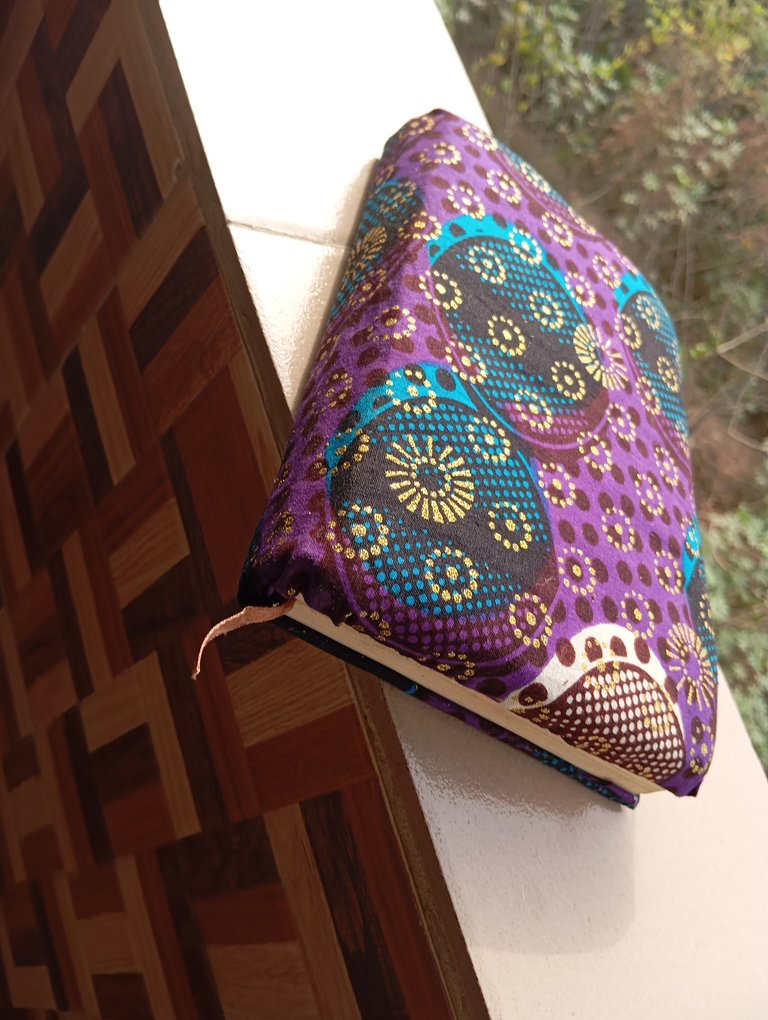
- This was the final look.
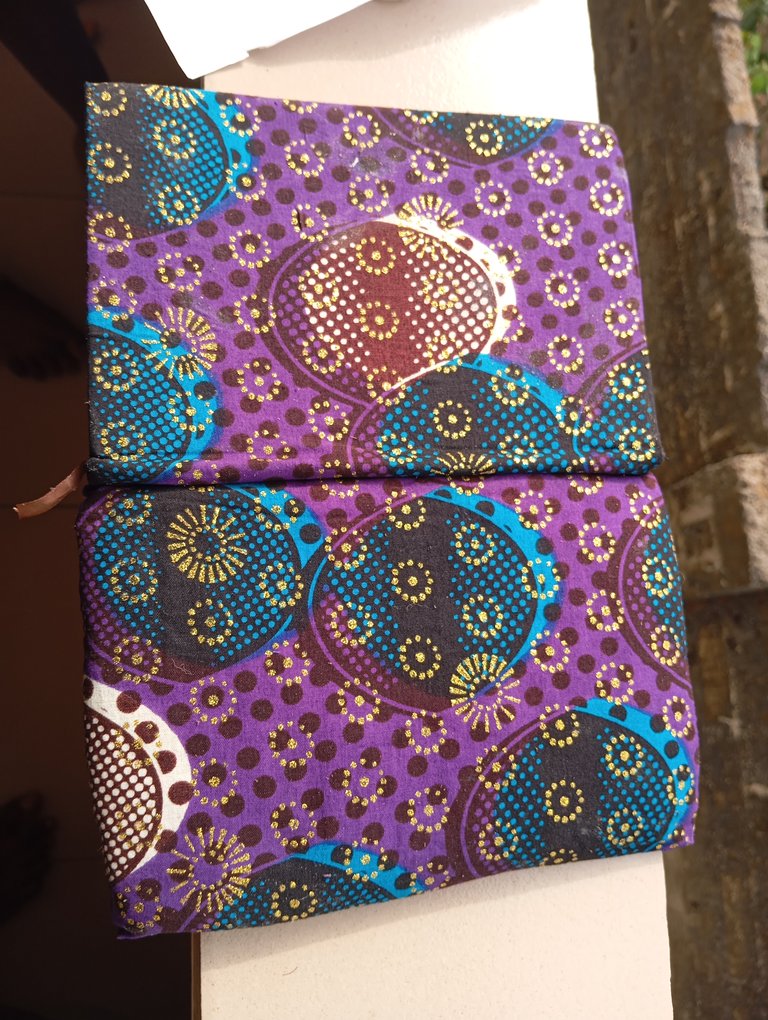

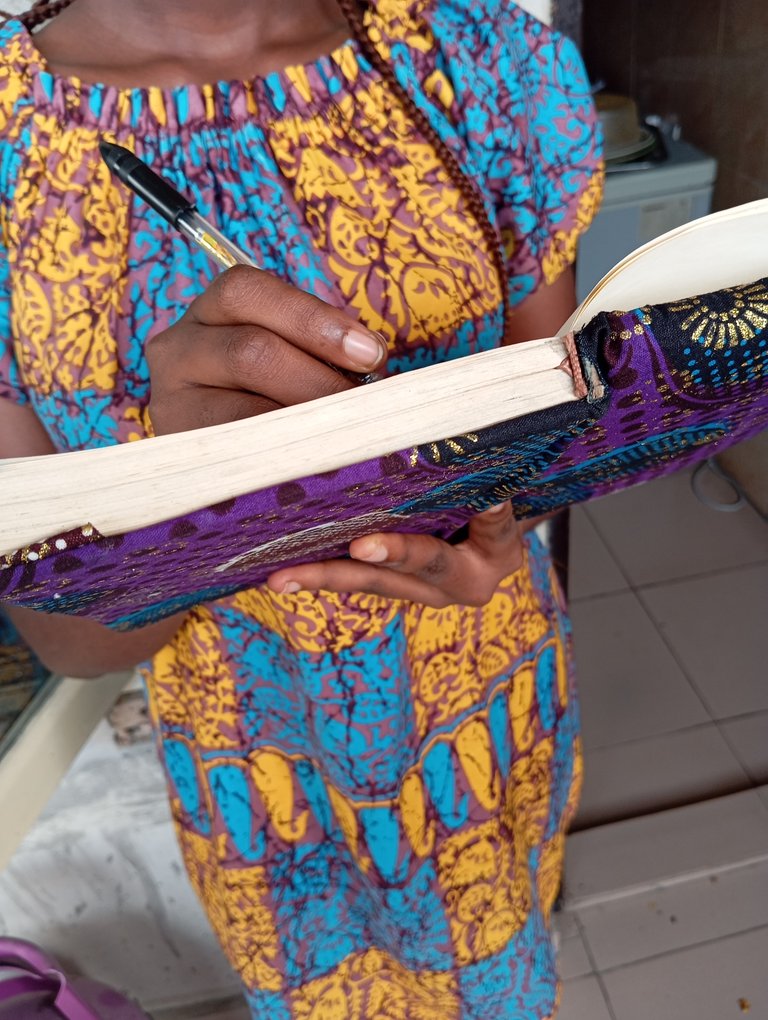

•Let the gum dry on the book for a few hours. And then it is ready for you to use.
I believe you would love to give a try too.
Thanks for reading...
I am @mummygo
SPANISH
Hola a todos, confío en que os vaya muy bien. Estoy emocionada de participar en esta comunidad por primera vez.
Debo admitir que leer los posts de los demás me ha motivado e inspirado para intentar hacer algunas manualidades.
Me encanta ankara, así que después de pensarlo un poco, me decidí a crear un diario de ankara, que siempre ha sido una de mis artesanías favoritas y yo sólo quería diario más allá de los diarios normales que tenía .
El tejido de Ankara es una forma de tela de colores vibrantes y estampados muy popular en muchos países africanos. También se conoce como cera holandesa o estampado de cera africano. Sus orígenes se remontan a los comerciantes holandeses del siglo XIX, y su historia es larga. Hoy en día, la tela de Ankara se utiliza para muchas cosas diferentes, como artesanía, ropa y diseño de interiores.
Hacer un cuaderno de Ankara casero es una forma única y divertida de utilizar la tela de Ankara.
Si utilizas tu cuaderno a menudo, puedes darle un aspecto diferente.
Puedes pedir a un sastre local una tela que no esté utilizando, o puedes usar una bufanda vieja. Cualquier otro material atractivo (y fácilmente accesible) servirá.
¿Y si tienes suficientes materiales y cuadernos para construir más de uno? Tus seres queridos estarán encantados de comprarte estos libros de moda. ¡Interesante concepto de negocio!
Estos son los artículos que necesitas
- Una pieza de Ankara u otro material bonito
2.Tijeras
3.Goma o pegamento
4.Un cuaderno, una agenda o un bloc de notas.
Además, he utilizado gomaespuma para que mi agenda Ankara no quede demasiado plana.
A continuación te detallo los pasos que he seguido para crear esta agenda ankara:
En primer lugar, abrí la tapa del libro y la coloqué sobre el material para recortar el tamaño del material que necesitaba.
A continuación, tuve que cortar una tira corta del material con las tijeras para que se doblara por la mitad del libro, como se muestra en la siguiente ilustración.
Coloqué la espuma en la portada para recortarla al tamaño exacto porque sólo pensaba utilizarla para esa portada.
Después de recortarla, engomé la espuma para pegarla en la portada. Una vez terminada la aplicación de la goma sobre la espuma, hice lo mismo con la portada de la agenda.
A continuación, engomé ambas.
También apliqué en la parte delantera de la espuma donde engomaría mi material de ankara.
Apliqué presión a la Ankara para que se pegara a la espuma.
Apliqué un poco de goma en el interior de la tapa del libro. Cuando estaba haciendo esto, tuve cuidado de no poner la goma por todo el lugar. Sólo lo pegué a los bordes de la cubierta para que la Ankara se pegara al doblarla.
Para que el material se pegue al libro donde se ha puesto el chicle, dóblalo como se muestra.
Tuve que recortar dos cuadrados de papel para que sus bordes quedaran rectos. A continuación, pegué la goma por un lado a la parte interior de la portada. Le dio a tu Ankara un aspecto más pulido al cubrir sus bordes.
Para la contraportada, no utilicé espuma, así que apliqué goma a la contraportada del libro.
Tuve que presionar la Ankara para que se pegara al exterior del libro.
Repetí el mismo proceso que hice para la portada para la contraportada. Apliqué un poco de goma de mascar en el interior de la cubierta del libro. Al hacer esto, tuve cuidado de no poner la goma por todas partes. Sólo lo pegué a los bordes de la cubierta para que la Ankara se pegue al doblarla.
Para que el material se pegue al libro donde se ha puesto el chicle, hay que doblarlo.
Tuve que utilizar los segundos cuadrados recortados para que los bordes quedaran rectos. A continuación, pegué la goma por un lado a la parte interior de la contraportada. Le dio a tu Ankara un aspecto más pulido al cubrir sus bordes.
Creo que a usted también le encantaría probarlo.
Gracias por leer...
Soy @mummygo
¡Felicidades! Esta publicación obtuvo upvote y fue compartido por @la-colmena, un proyecto de Curación Manual para la comunidad hispana de Hive que cuenta con el respaldo de @curie.
Si te gusta el trabajo que hacemos, te invitamos a darle tu voto a este comentario y a votar como testigo por La Colmena.
Si quieres saber más sobre nuestro proyecto, te invitamos a acompañarnos en nuestro servidor de Discord.
Congratulations @mummygo! You have completed the following achievement on the Hive blockchain And have been rewarded with New badge(s)
Your next target is to reach 10000 upvotes.
You can view your badges on your board and compare yourself to others in the Ranking
If you no longer want to receive notifications, reply to this comment with the word
STOPCheck out our last posts:
wow amazing work, thanks a lot for sharing keep up the good work.
!giphy great job
@sagarkothari88 vote 20%
| Hive Curators Community | Join Discord | Support Witness | Follow Curation Trail |
Keep Up the good work on Hive ♦️
aha the loklks great thanks a lot for sharing
This is very creative and beautiful... I love the end result
Que buen trabajo, se ve muy lindo el diseño
Yes!!!
I absolutely love this and I wouldn’t even mind purchasing this as a diary lover.
I love how you added the foam so it won’t be too flat but then it also could actually absorb any water that tries to wet the book.
I love it
Thank you so much😘
Nice fabric! The final result was very pretty, u give life back to that diary 💜
Welcome to the community. And it's good to see your diy projects , this way the book will not only be preserved but inviting .lovely books in colors will have a way of enticing it's reader to come read.
Well done dear