[Splinterlands] Flying Squid - Social Media
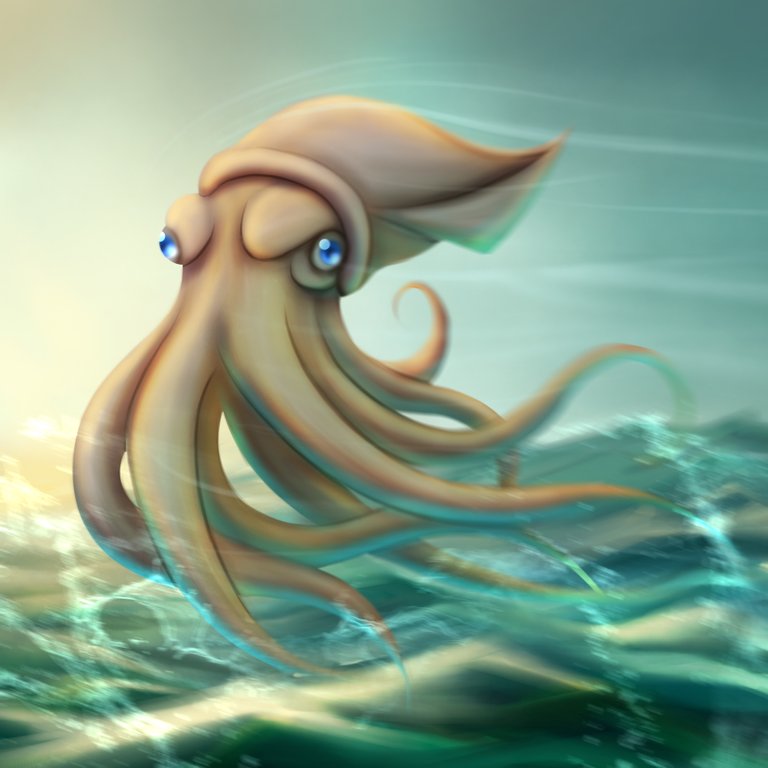
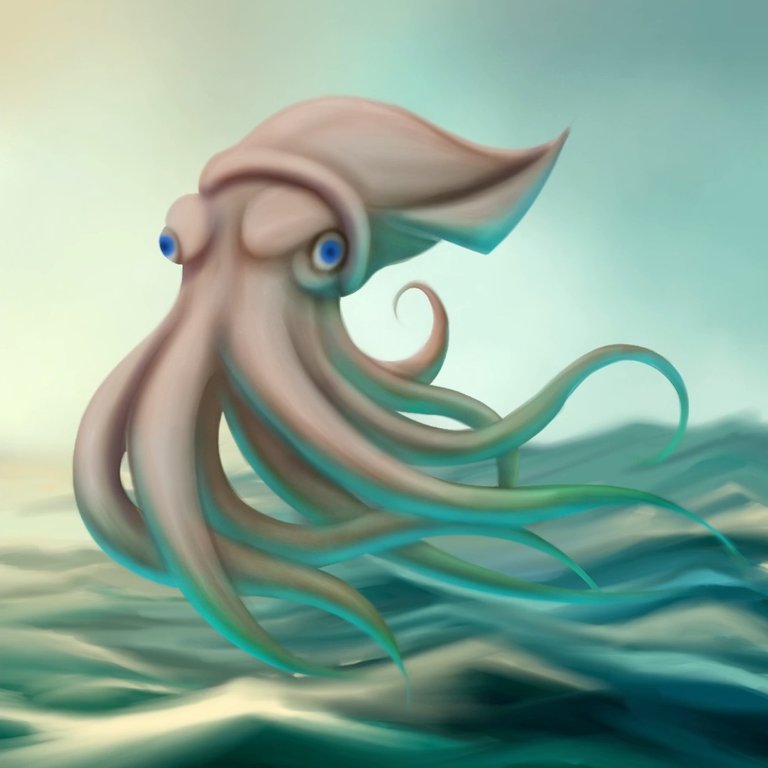
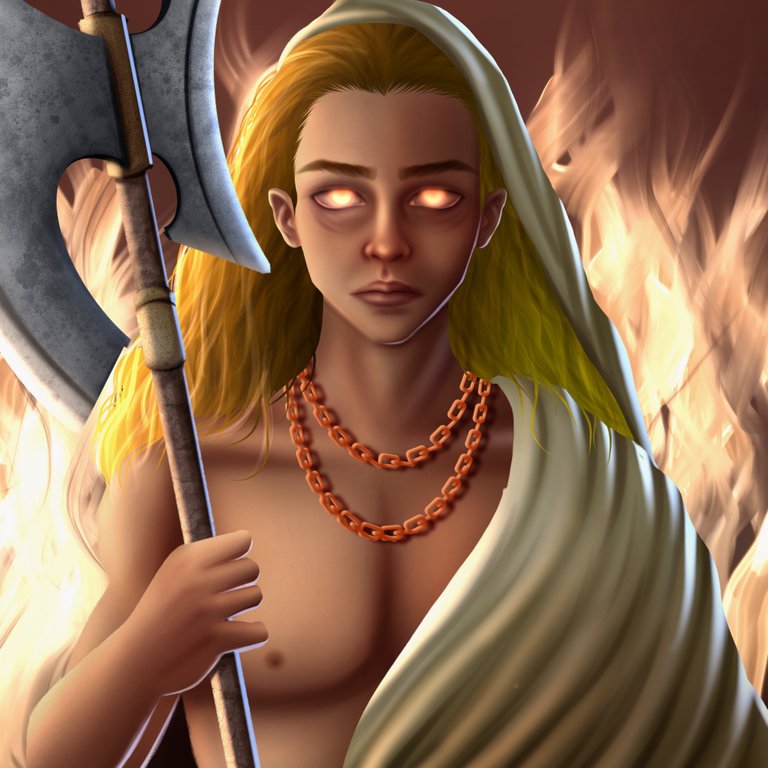
Welcome to my art blog. Today I want to share my experience in creating a fanart for the social media section of Splinterlands. For this occasion, I chose to draw the "Flying Squid" character who, although he doesn't fly per se, performs some huge jumps out of the water and stays in the air for a while.
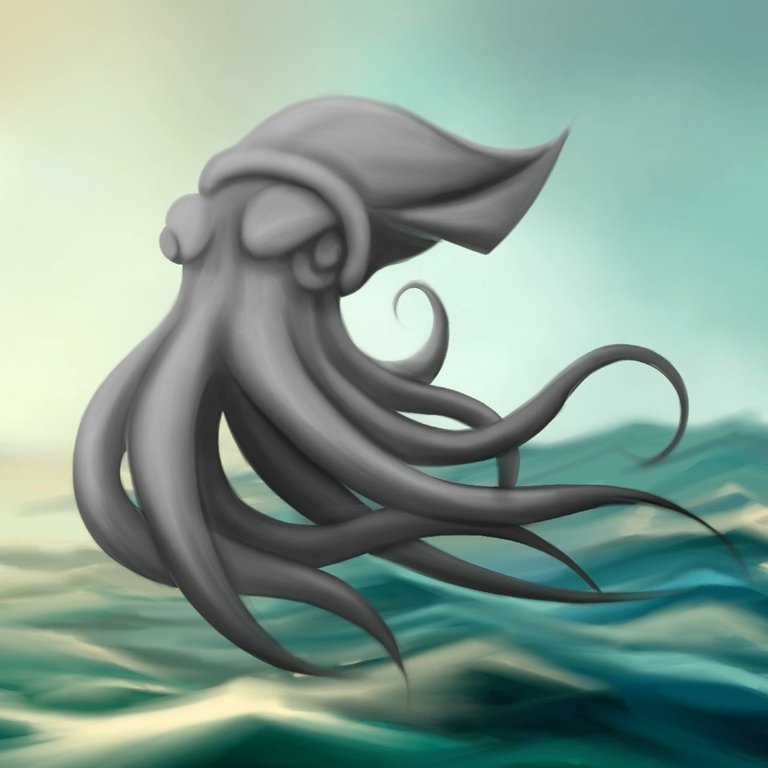
In designing this character, I set out to give him a speed effect that would convey the feeling that he was flying very fast. It was quite a challenge, but after a few attempts, I achieved the desired effect. I focused on the details of the movements of the fins and tentacles to make it look like it was in full "flight".
Also, to make the drawing more realistic, I worked on the design of the sea waves surrounding the Flying Squid. Those waves and the small details on the surface of the water give a more lively and dynamic look to the illustration.
Overall, I am very pleased with the final design of the fanart. I loved how the speed effect and the drawing of the sea turned out. It's really rewarding when you can capture in a drawing the ideas you have in your head.
I want to thank Splinterlands for giving me the opportunity to participate in their social media section and for allowing me to share my work with such a wide audience. I hope you liked this fanart as much as I did, see you next time!
Next I show you the step by step of the development of the illustration.
Bienvenidos a mi blog de arte. Hoy quiero compartir mi experiencia en la creación de un fanart para la sección social media de Splinterlands. Para esta ocasión, elegí dibujar al personaje de "Flying Squid" que, aunque no vuela propiamente dicho, realiza unos enormes saltos fuera del agua y permanece en el aire por un tiempo.
En el diseño de este personaje, me propuse darle un efecto de velocidad que transmitiera la sensación de que estuviera volando muy rápido. Fue todo un reto, pero después de algunos intentos, logré el efecto deseado. Me enfoqué en los detalles de los movimientos de las aletas y los tentáculos para que pareciera que estaba en pleno "vuelo".
Además, para hacer el dibujo más realista, trabajé en el diseño de las olas del mar que rodean al Flying Squid. Esas ondas y los pequeños detalles en la superficie del agua le dan un aspecto más vivo y dinámico a la ilustración.
En general, estoy muy satisfecho con el diseño final del fanart. Me encantó cómo quedó el efecto de velocidad y el dibujo del mar. Es realmente gratificante cuando puedes plasmar en un dibujo las ideas que tienes en tu cabeza.
Quiero agradecer a Splinterlands por darme la oportunidad de participar en su sección social media y por permitirme compartir mi trabajo con una audiencia tan amplia. Espero que este fanart les haya gustado tanto como a mí me gustó hacerlo. ¡Hasta la próxima!
A continuación les muestro el paso a paso del desarrollo de la ilustración.
Drawing development / Desarrollo ✏️ 
Although Flying Squid are not truly capable of flight, their moniker comes from their ability to launch themselves from the water and glide above the surface for long distances before resubmerging. These aggressive predators shoot ink into the eyes of their prey to blind them before attacking with their lengthy tentacles.
Aunque los calamares voladores no son realmente capaces de volar, su apodo se debe a su capacidad para lanzarse desde el agua y planear sobre la superficie durante largas distancias antes de volver a sumergirse. Estos agresivos depredadores inyectan tinta en los ojos de sus presas para cegarlas antes de atacarlas con sus largos tentáculos.

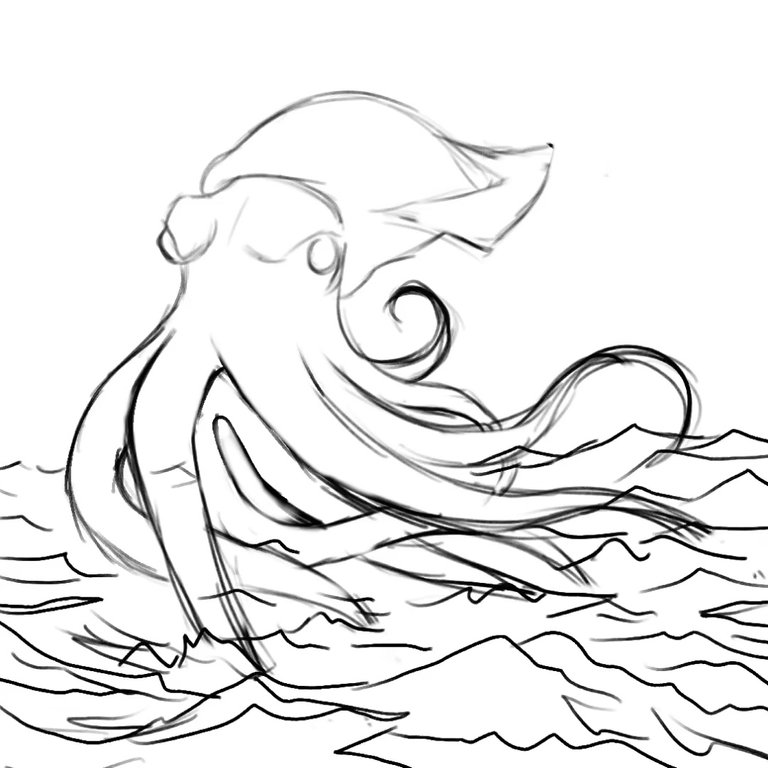
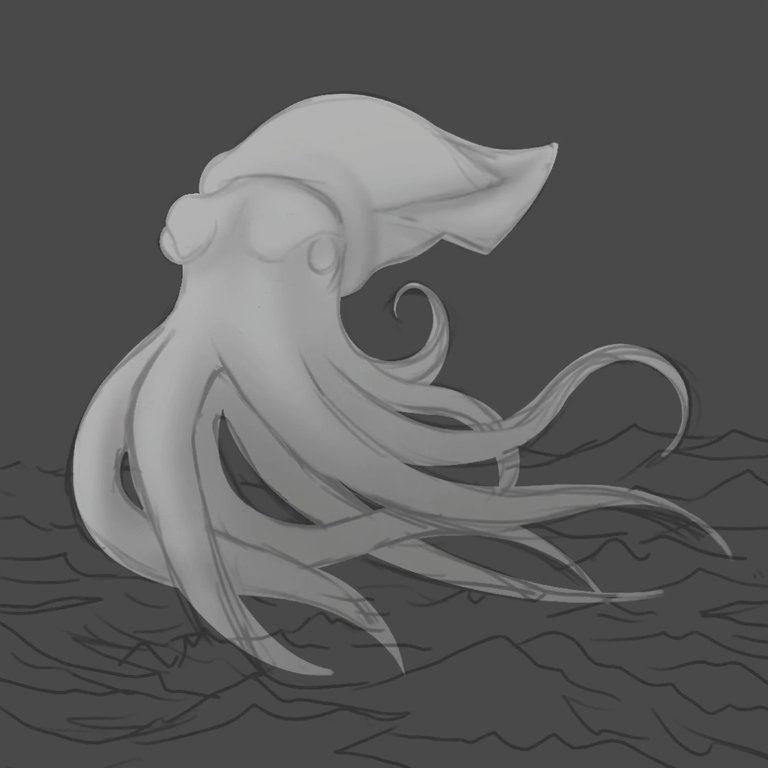
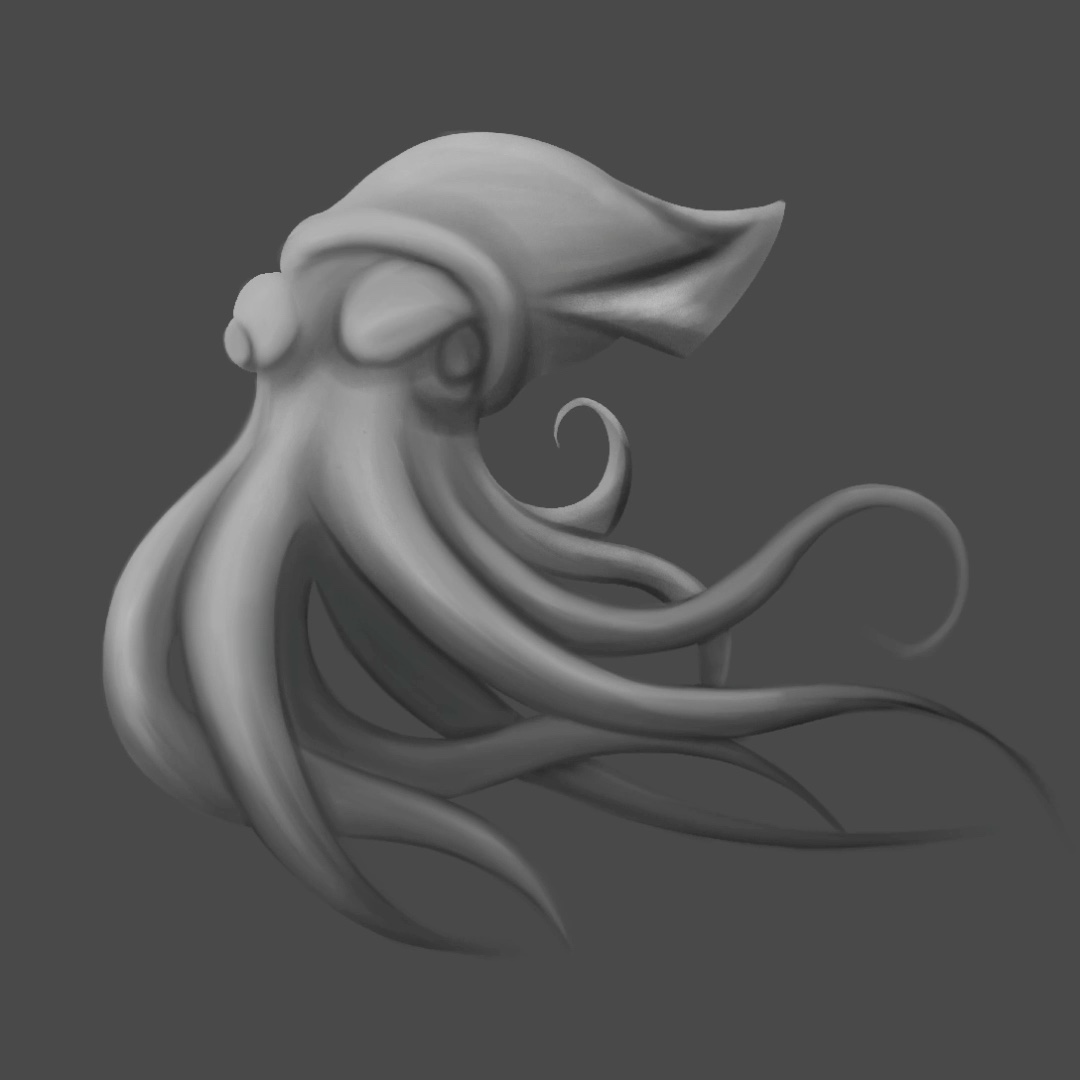
The first step in creating any drawing is to make a sketch. For this drawing, I started by making a basic sketch of the character in Procreate drawing software. I used a pencil tool with a low opacity to make the sketch, which allowed me to make smooth, fuzzy lines. I didn't worry too much about details at this stage; I simply wanted to get a basic pose of the character.
Once I had the basic sketch of the character, I started working on the final lines. For this, I switched to a brush tool with a finer tip, like a round brush. I used these tools to refine the lines and make them more defined and detailed. I also added details such as fins and defined the tentacles better.
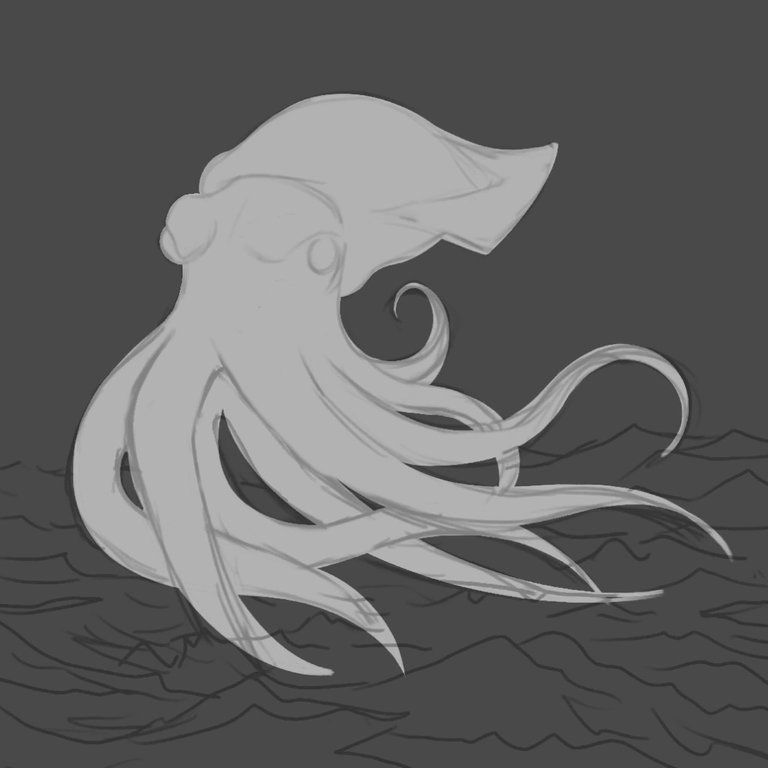
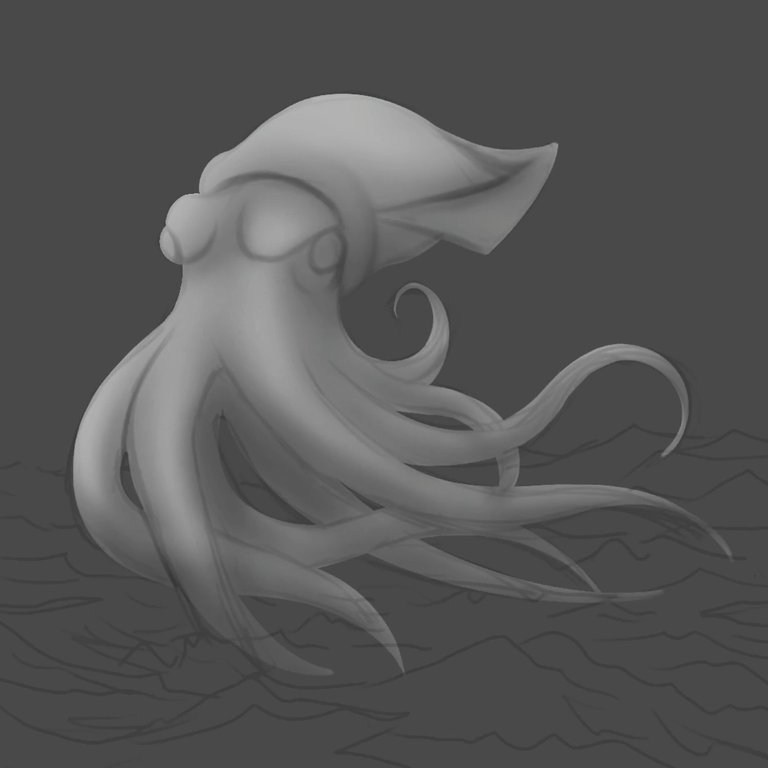
After finishing the final lines, I started working on the grayscale. I used a brush tool with a low opacity, and started adding shadows to the drawing to create depth and dimension. I used different opacity levels to achieve different shades of gray, and I also used blur and blur tools to smooth the transitions between shades.
El primer paso en la creación de cualquier dibujo es hacer un boceto. Para este dibujo, comencé haciendo un boceto básico del personaje en el software de dibujo Procreate. Utilicé una herramienta de lápiz con una opacidad baja para hacer el boceto, lo que me permitió hacer líneas suaves y difusas. No me preocupé demasiado por los detalles en esta etapa; simplemente quería conseguir una postura básica del personaje.
Una vez que tenía el boceto básico del personaje, comencé a trabajar en las líneas finales. Para esto, cambié a una herramienta de pincel con una punta más fina, como un pincel redondo. Utilicé estas herramientas para refinar las líneas y hacerlas más definidas y detalladas. También añadí detalles como las aletas y definí mejor los tentáculos.
Después de terminar las líneas finales, empecé a trabajar en la escala de grises. Utilicé una herramienta de pincel con una opacidad baja, y empecé a agregar sombras al dibujo para crear profundidad y dimensión. Usé diferentes niveles de opacidad para lograr diferentes tonos de gris, y también utilicé herramientas de desenfoque y difuminado para suavizar las transiciones entre tonos.
 |  |
|---|
 |  |
|---|
 |  |
|---|
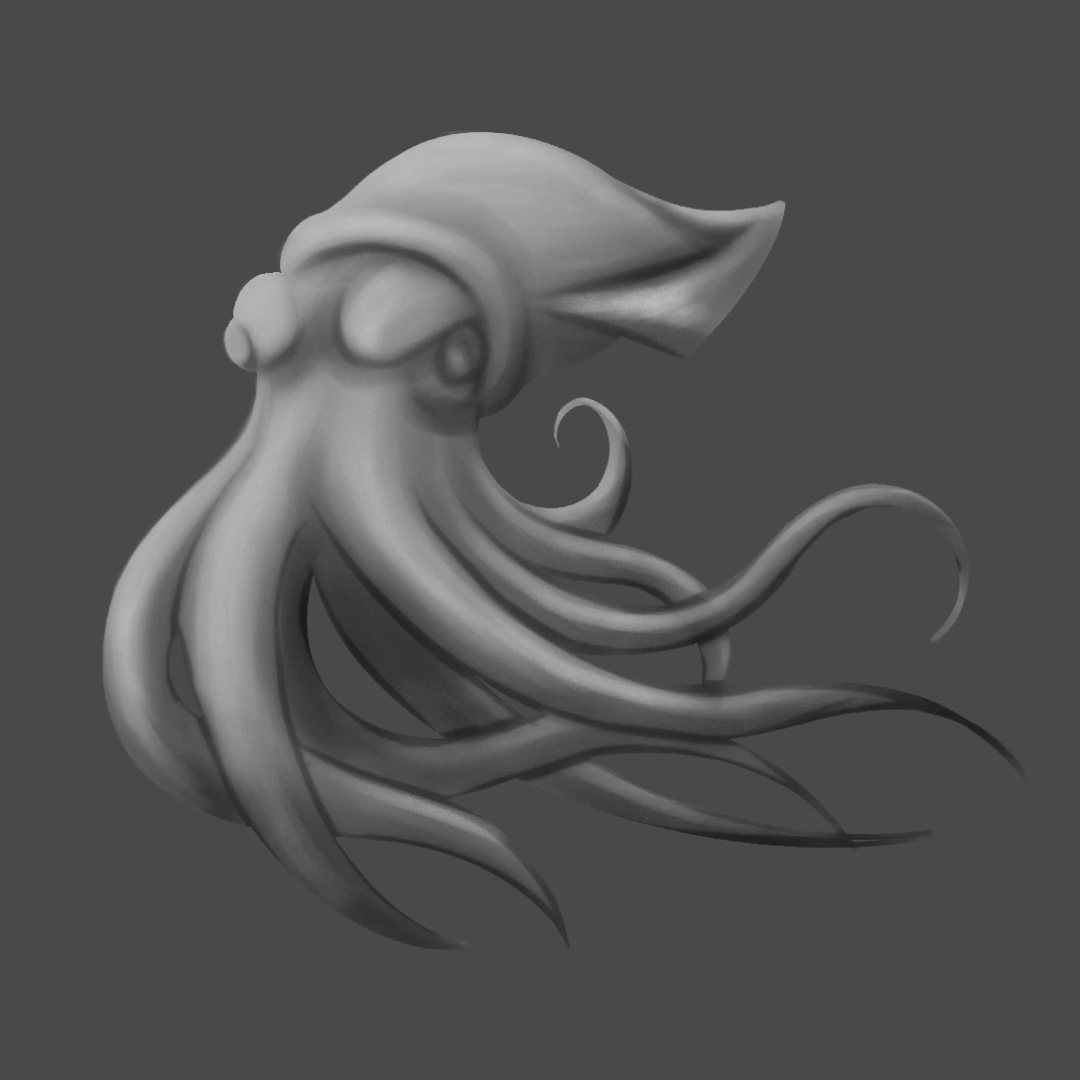
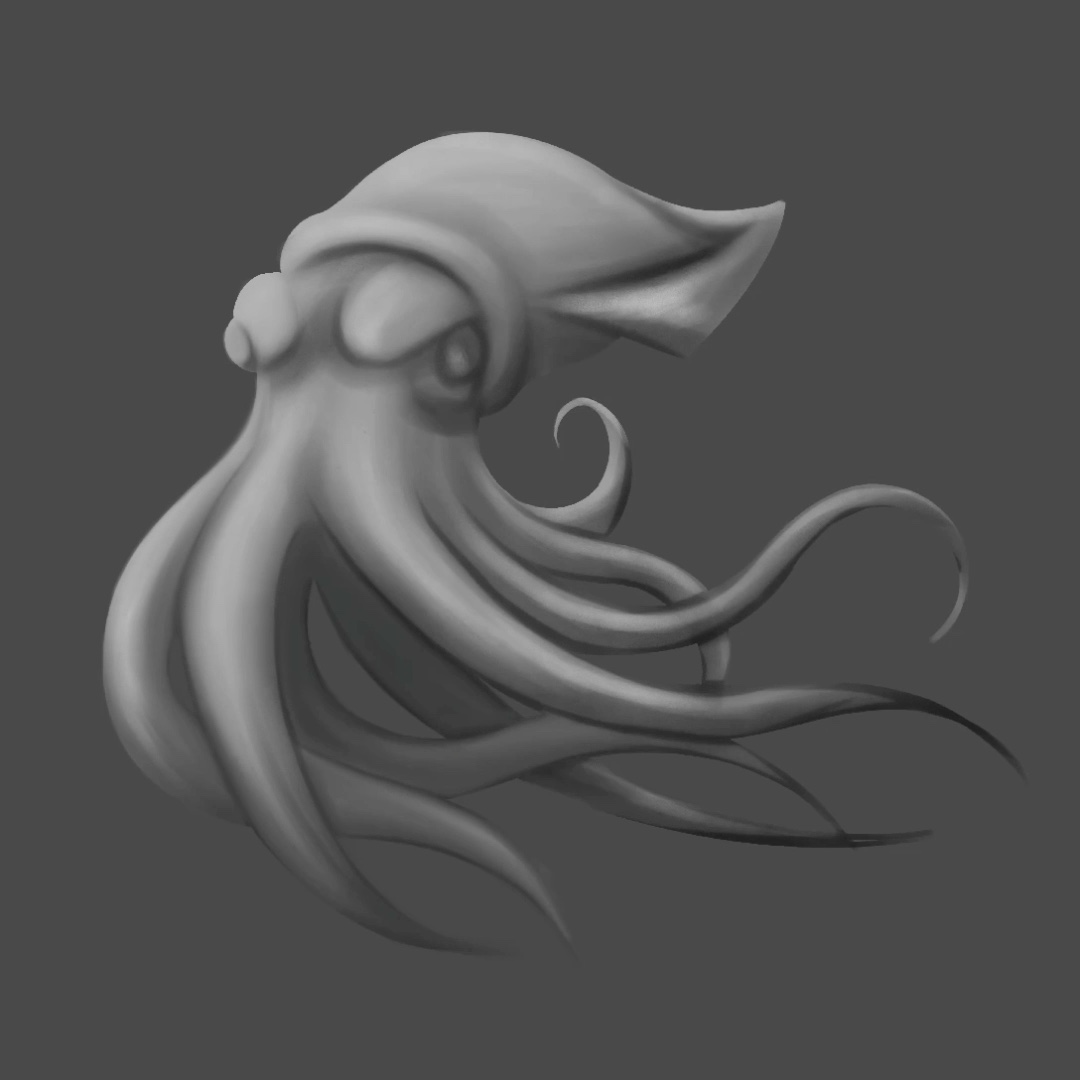
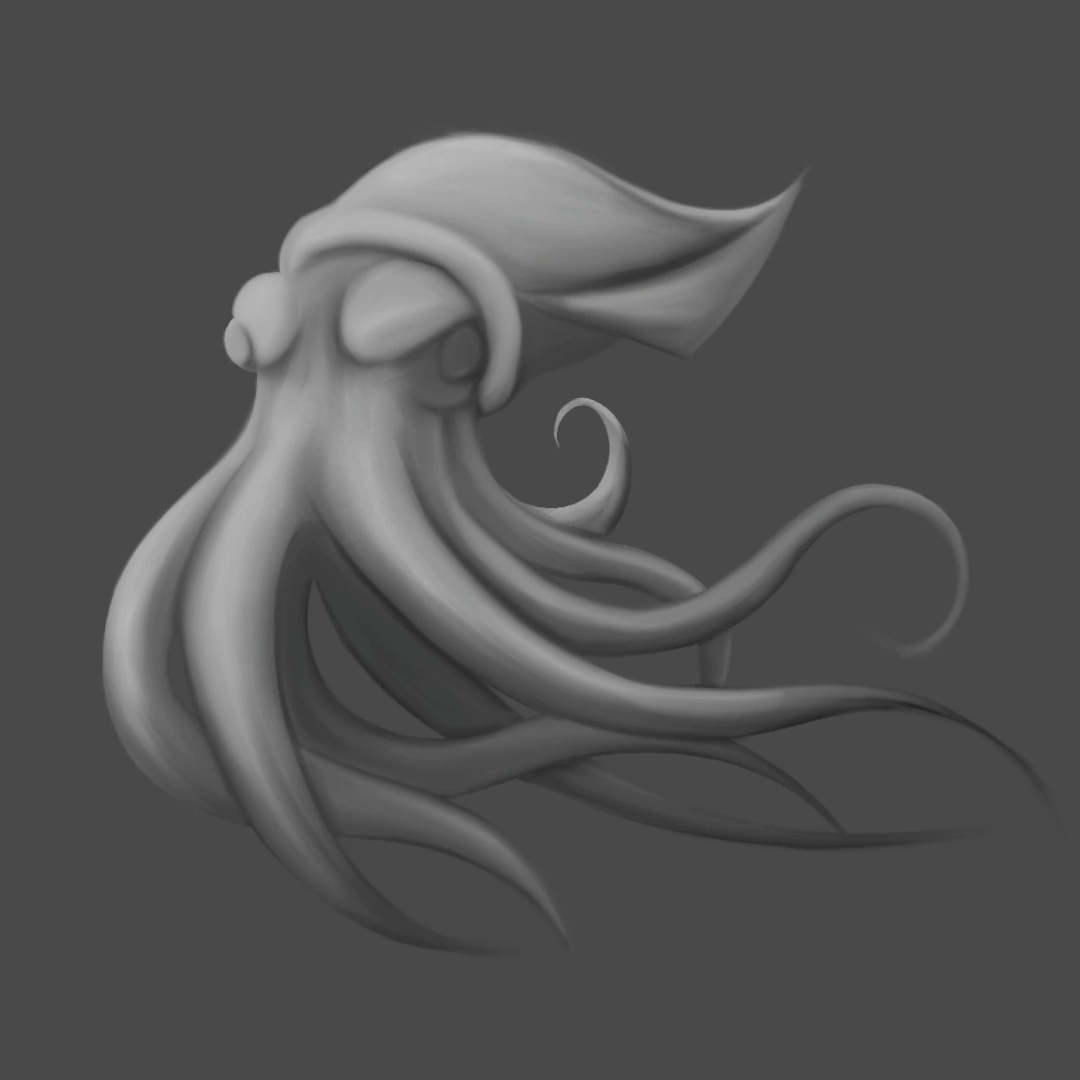
Once I had completed the grayscale, I reviewed the drawing and made some final adjustments. I added more details, adjusted some of the tones and shadows, and made sure the drawing looked the way I wanted it to.
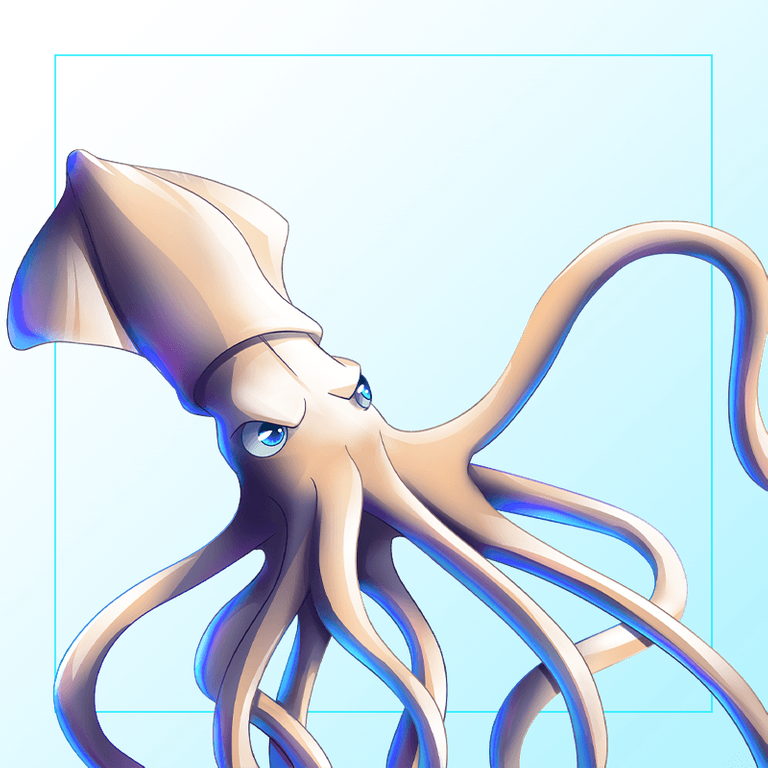
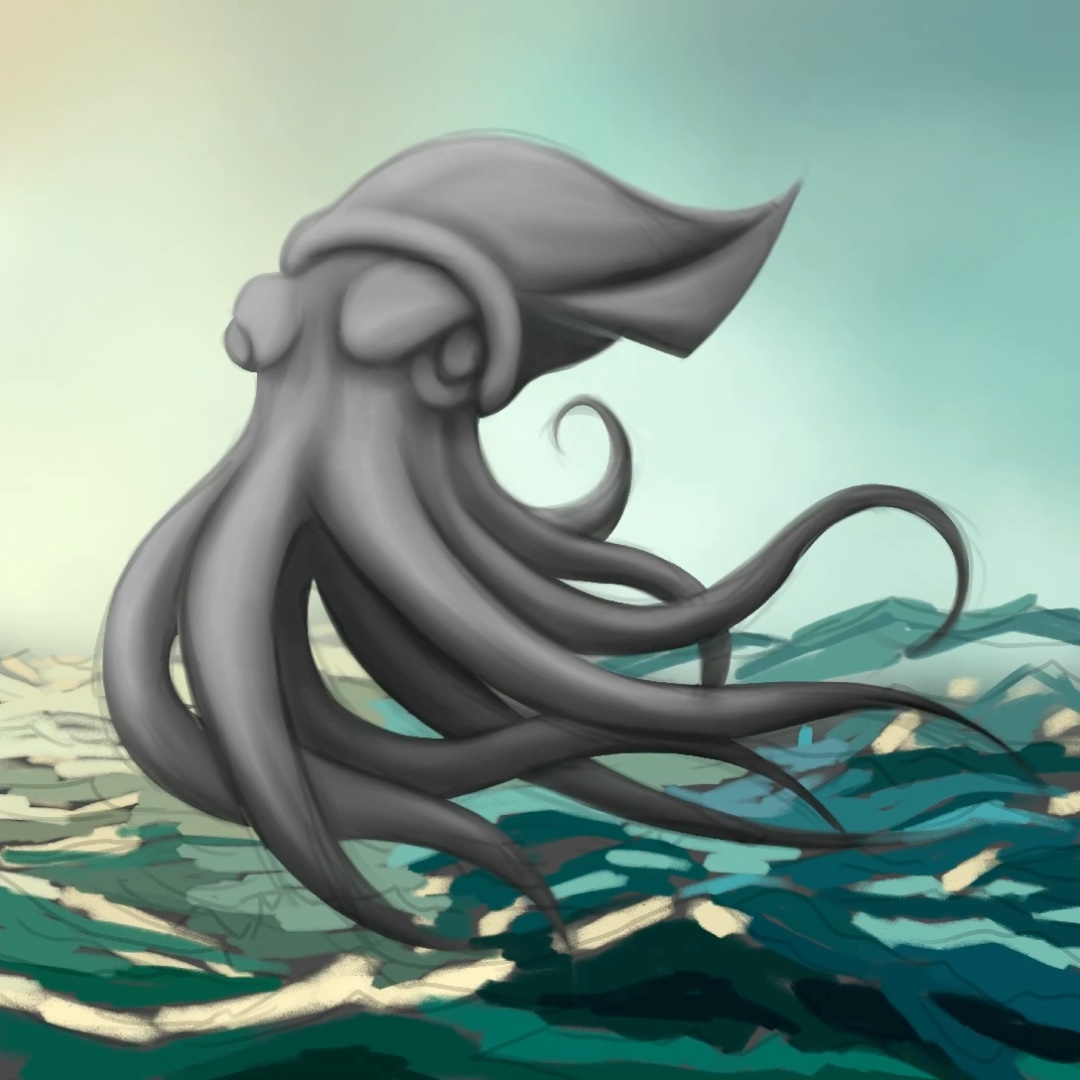
At this point, I started coloring the drawing. I created a layer on top of the drawing layer and started applying the colors. First, I created a color scheme for the character. Then, using a soft brush tool, I applied the colors evenly in the appropriate areas. Next, I used adjustment layer tools to adjust the tones and saturation of the colors. Finally, I added some additional details, such as the reflection of the sun and water on the character's fins and tentacles.
Once I had applied the colors, I reviewed the drawing and added some final details. I added additional shadows and highlights to enhance the depth and dimension of the drawing. I also made some final adjustments to the colors and tones, and made sure the drawing was finished and ready to share.
Una vez que había completado la escala de grises, revisé el dibujo y hice algunos ajustes finales. Añadí más detalles, ajusté algunos de los tonos y sombras, y me aseguré de que el dibujo tuviera el aspecto que quería.
En este punto, empecé a colorear el dibujo. Creé una capa encima de la capa del dibujo y empecé a aplicar los colores. Primero, creé un esquema de colores para el personaje. Luego, con una herramienta de pincel suave, apliqué los colores de manera uniforme en las áreas que correspondían. Después, utilicé herramientas de capas de ajuste para ajustar los tonos y la saturación de los colores. Por último, añadí algunos detalles adicionales, como el reflejo del sol y el agua en las aletas y tentáculos del personaje.
Una vez que había aplicado los colores, revisé el dibujo y añadí algunos detalles finales. Añadí sombras y realces adicionales para mejorar la profundidad y dimensión del dibujo. También hice algunos ajustes finales a los colores y tonos, y aseguré de que el dibujo estuviera terminado y listo para compartir.
 |  |
|---|
 |  |
|---|
 |  |
|---|
Final design / Diseño final 🎨
Used tools / Herramientas usadas📌

- Programs: Imovie
Procreate
SketchBook
Tablet: Ipad Pro
Apple PencilBrushes: Airbrush
Pencil
Felt-tip pen
Skin brushTime: 6 hours

Past drawings / Dibujos pasados 🔙
 |  |  |  |
|---|
Thank you for your attention. We'll see you again in the next post, don't miss it.
Gracias por la atención prestada. Nos veremos de nuevo en el proximo post, no se lo pierdan.
 °
°


Copyright © @victartex - All Rights Reserved. Design and editing by own authorship.
El punto de partida de todo logro es el deseo.
Napoleon Hill
!1UP Great art!
!PGM !PIZZA
$PIZZA slices delivered:
underlock tipped victartex
@curation-cartel(2/20) tipped @victartex
You have received a 1UP from @underlock!
@monster-curator, @oneup-curator, @neoxag-curator, @pal-curator
And they will bring !PIZZA 🍕.
Learn more about our delegation service to earn daily rewards. Join the Cartel on Discord.
Thanks for sharing! - @rehan12

Impressive artwork!