[ESP/ENG] Fanart Vampire Bat - Splinterlands Social Media Challenge
Vampire Bat! 🦇
!Saludos nuevamente comunidad de Aliens! Son todos ustedes bienvenidos a mi nuevo post. El día de hoy quiero compartir mi participación (algo tarde) al reto semanal de Social Media Challenge de @splinterlands. Para este reto he decidido realizar una ilustración basada en el personaje Vampire Bat, antes de mostrarles el proceso que lleve a cabo para realizar al mismo quiero aclarar que esta es una reinterpretación del personaje de forma personal, o lo que se le conoce de forma más general como Fan-Art. ¡Espero que les guste tanto como a mí y les doy las gracias por tomarse el tiempo de leer mi publicación!
Greetings again Aliens community! You are all welcome to my new post. Today I want to share my participation (somewhat late) to the weekly Social Media Challenge from @splinterlands. For this challenge I decided to make an illustration based on the character Vampire Bat, before I show you the process I took to make it I want to clarify that this is a personal reinterpretation of the character, or what is more generally known as Fan-Art. I hope you like it as much as I do and I thank you for taking the time to read my post!

Creative Process | Proceso Creativo✏️

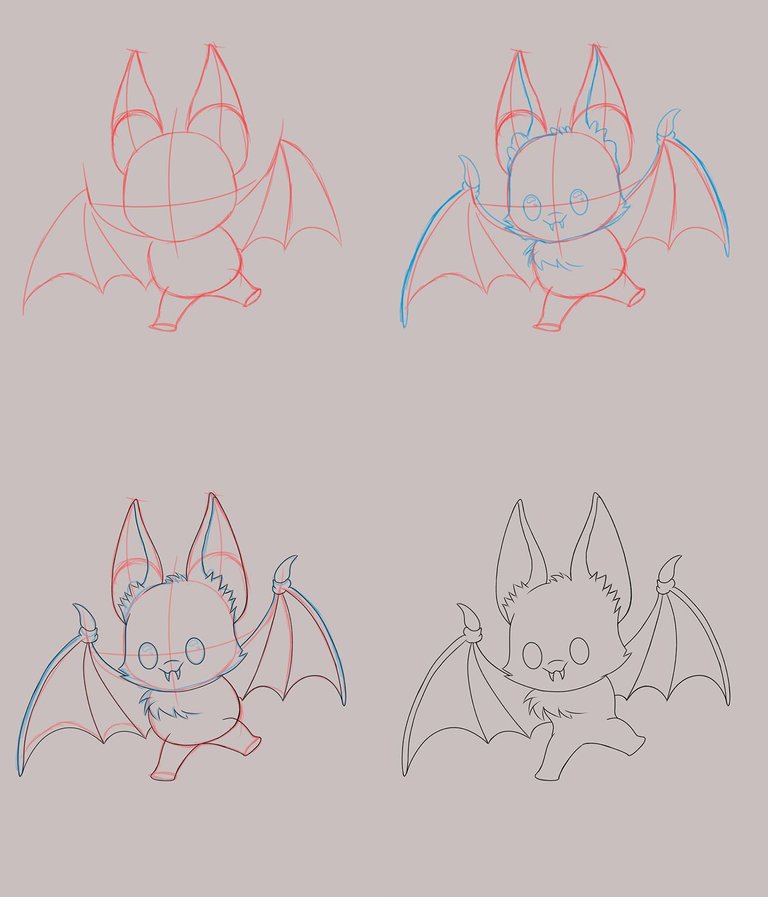
Realizar a este personaje fue un poco complicado para mí ya que creo que es la primera vez que realizo a un murciélago, por ende, fue fundamental buscar referencias y para entender un poco la anatomía de este para poder representarlo de una forma mis simplificada. Una vez tuve todo esto claro empecé a trabajar en un pequeño boceto el cual fui dándole una forma más limpia hasta tenerlo listo, una vez termine el boceto empecé a aplicar el lineart al personaje, en este caso utilice un grosor de línea bastante delgado y uniforme sin opacidad de presión por toda la ilustración.
Making this character was a bit complicated for me because I think it's the first time I make a bat, therefore, it was essential to look for references and to understand a little bit the anatomy of this one to be able to represent it in a simplified way. Once I had all this clear I started to work on a small sketch which I was giving a cleaner shape until I had it ready, once I finished the sketch I started to apply the lineart to the character, in this case I used a fairly thin and uniform line thickness without pressure opacity throughout the illustration.
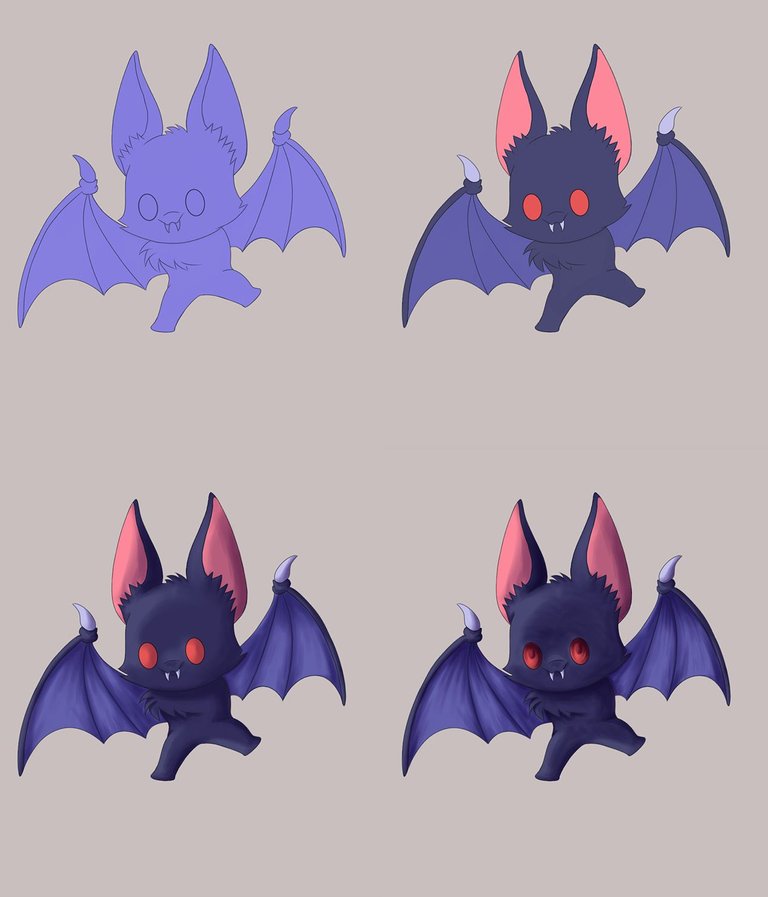
Una vez que tenía el lineart de la ilustración listo comencé a darle color a todos los elementos. Para ello, coloqué una capa base de color morado para asegurarme de no salirme de los límites, luego empecé a aplicar en diferentes capas los colores base que tendría este personaje, estos los seleccioné de forma personal ya que los colores de la referencia no se verían bien en el estilo en el que estaba trabajando. Una vez aplicados los colores base, empecé a trabajar en las sombras que tendría el personaje, en este paso fui jugando con varios niveles de sombras para lograr el volumen que estaba buscando.
Once I had the lineart of the illustration ready I started to colour all the elements. For this, I placed a purple base layer to make sure I didn't go out of the limits, then I started to apply in different layers the base colours that this character would have, I selected them personally as the reference colours wouldn't look good in the style I was working on. Once the base colours were applied, I started to work on the shadows that the character would have, in this step I was playing with several levels of shadows to achieve the volume I was looking for.
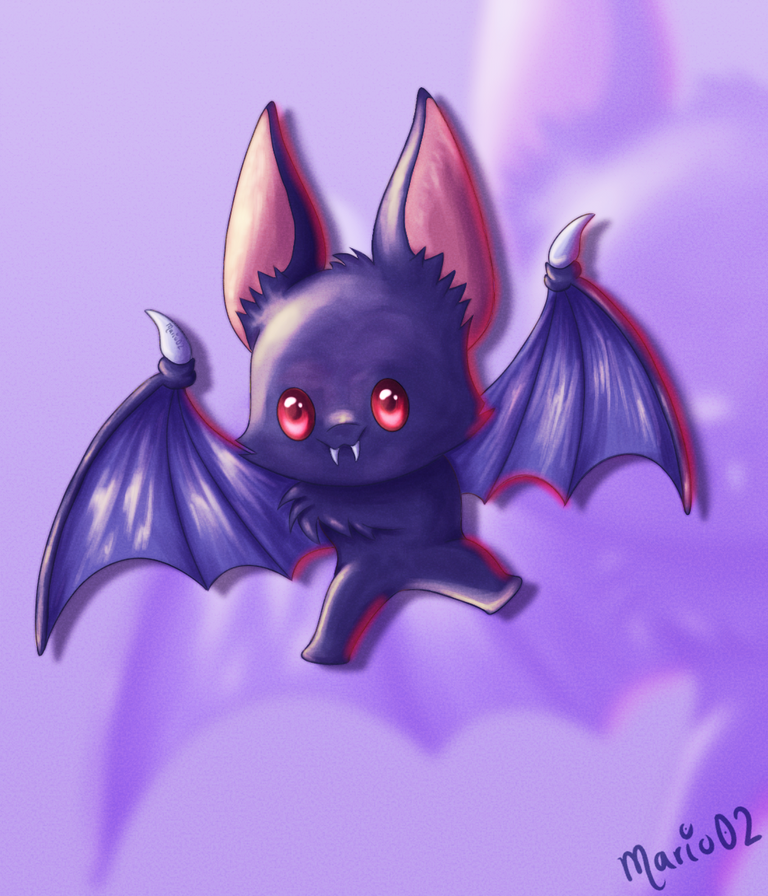
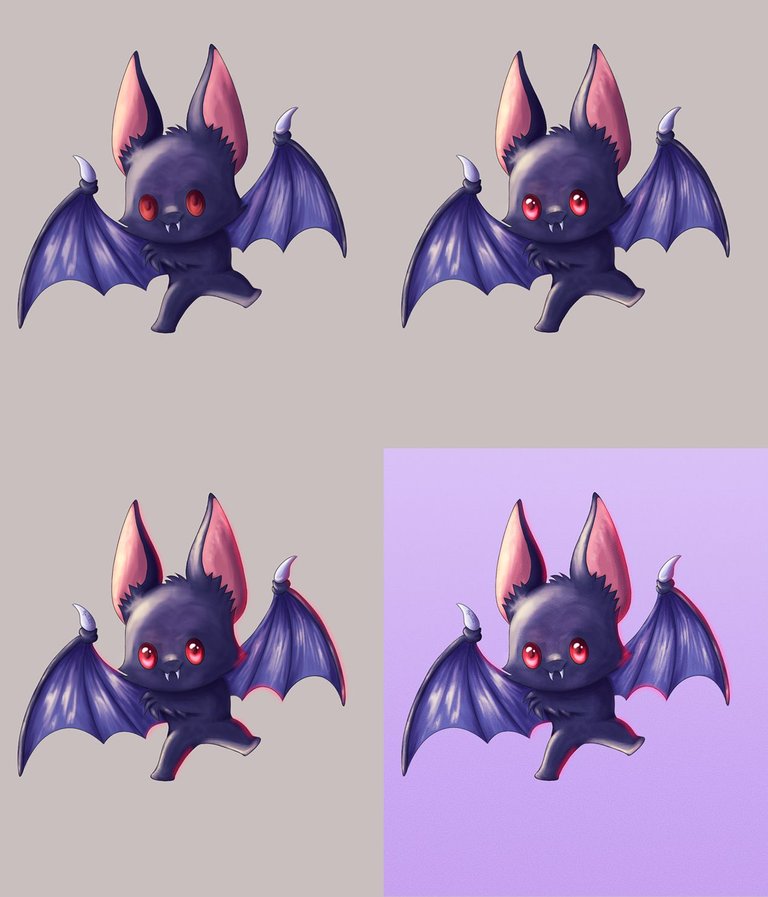
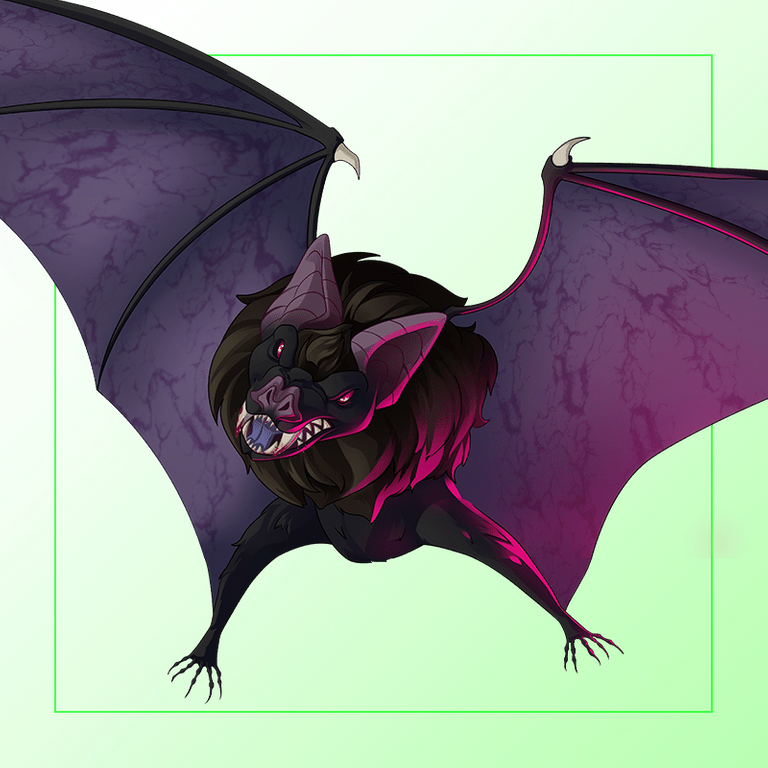
Aplicadas todas las sombras comencé a agregar los tonos de luz en toda la ilustración. Al igual que con las sombras utilicé varios niveles de luz, comenzando con las luces generales y poco a poco ir profundizando en las más intensas. Una vez terminé este paso, comencé a dar los detalles finales como unas luces de color rojo por el lado opuesto a la luz. Además, corregí el tono y el valor de los colores para que se vieran mejor y como último paso fui trabajando en un pequeño fondo para esta ilustración.
Once all the shadows were applied I started to add the light tones throughout the illustration. As with the shadows I used several levels of light, starting with the general lights and little by little going deeper into the more intense ones. Once I finished this step, I started to give the final details like some red lights on the opposite side of the light. Also, I corrected the tone and value of the colours to make them look better and as a last step I was working on a small background for this illustration.
Final result of the Illustration | Resultado final de la ilustración
Tools Used | Herramientas Utilizadas:
- Medibang Paint Pro PC version 64 bits
- Tablet Huion H610 PRO V2
REFERENCE

The illustration and separators used in the post are my property.
Translated with DeepL (free versión)
me gustan mucho los colores que le diste ^^
¡¡Muchas gracias por tu comentario amigo!! Me alegra un montón que te haya gustado
Thank you very much for supporting my work team of @qurator
Contáctenos para saber más del proyecto a nuestro servidor de Discord.
Si deseas delegar HP al proyecto: Delegue 5 HP - Delegue 10 HP - Delegue 20 HP - Delegue 30 HP - Delegue 50 HP - Delegue 100 HP.
Muchas gracias por su apoyo 🙏
Thanks for sharing! - @underlock

Thank you very much @underlock for supporting my work!