MAGI NECROSI💀Social Media Challenge Splinterlands SPT
Hola amigos! Bienvenidos! 👋❤️💕😊 Esperando se encuentren muy bien.!
Hello friends! Welcome! 👋❤️💕😊 Hoping you are very well.!
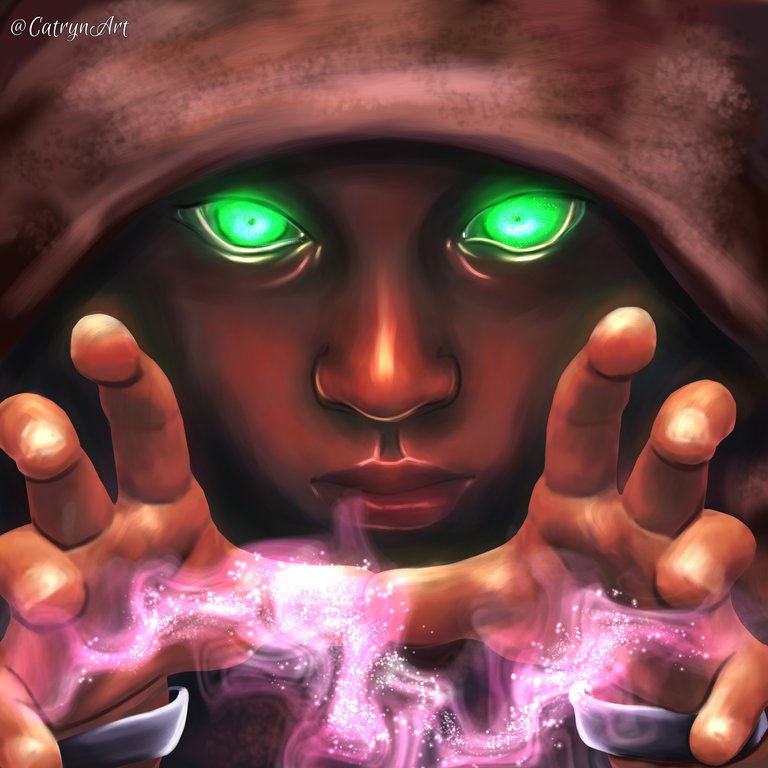

Feliz domingo querida comunidad! Nuevamente con ustedes compartiendoles una participación más al Social Media Challenge de Splinterlands, y en esta oportunidad represente la carta de MAGI NECROSI, representando a este personaje en una versión infantil a un estilo semirealista. Tuve un tiempo en la forma de las manos, de manera que me gusto mucho el resultado al ocultar la capa del delineado. Estuve trabajando desde temprano con esta ilustración y me gusto mucho este resultado deseo lo disfruten!🙂❤️🌷
Happy Sunday dear community! Again with you sharing one more participation in the Splinterlands Social Media Challenge, and this time I represented the MAGI NECROSI card, representing this character in a childish version in a semi-realistic style. I had a while in the shape of the hands, so I really liked the result when hiding the eyeliner layer. I was working early on with this illustration and I really liked this result, I hope you enjoy it!🙂❤️🌷
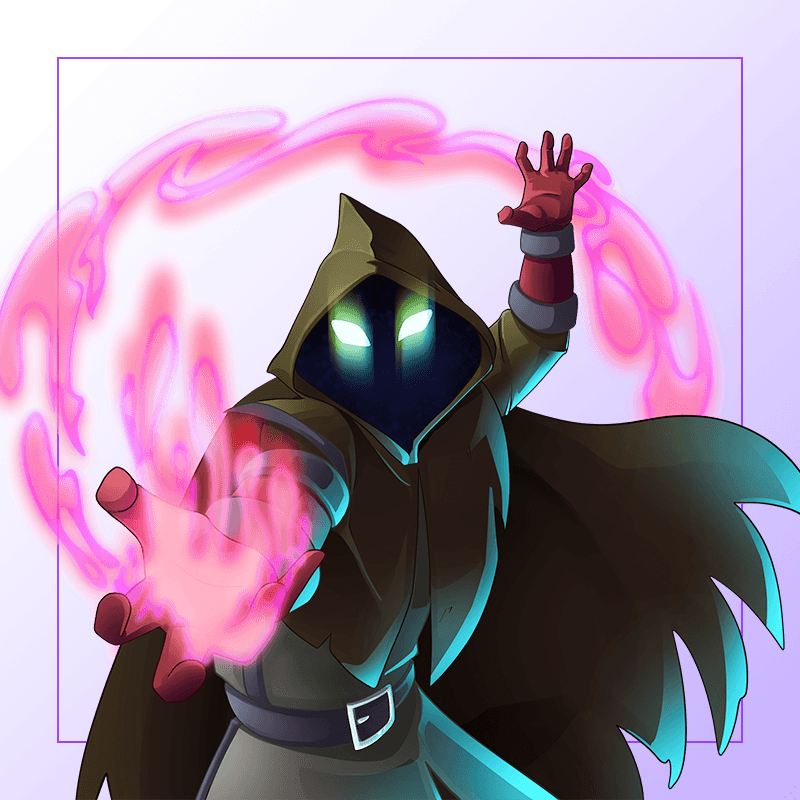
Link de la Imagen de Referencia/Reference Image Link
Etapas del Dibujo/Drawing Stages
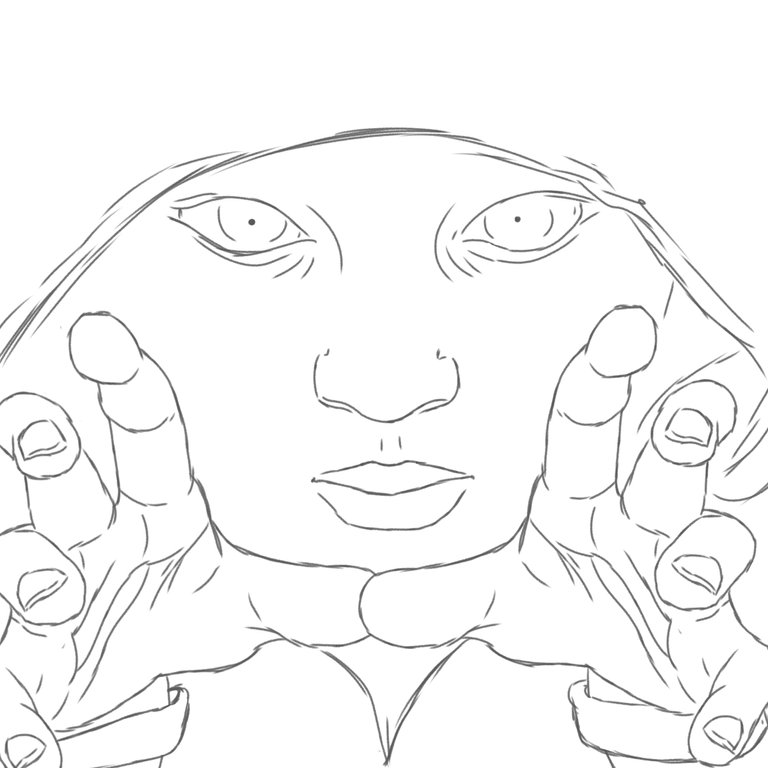
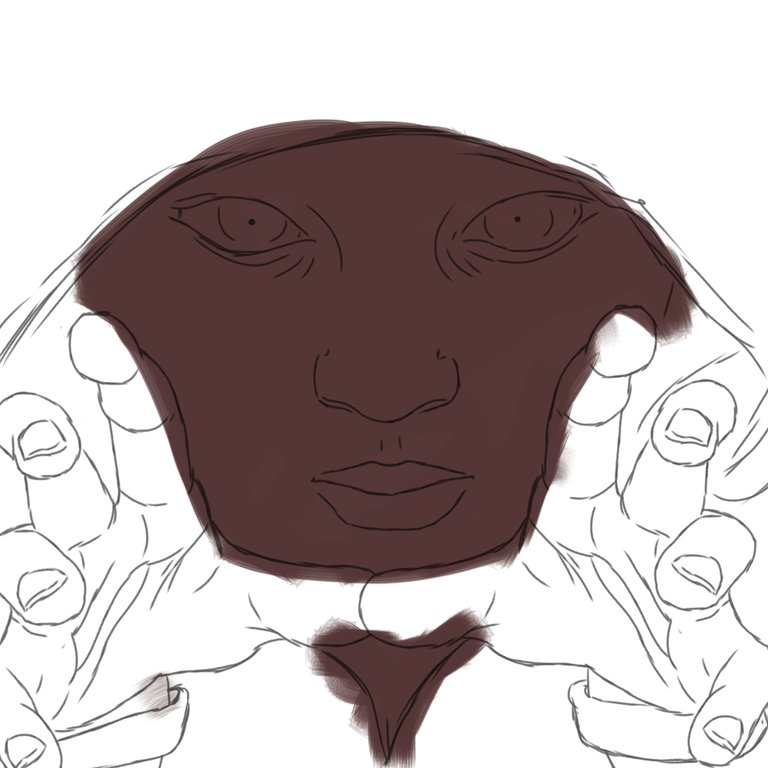
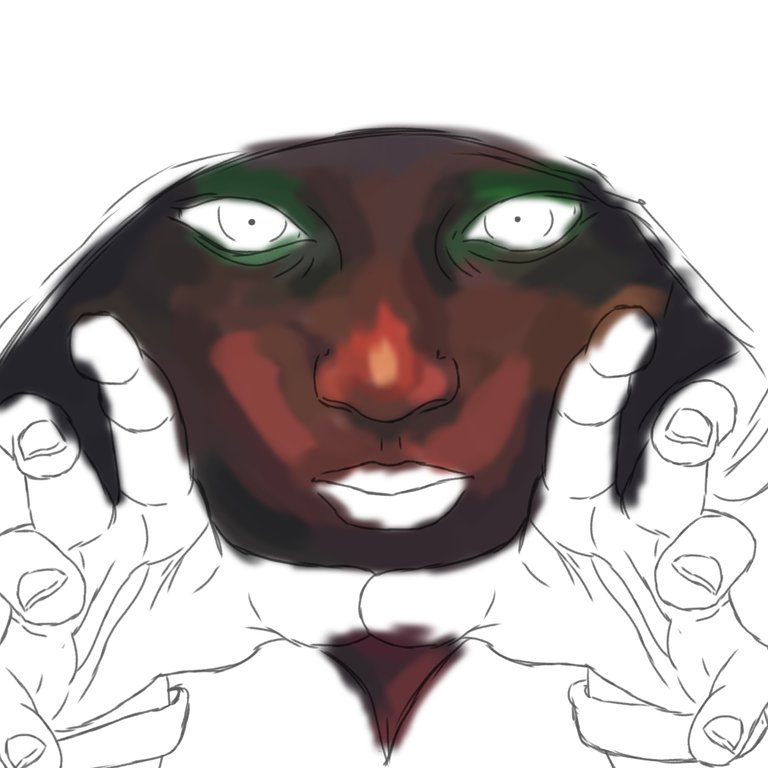
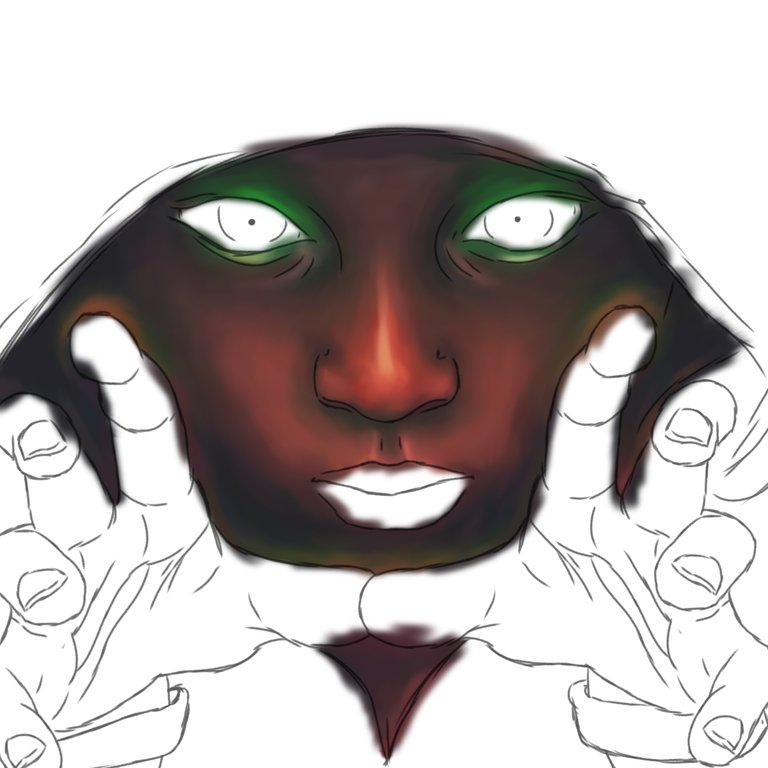
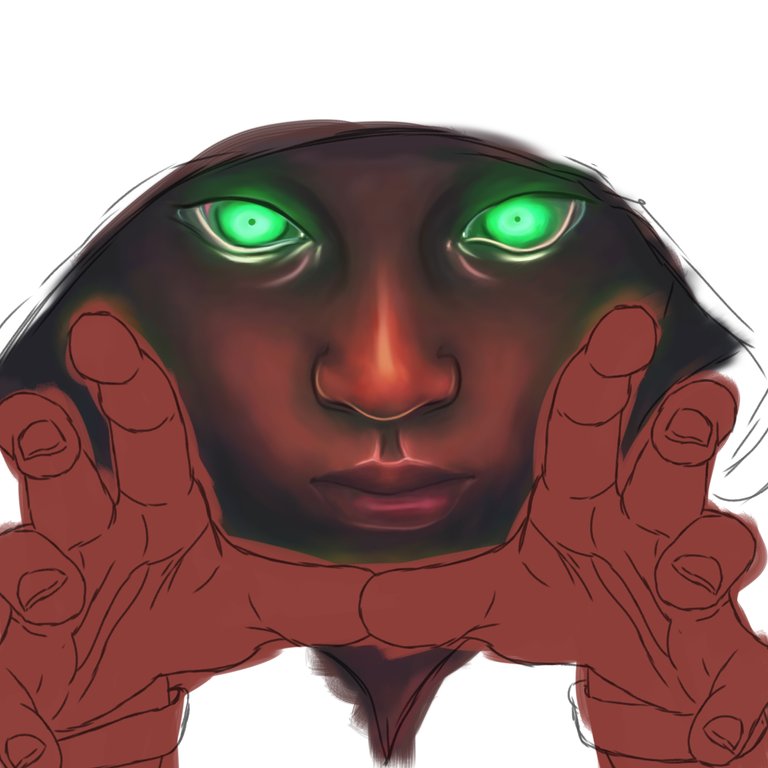
Comencé con un boceto simple usando la brocha tipo lápiz y proseguí con la aplicación de una base de color con un método normal de mezcla, usando la brocha tipo plano real estuve trabajando las pinceladas de sombreado e iluminación con esta paleta de colores saturados y oscuros, definiendo con iluminación en la misma capa.
I started with a simple sketch using the pencil brush and proceeded to apply a base color with a normal blending method, using the actual flat brush I was working on the shading and highlighting strokes with this dark saturated color palette, defining with lighting on the same layer.
 |  |
 |  |
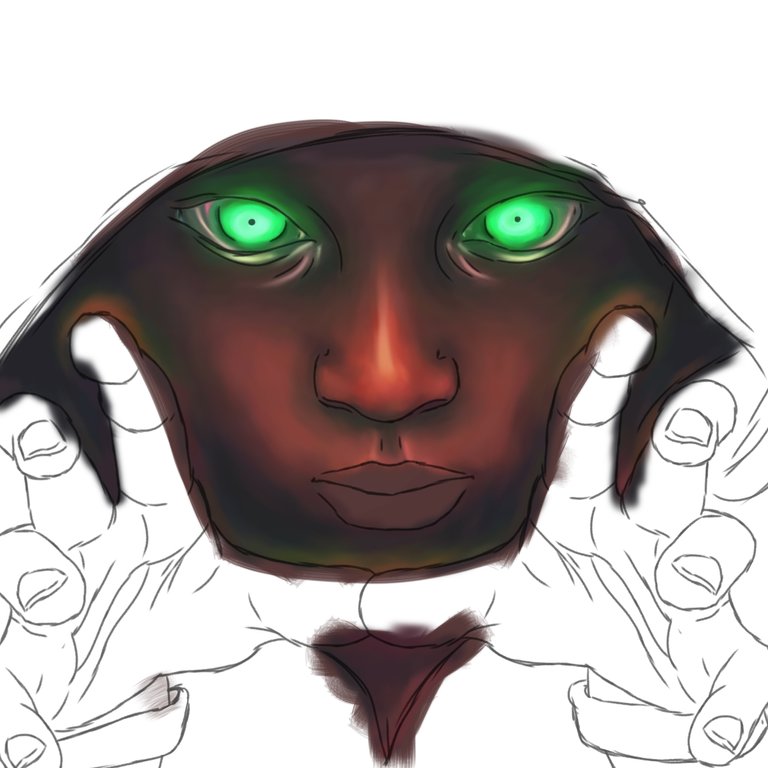
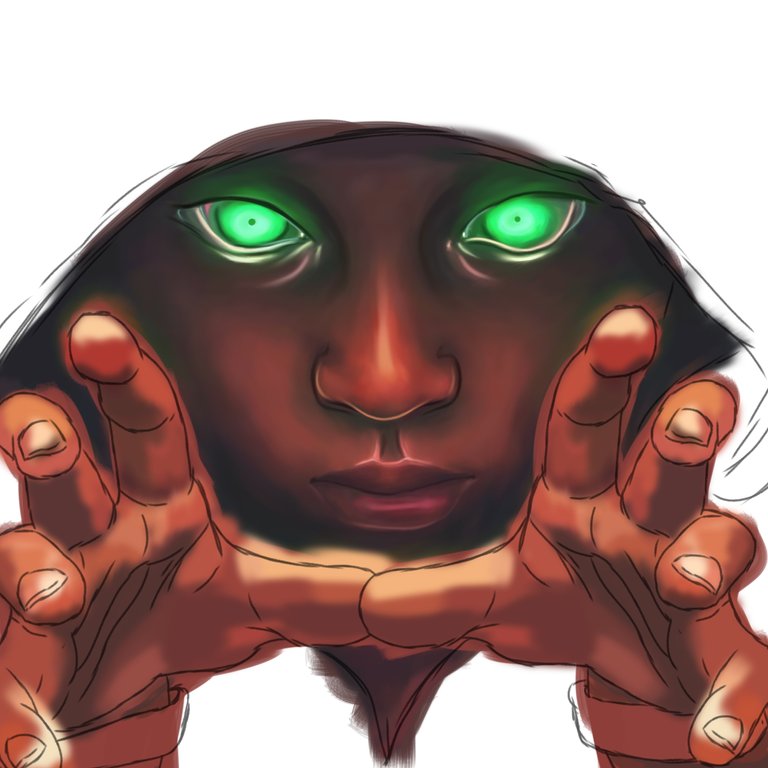
Seguí en la iluminación de los ojos y termine la boca definiendo los con líneas de iluminación que use con el mismo método de mezcla, después fui aplicando una base de color a las manos en una nueva capa y fui pincelando usando la brocha plano real y difuminando un poco para ir mezclando, como la mano tiene más articulaciones y formas me llevo un tiempo en esto para dar con las sombras y luces que definieran más. A medida que voy terminando una sección paso a la capa del delineado y borró la sección terminada para ir definiendo los bordes y terminarlos, normalmente reforzando con sombras y difuminando.
I continued with the lighting of the eyes and finished the mouth defining the lines of lighting that I used with the same blending method, then I applied a base color to the hands in a new layer and I brushed using the real flat brush and blending a bit to mix, as the hand has more articulations and shapes, it took me a while to find the shadows and lights that would define more. As I finish a section I go to the outline layer and erase the finished section to define the edges and finish them, usually reinforcing with shadows and blending.
 |  |
 |  |
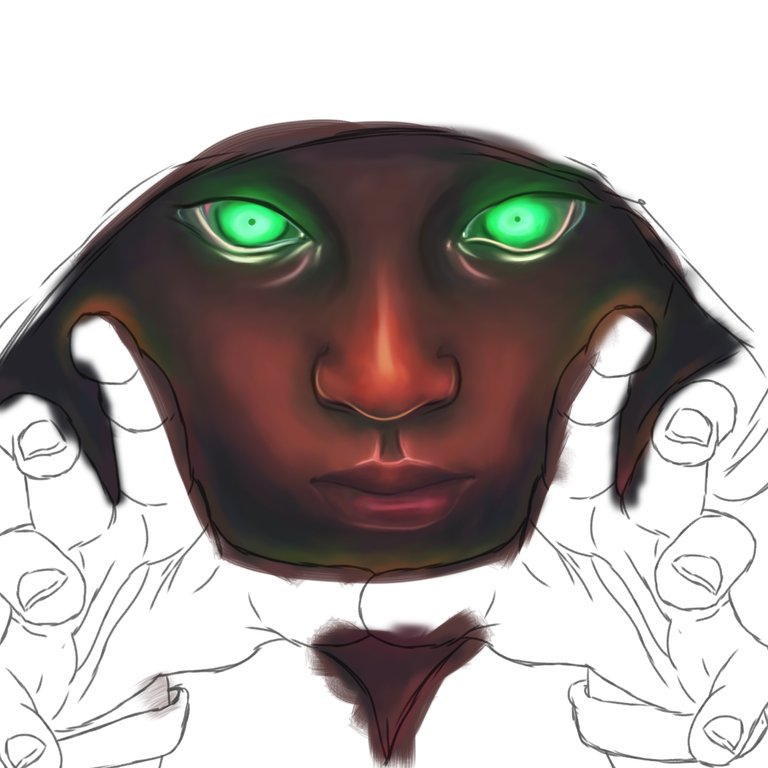
Termine definiendo los accesorios y la capucha usando otra capa y el mismo método normal de mezcla usando para texturizar también la brocha tipo carboncillo en la vestimenta. Pase luego a una capa de superposición para poder resaltar los colores en cuanto a la piel y los ojos usando la brocha plano real y con su opacidad media baja. Agregué una capa de añadir para darle algunos brillos a los ojos usando la brocha tipo purpurina que es una de las brochas con la que he venido trabajando junto con la punto de brillo para dar un poco más de brillos puntuales. Junto con eso añadí una especie de aura la cual fui difuminando y dando algunos tonos rosas. Resaltando en una capa de añadir algunas acciones con el método de bloqueo alfa y termine agregando algunos destellos de luz con el purpurina y el pincel punto de brillo. Fue una ilustración bastante fructífera y con más avance en cuanto a la iluminación y el ir dejando el delineado atrás, espero les haya gustado esta pieza. Y me despido hasta la próxima!❤️👋🙂😄🌹🌷
Finish by defining the accessories and hood using another layer and the same normal blending method using the charcoal brush on the outfit for texturing as well. Then move on to an overlay layer so I can bring out the colors in terms of the skin and eyes using the real flat brush and at its low medium opacity. I added an add layer to give some sparkle to the eyes using the glitter brush which is one of the brushes I've been working with along with the glitter point to give a little more sparkle. Along with that I added a kind of aura which I blurred and gave some pink tones. Highlighting on a layer add some actions with the alpha lock method and finish by adding some light sparkles with the glitter and the glow point brush. It was a very fruitful illustration and with more progress in terms of lighting and leaving the outline behind, I hope you liked this piece. And I say goodbye until next time!❤️👋🙂😄🌹🌷
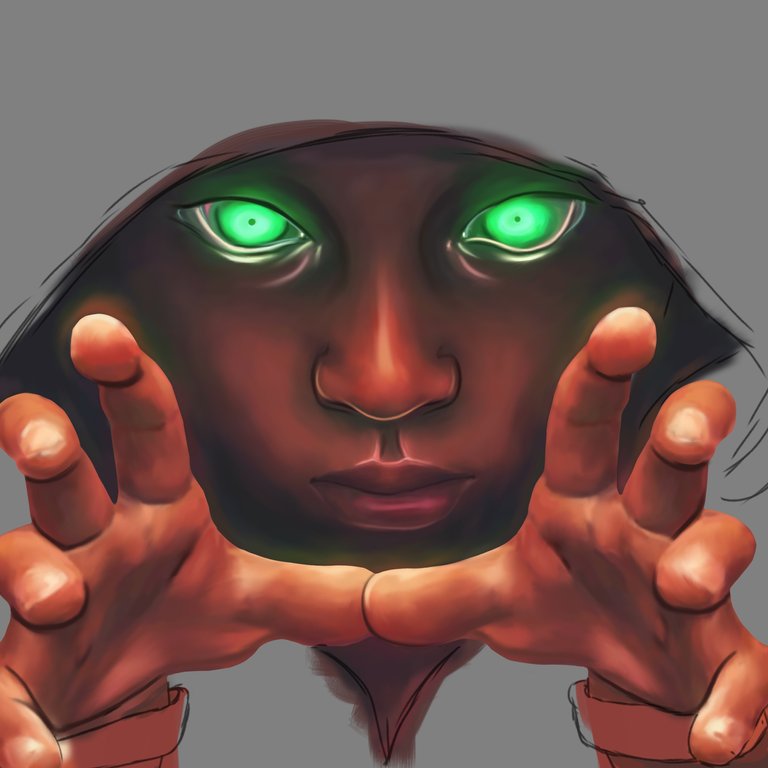 | 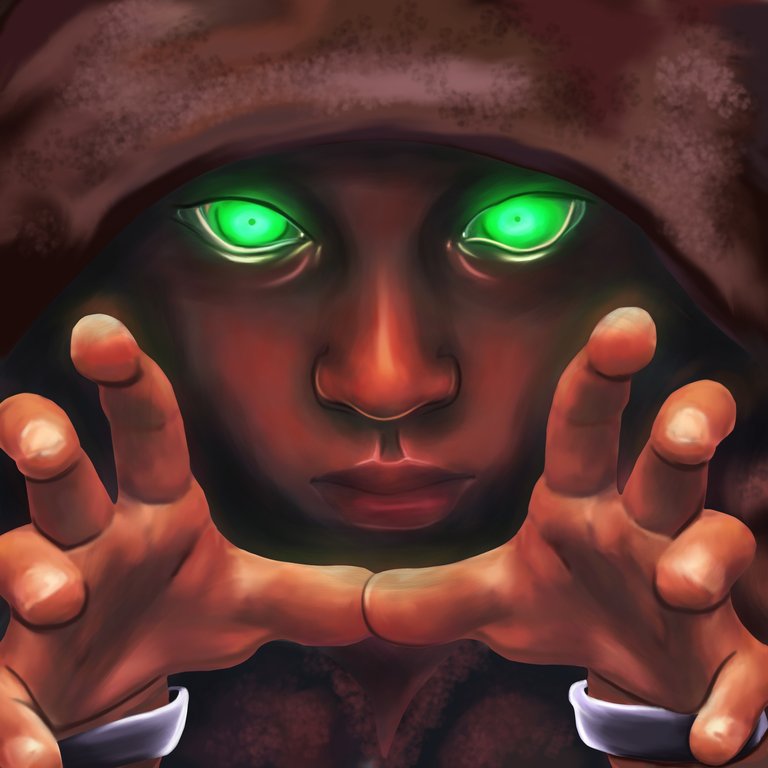 |
ILUSTRACIÓN FINAL/ End Illustration
Redes Sociales/ Social Networks
Sigueme en/ Follow me in:
👉Instagram: @catrynart
👉 Twitter: @catrynart
Herramientas Usadas/Used Tools
- Tablet Android/ Android Tablet
- Programa Ibis Paint X/ Ibis Paint X Program
- Traductor Deepl/ Deelp Translator
- Servidor de Imagenes Imgbb/ Imgbb Image Server
- Dactilopintura Digital/ Digital Fingerprint Painting
🌺¡HASTA EL PRÓXIMO POST!🌺
Detenerse es Retroceder
To Stop is to go Backwards
I love this representation especially his eyes. That magical stuff coming out of his mouth is really a creative addition, welldone
Oooh thank you so dear @leeendah 🥰😘
Thanks so so @stoodkev 🥰
Thank You so @neoxian 🥰💗🌷
!1UP Good work!
!PGM !PIZZA
You have received a 1UP from @underlock!
@monster-curator, @oneup-curator, @neoxag-curator
And they will bring !PIZZA 🍕.
Learn more about our delegation service to earn daily rewards. Join the Cartel on Discord.
$PIZZA slices delivered:
@curation-cartel(3/20) tipped @catrynart
Que bello, sus manos se ven muy realistas 😍
Gracias querido Jordan 😘😌
Thanks for sharing! - @alokkumar121

Genial buen trabajo, me gusto la paleta de colores que usaste.
Gracias @guillez12